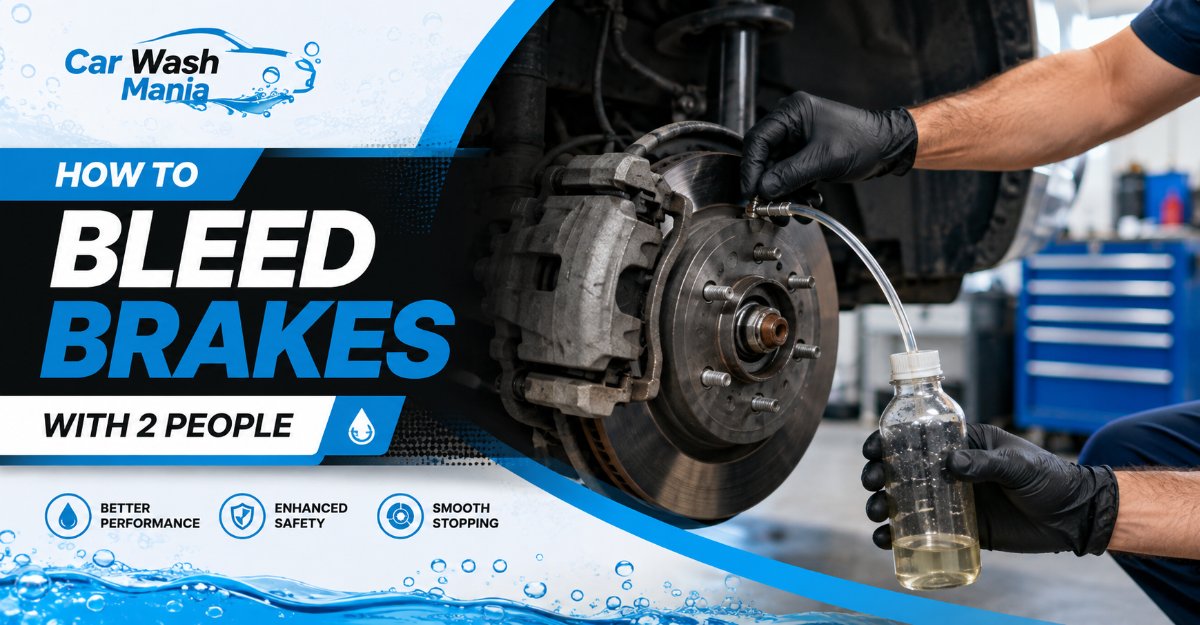
Bleeding brakes with two people uses the “pump-and-hold” method to push trapped air and old fluid out of each caliper: one person holds the pedal down while the other opens and closes the bleeder screw. It takes 30–45 minutes for all four wheels, is a beginner-friendly job, and succeeds or fails on one thing clear timing between the two of you so the valve is always closed before the pedal comes up.
Before You Start
- Time: 30–45 minutes for a full four-wheel flush; 10–15 minutes if you’re only bleeding one corner after a repair.
- Difficulty: Beginner. The skill is communication, not mechanics.
- Cost: $15–$60 in consumables (you likely own the wrench and a bottle already).
- People: Two. One in the driver’s seat, one at the wheel.
Tools and materials checklist:
- Fresh brake fluid 1 quart (≈1 L). Match the DOT rating stamped on your master-cylinder cap: DOT 3, DOT 4, or DOT 5.1. ⚠️ DOT 5 is silicone and is not interchangeable with DOT 5.1 never put it in an ABS or glycol system. Buy a sealed bottle; a full flush uses most of a quart.
- A 6-point flare-nut or box-end wrench to fit the bleeder screw usually 8 mm, 10 mm, or 11 mm (some 7 mm or 5/16″). A 6-point grip prevents rounding the soft screw.
- Clear vinyl tubing, 2–3 ft, 3/16″ or 1/4″ inside diameter snug over the bleeder nipple.
- A clear catch bottle with 1″ of clean brake fluid in the bottom (creates a liquid seal against back-flow).
- Nitrile gloves and safety glasses. Brake fluid strips paint and burns eyes.
- Penetrating oil (PB B’laster, Kroil) and a rag.
- A wood block (2×4) only for vehicles roughly pre-1990 (explained in Step 6).
- Optional: a turkey baster or fluid syringe, and a jack + jack stands if you can’t reach the bleeders otherwise.
Prerequisite conditions: The car is cold and parked on level ground. You have your vehicle’s service manual or a quick search for its exact bleed sequence the common rule doesn’t fit every car. Bleed with the engine off (details in Step 6).
Phase 1: Prepare the Vehicle and Fluid
Step 1: Confirm your fluid and bleed sequence
Read the cap on the master cylinder and buy fluid that matches its DOT number.
Then find your bleed order. The standard rule is to start at the wheel with the longest brake line farthest from the master cylinder and work toward the closest: on many rear-drive and front-drive cars that’s Rear Right → Rear Left → Front Right → Front Left. But many modern ABS cars use a diagonal split and specify something like RR → FL → LR → FR. Look up your exact model; guessing here is the one prep mistake that quietly leaves air in the system.
You’ll know it worked when: you have a bottle matching your DOT rating and a written 1-2-3-4 wheel order for your car.
Step 2: Position and secure the car, then find each bleeder
Set the parking brake and chock a wheel. You often don’t need to remove wheels at all reach the bleeder through the spokes, or turn the steering to expose the front calipers. Lift and use jack stands only if access demands it.
Locate the bleeder at each corner: on disc brakes it’s a small hex screw with a rubber cap on the top of the caliper. On rear drum brakes it’s on the wheel cylinder behind the backing plate. If a caliper has two bleeders, use the higher one air rises to it.
You’ll know it worked when: you’ve physically put a finger on all four bleeder screws and know which wrench fits each.
Step 3: Clean and top off the master-cylinder reservoir
Wipe all grit off the reservoir cap before opening it debris in the fluid ruins ABS valves. Open it. If the fluid is dark, draw most of it out with a turkey baster (leave the bottom 1/4″ so you don’t uncover the ports), then fill with fresh fluid to the MAX line.
You’ll know it worked when: the reservoir is at MAX with clean fluid and the cap is set loosely back on (not sealed) to prevent a vacuum.
Step 4: Test every bleeder screw before you drain anything
This is the step most guides skip and then Step 7 turns into a snapped screw and a caliper replacement. Spray each bleeder with penetrating oil and let it soak 15–30 minutes. Then fit your 6-point wrench and gently break each screw loose about 1/8 turn then snug it back up. You’re only proving it moves.
You’ll know it worked when: all four screws crack loose without flexing or creaking ominously. If one is frozen, stop heat it, re-soak, or have it drilled/extracted before you empty the reservoir. Never force a rusted bleeder.
⚠️ A screw that shears off leaves the caliper unbleedable and often unrepairable. Patience here is cheaper than a caliper.
Phase 2: Bleed One Wheel at a Time
Work the wheels in your Step 1 order. Person A sits in the driver’s seat; Person B works the wheel. Engine off the whole time.
Step 5: Attach the catch tube at the first wheel
Pull the rubber dust cap off the bleeder. Slip your wrench over the hex first (you can’t get it on once the tube is attached). Push the clear tube firmly onto the nipple and run the other end into your catch bottle so it sits below the surface of the fluid already in the bottle that liquid seal stops air being pulled back up the tube and giving false bubbles.
You’ll know it worked when: the tube grips the nipple with no gap and its end is submerged in the catch bottle.
Step 6: Person A pumps and holds
Person B calls “Pump and hold.” Person A presses the brake pedal slowly and smoothly 3–4 times to build pressure, then holds firm, steady pressure and answers “Holding.“
Two rules that decide the outcome:
- Engine off. With the vacuum booster charged, pedal travel and feel are misleading. Pump the pedal a couple of times before you start to bleed off any residual vacuum.
- On older cars (roughly pre-1990), don’t push to the floor. The unused bottom of the master-cylinder bore can be pitted and will tear the piston seals. Put a 2×4 under the pedal to limit travel to its normal range.
You’ll know it worked when: Person A says “Holding” and the pedal is firm, not creeping.
Step 7: Person B cracks the bleeder open
With the pedal held, Person B loosens the bleeder screw 1/4 to 1/2 turn. A stream of fluid and air bubbles shoots into the tube, and the pedal will sink toward the floor.
Person A’s job during this moment is critical: keep steady pressure and let the pedal sink on its own do not pump, do not lift. Lifting now sucks air straight back into the caliper.
You’ll know it worked when: you see fluid (and often bubbles) moving through the clear tube and the pedal is dropping smoothly.
Step 8: Close the valve, then release the pedal
When the fluid stream slows usually after 1–2 seconds Person B closes the bleeder screw snug. Only after it’s closed does Person B call “Release,” and Person A slowly lets the pedal back up.
Order is everything: valve closed → then pedal up. Reverse it and you undo the whole cycle.
Snug means firm, about 7–10 Nm (60–90 in-lb) the resistance of a short, deliberate pull on a small wrench, not a grunt. Over-torquing snaps the hollow screw.
You’ll know it worked when: the screw is closed and no fluid weeps from it while the pedal comes up.
Step 9: Repeat until the fluid runs clear, watching the reservoir
Repeat Steps 6–8 at the same wheel typically 5–10 cycles until the fluid in the tube is completely clear and bubble-free. Every 4–5 cycles, check the reservoir and top it back to MAX.
⚠️ Never let the reservoir run dry. If it empties, it pulls air into the master cylinder and you may have to start over (or bench-bleed the master cylinder). Top up early and often.
You’ll know it worked when: several consecutive cycles produce clear fluid and zero bubbles at that wheel.
Phase 3: Finish and Verify
Step 10: Bleed the three remaining wheels in sequence
Move to wheel 2, 3, then 4 in your Step 1 order, repeating Steps 5–9 at each. Top the reservoir off between every wheel that’s the moment it’s most likely to run low.
You’ll know it worked when: all four corners give clear, bubble-free fluid and the reservoir is still above MIN.
Step 11: Top off, test the pedal, and check for leaks
Fill the reservoir to MAX and tighten the cap fully. Wipe every bleeder and joint dry, then look for weeping. Start the engine and press the pedal firmly and hold: it should feel rock-solid and stay put, not sink slowly.
Immediately rinse any spilled fluid off paint with water. Take the used fluid to an auto-parts store or recycling center don’t pour it down a drain.
You’ll know it worked when: the pedal is high and firm with the engine running, and after a slow test roll in a safe area the brakes grab predictably.
⚠️ A pedal that stays spongy or sinks means you’re not done do not drive. See the fixes below.
Common Mistakes and How to Fix Them
The reservoir ran dry mid-job. Air is now in the master cylinder. Refill it, then re-bleed from wheel 1. If the pedal is still dead, the master cylinder needs bench-bleeding (bleeding it on the bench or via its own outlet ports before it will pass fluid).
The pedal is still spongy after a full, clean bleed. Two usual causes. Either a component is leaking (check every caliper, line, and the master cylinder for damp spots), or air is trapped in the ABS modulator. ABS units have internal valves that a manual bleed can’t reach. You’ll need a bi-directional OBD2 scan tool to cycle the ABS solenoids, then bleed again.
Bubbles never stop appearing in the tube. Often the air is sneaking past the threads of the open bleeder screw, not coming from inside the line. Smear a dab of silicone grease around the screw threads (keep it off the tip and out of the hole) to seal them while open, or rely on the submerged-tube liquid seal from Step 5.
No fluid comes out when you open the valve. The bleeder’s tiny passage is clogged with rust. Close it, remove the screw entirely, and clear the hole with a thin wire or small drill bit. Reinstall and retry.
You rounded or snapped the bleeder screw. Rounded: switch to a 6-point flare-nut wrench or a bleeder-screw socket. Snapped: the corner usually needs a screw extractor or a new caliper — this is why Step 4’s soak-and-test exists.
One person lifted the pedal with the valve open. You pulled air back in. No damage just redo that wheel’s cycles until the fluid is clear again.
How the Process Changes for Different Situations
Rear drum brakes. Same method, but the bleeder is on the wheel cylinder behind the drum. Adjust the drums to proper shoe clearance before bleeding loose shoes can waste pedal travel and mimic a spongy pedal.
ABS-equipped vehicles. Bleed normally for a routine flush. But if you opened the system (replaced the ABS unit, or let it run dry) you’ll likely need a scan tool to actuate the pump and valves so trapped air can leave the module. Also confirm whether yours uses a diagonal sequence.
After replacing one component. Replaced a single caliper or flex line? You usually only need to bleed that corner (and sometimes its diagonal partner). Replaced the master cylinder? Bench-bleed it first, then bleed all four wheels.
Classic or pre-1990 cars. Vulnerable master-cylinder bores make aggressive pumping risky. Gravity-bleed first to fill the lines, then do a light, short-travel two-person bleed with the 2×4 under the pedal to protect the seals.
How Long It Takes and What It Costs
A full four-wheel DIY flush runs 30–45 minutes of active work plus the 15–30 minute penetrant soak. Consumables are $15–$60: fluid ($10–35/qt), tubing ($3–8), and gloves/glasses ($5–15) if you don’t own them. A shop charges roughly $70–$150 for the same flush. The two-person manual method’s only real cost is a helper’s time its tooling is the cheapest of any bleeding method.
Frequently Asked Questions
Do both people need mechanical experience? No. Person A only presses and holds the pedal on command and never pumps or lifts while the valve is open. Person B does all the wrench work. Clear call-and-response “Pump and hold / Holding / Release” matters far more than experience.
Engine on or off while bleeding? Off. A running engine charges the brake booster, which changes pedal feel and travel and makes it harder to judge. Bleed with the engine off; only start it for the final firm-pedal check in Step 11.
How much brake fluid will I use? Buy one quart (about 1 liter) for a full flush. You’ll actually push through roughly 250–500 mL, but having extra prevents the reservoir from ever running dry the mistake that forces a restart.
Can two people bleed ABS brakes? Yes, for routine flushes. The manual method only falls short when air is trapped inside the ABS modulator usually after the system was opened or run dry which needs a scan tool to cycle the internal valves.
Which wheel do I start with? Generally the one farthest from the master cylinder (often the rear right), working closer. But split-diagonal and some ABS systems specify their own order, so confirm your vehicle’s exact sequence before you start rather than assuming.
How tight should the bleeder screw be? Snug about 7–10 Nm (60–90 in-lb), a short firm pull on a small wrench. The screws are hollow and soft; over-tightening snaps them off inside the caliper, and under-tightening lets air and fluid weep past the threads.
Safety note: Brakes are life-critical. If your pedal won’t come firm after a careful bleed, or a bleeder is seized, don’t drive the vehicle — recheck the steps above or have a professional finish the job.


