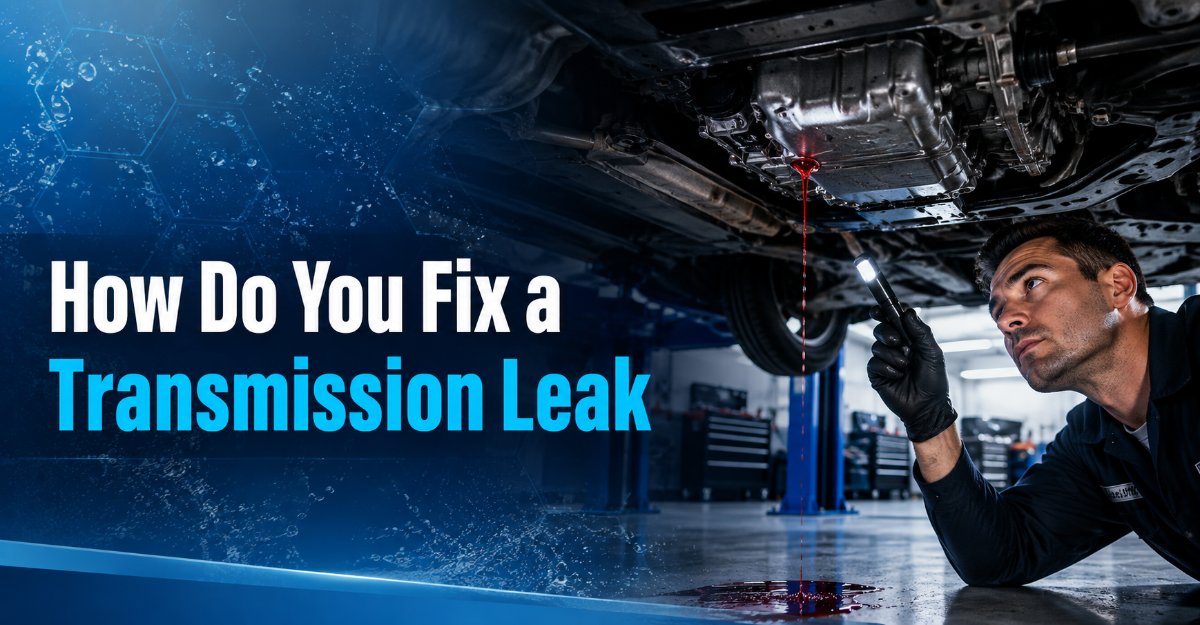
To answer how do you fix a transmission leak: you must identify the fluid type, pinpoint the exact source of the breach, and replace the compromised seal, gasket, or line. While temporary chemical additives exist, a permanent repair involves draining the hydraulic system, removing the damaged component, and installing a new manufacturer-specified part with precise torque values.
Key Facts / At a Glance
- Transmission systems operate under high hydraulic pressure; fluid loss immediately compromises gear engagement and internal cooling.
- Automatic transmission fluid (ATF) is typically red or pink with a sharp odor, while manual gear oil is thicker with a sulfur smell.
- The most frequent and accessible DIY repair is replacing the transmission pan gasket and filter, which takes roughly 1.5 hours.
- Over-tightening pan bolts crushes the gasket, making it the leading cause of repeat transmission fluid leaks.
- Leaks originating from the front pump seal or torque converter mandate full transmission removal by a professional.
Why Do Transmission Leaks Cause Catastrophic Failure?
Transmission leaks destroy gearboxes by causing a rapid loss of hydraulic pressure and thermal runaway. The transmission is a closed, pressurized hydraulic system where the fluid acts as a lubricant, a coolant, and the physical medium that transfers engine power to the wheels.
When fluid levels drop, the internal pump cannot generate the hydraulic pressure required to squeeze the clutch packs together. This causes the transmission to slip. Simultaneously, the lack of lubrication forces metal components to rub dry, while the loss of fluid prevents heat transfer to the transmission cooler. Internal temperatures can quickly exceed 250°F (121°C), which warps the valve body, melts the friction material on the clutches, and ruins the transmission permanently. Furthermore, leaking ATF is highly flammable; if it drips onto a hot exhaust pipe, it poses an immediate fire hazard.
Where Is the Transmission Fluid Coming From?
Diagnosing the fluid type and the exact point of origin is the mandatory first step before purchasing parts or raising the vehicle.
Fluid Color and Odor Identification
Place a clean piece of white cardboard under the vehicle overnight to capture a fluid sample. Blot the drip with a white paper towel to accurately assess the color.
- Automatic Transmission Fluid (ATF): Bright red or pink when new, turning dark brown when degraded. It has a sharp, slightly sweet, oily smell. If it smells like burnt toast, the internal clutches are already overheating.
- Manual Gear Oil: Amber or dark gray, significantly thicker than ATF, with a highly pungent sulfur odor.
- Non-Transmission Fluids: Do not confuse ATF with engine oil (amber/black, standard petroleum smell), power steering fluid (often identical to ATF, check the reservoir), or engine coolant (green/orange/blue, watery, sweet-smelling).
Common Leak Zones and Severity
Tracking the drip zone dictates the complexity of the required repair.
| Leak Location | Severity | Primary Cause | Repair Complexity | Tools Required |
| Pan Gaskets & Plugs | Low | Dry-rotted rubber/cork, stripped drain plug, over-torqued bolts. | Beginner | Socket set, torque wrench, scraper. |
| Cooler Lines & Hoses | Medium | Rust, road debris, decaying rubber near hose clamps. | Intermediate | Line disconnect tools, flare nut wrenches. |
| Tailshaft / Output Seal | Medium | High mileage, driveshaft vibration wearing the rubber lip. | Intermediate | Seal puller, seal driver, socket set. |
| Front Pump / Input Seal | High | Torque converter misalignment, severe overheating. | Advanced | Transmission jack, engine support bar. |
| Torque Converter | High | Hairline cracks in the weld or worn internal pump hubs. | Advanced | Transmission jack, engine support bar. |
What Are Your Options for Repair?
Choosing how to address the leak depends entirely on the severity of the fluid loss and your mechanical capability.
- Option A: Chemical Stop-Leak Additives. These fluids contain chemical seal-swelling agents designed to soften and expand old, hardened rubber gaskets. They are a temporary band-aid for minor seepage. However, they are completely ineffective against torn gaskets or cracked metal lines, and the swelling agents can eventually clog the microscopic hydraulic pathways inside the valve body.
- Option B: Component Replacement (DIY). Replacing the gasket, seal, or line yourself saves significant labor costs and ensures a permanent fix. This requires specialty tools, a safe workspace, and strict adherence to factory torque specifications.
- Option C: Professional Mechanic. If the leak originates from the front bell housing (input seal), the entire transmission must be dropped from the vehicle. This requires a professional shop with a lift, transmission jacks, and specialized diagnostic equipment.
Before You Start: Preparation and Requirements
If you have identified a leaking transmission pan gasket—the most common transmission leak—this process will guide you through a permanent replacement.
Repair Profile: Pan Gasket Replacement
- Time Required: 1.5 to 2.5 hours
- Difficulty: 4/10 (Beginner/Intermediate)
- Estimated Cost: $30 – $80 (Parts and fluid)
- Tools Needed: Jack and heavy-duty jack stands, fluid catch pan, 3/8-inch socket set, 1/4-inch drive inch-pound torque wrench, plastic gasket scraper, brake cleaner, safety glasses.
- Materials Needed: Vehicle-specific OEM filter and gasket kit, 4–6 quarts of manufacturer-specified ATF.
- Prerequisites: A perfectly level concrete surface. Never work under a vehicle supported only by a hydraulic floor jack.
How Do You Fix a Transmission Pan Gasket Leak?
Replacing the pan gasket is a definitive repair that also allows you to change the transmission filter and inspect the internal health of the gearbox.
Step 1: Elevate the Vehicle and Inspect
Park on a flat, level concrete surface. Engage the parking brake, chock the rear wheels, and lift the front of the vehicle using a hydraulic floor jack. Secure the vehicle on weight-rated jack stands at the factory lift points.
- Specifics: Shake the vehicle firmly by the bumper to ensure it is completely stable on the stands before sliding underneath.
- Checkpoint: You will know it is secure when the vehicle does not shift or creak under lateral pressure.
- Common Mistake: Lifting the vehicle on asphalt on a hot day, which can cause jack stands to sink and shift dangerously.
Step 2: Drain the Hydraulic Fluid
Place a large fluid catch pan directly beneath the transmission pan. If your transmission pan features a drain plug, remove it and let the fluid drain completely.
- Specifics: If your pan lacks a drain plug, loosen all the pan bolts by three turns. Remove the bolts entirely from one end of the pan, allowing it to tilt downward and control the spill over that specific edge into the catch pan.
- Checkpoint: The fluid flow will reduce to a slow drip, allowing you to support the pan with one hand while removing the final bolts.
- Common Mistake: Unbolting the entire pan at once, which will drop a heavy pan full of fluid directly onto your chest and the floor.
Step 3: Remove the Pan and Clean Surfaces
Lower the pan carefully, empty the remaining fluid, and carry it to a workbench. Use a plastic gasket scraper to remove all traces of the old gasket from both the transmission housing and the pan rim.
- Specifics: Locate the magnet inside the bottom of the pan. A fine, fuzzy layer of dark gray metal paste is normal clutch wear. Chunky, silver metal shards indicate catastrophic internal gear failure. Spray the pan and magnet thoroughly with brake cleaner and wipe dry with a lint-free shop towel.
- Checkpoint: The aluminum mating surfaces on both the transmission and the pan must be perfectly smooth, silver, and completely free of oil residue.
- Common Mistake: Using a metal screwdriver or wire brush to scrape the old gasket. This gouges the soft aluminum housing, creating a channel where fluid will permanently leak regardless of a new gasket.
Step 4: Replace the Transmission Filter
Locate the transmission filter exposed on the bottom of the valve body and pull it straight down to remove it.
- Specifics: Inspect the mounting port to ensure the old rubber O-ring came out with the filter. If the old O-ring is stuck in the bore, carefully pry it out with a plastic pick. Lubricate the new filter’s O-ring with fresh ATF and push the new filter firmly up into the port.
- Checkpoint: The filter should seat flush and hold itself securely in place without falling out.
- Common Mistake: Forgetting to remove the old O-ring, effectively double-stacking the seals. This prevents the new filter from seating, causing a massive internal pressure loss that prevents the car from moving.
Step 5: Install the New Pan Gasket
Lay the new gasket perfectly flat onto the clean transmission pan flange. Align the bolt holes of the gasket with the holes in the pan.
- Specifics: Insert four bolts into the corners to hold the gasket in place. Lift the pan assembly back onto the transmission and hand-thread the four corner bolts to hold it against the housing. Hand-thread the remaining bolts.
- Checkpoint: All bolts should be fully hand-tightened, and the gasket should not bulge out from the sides of the pan.
- Common Mistake: Applying RTV silicone sealant alongside a rubber or cork gasket. The silicone acts as a lubricant, causing the gasket to squish out, and excess silicone will break off internally, clogging the valve body. Only use a dry gasket unless the factory manual explicitly requires RTV.
Step 6: Torque the Bolts to Specification
Using a 1/4-inch drive torque wrench, tighten the bolts sequentially to the exact factory specification.
- Specifics: Work in a crisscross or star pattern, alternating from one side of the pan to the other, to ensure even clamping force. Most transmission pan bolts require a very low torque value—typically between 80 and 120 inch-pounds (roughly 9 to 13 Nm).
- Checkpoint: The torque wrench will “click” when the precise tightness is reached. The gasket should appear uniformly compressed with no distortion.
- Common Mistake: Using a large 1/2-inch drive torque wrench or a standard ratchet. You will easily over-tighten and snap the small steel bolts off inside the aluminum transmission housing.
Step 7: Refill the System and Verify
Lower the vehicle back to the ground so it is perfectly level. Locate the transmission dipstick or fill port in the engine bay and insert a long funnel.
- Specifics: Add the factory-specified amount of fluid (usually 3 to 5 quarts for a pan drop). Start the engine and leave it in Park. Depress the brake pedal and shift slowly through every gear (P-R-N-D-3-2-1), pausing for three seconds in each to fill the hydraulic circuits.
- Checkpoint: With the engine running and the fluid at operating temperature (hot), check the dipstick. The fluid should sit squarely in the “HOT” crosshatched area.
- Common Mistake: Pouring generic ATF into a system that requires a highly specific friction-modified fluid (like Honda DW-1, GM DEXRON VI, or Ford MERCON V). The wrong fluid will destroy the transmission synchronizers and clutches within days.
How Much Does It Cost to Fix a Transmission Leak?
Repair costs vary wildly depending on whether you perform the labor yourself and the specific location of the leak. The figures below represent average typical ranges for standard passenger vehicles.
| Component | DIY Parts Cost | Professional Shop Cost | Average Pro Labor Time |
| Pan Gasket & Filter | $25 – $65 | $180 – $350 | 1.0 – 1.5 hours |
| Cooler Lines | $40 – $110 | $250 – $550 | 1.5 – 3.0 hours |
| Output Shaft / Tailshaft Seal | $15 – $35 | $200 – $450 | 1.5 – 2.5 hours |
| Front Pump / Input Seal | $20 – $50 | $850 – $1,600+ | 5.0 – 8.0 hours |
What Are the Most Common Repair Mistakes?
Even experienced DIYers can make errors when working with sensitive hydraulic systems. Avoid these specific failure modes:
- Failure Mode 1: Ignoring the Vent Tube. Sometimes what appears to be a leak is actually fluid boiling over and venting out of the transmission breather tube.
- Recovery: Check your fluid level. Overfilling the transmission causes the fluid to foam, expand, and blow out the top. Drain the excess fluid to the proper line.
- Failure Mode 2: Stripping the Drain Plug. Applying too much torque to the drain plug will strip the aluminum threads in the pan.
- Recovery: You must remove the pan and install an oversized self-tapping plug, or replace the entire lower pan assembly.
- Failure Mode 3: Misjudging Hot vs. Cold Fluid Levels. Transmission fluid expands significantly when heated. Checking a cold transmission and filling it to the “Hot” line will result in a massive overfill once the vehicle reaches operating temperature.
- Recovery: Always follow the specific manufacturer procedure for temperature checking. Most require the engine to be running, fluid hot, and the vehicle parked on a level surface.
Frequently Asked Questions
Can I drive my car with a transmission fluid leak?
You should not drive a vehicle with an active transmission leak. If the leak is a minor, slow seep (a drop a week), you can drive it short distances provided you check and top off the fluid level before every trip. If the leak leaves a visible puddle, driving will lead to a sudden loss of hydraulic pressure and permanent internal damage.
How do I find a transmission leak I can’t see?
If you know you are losing fluid but cannot trace the origin due to a dirty undercarriage, spray the entire transmission housing with brake cleaner and wipe it dry. Spray a light dusting of white aerosol foot powder or mechanic’s tracer powder over the housing. Run the engine for ten minutes; the exact source of the leak will turn the white powder dark red.
Will a thicker fluid stop my transmission leak?
No, you should never use a thicker fluid than the manufacturer specifies. Automatic transmissions rely on highly specific fluid viscosities to flow through microscopic channels in the valve body. Thicker fluid will cause harsh shifting, delayed gear engagement, and eventual failure.
Is a transmission leak covered by insurance or warranty?
Standard auto insurance does not cover mechanical wear-and-tear failures like transmission leaks. However, if your vehicle is under its factory powertrain warranty (typically 5 years/60,000 miles for most brands), seals, gaskets, and internal transmission components are fully covered by the dealership.


