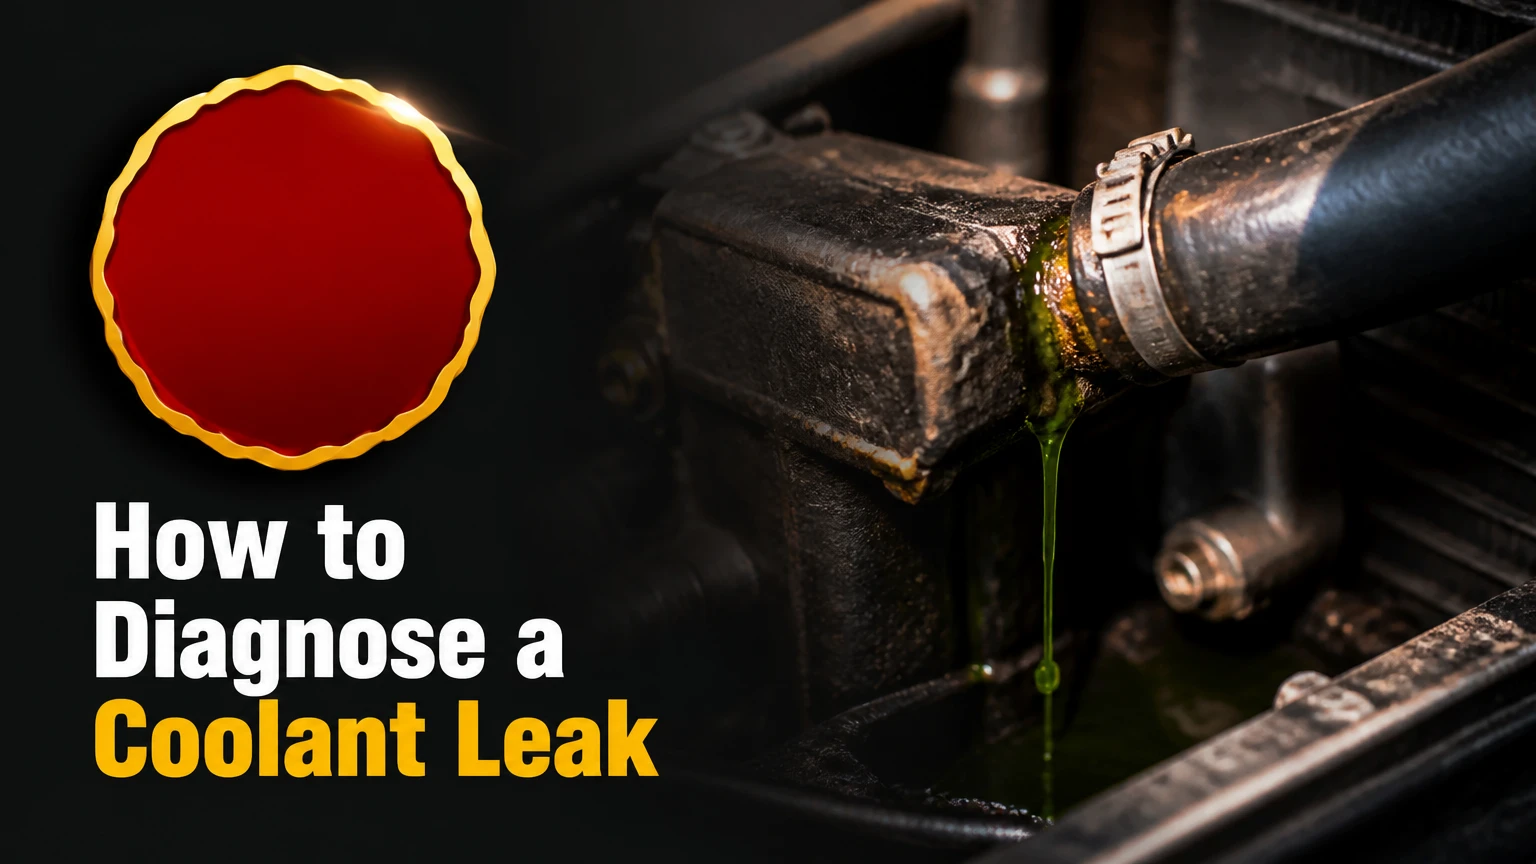
To diagnose a coolant leak efficiently, you must systematically isolate external hose, radiator, and water pump failures before testing for internal head gasket damage. This 5-step diagnostic process takes 1 to 2 hours, requires basic hand tools alongside a pressure tester kit, and depends on engine cold-state safety for accuracy.
Before You Start
- Time Required: 60–120 minutes total active diagnostic time.
- Difficulty Level: Intermediate (Beginner-accessible with care).
- Estimated Cost: $0–$40 DIY (Tool rental available at auto parts stores for $0 deposit).
- Prerequisites: Vehicle must sit turned off for at least 30 to 60 minutes until the radiator hose is completely cool to the touch.
Required Tools & Materials Checklist:
- [ ] Cooling System Pressure Tester Kit (Hand pump with expansion tank/cap adapters)
- [ ] Combustion Leak Tester (Block Tester) + Blue Detector Fluid (2 oz)
- [ ] UV Leak Detection Dye (1 oz automotive coolant dye) + 395nm UV Flashlight
- [ ] Clean White Cardboard Sheet (3 ft x 3 ft minimum)
- [ ] Distilled Water & Vehicle-Specific Coolant (1 gallon each)
- [ ] Safety Glasses & Nitrile/Mechanics Gloves
- [ ] Flashlight or LED Headlamp
Step 1: Perform a Cold Visual Inspection & Setup
Position the vehicle on level ground, turn off the engine, and allow it to sit for at least 30 minutes until the engine block feels cool to the touch. Remove the plastic lower engine splash shield using your socket set. Slide a clean 3 ft x 3 ft sheet of white cardboard directly under the engine bay, extending from the front bumper to the transmission bell housing. Open the hood and use a high-lumens flashlight to inspect all upper/lower radiator hoses, heater core bypass hoses, water pump pulley housing, thermostat housing, and plastic radiator side tanks. Look for bright pink, green, orange, or blue crusty crystalline deposits, which mark dried coolant weeping.
Success Checkpoint: You will know this step is complete when you have visually cataloged all visible crusty residue lines and verified that your cardboard capture sheet lies directly under the front accessory belt and radiator assembly.
Common Mistake & Prevention: Cleaning off crusty residue before marking its location. Never spray engine degreaser before testing; those dried white or colored crust trails are vital visual roadmaps pointing straight to weeping seams.
Step 2: Test the Radiator or Expansion Reservoir Cap
Remove the radiator or expansion tank cap only after verifying the upper radiator hose is completely soft and cold. Clean any rust, scale, or grit from the rubber seal of the cap using a clean rag. Select the matching cap adapter from your pressure tester kit, thread the cap onto the adapter, and attach the assembly to the pressure tester hand pump. Pump the hand plunger slowly until the gauge reaches the exact rated pressure stamped directly on the top or side of your cap (typically 13 to 16 PSI). Observe the pressure dial for 60 seconds without pumping.
Success Checkpoint: You’ll know it worked when the gauge holds steady at the target PSI for a full 60 seconds. If the needle drops steadily, the cap’s internal spring or rubber gasket is failing and must be replaced.
Common Mistake & Prevention: Skipping the cap test and assuming the main system is leaking. A worn cap fails to hold operational pressure, allowing coolant to boil off into steam through the overflow tube without leaving a puddle.
Step 3: Conduct a Static Mechanical Pressure Test
Top off your cooling system reservoir with a 50/50 mix of distilled water and fresh coolant until the fluid reaches the “Max” line. Select the matching radiator/reservoir neck adapter from your testing kit, screw it tightly onto the filler neck, and clip on the pressure pump quick-disconnect fitting. Plunge the hand pump smoothly until the gauge reads 14 to 15 PSI (never exceed the rating stamped on your cap). Let the system sit pressurized for 20 minutes. Inspect underneath the engine and onto your cardboard sheet for liquid drips, and listen along hose fittings for low hissing sounds.
+-----------------------------------------------------------------+
|               COOLING SYSTEM PRESSURE TEST SETUP                |
|                                                                 |
|   +-----------------------+        +------------------------+   |
|   |  Hand Pump & Gauge    |=======>| Radiator/Tank Adapter  |   |
|   |  (Target: 14-15 PSI)  |        | (Sealed to Filler Neck)|   |
|   +-----------------------+        +-----------+------------+   |
|                                                |                |
|                                                v                |
|                                   +-------------------------+   |
|                                   |  Pressurized System     |   |
|                                   |  (Hold for 20 minutes)  |   |
|                                   +-------------------------+   |
+-----------------------------------------------------------------+
Success Checkpoint: You’ll know it worked when the gauge needle remains completely stationary for 20 minutes. An initial 1 to 2 PSI drop in the first 60 seconds is normal due to rubber hose expansion, but any drop after 2 minutes confirms an active leak.
Common Mistake & Prevention: Over-pressurizing older plastic cooling components. Pumping past 18–20 PSI can blow out aging heater cores or split plastic radiator end-tanks, turning a minor drip into a major failure.
Step 4: Trace Microscopic Leaks with UV Fluorescent Dye
Pour 1 ounce of fluorescent UV coolant leak detection dye directly into the coolant expansion tank if your mechanical pressure test showed a needle drop but revealed no liquid pools. Reinstall the pressure cap securely. Start the engine and drive the vehicle normally for 24 to 48 hours (or run at idle for 20 minutes until the cooling fan cycles twice) to circulate the dye thoroughly across the engine block, heater core, and radiator pathways. Park the car in a dark garage, turn on a 395nm UV flashlight, put on yellow UV-enhancement glasses, and illuminate all engine bay crevices, water pump shaft seals, and underside seams.
Success Checkpoint: You’ll know it worked when pinhole leaks, hairline housing cracks, or weeping shaft seals glow with a brilliant neon-green or bright yellow-green trail under the UV beam.
Common Mistake & Prevention: Shining the UV light in daylight or using a standard blue light. You must use a true 395nm UV flashlight in darkness; standard light spectrums will not excite the fluorescent compound.
Step 5: Execute an Internal Combustion Block Test
Remove the expansion cap on a cold engine, and use a bulb syringe to siphon out enough coolant to lower the fluid level 2 inches below the bottom of the filler neck. Fill the dual-chamber combustion tester with blue chemical indicator fluid up to the etched fill line on both chambers. Insert the tapered rubber stopper of the tester firmly into the filler neck to create an airtight seal. Start the engine and allow it to idle. Squeeze the top rubber suction bulb repeatedly for 2 full minutes, pulling air from inside the radiator up through the blue fluid.
Success Checkpoint: You’ll know it worked when the fluid stays blue (confirming no combustion gases are present). If the blue fluid turns yellow on a gasoline engine (or green on a diesel engine), carbon dioxide is entering the cooling system from a blown head gasket or cracked engine block.
Common Mistake & Prevention: Siphoning too little coolant and sucking raw liquid coolant into the test chambers. Liquid coolant contaminates the blue chemical fluid, causing false positive color changes.
Common Mistakes and How to Fix Them
Opening the Radiator Cap on a Hot Engine
- The Failure: Twisting off the cap while the engine is hot releases stored thermal pressure, spraying 200°F+ boiling coolant and steam onto your hands and face.
- How to Fix: If you cracked the cap open by accident, step back immediately. Allow the vehicle to cool down for at least 45 minutes until the upper radiator hose squashes easily between your fingers with zero resistance before touching the cap again.
Misdiagnosing an Internal Cabin Heater Core Leak
- The Failure: Focusing exclusively under the hood while losing coolant continuously without external drips.
- How to Fix: Reach inside the passenger cabin and press your hand firmly against the carpet under the glovebox on the passenger floorboard. If the carpet feels damp or oily, smells sweet like syrup, or your windshield fogs up when turning on the defroster, your heater core or heater control valve is leaking internally.
Mistaking Engine Oil for Coolant or Vice Versa
- The Failure: Overlooking internal fluid cross-contamination while searching for liquid drips on hoses.
- How to Fix: Pull the engine oil dipstick and check the underside of the oil filler cap. If you see a thick, light-brown emulsion (resembling a chocolate milkshake), coolant is leaking into the oil pan through a failed head gasket or timing cover gasket. Stop running the engine immediately to avoid spinning a bearing.
Siphoning Raw Coolant into the Combustion Block Tester
- The Failure: Drawing liquid coolant into the test chambers renders the blue testing fluid invalid.
- How to Fix: Disassemble the plastic block tester tool, thoroughly rinse both chambers with clean tap water, dry completely with paper towels, and refill with fresh blue indicator fluid. Always siphon 2 to 3 inches of coolant out of the neck before starting the pump bulb.
Process Variations
Variable 1: Sealed Systems (No Radiator Cap / Remote Expansion Tank)
Modern European and domestic vehicles frequently lack a traditional radiator cap, relying on a pressurized expansion tank with a screw-threaded cap.
- Procedure Adjustment: Never attempt to test at the radiator. You must use a threaded expansion tank adapter specifically matched to your vehicle’s reservoir threads. Perform all pressure tests and combustion tests directly through the plastic expansion tank mouth.
Variable 2: Toolless Emergency / Roadside Diagnosis
If you lose coolant on a road trip without access to pressure kits or UV dye:
- Procedure Adjustment: Fill the reservoir with clean water. Turn the cabin heater to maximum heat and fan speed. Let the engine idle while watching the exhaust tailpipe. Thick white billows of sweet-smelling exhaust smoke indicate burning coolant (internal leak). Wet, dripping water droplets under the passenger subframe with the AC off signal a leaking heater hose connection.
Diagnostic Time and Cost Breakdown
| Diagnostic Phase | DIY Cost Range | Professional Shop Cost | Average Time |
| Step 1: Visual & Cardboard Check | $0 | $50 – $75 | 15 minutes |
| Step 2 & 3: Pressure Test | $0 (Tool Rental) – $35 | $100 – $150 | 30 minutes |
| Step 4: UV Dye Trace | $10 – $20 | $120 – $180 | 24–48 hours |
| Step 5: Combustion Block Test | $25 – $40 | $150 – $200 | 20 minutes |
| Total Diagnostic Range | $10 – $60 | $150 – $350 | 1–2 Hours (Active) |
Frequently Asked Questions
Can I drive my car with a minor coolant leak?
You should not drive a car with an active coolant leak. Even small leaks drop system pressure, lowering the coolant boiling point and creating air pockets that cause localized cylinder head warping, blown head gaskets, and complete engine failure within minutes of overheating.
Why is my car losing coolant, but there is no visible puddle?
Coolant loss without puddles occurs when coolant leaks internally into combustion chambers (blown head gasket), drips onto hot exhaust manifolds and evaporates instantly as steam, or leaks into the cabin passenger carpet through a failed heater core assembly.
How do I tell if my water pump is leaking?
Inspect the bottom of the water pump housing near the pulley shaft for a small drainage hole called the weep hole. Dried crusty trails or liquid wetness emerging directly from this hole indicate that the internal shaft seal has failed.
Will a pressure test find a blown head gasket?
A pressure test finds external head gasket leaks that drip outside the block. However, if the head gasket is blown internally between the cylinder bore and water jacket, a combustion block test or cylinder leak-down test is required to detect combustion gases.
What color is engine coolant when it leaks?
Automotive coolant is bright green, pink/red, orange, blue, or yellow depending on the vehicle manufacturer and coolant technology (IAT, OAT, HOAT). Dried coolant leaves behind a distinct white or colored chalky residue around hose fittings and radiator seams.


