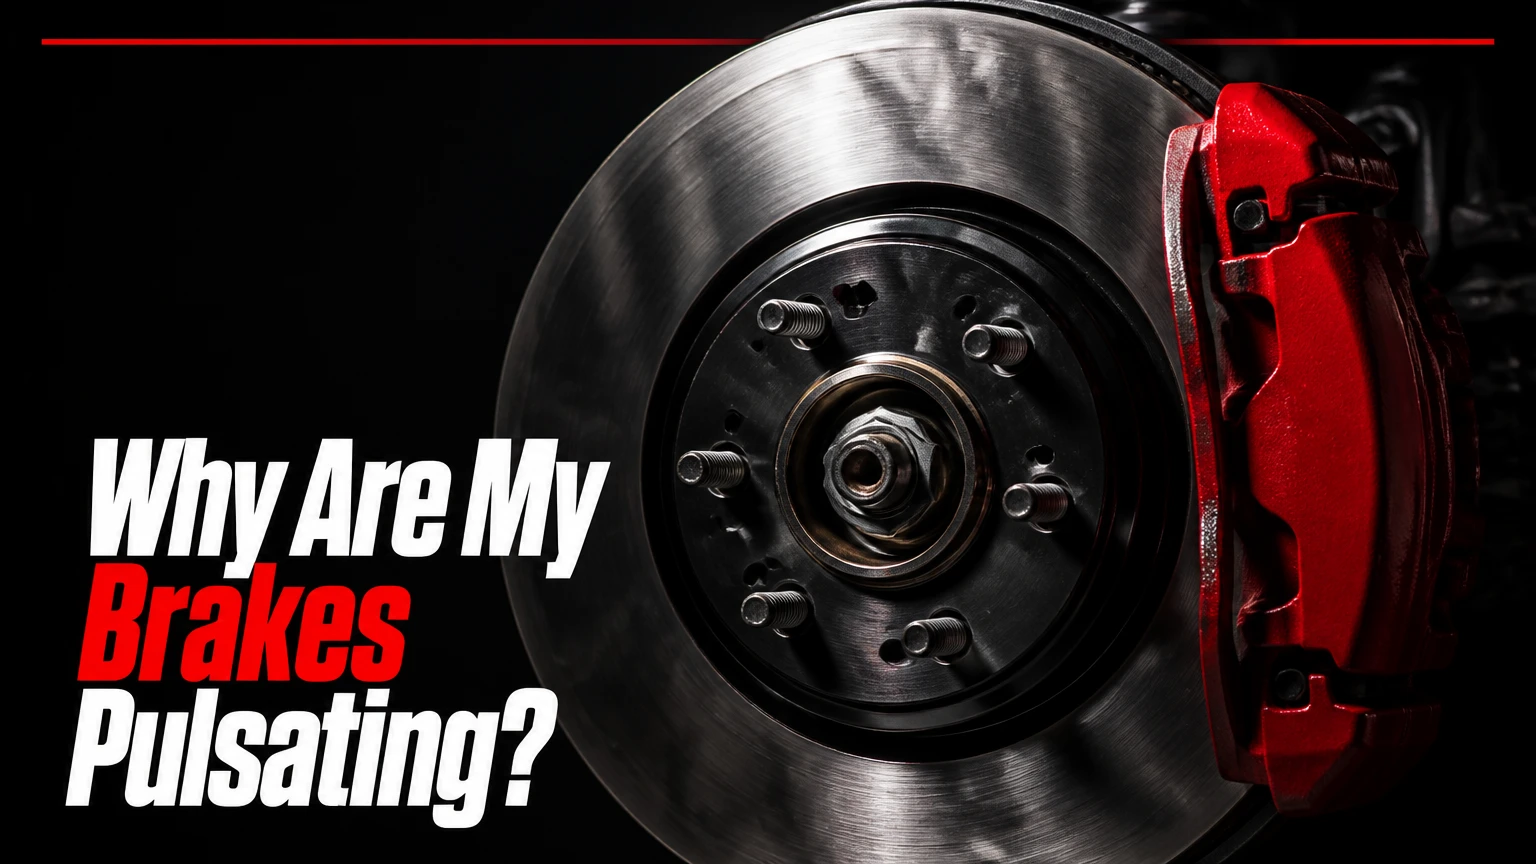
Brake pulsation occurs when variations in brake rotor thickness or lateral runout push the brake pads in and out, creating hydraulic pressure waves through the brake fluid. These pressure fluctuations travel up the hydraulic lines, causing a rhythmic vibration felt in the brake pedal, steering wheel, or vehicle floor during deceleration.
At a Glance
- Disc Thickness Variation over 0.0004 inches (0.010 mm) triggers noticeable brake pedal pulsation.
- Rotors rarely physically warp from heat; uneven friction material transfer from hot brake pads is the true primary cause.
- Steering wheel shake indicates front brake issues, while floorboard or seat vibration points to rear brake problems.
- Installing new brake pads over uneven rotors fails because new pads rapidly match the existing rotor wear profile.
- Hub rust as thin as 0.001 inches causes measurable rotor wobble at the outer edge.
Are Pulsating Brakes Caused by Warped Rotors?
Brake pulsation is almost never caused by structurally warped rotors. Cast iron brake rotors require extreme temperatures exceeding 1,200 degrees Fahrenheit under racing conditions to deform structurally. Instead, standard road vehicle pulsation stems from uneven friction material transfer or mechanical Disc Thickness Variation (DTV).
+-----------------------------------------------------------------------+
|                       THE DTV PULSATION CYCLE                         |
+-----------------------------------------------------------------------+
| 1. High-Heat Stop  --> Pad stays pressed against hot stationary rotor |
| 2. Material Deposit--> Friction layer transfers unevenly to rotor face|
| 3. Elevated Spot   --> High friction patch wears adjacent metal down  |
| 4. Thickness Variation--> Pad pulses inward/outward during rotation   |
| 5. Hydraulic Shock --> Fluid surges back to pedal and steering wheel  |
+-----------------------------------------------------------------------+
When a driver brings a vehicle to a hard stop and maintains firm pressure on the brake pedal, the stationary brake pad bakes a thin, uneven layer of friction compound onto the hot rotor surface. This spot possesses a higher coefficient of friction than the surrounding metal. As the rotor spins during subsequent braking cycles, this high-friction patch grabs unevenly and gradually wears down surrounding areas at different rates. The resulting uneven thickness pushes the brake caliper pistons inward and outward, creating the pulsing sensation mistaken for a warped disc.
What Are the Critical Tolerances for Brake Rotor Thickness and Runout?
Brake systems operate on microscopic tolerances where deviations as small as one-tenth the width of a human hair trigger noticeable cabin vibrations. Minor surface variations create significant hydraulic feedback inside the brake lines.
+--------------------------+--------------------+--------------------+
| Measurement Metric       | Maximum Tolerance  | Metric Equivalent  |
+--------------------------+--------------------+--------------------+
| Disc Thickness Variation | 0.0004 - 0.0006 in | 0.010 - 0.015 mm   |
| Lateral Runout           | 0.0020 in          | 0.050 mm           |
| Hub Face Debris Limit    | 0.0010 in          | 0.025 mm           |
| Lug Nut Torque Variance  | 15 - 20 lb-ft      | 20 - 27 Nm         |
+--------------------------+--------------------+--------------------+
Disc Thickness Variation (DTV)
Disc Thickness Variation represents the difference in rotor thickness measured at multiple points around its circumference. The maximum allowable DTV threshold is between 0.0004 inches and 0.0006 inches (0.010 mm to 0.015 mm). When DTV exceeds 0.0005 inches, hydraulic fluid surges backward against the master cylinder, pulsating the brake pedal.
Lateral Runout
Lateral runout measures the side-to-side wobble of the rotor face as it rotates on the wheel hub. The maximum allowable lateral runout tolerance for most passenger vehicles is 0.002 inches (0.05 mm). Runout forces the rotor to slap the inner and outer brake pads alternately during every wheel revolution.
How Do I Tell If My Front or Rear Brakes Are Causing the Pulse?
Isolating front versus rear brake pulsation depends on where the vibration transfers into the cabin. Front brake issues vibrate through the steering wheel, while rear brake issues pulse through the floorboard, brake pedal, or driver seat.
                                  VIBRATION ISOLATION
                                          |
                   +----------------------+----------------------+
                   |                                             |
         Steering Wheel Shakes                        Pedal / Seat Shakes
                   |                                             |
             FRONT BRAKES                                   REAR BRAKES
                   |                                             |
         (Check Front Rotors &                        (Perform Mechanical
             Hub Flanges)                             Parking Brake Test)
Diagnostics by Location
- Steering Wheel Shake: Vibrations concentrated in the steering wheel indicate front rotor defects. Because front brakes perform approximately 70 percent of total stopping force and link directly to the steering rack, front rotor thickness variations displace the steering gear side-to-side.
- Seat and Floorboard Vibration: Vibrations felt in the seat cushion or vehicle floorboard signal rear rotor issues. Rear brake pressure changes bypass the steering column and transfer directly into the rear suspension subframe and body structure.
- The Mechanical Parking Brake Test: On vehicles equipped with a traditional mechanical cable-operated parking brake, drive at 15 to 20 miles per hour on a clear road. Hold the parking brake release lever or button, then gently engage the handbrake. If the vehicle pulses while slowing down without service brake application, the rear rotors are uneven.
Why Does Brake Pulsation Return After Installing New Rotors?
Brake pulsation returns after new rotor installation when the wheel hub flange underneath the rotor has excessive lateral runout or corrosion. Bolting a brand-new, flat rotor onto an uneven hub forces the new rotor to wobble immediately.
+-----------------------------------------------------------------------+
|                    THE HUB RUNOUT AMPLIFICATION EFFECT                |
+-----------------------------------------------------------------------+
|  [Dirty/Corroded Hub Face]  -->  0.001 in Rust Layer At Hub           |
|                                         |                             |
|                                         v                             |
|  [Rotor Hat Mounted Over Rust] --> Outward Distance Multiplier         |
|                                         |                             |
|                                         v                             |
|  [Rotor Outer Edge Wobble]  -->  0.003 to 0.004 in Total Runout       |
+-----------------------------------------------------------------------+
When a brand-new rotor rotates with hub-induced wobble, it repeatedly contacts the inner and outer brake pads while driving, even when the brake pedal is not pressed. Over 3,000 to 5,000 miles of driving, this constant contact scrapes off metal at two opposite points on the disc face. This wear develops high and low spots, recreating Disc Thickness Variation and bringing back pedal pulsation despite using new brake components.
Can Hub Corrosion or Failing Wheel Bearings Mimic Brake Pulsation?
Hub corrosion, damaged mounting surfaces, and failing wheel bearings directly mimic brake rotor pulsation by creating structural runout. These underlying mechanical issues disrupt the parallel alignment between the brake disc and the brake caliper.
- Hub Face Corrosion: Rust, scale, or debris as thin as 0.001 inches (0.025 mm) trapped between the wheel hub face and the rotor hat acts as a wedge. Because the outer edge of a 12-inch rotor sits much farther from the center, that microscopic 0.001-inch error at the hub multiplies into 0.003 inches or more of lateral runout at the braking surface.
- Wheel Bearing Play: A worn wheel bearing allows the hub assembly to shift on its spindle. Excessive bearing endplay causes the entire brake disc to tilt during vehicle movement, creating intermittent pedal pulse that changes intensity during sharp cornering or lane changes.
- Improper Wheel and Hub Coatings: Spraying paint, undercoating, or ceramic wheel treatments onto the rotor mounting hat creates uneven thickness across the mating surface. This height variance tilts the rotor relative to the caliper bracket, inducing lateral runout.
Does a Malfunctioning ABS Feel Like Brake Pulsation?
A malfunctioning Anti-Lock Braking System (ABS) creates a harsh pedal kickback that differs distinctly from smooth rotor thickness pulsation. Distinguishing between system types requires evaluating pedal feedback frequency and accompanying noise.
+----------------------+--------------------------+--------------------------+
| Feature              | Rotor Thickness Pulse    | ABS Activation / Fault   |
+----------------------+--------------------------+--------------------------+
| Pedal Reaction       | Smooth, rhythmic pulse   | Violent, rapid kickback  |
| Speed Correlation    | Frequency matches speed  | Fast cycle (10-15 Hz)    |
| Mechanical Noise     | Silent or faint rubbing  | Harsh buzzing/grinding   |
| Driving Condition    | Normal, light braking    | Hard stops or slick roads|
| Warning Lights       | None                     | ABS light illuminated    |
+----------------------+--------------------------+--------------------------+
Rotor-induced brake pulsation produces a smooth, rhythmic push back against your foot that slows down as the vehicle decelerates. It occurs predictably under light to moderate brake application at any speed.
ABS activation or electronic valve faults generate a rapid, harsh chatter operating at 10 to 15 cycles per second. This system event produces a metallic grinding or buzzing sound from the hydraulic control unit and occurs primarily during sudden panic stops or on slippery, wet, or icy roads.
Can I Just Install New Brake Pads on Pulsating Rotors?
No, you cannot fix brake pulsation by installing new brake pads over uneven rotors. Placing flat brake pads onto a disc with thickness variation or lateral runout fails to resolve the underlying mechanical defect.
+-----------------------------------------------------------------------+
|                    PAD SLAPPING ON PULSATING ROTORS                   |
+-----------------------------------------------------------------------+
|  New Flat Pads Installed  -->  Rotor high spots contact pad first     |
|                                         |                             |
|                                         v                             |
|  Uneven Wear Transfer     -->  New pad wears down unevenly to match  |
|                                         |                             |
|                                         v                             |
|  Result                   -->  Pulsation persists; new pads ruined    |
+-----------------------------------------------------------------------+
When new pads are installed on a pulsating rotor, the raised portions of the uneven disc wear away the new pad material in an uneven pattern within a few hundred miles. The new friction material rapidly conforms to the damaged rotor topography, preserving the original pedal pulse while ruining the new pads prematurely.
Is It Safe to Drive a Car with Pulsating Brakes?
Driving with mild brake pulsation is acceptable for short distances to reach a repair facility, but prolonged operation compromises safety and accelerates component wear.
+-----------------------------------------------------------------------+
|                     CONSEQUENCES OF DEFERRED REPAIR                   |
+-----------------------------------------------------------------------+
|  Extended Stopping Distances  -->  Tire patch loses continuous contact |
|  Caliper Pin Wear             -->  Guide pins ovalize mounting holes  |
|  Suspension Fatigue           -->  Bushings and ball joints degrade   |
|  ABS Sensor Confusion         -->  Erratic wheel speed readings       |
+-----------------------------------------------------------------------+
Severe pulsation reduces tire contact with the road during braking because the brake pad constantly hops over rotor high spots. This micro-bouncing action extends total stopping distance in emergency situations.
Continuous hydraulic shockwaves also damage related suspension and braking components over time. The constant back-and-forth movement wears out brake caliper slider pins, degrades rubber suspension bushings, damages steering ball joints, and prematurely loosens wheel bearing assemblies.
Should I Resurface or Replace Pulsating Brake Rotors?
Deciding whether to resurface or replace pulsating rotors depends on the rotor thickness relative to its discarded minimum specification, overall structural condition, and replacement part costs.
+-----------------------------------------------------------------------+
|                      ROTOR DECISION TREE                              |
+-----------------------------------------------------------------------+
|  Measure Current Thickness                                            |
|        |                                                              |
|        +--> Below Minimum Spec? -------> REPLACE                      |
|        |                                                              |
|        +--> Deep Rust / Cracks? -------> REPLACE                      |
|        |                                                              |
|        +--> Above Spec + Flat Hub? ----> RESURFACE (On-Car Lathe)     |
+-----------------------------------------------------------------------+
Resurfacing (turning) a rotor on an on-car brake lathe cuts the disc surfaces true to the hub’s axis, eliminating both DTV and lateral runout simultaneously. Resurfacing is viable only if the remaining disc thickness after machining remains well above the cast Minimum Spec dimension stamped on the rotor hat.
If machining brings the rotor near or below its minimum safety thickness, the thinner metal will dissipate heat poorly, leading to rapid heat buildup and recurring friction material buildup within a few thousand miles. In addition, lower-cost vented rotors on modern passenger vehicles make complete replacement the more reliable financial choice.
How Much Does It Cost to Fix Pulsating Brakes?
Fixing pulsating brakes costs between $150 and $950 depending on whether the job requires rotor resurfacing, component replacement, or hub remediation.
+----------------------------------+------------------+------------------+
| Service Scope                    | Parts Cost       | Total Cost Range |
+----------------------------------+------------------+------------------+
| Front or Rear Rotor Resurfacing  | $0 (Labor only)  | $150 - $250      |
| Pad and Rotor Replacement (Single)| $100 - $250     | $300 - $550      |
| Complete 4-Wheel Brake Overhaul  | $250 - $500      | $600 - $950      |
| Wheel Hub and Bearing Replacement| $80 - $200       | $250 - $450      |
+----------------------------------+------------------+------------------+
Labor expenses make up roughly half of total repair costs because technicians must spend time cleaning corrosion from the hub faces and checking lateral runout with specialized measurement gauges.
How Does Improper Lug Nut Torque Cause Rotor Pulsation?
Improper or uneven lug nut torque distorts the thin mounting hat of the brake rotor, creating immediate lateral runout across the friction surface.
+-----------------------------------------------------------------------+
|                  TORQUE DEVIATION & ROTOR DISTORTION                  |
+-----------------------------------------------------------------------+
|  Uneven Star-Pattern Torque  --> 15 to 20 lb-ft Variance Across Studs |
|                                         |                             |
|                                         v                             |
|  Hat Flexure                 --> Rotor Hat Warps Against Hub Face     |
|                                         |                             |
|                                         v                             |
|  Amplified Friction Surface  --> 0.002+ in Lateral Runout Created     |
+-----------------------------------------------------------------------+
When wheel lug nuts are tightened using an uncalibrated impact wrench rather than a calibrated torque wrench, clamping forces vary significantly across the stud circle. A torque deviation of just 15 to 20 pound-feet (20 to 27 Nm) between adjacent studs twists the rotor hat. This mounting distortion forces the outer friction surfaces out of parallel alignment with the caliper, inducing lateral runout that leads to uneven material transfer.
How Do Mechanics Accurately Measure Brake Rotor Runout?
Mechanics measure brake rotor lateral runout and Disc Thickness Variation using a dial indicator with a magnetic base and a micrometer calibrated in ten-thousandths of an inch.
+-----------------------------------------------------------------------+
|                  DIAL INDICATOR SETUP PROCEDURE                       |
+-----------------------------------------------------------------------+
| 1. Secure Rotor   --> Lock hat tightly to hub using conical washers   |
| 2. Mount Base     --> Anchor magnetic stand firmly to steering knuckle|
| 3. Position Tip   --> Set plunger tip perpendicular, 0.5 in from edge |
| 4. Zero & Rotate  --> Pre-load gauge to zero, rotate disc 360 degrees |
| 5. Record Sweep   --> Total needle swing measures Total Indicated Runout|
+-----------------------------------------------------------------------+
Measurement Procedure
- Prepare the Mounting Surface: Technicians clean the hub face using a wire brush or hub cleaning disc, then secure the rotor to the hub using lug nuts fitted with conical washers to simulate wheel clamping force.
- Set Up the Dial Indicator: A dial indicator is clamped to the steering knuckle or suspension strut. The indicator plunger tip rests perpendicular to the rotor face, approximately 0.5 inches inward from the outer circumference.
- Measure Lateral Runout: The technician sets the gauge dial to zero and rotates the rotor manually through a complete 360-degree rotation. The total needle movement indicates total lateral runout.
- Measure Disc Thickness Variation: The technician uses a point-micrometer to take thickness measurements at eight equally spaced locations around the disc circumference. Subtracting the thinnest reading from the thickest reading reveals the exact Disc Thickness Variation.
How Do You Prevent Brake Rotor Pulsation After Hard Stops?
Preventing brake rotor pulsation requires proper driving techniques, correct lug nut tightening practices, and proper bed-in procedures for new brake pads.
- Release Pedal Pressure After Hard Braking: When bringing a vehicle to a stop from highway speeds, avoid holding the brake pedal down firmly while sitting stationary. Shift into Neutral or Park if held at a prolonged light, or allow the car to creep forward slightly to keep the pad from resting on one hot spot of the rotor face.
- Torque Lug Nuts in a Star Pattern: Always install wheel lug nuts by hand using a star pattern, tightening them to factory specifications with a calibrated torque wrench. Never allow service shops to tighten wheel nuts using air impact tools without torque sticks.
- Perform a Proper Pad Bed-In Procedure: After installing new brake components, perform 8 to 10 moderate decelerations from 45 mph down to 10 mph without coming to a complete stop, allowing 30 seconds of cooling time between stops. This process deposits a smooth, uniform transfer layer of friction material across the entire rotor face.
The Bottom Line
Brake pulsation stems from microscopic variations in rotor thickness and lateral runout, not from structural warping of the brake disc. Resolving pedal vibration permanently requires measuring hub runout with a dial indicator, thoroughly cleaning corrosion from mating surfaces, and applying proper lug nut torque rather than simply replacing brake rotors. Addressing these underlying mechanical issues restores smooth braking performance, prevents recurring component failure, and ensures vehicle safety.


