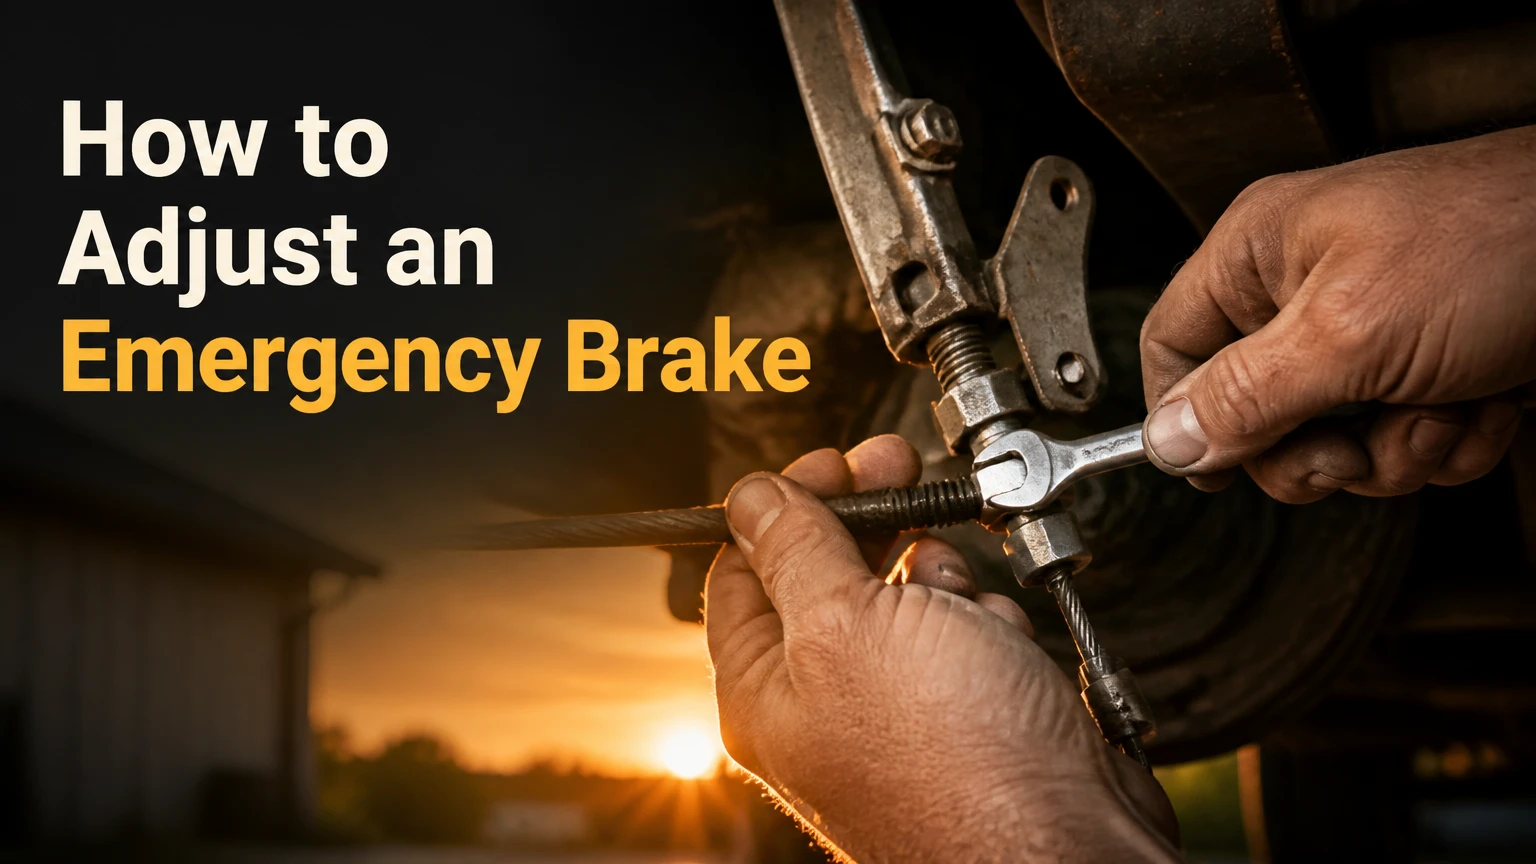
Adjusting an emergency brake involves setting shoe clearance at the wheel hubs and calibrating cable tension at the equalizer bracket. Following this five-step guide requires approximately 30 to 60 minutes, basic hand tools, and a secure lifting setup. Proper calibration ensures complete holding power on inclines while eliminating high-speed brake drag.
Before You Start
- Estimated Time: 30 to 60 minutes
- Difficulty Level: Beginner to Intermediate
- Typical Cost: $0 (DIY using existing hand tools) to $15 (if penetrating oil or brake spoon needed)
- Required Tools:
- Floor jack (1, rated for vehicle weight)
- Heavy-duty jack stands (2)
- Rubber wheel chocks (2)
- Lug wrench or breaker bar with socket (1)
- Brake adjustment tool or flathead screwdriver (1–2)
- Deep socket set and ratchet (10mm to 13mm for equalizer)
- Torque wrench (1, capable of 80–100 lb-ft)
- Penetrating fluid (1 aerosol can, optional)
- Required Safety Gear: Safety glasses and nitrated mechanics gloves
- Prerequisites: Vehicle must be parked on flat, solid concrete. Understand whether your vehicle uses rear drum brakes, disc brakes with an internal drum (hat drum), or rear calipers with integrated mechanical park levers.
Step 1: Secure and Elevate the Vehicle
Position rubber wheel chocks firmly against the front and rear of both front tires. Place your vehicle transmission in 1st gear for manual transmissions or Park for automatic transmissions. Using your lug wrench, break the initial torque on the rear wheel lug nuts by turning them counterclockwise one half turn while the tires remain on the ground.
Parking brake cable equalizer bracket. Source: GM Parts Direct
Position your floor jack under the manufacturer-designated rear jacking point or differential housing. Elevate the rear of the vehicle until both rear tires clear the ground by 2 to 3 inches. Insert two jack stands beneath solid frame rails or axle pinch welds, then slowly lower the floor jack until the vehicle rests securely on the stands.
Enter the cabin and fully release the emergency brake lever or foot pedal to its lowest disengaged position. Removing all cable tension inside the cabin is essential before making mechanical adjustments at the wheels. Complete this step by removing the rear lug nuts and pulling the rear wheels off the wheel hubs.
- Success Checkpoint: The vehicle sits rock-solid on jack stands, the emergency brake lever is completely released, and both rear brake drums or rotors turn freely by hand.
- Common Mistake: Leaving the emergency brake applied while trying to adjust shoe clearance. This locks the internal mechanism, making star wheel movement impossible and giving false resistance readings.
Step 2: Locate and Prepare the Adjustment Access Ports
Examine the brake assembly to locate the specific adjustment access point for your vehicle design. For traditional drum brake systems, inspect the lower backside of the steel backing plate to find an oval rubber grommet. For disc brake systems with internal drum shoes (hat rotors), inspect the flat outer face of the rotor hat to locate a rubber plug situated between the wheel studs.
[Traditional Drum Access]             [Disc / Hat-Drum Access]
 Backside of backing plate              Front face of brake rotor
       (Oval plug)                           (Circular plug)
            │                                     │
            ▼                                     ▼
Use brake spoon from rear             Rotate hole to 6 o'clock position
Pry the rubber access plug out using a flathead screwdriver and store it safely nearby. If your vehicle utilizes an internal rotor drum, rotate the wheel hub manually until the exposed hole aligns with the 6 o’clock position (or 3 o’clock position on select Subaru and Toyota models) where the star wheel adjuster sits.
If rust or brake dust obscures the teeth of the star wheel, spray a minimal amount of penetrating fluid directly onto the adjuster threads. Keep penetrating fluid away from the friction linings of the brake shoes and the drum surface.
- Success Checkpoint: You can clearly see the notched metal teeth of the star wheel adjuster through the access port using a flashlight.
- Common Mistake: Spraying penetrating oil recklessly inside the drum. Oil-soaked friction material loses grip, requiring complete replacement of the internal brake shoes.
Step 3: Calibrate Shoe Clearance via the Star Wheel Adjuster
Insert a brake spoon or flathead screwdriver through the access hole to engage the star wheel teeth. Lever the tool to rotate the star wheel, pushing the teeth upward or downward depending on the side. Rotating the wheel spreads the brake shoes outward toward the inner wall of the drum.
Turn the star wheel until you cannot turn the brake drum or rotor by hand, indicating the shoes have locked against the drum walls. Note that many star wheel mechanisms feature a spring-loaded anti-reverse lever. If the star wheel resists backward movement when loosening, insert a second thin screwdriver through the slot to gently lift the ratchet lever away from the teeth while turning the star wheel back.
From the fully locked position, turn the star wheel in the opposite direction exactly 3 to 5 clicks. Spin the hub by hand. You should hear a light, faint brush of the pad touching the drum, but the hub must rotate freely without binding or slowing down abruptly. Repeat this process on the opposite side of the vehicle, applying the exact same number of back-off clicks to ensure side-to-side balance.
  Step 3A: Expand Shoes          Step 3B: Lock Drum           Step 3C: Back Off 3-5 Clicks
┌───────────────────────┐      ┌────────────────────┐       ┌───────────────────────────┐
│ Turn star wheel until │ ───► │ Drum cannot turn   │ ───►  │ Spin hub freely with      │
│ shoes push outward    │      │ by hand (zero gap) │       │ slight friction hiss      │
└───────────────────────┘      └────────────────────┘       └───────────────────────────┘
- Success Checkpoint: Both wheel hubs spin smoothly by hand with minimal resistance, accompanied by a light rotational drag sound.
- Common Mistake: Skipping the back-off step. Over-tightened star wheels cause continuous friction while driving, leading to overheated brake drums, warped rotors, and premature pad destruction.
Step 4: Calibrate Cabin Cable Tension at the Equalizer Bracket
Move to the parking brake cable equalizer bracket, located either beneath the vehicle floorboard along the center chassis or directly inside the cabin beneath the center console boot. Locate the threaded rod where the primary pulling cable connects to the two secondary rear wheel cables via a metal equalizer bar.
Hold the threaded stud steady with pliers or an open-end wrench if necessary, then turn the primary adjusting nut clockwise using a deep socket wrench. Tighten the nut incrementally to remove excessive slack from the steel cables. Do not over-tighten; the goal is to set cable tautness, not to expand the brake shoes.
Check the cabin lever or pedal engagement. Pull the emergency brake lever up firmly using normal hand force. Count the audible clicks from resting position to full engagement stop. Adjust the equalizer nut until full lever travel locked hold occurs within 5 to 7 clicks (or 6 to 8 pedal clicks for foot-operated systems). Disengage the lever and verify that both rear wheel hubs still spin freely without binding.
- Success Checkpoint: The hand lever stops firmly between 5 and 7 clicks with strong resistance, and releasing the lever allows the rear hubs to turn freely.
- Common Mistake: Attempting to compensate for worn wheel shoe pads by over-tightening the center console cable nut. This distorts cable geometry and leaves the lower shoe adjusters completely out of specification.
Step 5: Perform Final Reassembly and Incline Hold Testing
Reinsert the rubber access plugs into the backing plates or rotor faces to prevent road grit, moisture, and debris from contaminating the internal shoe assembly. Mount both rear wheels back onto the wheel hubs and hand-tighten the lug nuts in a cross pattern.
Position your floor jack under the rear lift point, raise the vehicle slightly to relieve weight from the jack stands, and remove the stands. Lower the vehicle completely to the ground. Use a calibrated torque wrench to tighten all rear wheel lug nuts in a star pattern to your manufacturer specification (typically 80 to 90 lb-ft for passenger sedans, 100 to 140 lb-ft for trucks and SUVs).
Perform an operational test on a steep driveway or incline. Start the engine, depress the clutch or brake pedal, pull the emergency brake handle to its calibrated 5 to 7 click position, and shift into Neutral. Release the main brake pedal slowly. The emergency brake must hold the full weight of the vehicle without slipping or creeping downward.
                  FINAL CALIBRATION VERIFICATION CHECKLIST
 ┌────────────────────────────────────────────────────────────────────────┐
 │ [ ] Rubber access plugs reinstalled on backing plates                  │
 │ [ ] Lug nuts torqued to factory foot-pound rating                      │
 │ [ ] Cabin lever locks completely between 5 and 7 clicks                │
 │ [ ] Vehicle holds position in Neutral on a 15% incline                 │
 │ [ ] No brake drag, burning smell, or wheel heat after 5-minute drive   │
 └────────────────────────────────────────────────────────────────────────┘
- Success Checkpoint: The vehicle remains motionless on an incline in Neutral with the brake engaged, and coasts freely without brake drag noise when the brake is disengaged.
- Common Mistake: Driving off immediately without checking for hub drag. Run a brief 2-mile test drive at moderate speeds, then touch the center of the rear wheels carefully. Excessive heat indicates an over-tightened star wheel that requires an extra 2 clicks of back-off.
Common Mistakes and How to Fix Them
1. Adjusting Cable Tension Before Setting Star Wheel Clearance
- Root Cause: Mechanics often tighten the cable under the center console first because it seems easier than pulling wheels off. This pulls the cables tight while leaving the brake shoes far away from the drum, leading to a spongy lever feel and poor holding power.
- Fix: Completely loosen the center cable equalizer nut until slack returns to the cable lines. Follow Step 3 to expand the star wheels at each wheel hub first. Only return to the cable equalizer nut after the shoe clearances are set.
2. Stripping or Jamming the Star Wheel Teeth
- Root Cause: Prying against the star wheel in the loosen direction without disengaging the anti-reverse ratchet lever.
- Fix: Insert a thin 1/8-inch flathead screwdriver or stiff pick alongside your brake spoon. Press the internal metallic anti-reverse pawl away from the star wheel teeth, holding it back while using your primary tool to back off the star wheel.
3. Asymmetric Side-to-Side Brake Drag
- Root Cause: Turning the star wheels a different number of clicks on the left vs. right wheels, causing one wheel to drag while the other lacks holding force.
- Fix: Raise the rear of the vehicle back onto jack stands. Tighten both sides to complete drum lockup so both baselines match zero clearance. Back off both sides by the exact same number of clicks (3 to 5 clicks).
4. Over-tightening the Cable Equalizer Nut
- Root Cause: Tightening the console nut until the lever feels extremely stiff at 2 or 3 clicks. This pulls the actuator levers at the wheels forward constantly, causing friction even when the cabin handle is down.
- Fix: Back off the equalizer locknut counterclockwise until the lever travels 5 to 7 clicks before locking tight. Verify hand-spin freedom on both rear hubs when the lever is fully down.
System Variations and Alternative Architectures
While the core procedure covers most passenger vehicles, specific system designs alter the mechanical approach.
                               PARKING BRAKE TYPES
                                        │
        ┌───────────────────────────────┼───────────────────────────────┐
        ▼                               ▼                               ▼
  Standard Drum                 Hat-Drum (Rotor)               Caliper-Integrated
(Adjust via backing           (Adjust via rotor face         (Adjust via caliper screw
  plate slot)                    access hole)                   or lever stop gap)
Disc Brakes with Internal Hat-Drum
Popular on modern sedans, crossovers, and performance cars, this design uses a rear disc rotor for service braking and a miniature drum brake molded inside the center rotor hat for parking.
- Procedure Change: Access holes are on the front face of the rotor between wheel studs, not on the rear backing plate. Align the rotor hole to 6 o’clock to access the star wheel. When replacing rotors, always back off the star wheel completely first, or the internal shoes will catch on the rotor rust lip during removal.
Rear Caliper Mechanical Actuators
Common on European sedans and older sports cars, these systems do not use internal drum shoes or star wheels. Instead, the emergency brake cable pulls a lever attached directly to the rear disc brake caliper, which mechanically turns an internal piston thread.
- Procedure Change: Do not look for a star wheel. All adjustments take place at the caliper lever arm or via the center console cable equalizer. Ensure the caliper mechanical lever returns completely against its metal frame stop bolt when the hand brake is released. If clearance between lever and stop exceeds 1mm, adjust cable tension at the center bracket until the clearance sits between 0.1mm and 0.5mm.
Electronic Parking Brakes (EPB)
Modern vehicles with push-button parking brakes utilize electric servo motors mounted directly onto the rear calipers.
- Procedure Change: Manual star wheel and cable adjustments do not apply. EPB systems require a OBD2 diagnostic scanner to initiate Service/Retract Mode before replacing rear pads, followed by an automated electronic calibration sequence executed through the vehicle computer module.
Time and Cost Breakdown
Performing an emergency brake adjustment at home offers significant savings compared to commercial shop rates.
| Repair Path | Estimated Labor Time | Parts & Materials Cost | Total Estimated Cost |
|---|---|---|---|
| DIY Home Garage | 30–60 minutes | $0 – $15 (pen oil / spoon tool) | $0 – $15 |
| Independent Repair Shop | 0.8–1.2 hours | $0 (adjustment only) | $90 – $150 |
| Dealership Service Center | 1.0–1.5 hours | $0 – $30 (hardware fee) | $160 – $240 |
Frequently Asked Questions
How many clicks should an emergency brake have?
A properly adjusted mechanical hand brake lever should engage firmly and hold the vehicle completely within 5 to 7 clicks of upward pull. Foot-pedal systems generally require 6 to 8 clicks of downward travel. Fewer than 5 clicks can cause high-speed brake drag, while more than 8 clicks indicates excessive cable stretch or worn brake shoes.
Can you adjust an emergency brake without removing the wheels?
Yes, on traditional drum brake systems with rear backing plate access slots, you can reach the star wheel using a brake spoon while working underneath the vehicle. However, removing the wheels is recommended because it allows you to feel rotational friction on the wheel hub directly and inspect friction lining thickness.
Why does my emergency brake lever pull up easily with no resistance?
A complete loss of resistance typically indicates a snapped parking brake cable, a disconnected cable end at the center equalizer bar, or a detached actuator lever at the rear wheel backing plate. Inspect the underside cable junction while an assistant pulls the cabin lever to locate the mechanical break.
What causes an emergency brake to lock up and remain stuck?
Emergency brake lockup occurs when internal return springs fail, star wheels are over-tightened, or moisture causes steel brake cables to rust and freeze inside their outer protective sleeves. In cold climates, frozen cable jacket moisture can also prevent cable release until the assembly warms up or is replaced.
Will adjusting the parking brake fix worn brake shoes?
No. Adjusting the star wheel restores correct geometry and gap clearance between the shoes and drum, but it cannot restore friction material depth. If shoe linings measure under 1/16 inch (1.6mm) thick, you must install new rear brake shoes before performing final brake adjustments.
Conclusion
Knowing how to adjust an emergency brake is an essential skill that restores full holding safety, prevents vehicle roll-aways, and eliminates unnecessary brake shoe wear. By following the sequence of setting shoe clearance at the wheel hubs before adjusting cable tension inside the cabin, you maintain proper mechanical balance across your braking system. Test your pedal or lever click count regularly to ensure your parking brake remains fully calibrated for any incline.


