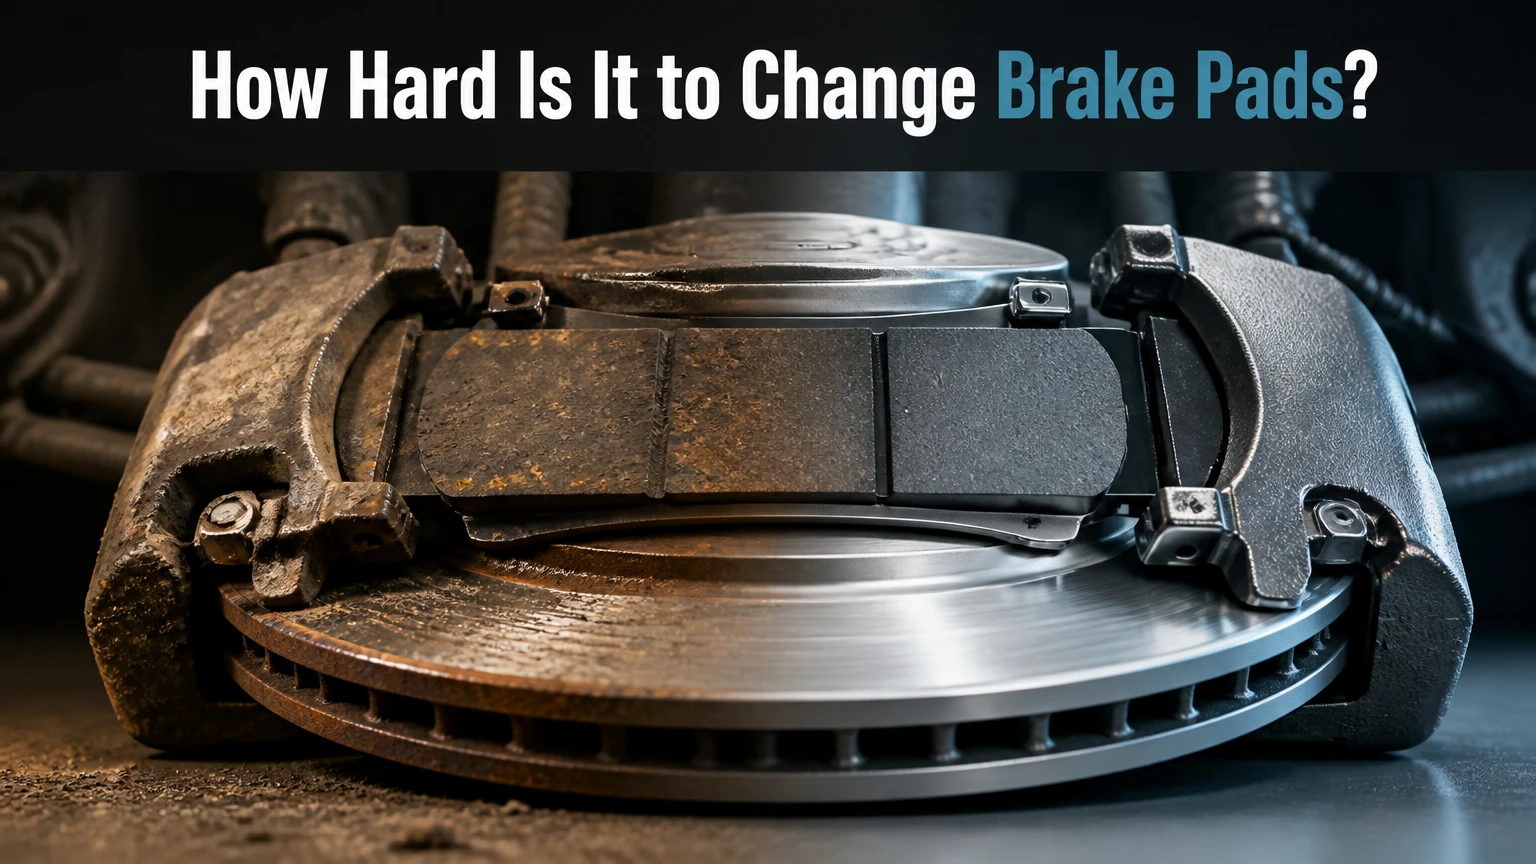
Changing brake pads is a moderately easy DIY task that scores a three out of ten on a standard mechanical difficulty scale. A beginner needs basic hand tools and one to two hours to replace pads on a single axle. Electronic parking brakes or heavy rust will increase the difficulty.
At a Glance
- Standard brake pad replacement saves 60-80 percent of professional repair shop labor fees.
- Beginners typically spend 30-45 minutes per wheel completing a basic pad replacement.
- Caliper guide bolts require 25-35 lb-ft of torque during the reassembly process.
- Brake pads must be discarded when the friction material thickness reaches 3mm.
- Modern electronic parking brakes require digital diagnostic tools to retract rear caliper pistons safely.
How can you tell when brake pads need replacement?
You must replace brake pads when the friction material wears down to a thickness of 3mm or less. Most automotive manufacturers stamp a minimum thickness requirement on the pad backing plate. Drivers typically notice auditory warnings first. A built-in metal wear indicator scrapes against the cast iron rotor to produce a high-pitched squeal when the pad drops below 4mm.
Ignoring this acoustic warning allows the friction material to degrade completely. The bare steel backing plate will then gouge the brake rotor directly. This metal-on-metal contact drastically reduces stopping power and guarantees immediate rotor replacement. Mechanics measure pad thickness using a specialized color-coded gauge during routine tire rotations. Brand new pads measure 10mm to 12mm thick straight out of the box. You should inspect the inner and outer pads every 10,000 miles to track your specific wear rate accurately.
How much money do you save replacing your own brakes?
Doing a brake job yourself saves between $150 and $300 in labor costs per axle. Professional mechanics typically charge between $200 and $450 per axle for parts and labor combined. A driveway replacement requires only the cost of the raw materials.
Brake pad kits range from $30 to $80 per axle for standard ceramic compounds. Typical independent repair shops report that brake services carry a highly profitable markup on standard parts. You keep that entire margin in your pocket by providing the labor. Dealership service centers charge premium hourly rates that inflate the final bill even further.
| Expense Category | DIY Replacement | Independent Shop | Dealership Service |
| Ceramic Pad Parts | $40 – $80 | $90 – $150 | $120 – $200 |
| Estimated Labor Cost | $0 | $110 – $200 | $180 – $300 |
| Total Cost Per Axle | $40 – $80 | $200 – $350 | $300 – $500 |
| Total Cost Four Wheels | $80 – $160 | $400 – $700 | $600 – $1,000 |
How long does a standard brake pad replacement take?
A standard pad replacement takes a beginner 30-45 minutes per wheel. Experienced dealership mechanics frequently finish the exact same sequence in 15-20 minutes per wheel. The total duration depends entirely on the vehicle environment and the condition of the existing hardware.
A clean vehicle driven in dry southern climates requires minimal physical effort to disassemble. A vehicle driven in northern areas with heavy winter road salt will demand extra time for heating seized bolts and wire-brushing rusted mounting brackets. You should allocate two full hours for your very first attempt on a single axle. This extended timeline provides enough buffer to clean the sliding surfaces properly and apply the correct specialized lubricants. Rushing the bracket cleaning phase guarantees squeaking brakes and uneven pad wear later.
What tools are required to change brake pads at home?
You need a floor jack, heavy-duty jack stands, a metric socket set, a C-clamp, and a calibrated torque wrench to replace basic brake pads safely. A heavy lug wrench removes the wheel from the hub. The metric socket set removes the two primary caliper guide bolts.
A large steel C-clamp or a dedicated mechanical piston press pushes the caliper piston backward into its housing. This retraction creates the necessary physical clearance for the thicker new pads. The torque wrench ensures you tighten the caliper bolts and lug nuts to exact factory specifications during reassembly.
| Tool Name | Primary Purpose | Required Specification | Typical Cost |
| Torque Wrench | Fastener tightening | 20-150 lb-ft range | $40 – $80 |
| Large C-Clamp | Piston compression | 8-inch opening jaw | $15 – $25 |
| Metric Socket Set | Bolt removal | 10mm-19mm shallow | $40 – $60 |
| Wire Brush | Rust removal | Stiff steel bristles | $5 – $10 |
How do you replace front brake pads step by step?
You replace front brake pads by lifting the vehicle, removing the wheel, unbolting the caliper body, compressing the internal piston, and installing the new hardware. The exact sequence prevents damage to the flexible hydraulic hoses.
- Secure the vehicle on rated jack stands and remove the wheel lug nuts.
- Remove the two rear-facing caliper guide pin bolts using a metric socket.
- Pull the cast iron caliper body off the rotor and secure it to the coil spring with a bungee cord.
- Pull the old friction pads and the thin metal retaining clips out of the mounting bracket.
- Place an old brake pad flat against the caliper piston and use a C-clamp to push the piston fully inward.
- Install the new stainless hardware clips, apply high-temperature silicone grease to the pad ears, and slide the new pads into position.
- Reinstall the caliper body over the pads and tighten the guide bolts to 25-35 lb-ft of torque.
How do fixed brake calipers differ from standard floating calipers?
Fixed calipers span both sides of the brake rotor and use multiple pistons, whereas floating calipers sit exclusively on the inboard side and slide on lubricated pins. The majority of standard commuter cars utilize a floating bracket design. Hydraulic fluid pressure pushes a single piston outward. The entire caliper body then slides inward on steel guide pins to squeeze the outer pad against the rotor face.
High-performance vehicles and heavy trucks use fixed calipers bolted rigidly directly to the suspension spindle. These heavy aluminum calipers feature opposing pistons on both the inboard and outboard halves. Removing pads from a fixed caliper usually involves punching out steel retaining pins from the top bridge rather than unbolting the primary caliper body itself.
| Caliper Feature | Standard Floating Caliper | High-Performance Fixed Caliper |
| Piston Placement | Inboard side only | Both inboard and outboard sides |
| Mounting Style | Slides dynamically on guide pins | Bolted rigidly to the wheel spindle |
| Pad Removal Method | Unbolt and lift the caliper body | Punch out top-mounted retaining pins |
| Typical Application | Economy cars and daily drivers | Sports cars and heavy-duty towing trucks |
Should you always replace rotors when changing brake pads?
No, you do not always need to replace the rotors if they measure above the minimum legal thickness and show no signs of physical warping. Every automotive rotor has a minimum safe thickness measurement stamped directly onto the center iron hat. If the rotor thickness falls below this specific number, the metal cannot dissipate heat effectively and will warp under heavy braking.
You must visually inspect the friction surface carefully. Deep concentric grooves left by heavily worn pads will ruin a brand new set of pads within a few thousand miles. Experienced independent mechanics typically observe a twenty percent reduction in total braking efficiency when installing perfectly flat pads onto deeply grooved rotors. If you experience steering wheel vibration during highway-speed stops, the rotors have severe lateral runout and require immediate replacement regardless of their current thickness.
Do rear brake pads require different tools than front pads?
Yes, rear disc brakes frequently require a specialized caliper rewind tool instead of a standard hardware store C-clamp. Many older vehicles integrate a mechanical parking brake mechanism directly inside the rear caliper body. These specialized pistons feature internal corkscrew threads and physically cannot be pushed straight backward.
You must rotate the piston clockwise while simultaneously applying steady inward pressure. Using a standard C-clamp on this design will crush and destroy the internal parking brake gears. You need a specialized steel cube tool or a master caliper kit containing adapter plates that perfectly match the machined notches on the piston face.
How do electronic parking brakes affect DIY pad replacement?
Electronic parking brakes require you to put the vehicle’s computer into a digital service mode before you can mechanically compress the rear pistons. Modern vehicle platforms use dedicated electric motors mounted directly on the rear calipers to engage the emergency brake automatically. Forcing these pistons backward with manual hand tools will shatter the delicate internal planetary gears instantly.
Replacing a manually broken electronic caliper frequently costs upwards of $300 in parts alone. You must connect a bidirectional OBD2 diagnostic scan tool to the dashboard port to command the motors to retract electronically. Certain vehicle manufacturers allow you to trigger service mode using a specific sequence of dashboard buttons, steering wheel controls, and brake pedal presses. You must consult your specific factory service manual for the exact sequence before touching the rear suspension.
What should you do if the brake rotor is stuck to the hub?
You must use a heavy dead-blow mallet or threaded extraction bolts to force a rusted brake rotor away from the steel wheel hub. Standard internet tutorials generally assume rotors slide off by hand. In reality, dissimilar metals cause severe galvanic corrosion that chemically welds the cast-iron rotor directly to the steel hub flange.
Striking the center rotor hat directly with a standard steel framing hammer will dent the hub flange or shatter the internal wheel bearings. Instead, locate the two threaded extraction holes drilled into the front face of many Asian and European rotors. Threading an M8 metric bolt into these holes will push the rotor away from the hub evenly and safely. If extraction holes are absent, strike the outer friction surface of the old rotor from behind using a plastic-coated dead-blow mallet to crack the rust seal.
How do you fix a seized caliper slider pin?
You must apply localized heat using a propane torch to melt the heavy rust bonding a seized slider pin to the cast iron caliper bracket. General automotive advice dictates greasing the slider pins during every routine pad change. A torn rubber dust boot allows road water to enter the bracket cavity, fusing the steel pin to the internal iron bore.
Putting a breaker bar on a seized pin and pulling hard will snap the bolt head off entirely. You must remove the bracket from the car and secure it in a heavy bench vise. Apply the propane torch flame directly to the cast iron bracket housing surrounding the pin, never to the pin itself. The outer bracket will thermally expand faster than the inner pin, breaking the rigid rust bond. Once removed, you must clean the bore thoroughly with a cylindrical wire brush before installing a brand new replacement pin.
What is the proper way to remove stripped rotor retaining screws?
You absolutely need a manual impact driver tool to break loose stripped Phillips-head rotor retaining screws. Manufacturers install these small countersunk screws to hold the rotor flat against the hub as the car moves down the automated assembly line. They serve zero structural purpose once the heavy wheel is bolted onto the car.
Repeated thermal heat cycles and winter road salt cause these small screws to seize permanently. A standard hand screwdriver will strip the shallow cross-head instantly upon applying torque. A manual impact driver translates the downward physical force of a heavy hammer strike into intense, sudden rotational torque. This mechanical action simultaneously keeps the hardened bit seated tightly in the screw head while shocking the corrosion loose. If the screw head becomes completely rounded out, you must drill the center out completely with a hardened cobalt drill bit.
Why is the brake fluid reservoir overflowing during compression?
Pushing the caliper pistons backward into their bores forces displaced hydraulic brake fluid backward through the lines and up into the master cylinder reservoir. As friction material slowly wears down over years of driving, the caliper pistons sit further outward in their bores. The fluid level in the under-hood reservoir drops accordingly to fill the newly created void.
If a quick-lube technician innocently tops off your brake fluid while the pads are extremely thin, the sealed hydraulic system becomes artificially overfilled. When you forcefully compress the pistons to fit the thicker new pads, that extra fluid volume has nowhere to go but out the top plastic cap. Automotive brake fluid is highly corrosive and destroys automotive clear coat paint on contact. You must remove the reservoir cap and siphon out two to three ounces of fluid using a clean turkey baster before compressing any pistons.
What happens if brake grease gets on the pad friction surface?
Grease ruins the brake pad entirely by penetrating the porous friction material and preventing it from physically gripping the iron rotor. The composite friction material acts like a highly dense sponge. It will absorb petroleum-based greases, copper anti-seize compounds, or spilled hydraulic fluid almost instantly upon contact.
Contaminated pads lose their designed stopping power and will pull the heavy vehicle violently to one side during emergency braking. The absorbed oils will also overheat quickly and catch fire under heavy highway use. If you accidentally touch the sensitive friction surface with greasy mechanic gloves, you must spray the pad immediately with an aerosol non-chlorinated brake cleaner. If the grease has already soaked deeply below the surface layer, no amount of chemical cleaning will save it. You must throw the contaminated pad in the trash.
Why do brand-new brake pads squeak after installation?
New brake pads squeak because the installer failed to lubricate the metal contact points or forgot to install the stainless steel anti-rattle shims. The actual composite friction material rubbing against the flat iron rotor rarely causes audible noise. High-pitched squealing usually originates from high-frequency microscopic vibrations between the rigid steel backing plate of the pad and the cast iron caliper piston.
You must apply a thin, even layer of synthetic, high-temperature ceramic brake grease to the back of the pads and the metal tabs that slide into the mounting bracket. You must also ensure the thin stainless steel hardware clips are seated tightly without bending. Typical independent practitioners report that missing anti-rattle shims and dry slide pins account for ninety percent of noise complaints following a driveway brake job.
How do you properly bed in new brake pads?
You bed in new pads by performing a specific series of aggressive rolling stops to deposit an even transfer layer of friction material directly onto the bare rotor. Skipping this vital bed-in process guarantees a spongy pedal feel and highly uneven pad wear over time.
You must find a deserted, safe stretch of road immediately after finishing the installation. Accelerate the vehicle to 40 miles per hour, then brake aggressively down to 10 miles per hour without coming to a complete, dead stop. Repeat this rolling process four or five times in rapid succession to heat the composite pads thoroughly. Next, accelerate to 50 miles per hour and brake down to 15 miles per hour three separate times. Drive normally for ten continuous minutes to let the entire braking system cool down completely. This rapid thermal cycling bakes the manufacturing resins out of the pads and coats the iron rotor evenly.
The Bottom Line
Changing brake pads is a highly rewarding driveway maintenance task that saves hundreds of dollars and requires only basic automotive hand tools. You must identify whether your specific vehicle uses electronic parking brakes before beginning, as these modern systems require digital diagnostic retraction rather than brute physical force. As long as you strictly respect factory torque specifications and properly lubricate all metal-to-metal slide points, you can complete this job safely. Routine visual inspections and prompt replacements ensure your braking system operates at peak efficiency.


