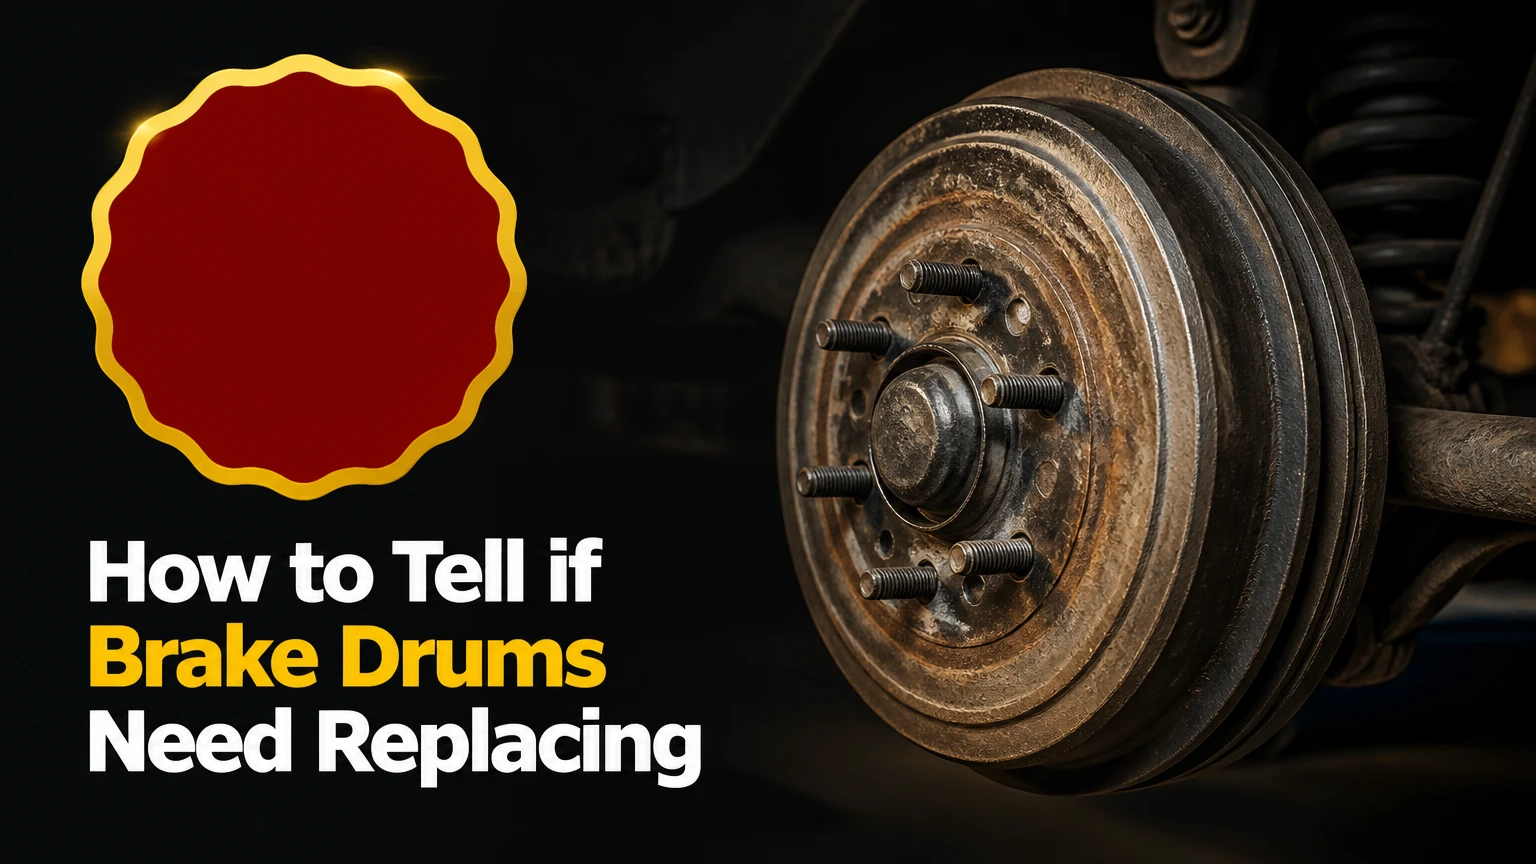
Figuring out how to tell if brake drums need replacing requires a visual check for structural damage and a physical measurement of the inner friction surface. This seven-step inspection takes about one hour per axle and requires basic mechanical skills. Success depends entirely on accurately reading the stamped maximum diameter and measuring the inner wall with a proper micrometer.
Before You Start
This job requires heavy lifting and exposure to hazardous friction materials. Give yourself plenty of daylight and a flat concrete surface.
| Item | Exact Quantity | Typical Cost | Purpose |
|---|---|---|---|
| Floor Jack & Jack Stands | 1 Jack, 2 Stands | $80 – $150 | Lifting and securing the vehicle safely. |
| Lug Wrench or Socket | 1 | $15 – $25 | Removing wheel lug nuts. |
| Brake Drum Micrometer | 1 | $35 – $60 | Measuring internal drum diameter accurately. |
| Brake Cleaner Spray | 2 Cans | $10 | Cleaning friction surfaces and hazardous dust. |
| N95 Dust Mask & Safety Glasses | 1 Set | $5 | Preventing inhalation of toxic brake particulate. |
| Wire Brush & P180 Sandpaper | 1 Each | $10 | Removing rust scale and scoring from the drum. |
| Penetrating Oil (WD-40) | 1 Can | $8 | Loosening seized drums from the center hub. |
| M8 x 1.25 Bolts | 2 | $3 | Threading into drum release holes for extraction. |
| Dead Blow Mallet | 1 | $15 | Jarring loose stuck drums without cracking them. |
| Torque Wrench | 1 | $40 – $100 | Re-torquing wheels to factory specifications. |
Process Overview
| Step | Action | Time Required | Most Common Mistake |
|---|---|---|---|
| 1. Secure | Chock wheels, leave brake off. | 5 minutes | Leaving the parking brake engaged. |
| 2. Lift | Raise rear axle safely. | 5 minutes | Lifting on a hollow suspension arm. |
| 3. Remove | Pull drum from hub. | 15 minutes | Striking cast iron with a steel hammer. |
| 4. Clean | Wash away hazardous dust. | 10 minutes | Using compressed air to blow out dust. |
| 5. Inspect | Check for physical damage. | 5 minutes | Ignoring small heat cracks. |
| 6. Measure | Micrometer test against limit. | 10 minutes | Measuring the unworn rust ridge. |
| 7. Reassemble | Install and torque wheels. | 10 minutes | Replacing only one drum. |
Step-by-Step Inspection Process
Step 1: Secure the Vehicle
Park on a flat concrete surface and loosen the lug nuts slightly while the tires are still on the ground. Place heavy rubber wheel chocks tightly against the front and rear of the front tires. Leave the transmission in Park (or first gear for manuals), but do not engage the parking brake. You must loosen the lug nuts exactly one-half turn using your lug wrench before lifting the vehicle.
You will know this step worked when the vehicle feels completely immovable, and the rear lug nuts yield easily without spinning the entire wheel.
The most common mistake at this stage is engaging the parking brake out of habit. The parking brake mechanically forces the rear brake shoes outward against the inside of the drum. If the brake is engaged, pulling the drum off the vehicle is physically impossible.
Step 2: Lift and Support the Rear Axle
Raise the vehicle using an approved floor jack point and lower it onto heavy-duty jack stands. If your vehicle has a solid rear axle, place the floor jack directly under the center differential housing. If it has independent rear suspension, use the reinforced pinch welds located just in front of the rear tires. Lift the vehicle high enough to clear the tires, slide the jack stands under the thickest part of the frame rails, and slowly lower the floor jack until the vehicle rests securely. Remove the loosened lug nuts and take off the rear wheels entirely.
You will know this step worked when you can push firmly on the side of the rear bumper and the vehicle remains entirely rigid on the stands.
Lifting a vehicle on a hollow lower control arm or weak floor pan is a dangerous mistake. The thin metal will buckle under the weight of the car. Always verify your specific jacking points in your owner’s manual.
Step 3: Remove the Brake Drum
Pull the drum straight toward you to slide it off the wheel studs and center hub. Grasp the outer edges of the drum at the 3 o’clock and 9 o’clock positions and wiggle it back and forth. If the drum is stuck to the hub, spray penetrating oil generously around the center hole and the base of the wheel studs. Let the oil sit for a full three minutes. Tap the exterior shoulder of the drum firmly with a heavy dead blow mallet to shock the rust bond loose. If the drum remains seized, locate the two threaded holes on the flat face of the drum. Screw two M8 x 1.25 bolts into these holes and turn them clockwise evenly with a ratchet to mechanically push the drum off the hub.
You will know this step worked when the drum slides completely free of the wheel assembly, exposing the brake shoes and wheel cylinder inside.
Hitting the drum directly with a steel hammer is a fatal error for the component. Standard automotive brake drums are made from gray cast iron, conforming to SAE International standard J431. This material is highly resistant to heat but extremely brittle against impact. A steel hammer will instantly shatter the casting.
Step 4: Clean the Drum and Brake Assembly
Put on your N95 mask and spray the entire inner drum and brake assembly thoroughly with liquid brake cleaner. According to Occupational Safety and Health Administration (OSHA) regulations (29 CFR 1910.1001), older automotive brake components can contain asbestos fibers. Even modern non-asbestos organic (NAO) dust is a severe respiratory hazard. Place a drip pan under the wheel assembly. Spray the cleaner starting from the top of the backing plate, letting the fluid wash the black dust down into the pan. Spray the inside of the drum itself. Use a P180 wire brush to scrub away heavy rust scale built up on the outer lip of the drum.
You will know this step worked when the metallic friction surface inside the drum is completely visible and the brake shoes are free of loose black powder.
Using an air compressor to blow dust out of the brake assembly is a massive safety hazard. Compressed air aerosolizes the particulate, suspending hazardous heavy metals directly in your breathing zone for hours. Always use liquid cleaner to bind the dust.
Step 5: Perform a Visual Inspection
Examine the clean inner friction surface for structural cracks, deep grooving, and extreme heat discoloration. Shine a bright flashlight directly onto the inner wall where the brake shoes make contact. Run your bare fingers across the metal surface. Grooves that catch your fingernail (typically deeper than 0.5 millimeters) ruin new brake shoes and indicate the drum needs replacement. Look for hard blue or purple spots on the metal. These are cementite deposits formed by extreme heat stress, which change the friction coefficient of the iron and cause heavy vibration during braking.
You will know this step worked when you have completely mapped out any physical defects, scoring, or discoloration on the inner wall of the drum.
Ignoring small hairline cracks is a dangerous oversight. Under the extreme thermal expansion of panic braking, a hairline crack will quickly propagate through the cast iron, causing the drum to break apart entirely at highway speeds. Any visible crack dictates immediate replacement.
Step 6: Measure the Internal Diameter
Compare the actual inner width of the drum against the stamped maximum limit using a specialized brake drum micrometer. Locate the “Max Dia” or “Discard” measurement stamped on the outside edge or back face of the drum. It will look like “Max Dia 230.1 mm”. Place your brake micrometer inside the drum at its widest internal point. Adjust the tool until the anvils lightly touch the friction surface on both sides. Take three separate measurements at 60-degree intervals. The 2023 guidelines from the Federal Motor Carrier Safety Administration (FMCSA) mandate that drums exhibiting out-of-roundness or exceeding the maximum diameter limit must be discarded.
You will know this step worked when you have three precise millimeter readings for the drum’s current diameter, allowing you to compare them directly to the stamped limit.
Measuring the unworn rust ridge instead of the friction surface will give you a false reading. The brake shoes wear down the center of the drum, leaving a slightly narrower lip of rusted metal at the very edge. You must place the micrometer deep enough to measure the actual contact patch. Standard small calipers cannot reach past this lip.
Step 7: Reassemble or Replace
Slide the good drum back onto the hub, or install a new drum, then mount and torque the wheels. If you are installing a new drum, spray it generously with brake cleaner to remove the oily rust-preventative coating applied at the factory. Slide the drum over the wheel studs. Mount the wheel and hand-tighten the lug nuts. Lower the vehicle safely to the ground. Use a calibrated torque wrench to tighten the lug nuts in a crisscross star pattern to your vehicle’s factory specification. This setting is typically between 80 and 100 lb-ft for standard passenger cars.
You will know this step worked when the wheel spins freely by hand with only a slight, intermittent brushing sound from the brake shoes lightly touching the drum.
Replacing only one side is a severe mistake. Brake drums wear at similar rates. Putting a brand new drum with maximum friction material on one side, while leaving a worn drum on the other, creates uneven stopping force. The vehicle will pull aggressively to one side during hard braking. Always replace drums in pairs across the same axle.
Common Mistakes and How to Fix Them
Even careful mechanics encounter rusted, seized, or stubborn components when dealing with chassis parts exposed to road salt and extreme heat. Here are the most common failure points during this job and exactly how to recover from them.
The drum spins freely but will not slide past the brake shoes. A worn drum develops a thick rust lip on its inner outer edge. As you pull the drum, this lip catches on the brake shoes. To fix this, locate the small oval access slot on the rear of the metal backing plate (behind the wheel). Remove the rubber dust plug. Insert a flathead screwdriver to catch the teeth of the star wheel adjuster. Turn the adjuster downward to retract the brake shoes inward, providing enough clearance for the drum lip to slide past.
The M8 extraction bolts stripped the threads inside the drum. If the drum is heavily rusted, the mechanical force of the extraction bolts will simply rip the threads out of the cast iron. To recover, you must switch to localized thermal shock. Apply heat from a propane or MAP gas torch strictly to the center ring of the drum (avoiding the wheel studs) for two minutes. Immediately tap the outer edge of the drum with a dead blow mallet. The rapid expansion and vibration will break the rust weld.
Brake fluid is leaking inside the drum assembly. If you pull the drum off and see wet, oily residue covering the brake shoes, your wheel cylinder has blown a seal. Standard Department of Transportation (DOT) brake fluid acts as a harsh solvent that dissolves the binding agents in brake shoe friction material. You cannot clean fluid-soaked shoes. You must replace the drum, install brand new brake shoes, and replace the leaking wheel cylinder immediately before bleeding the brake lines.
The micrometer gives a wildly different reading every time. If your tool slips or sits at an angle, you will measure a false diameter. To fix this, ensure the micrometer is perfectly perpendicular to the drum wall. Use P180 sandpaper to quickly knock down any loose rust flakes on the measurement surface. Take your time, lock the micrometer set-screw in place while it is inside the drum, and carefully slide it out to read the measurement under good lighting.
Process Variations for Different Vehicles
While the seven steps above cover most modern light trucks and economy cars, specific vehicle designs require slightly different approaches.
Hub-Captive Brake Drums On many older vehicles and some modern front-wheel-drive cars (like older Ford Focus models), the brake drum contains the actual wheel bearings. You cannot simply pull these drums off the wheel studs. You must remove the central dust cap, pull out the cotter pin, and unthread the massive central spindle nut. When replacing these drums, you must pack the new bearings with high-temperature grease and set the spindle nut to a highly specific torque preload to avoid bearing failure.
Rust Belt Vehicles Vehicles driven in regions that use heavy road salt experience severe galvanic corrosion between the steel hub and the cast iron drum. The M8 extraction bolts rarely work on these vehicles because the rust bond is stronger than the bolt threads. Mechanics working on these vehicles skip the extraction bolts entirely and use a specialized three-jaw brake drum puller attached to an impact wrench, often combined with oxy-acetylene heat, to force the components apart.
Vehicles with Electronic Parking Brakes (EPB) Modern vehicles equipped with push-button parking brakes use electric motors mounted on the rear calipers or backing plates to apply stopping force. You cannot force these off mechanically. Before lifting the vehicle, you must connect an OBD2 diagnostic scan tool to the dashboard port and command the ABS module into “Service Mode”. This electronically retracts the motors fully, allowing you to remove the drum without destroying the expensive EPB actuator.
Time and Cost to Inspect or Replace
If you are just inspecting the drums, the cost is limited to your time and the price of cleaning supplies. If you find damage or excessive wear, replacement parts add up quickly.
| Category | Description | Estimated Cost |
|---|---|---|
| Inspection Tools | Micrometer, cleaner, mallet, wire brush. | $35 – $70 total |
| DIY Replacement | Two new drums and a set of brake shoes. | $100 – $180 total |
| Shop Labor | Professional inspection and replacement. | $300 – $550 total |
Replacing brake drums yourself saves approximately $200 to $400 in shop labor costs. A professional mechanic will charge 1.5 to 2 hours of flat-rate labor to replace rear drums and shoes, plus a markup on the parts. If you already own a jack and basic hand tools, DIY replacement is highly cost-effective.
Frequently Asked Questions
Can I use a tape measure instead of a micrometer? No. A tape measure cannot bend precisely enough to measure the true inner diameter, and it lacks the millimeter precision required. The difference between a safe drum and a discarded drum is often less than 1.5 millimeters. You must use a proper caliper or micrometer.
Should I replace the brake shoes when replacing drums? Yes. Old brake shoes have worn into the exact grooved pattern of the old drum. If you put old shoes inside a perfectly smooth new drum, they will only make partial contact. This drastically reduces your stopping power until the shoes eventually bed in.
Is it normal for new brake drums to smell hot? Yes, a faint burning smell during the first 50 miles is normal. New drums arrive coated in rust-preventative machining oils. Even if you clean them thoroughly with brake cleaner, microscopic amounts of oil trapped in the porous cast iron will burn off during the first few heat cycles.
How long do rear brake drums usually last? Rear drum brakes typically last between 80,000 and 120,000 miles. Because front disc brakes handle 70 percent of a vehicle’s stopping force, the rear drums experience significantly less heat and friction. Highway driving extends their lifespan, while heavy towing or stop-and-go city driving shortens it.
Can I get my old brake drums resurfaced? Yes, if they have enough metal left. A machine shop can mount your drums on a brake lathe and cut a fresh, smooth surface into the iron. However, the cost of shop labor to turn a drum ($20 to $30) is often barely cheaper than buying a brand new drum ($35 to $50).
Knowing how to tell if brake drums need replacing ultimately comes down to trusting your micrometer. If the diameter exceeds the stamped limit, or if you spot any structural cracking, the component has reached the end of its safe operational life. Replace them in pairs, clean the mating surfaces thoroughly, and your vehicle’s braking system will perform perfectly.


