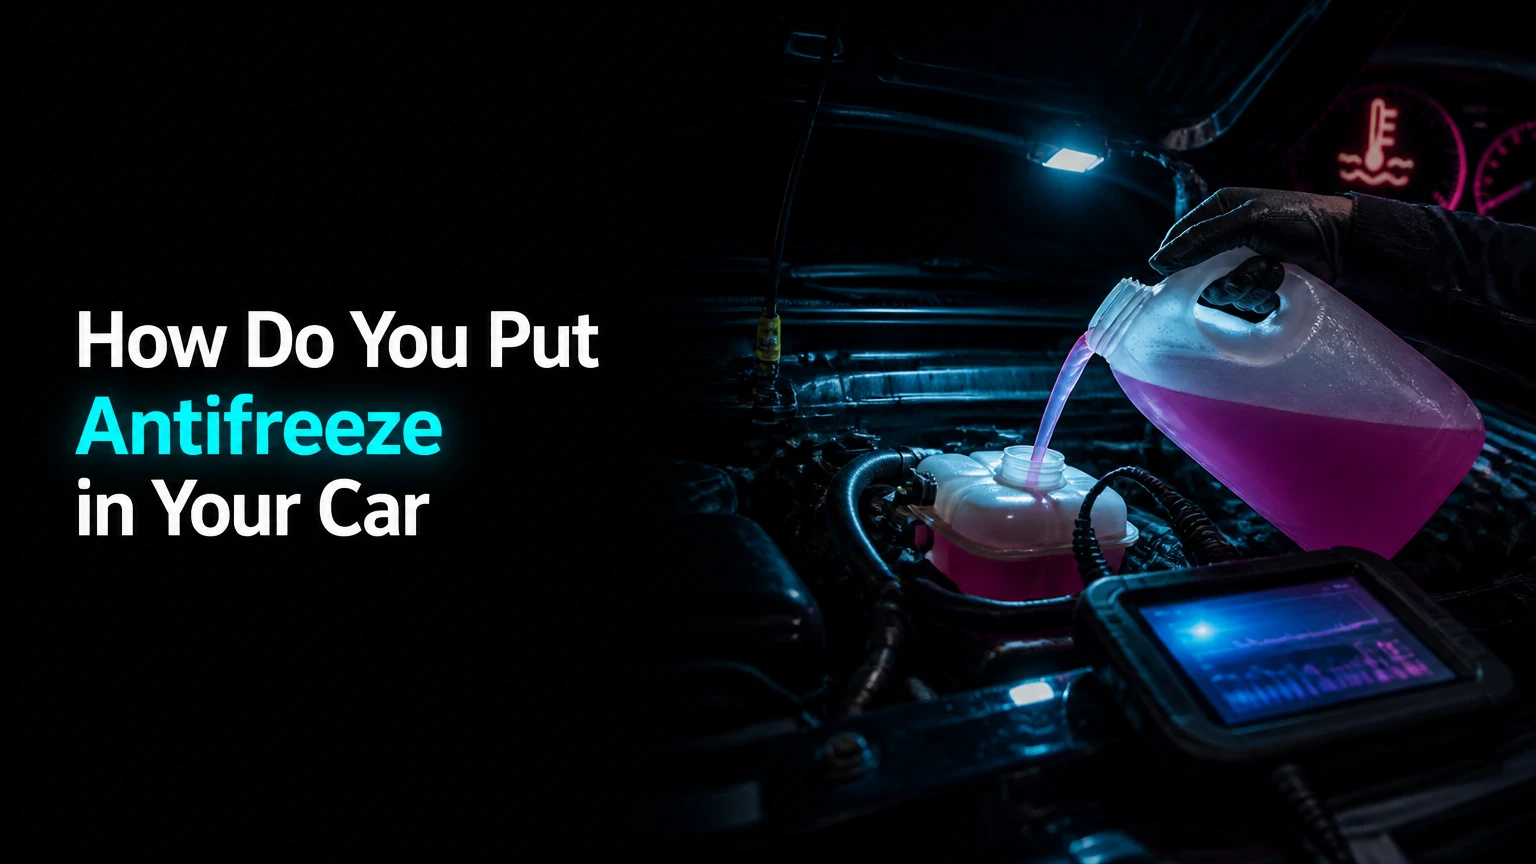
You put antifreeze in your car by locating the translucent coolant reservoir under the hood, waiting for the engine to cool completely, opening the cap slowly to vent pressure, and pouring a 50/50 mixture of antifreeze and distilled water until the fluid reaches the maximum fill line. You must never open the cooling system while the engine is hot.
Key Facts At a Glance
- Never open a hot radiator or reservoir cap: pressurized fluid boils instantly upon depressurization, causing severe chemical and thermal burns.
- Engine coolant is a mixture of raw antifreeze concentrate and pure distilled water, typically blended at a 50/50 ratio.
- Modern vehicles use specific organic acid technology (OAT) coolants that cannot be mixed with older inorganic formulas (IAT).
- Tap water contains heavy minerals like calcium and magnesium that will calcify inside your engine block and destroy the water pump.
- A basic top-off takes less than five minutes, while a complete cooling system flush requires roughly one hour and a fluid catch pan.
What Do You Need Before Starting?
Successfully adding or flushing engine coolant requires minimal mechanical skill but demands strict attention to safety protocols. A basic top-off involves adding a small amount of fluid to a low reservoir. A complete flush involves draining degraded fluid, washing the internal engine passages, and replacing the entire chemical volume. The single factor that most determines your success is verifying the engine temperature before touching any components.
Before You Start
- Time Required: 5 minutes for a top-off, 60 to 90 minutes for a complete system flush.
- Difficulty: 1 out of 5 for a top-off, 3 out of 5 for a complete flush.
- Cost: $15 to $25 for a single gallon of premixed fluid, $40 to $70 for a complete flush kit.
- Tools and Materials: One gallon of vehicle-specific coolant, one gallon of distilled water (if using concentrate), safety goggles, nitrile gloves, a clean funnel, a thick rag, and a heavy-duty catch pan (for flushes only).
- Prerequisites: The vehicle must be parked on level ground with the engine turned off for a minimum of two hours.
Which Type of Engine Coolant Is Right for Your Vehicle?
The correct engine coolant for your vehicle depends entirely on the specific chemical additives required by your manufacturer to protect the internal engine metals. Antifreeze is a concentrated chemical liquid primarily composed of ethylene glycol or propylene glycol. This chemical base lowers the freezing point of water to -37 degrees Celsius and raises the boiling point to 129 degrees Celsius under system pressure. The glycol base transfers heat from the engine block to the radiator, where airflow dissipates the thermal energy before the fluid recirculates.
To prevent the water mixture from corroding the internal iron, aluminum, and copper parts, manufacturers blend specific corrosion inhibitors into the glycol. Using the wrong chemical technology will degrade your water pump seals and cause fluid gelation, which blocks fluid channels and destroys the engine.
The Five Main Coolant Technologies
You must match the chemical formula to your vehicle’s specifications rather than relying on fluid color. While manufacturers traditionally used colors to indicate chemistry, aftermarket brands frequently deviate from these standards. Always check the certification standard (such as ASTM D3306) printed on the back of the bottle.
| Coolant Type | Chemical Technology Base | Standard Dye Color | Typical Vehicle Application | Expected Service Life |
|---|---|---|---|---|
| IAT (Inorganic Additive Technology) | Silicates and heavy phosphates | Bright Green | Older vehicles (pre-1998) with cast iron blocks | 2 years or 48,000 km |
| OAT (Organic Acid Technology) | Azoles and organic acids (zero silicates) | Orange, Red, or Pink | General Motors (Dex-Cool), VW, Audi, Honda | 5 years or 240,000 km |
| HOAT (Hybrid Organic Acid Technology) | Silicates combined with organic acids | Yellow or Turquoise | Ford, Chrysler, BMW, Mercedes-Benz | 5 years or 240,000 km |
| P-HOAT (Phosphated HOAT) | Phosphates combined with organic acids | Blue, Pink, or Purple | Asian imports (Toyota, Nissan, Hyundai, Subaru) | 5 to 10 years |
| Si-OAT (Silicated HOAT) | Advanced silicates and organic acids | Vibrant Pink or Purple | Modern European vehicles (Mercedes-Benz, Audi) | Up to lifetime of vehicle |
Should You Buy 50/50 Prediluted or 100% Concentrate?
You should buy 100% concentrate if you want the lowest cost per usable gallon and possess a clean container for manual mixing. You should choose the 50/50 prediluted formula if you prioritize convenience and want to eliminate the risk of mixing errors. Raw antifreeze cannot function inside an engine without being diluted by water. Pure glycol has a lower specific heat capacity than water, meaning it cannot absorb enough combustion heat on its own.
The industry standard ratio is 50 percent antifreeze and 50 percent water. Never dilute concentrate with tap water. Municipal tap water contains calcium, magnesium, and chloride ions that precipitate out of the liquid at high temperatures, forming hard scale inside the radiator core. This scale acts as a thermal insulator, trapping heat inside the engine and causing catastrophic overheating.
| Fluid Format Strategy | Price Per Usable Gallon (Typical) | Distilled Water Required? | Best Application Scenario |
|---|---|---|---|
| 50/50 Prediluted Mix | $18.00 to $22.00 | No (Factory mixed with deionized water) | Quick roadside top-offs and beginners |
| 100% Concentrate Mix | $11.00 to $14.00 (After factoring water cost) | Yes (Must buy separately) | Complete flushes and budget-conscious mechanics |
| 70/30 Custom Water Blend | $9.00 to $12.00 | Yes (High volume required) | Racing applications in hot, frost-free climates |
| 100% Pure Distilled Water | $1.50 to $2.00 | N/A | Track-only vehicles (Zero freeze protection) |
How Do You Add Coolant for a Basic Top-Off?
You add coolant for a top-off by pouring fluid directly into the translucent expansion reservoir until it reaches the maximum fill indicator. This procedure requires no tools and takes less than five minutes. You should perform this check once a month or before any long road trip.
Step 1: Ensure the Engine is Completely Cold
Turn off the vehicle and wait a minimum of two hours. Touch the metal hood and the thick rubber radiator hoses. The components must feel entirely cold to the bare touch.
- Checkpoint: You will know the system is safe to open when the upper radiator hose feels soft and squeezable, indicating zero internal steam pressure.
- Common Mistake: Relying on the dashboard temperature gauge. The gauge measures fluid temperature at the sensor, not the residual pressure trapped inside the upper radiator neck.
Step 2: Locate the Coolant Reservoir
Open the hood and locate the heavy-duty nylon tank. It is typically positioned near the fender and connects to the radiator via a small rubber overflow tube. The tank features molded gradient lines indicating minimum and maximum fluid levels.
- Checkpoint: The cap will clearly display a high-temperature warning symbol or text reading “Engine Coolant Only.”
- Common Mistake: Confusing the coolant reservoir with the windshield washer fluid tank, which usually features a blue cap with a windshield wiper icon.
Step 3: Open the Cap Safely
Place a thick shop rag completely over the reservoir cap. Push down firmly and twist counterclockwise by exactly one quarter-turn to vent any residual pressure. Once you hear the quiet hiss stop, unscrew the cap completely and set it aside.
- Checkpoint: The cap threads will disengage smoothly without requiring heavy mechanical force.
- Common Mistake: Ripping the cap off in one fast motion, which allows residual hot fluid to spray upward if the engine has not cooled sufficiently.
Step 4: Mix and Pour the Fluid
Insert a clean plastic funnel into the reservoir neck. If using concentrate, mix exactly 50 percent antifreeze and 50 percent distilled water in a separate, clean jug first. Pour the fluid slowly to avoid trapping air bubbles in the tank neck.
- Checkpoint: Stop pouring precisely when the liquid reaches the line marked “MAX” or “COLD FULL.”
- Common Mistake: Filling the reservoir to the very brim. The fluid requires empty headspace to expand as it heats up. An overfilled tank will burst the pressure relief valve and spray fluid across the engine bay.
Step 5: Seal and Test the System
Screw the reservoir cap back on until it clicks or locks tightly into its final position. Start the engine and let it idle until it reaches normal operating temperature.
- Checkpoint: Verify the fluid level remains steady between the minimum and maximum markers while the engine idles.
- Common Mistake: Forgetting to tighten the cap fully. A loose cap prevents the cooling system from pressurizing, lowering the boiling point of the fluid and causing immediate overheating on the highway.
How Do You Perform a Complete Cooling System Flush?
You perform a complete cooling system flush by draining the old fluid from the radiator petcock, washing the system with pure water, and refilling the block with fresh coolant while purging trapped air. Perform this maintenance immediately if your fluid appears brown, muddy, or contains floating particulate matter.
Step 1: Drain the Old Fluid
Position a large catch pan directly beneath the radiator drain valve, which is called a petcock. The petcock is a small plastic wingnut located at the very bottom corner of the radiator. Open the petcock counterclockwise and let all fluid drain into the pan. Remove the main radiator cap up top to break the vacuum and accelerate the flow.
- Checkpoint: The fluid flow will slow to a drip when the radiator is empty. Hand-tighten the petcock securely once finished.
- Common Mistake: Using metal pliers on a stuck plastic petcock, which snaps the valve off inside the radiator housing and requires a complete radiator replacement.
Step 2: Flush the System with Distilled Water
Fill the radiator to the top of the filler neck with pure distilled water. Replace the radiator cap. Turn your vehicle cabin climate control to maximum heat and high fan speed. This action electronically opens the heater core valve inside the dashboard, allowing water to flush the cabin heating circuit. Run the engine for 15 minutes, turn it off, let it cool completely, and drain the water out.
- Checkpoint: Repeat this fill-and-drain process until the drained water runs 100 percent clear with no chemical tint.
- Common Mistake: Using a garden hose to flush the system. While faster, tap water leaves mineral deposits in the microscopic channels of the engine block.
Step 3: Refill with Fresh Coolant
Consult your vehicle owner’s manual for the total system volume capacity. Close the petcock firmly by hand. Pour the recommended volume of 50/50 mixed coolant directly into the main radiator neck until it reaches the top. Move to the plastic overflow reservoir and fill it to the maximum line.
- Checkpoint: The fluid should sit visibly at the very top of the radiator neck.
- Common Mistake: Pouring cold fluid into a hot engine block. Extreme temperature deltas cause immediate thermal shock, which warps or cracks aluminum cylinder heads instantly.
Step 4: Bleed Trapped Air from the System
Leave the main radiator cap off. Start the engine and let it idle. As the engine warms up, the thermostat will open, and the water pump will push large air bubbles out through the open radiator neck. The fluid level will drop suddenly as air escapes. Keep pouring fresh coolant into the neck to maintain a full fluid level.
- Checkpoint: You will know the bleeding process is complete when the lower and upper radiator hoses both feel hot to the touch, and bubbles stop surfacing in the filler neck. Replace the cap securely.
- Common Mistake: Skipping this step. Trapped air blocks fluid flow entirely, leading to localized overheating and blown head gaskets.
Safe Disposal of Toxic Antifreeze
You must dispose of used antifreeze by sealing it in heavy-duty plastic jugs and delivering it to a municipal hazardous waste facility or a certified auto parts store. Ethylene glycol is highly toxic to humans and animals. It possesses a sweet taste and smell that attracts pets. According to the U.S. Environmental Protection Agency, pouring antifreeze down a storm drain, onto the soil, or into a household sink is illegal and permanently contaminates local groundwater systems.
What Are the Most Common Mistakes and How Can You Fix Them?
You fix cooling system mistakes by recognizing the chemical or physical error early, draining the compromised fluid immediately, and performing a thorough chemical flush before permanent engine damage occurs.
Mixing Incompatible Coolant Types Blending green IAT fluid with orange OAT fluid initiates a destructive chemical reaction. The resulting mixture degrades the corrosion inhibitors and forms a thick, jelly-like sludge. This sludge clogs the narrow passages of the cabin heater core and destroys the mechanical seal on the water pump. If you accidentally mix fluid types, do not start the engine. Tow the vehicle to a shop for a pressurized chemical reverse-flush.
Opening a Hot System Scalding coolant operates under 15 to 20 PSI of pressure. Removing a hot cap causes a sudden drop in pressure, resulting in explosive boiling. The fluid violently expands into steam, spraying boiling chemical acid over your face, chest, and hands. If a vehicle is actively overheating on the highway, pull over, turn the engine off, and walk away from the hood for a minimum of two hours.
Using Tap Water in the Mixture Tap water contains heavy minerals. When heated inside an engine block, these minerals drop out of suspension and bind to the internal metal walls, creating hard white scale. This scale insulates heat rather than transferring it. If you have been running tap water in your system, purchase a dedicated chemical radiator flush compound, run it through the system for the manufacturer-specified duration, and drain it completely before refilling with distilled water.
How Do You Diagnose Common Cooling System Problems?
You diagnose cooling system problems by tracking the physical loss of fluid, inspecting the color of the engine oil, and monitoring the dashboard temperature gauge under heavy engine loads.
Scenario 1: The Coolant Level Drops Repeatedly
If you must top off the reservoir every week, you have a physical system leak. Inspect the engine bay for white, chalky residue around hose clamps. Look for bright green or orange puddles on the driveway under the engine bay. If you smell a sweet, syrupy odor inside the passenger cabin and notice a greasy film on the inside of the windshield, your heater core is failing and requires dashboard removal to replace.
Scenario 2: The Car Overheats Immediately After a Fluid Change
An air lock is blocking fluid circulation. A trapped air bubble acts as a physical dam inside the water pump housing, preventing the impeller from moving liquid. Let the engine cool completely. Park the vehicle on a steep incline with the front bumper pointed uphill. Remove the radiator cap and run the engine to burp the trapped pocket out through the highest point of the system.
Scenario 3: Milky Engine Oil
If the engine oil dipstick looks like a thick, milky coffee milkshake, you have a blown head gasket. The gasket has failed, allowing pressurized engine coolant to breach the combustion chamber and mix directly with the engine oil. Stop driving the vehicle immediately. Oil diluted by coolant loses its lubricating properties within minutes, leading to seized engine bearings and total engine failure.
| Diagnostic Symptom | Visual Evidence | Root Cause Diagnosis | Required Corrective Action |
|---|---|---|---|
| Frequent fluid loss | Chalky residue on hoses | External hose or clamp leak | Replace the degraded rubber hose and tighten clamps |
| Sweet smell in cabin | Greasy film on windshield | Leaking internal heater core | Replace heater core unit |
| Muddy brown fluid | Thick sludge in reservoir tank | Corrosion inhibitor depletion | Perform comprehensive system flush |
| Milky coffee engine oil | White smoke from the exhaust | Blown cylinder head gasket | Rebuild top end of engine immediately |
Which Strategy Is Best for Your Driver Profile?
You should adapt your maintenance strategy based on your mechanical comfort level and the climate environment your vehicle operates in. Different user profiles require vastly different approaches to fluid maintenance.
The Absolute Beginner Use exactly what the owner’s manual specifies in a 50/50 prediluted format. Never attempt to open the metal radiator cap directly. Perform all top-offs strictly through the plastic nylon overflow bottle to eliminate the risk of introducing air bubbles into the pressurized system. Seek a professional mechanic if you notice rapid fluid loss or if the temperature gauge repeatedly climbs past the halfway mark.
The Budget DIY Mechanic Purchase 100 percent concentrated antifreeze and separate gallons of distilled water to mix your own 50/50 fluid. Invest seven dollars in a fluid hydrometer. A hydrometer features floating internal dials that measure the specific gravity of the fluid mixture, allowing you to test the exact freezing and boiling point density of your home mixture before pouring it into the engine block.
The Performance Track Enthusiast Run a custom water-dominant blend containing 70 percent distilled water and 30 percent antifreeze, combined with a commercial surfactant additive. Pure water transfers heat far more efficiently than glycol chemicals do. The surfactant breaks the surface tension of the water, preventing microscopic vapor bubbles from forming against the hot cylinder walls. Skip this strategy if you live in a region that experiences sub-zero winter temperatures, as water-heavy mixtures will freeze and crack the engine block.
Frequently Asked Questions
Does the car need to be running when adding coolant? No. When adding fluid for a basic top-off, the engine should be turned off and completely cold. The only time the engine should be running is during the final air-bleeding phase of a complete system flush.
Can you put straight antifreeze in a car? No. Pure antifreeze concentrate will cause your engine to overheat. The chemical requires dilution with water to achieve the proper specific heat capacity required to pull thermal energy out of the engine block.
At what temperature does a car need antifreeze? A car needs antifreeze at all temperatures, all year round. Despite the name, antifreeze also functions as a boiling point elevator during the summer and provides mandatory anti-corrosion protection for internal metal components.
How often should you change your engine coolant? You should change IAT green coolants every two years or 30,000 miles. Modern OAT and HOAT formulas can last up to five years or 150,000 miles. Always test the fluid with test strips annually to ensure the corrosion inhibitors have not depleted.
What happens if I overfill the coolant reservoir? If you fill the plastic tank to the brim, the fluid will rapidly expand as it heats up. Because liquid cannot be compressed, the expanding volume will blow past the spring-loaded pressure relief valve in the cap, spraying hot fluid safely out of the overflow tube onto the ground.


