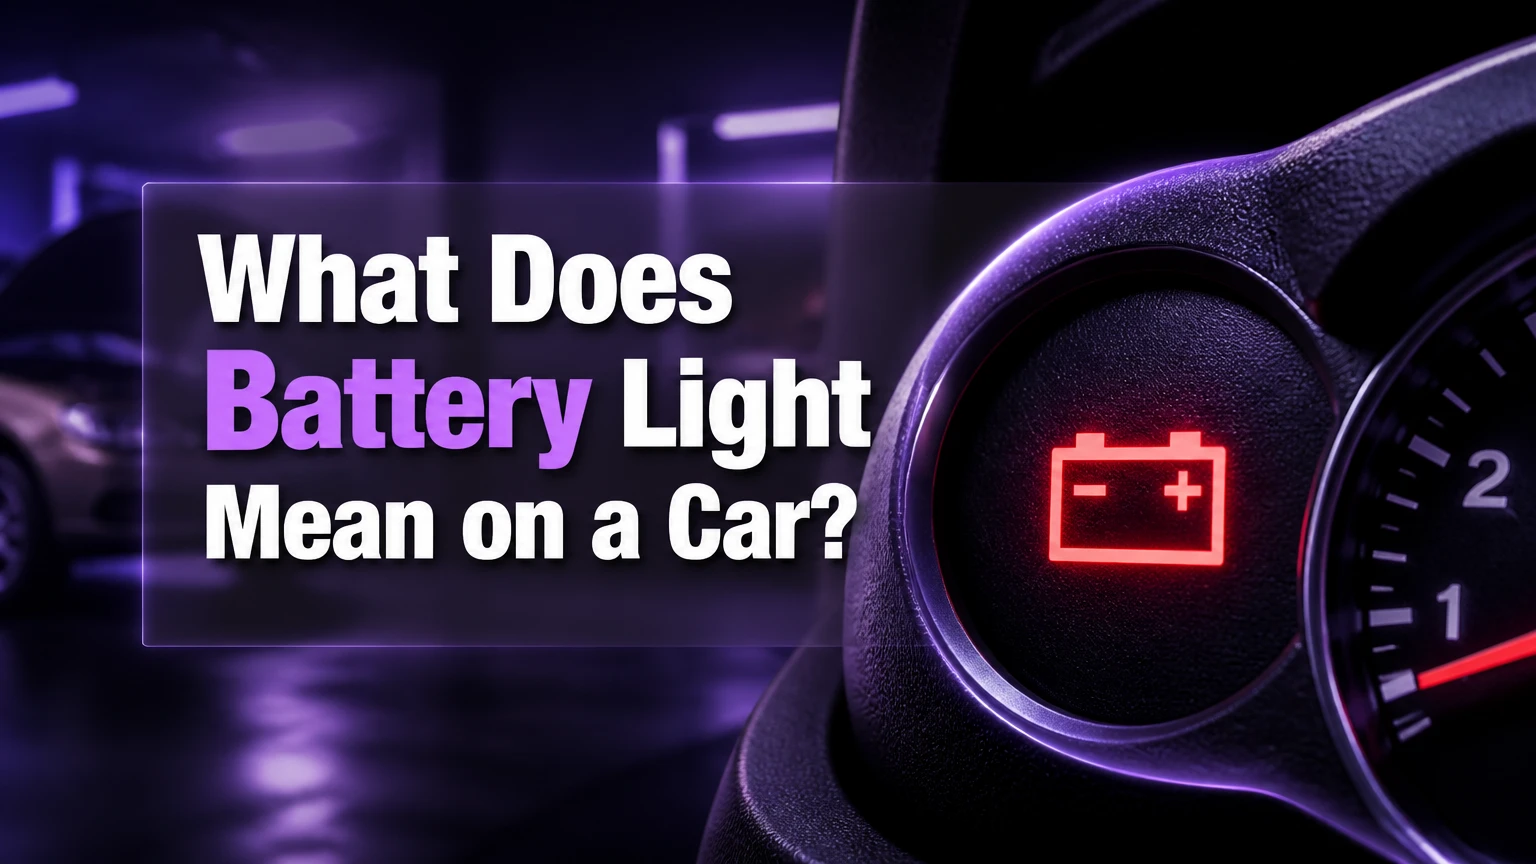
The battery light on your dashboard means the vehicle charging system is no longer supplying enough electrical voltage to run the car and recharge the battery. Your vehicle is currently operating entirely on stored battery reserve power. The engine will typically stall completely within 15 to 45 minutes once this electrical reserve is fully depleted.
Key Facts / At a Glance
- Normal alternator output ranges between 13.5 and 14.5 volts while the engine is running.
- The Engine Control Unit triggers the warning light the moment system voltage drops below roughly 12.5 volts.
- A snapped serpentine drive belt stops both the alternator and the water pump, causing rapid engine overheating.
- Replacing the battery without testing the alternator is the most frequent and costly diagnostic mistake drivers make.
- Disconnecting a battery terminal while the engine runs creates voltage spikes that can permanently destroy modern automotive electronics.
How Does the Charging System Warning Light Work?
The warning indicator operates as a continuous voltage monitor managed by the Engine Control Unit or a dedicated battery sensor. The electrical system of an automobile requires a constant, stable flow of direct current to fire the spark plugs, run the fuel pump, and power the computers. When the engine is running, the alternator assumes the burden of powering these systems while simultaneously pushing excess voltage back into the battery to recharge it.
If the internal sensors detect that the alternator is pushing less voltage than the battery currently holds, the system registers a charging failure. The computer then illuminates the battery icon on the dashboard to warn the driver that the vehicle is cannibalizing its own limited power reserves. According to Battery Council International (2023), charging system failures account for nearly a third of all electrical-related roadside breakdowns.
Understanding the Voltage Thresholds
A healthy 12-volt automotive battery actually rests at 12.6 volts when fully charged. Once you start the engine, the spinning alternator should immediately raise the system voltage to between 13.5 and 14.5 volts. This higher pressure forces electrical current back into the battery cells. The dashboard light trips whenever the live system voltage drops below 12.5 volts for a sustained duration, indicating that the alternator has stopped generating adequate power.
Modern vehicles utilize smart charging systems controlled by Pulse Width Modulation. These smart alternators only engage when necessary to improve fuel economy, occasionally allowing voltage to dip to 12.8 volts under light loads. However, they will never allow the voltage to drop below the battery’s resting state of 12.6 volts unless a hard physical failure has occurred.
Why Did My Battery Light Come On While Driving?
The dashboard icon indicates a charging failure, which is rarely caused by the battery itself. When the light appears during active driving, it points to a failure in power generation or power transmission. There are four primary root causes for this malfunction.
Alternator Internal Component Failure
The alternator contains multiple wear items that degrade over time due to heat and friction. Inside the aluminum housing, carbon brushes maintain electrical contact with a spinning copper rotor. These brushes eventually wear down to stubs and lose physical contact, instantly halting power generation. Additionally, the rectifier bridge utilizes silicon diodes to convert the alternating current generated by the stator into direct current. Heat cycles routinely cause these diodes to crack or short out, preventing the alternator from pushing usable power to the vehicle systems.
Serpentine Drive Belt Breakage
The serpentine belt transfers mechanical rotational energy from the engine crankshaft pulley to the alternator pulley. If this heavy-duty rubber belt glazes over, stretches, or snaps entirely, the alternator rotor stops spinning. Without physical rotation, the alternator cannot generate magnetic fields or electrical current. Because this same belt frequently drives the water pump and the power steering pump, a snapped belt often results in heavy steering and immediate engine overheating.
Corroded Terminals and Ground Faults
Electricity requires a clean, low-resistance circuit to flow from the alternator to the battery and chassis. Lead-acid batteries naturally vent corrosive hydrogen gas during normal charging cycles. This gas reacts with the metal battery posts to create heavy white or green oxidation. This crystalline powder acts as an aggressive electrical insulator. Heavy corrosion completely blocks the alternator’s voltage from entering the battery, triggering the dashboard warning light even if the alternator itself is mechanically perfect.
Wiring Harness and Fusible Link Damage
The primary charge cable running from the back of the alternator to the positive battery terminal contains a safety device called a fusible link. This thick wire is designed to melt and sever the connection if a massive power surge occurs, preventing automotive fires. If the fusible link blows, or if the main chassis ground strap rusts through, the circuit breaks. The alternator will continue generating power, but that power has no physical path to reach the battery or the vehicle computers.
Step-by-Step Troubleshooting When the Light Appears
A battery warning light is an active emergency that requires immediate driver intervention to prevent being stranded in a dangerous location. Follow these sequential steps the moment the indicator illuminates.
Step 1: Check the Engine Temperature Gauge
Look directly at your dashboard temperature gauge the second the battery light appears. If the temperature needle is rapidly climbing toward the red zone, your serpentine belt has snapped. You must pull over and shut off the engine within 60 seconds to prevent permanent, catastrophic overheating damage to the engine block and cylinder head.
Step 2: Eliminate All Non-Essential Electrical Loads
You must aggressively conserve your remaining battery reserve capacity. Turn off the air conditioning compressor, the cabin heater blower motor, the radio, seat warmers, and any charging mobile phones. If you are driving during the day, turn off your headlights. Every amp of electricity you save extends the distance your vehicle can travel before the fuel pump shuts down.
Step 3: Navigate to a Safe Location
Drive directly to a safe parking lot, the shoulder of a highway, or an auto repair facility. Do not turn off the engine until the vehicle is parked in a safe, permanent location. Once you shut the engine off, the depleted battery will not have enough cold cranking amps to restart the starter motor.
Step 4: Perform a Visual Under-Hood Inspection
Open the hood while the engine is turned off and the keys are removed from the ignition. Look at the front of the engine block to verify that the ribbed serpentine belt is still wrapped tightly around the pulleys. Next, inspect the positive and negative battery terminals for thick crusts of corrosion or physically loose clamps that you can wiggle by hand.
Step 5: Execute a Multimeter Voltage Test
Start the vehicle and connect a digital multimeter across the battery terminals. Set the dial to 20 DC Volts. If the screen reads between 13.5V and 14.5V, the alternator is functioning properly, and the light is likely triggered by a faulty sensor. If the screen reads 12.6V or lower while the engine is running, the alternator is completely dead and requires replacement.
What Are the Expected Repair Costs and Timeframes?
Repair costs vary heavily based on the vehicle make, the labor rates in your region, and whether you choose Original Equipment Manufacturer parts or aftermarket alternatives. The table below outlines standard expectations for charging system repairs.
| Component Replacement | Typical Cost Range | Expected Repair Time | Typical Lifespan |
|---|---|---|---|
| Alternator Assembly | $400 to $900 | 1 to 3 hours | 80,000 to 120,000 miles |
| 12V Lead-Acid Battery | $150 to $300 | 15 to 30 minutes | 3 to 5 years |
| Serpentine Drive Belt | $75 to $150 | 30 to 45 minutes | 50,000 to 70,000 miles |
| Battery Terminal Connectors | $30 to $80 | 30 to 60 minutes | Lifetime (if kept clean) |
Luxury vehicles and modern trucks often place the alternator underneath complex intake manifolds or behind suspension components, which pushes the labor time past four hours and significantly increases the total bill.
How to Test the Charging System Accurately
Drivers and mechanics utilize several different methods to pinpoint the exact point of failure within the charging circuit. Choosing the right diagnostic approach saves money and prevents unnecessary parts replacement.
| Diagnostic Method | Initial Cost | Diagnostic Accuracy | Recommended User |
|---|---|---|---|
| Digital Multimeter Test | $15 to $30 | Moderate (Tests real-time output only) | DIY Hobbyists |
| Carbon Pile Load Tester | $75 to $150 | High (Tests performance under heavy stress) | Advanced Mechanics |
| Auto Parts Store Scan | Free | High (Tests internal battery cell health) | Daily Commuters |
| OBD2 Professional Scan | $100 to $150 | Highest (Reveals ECU software faults) | Dealership Technicians |
The Four-Phase Practitioner Protocol
A simple voltage reading is not enough to declare an alternator healthy. National Institute for Automotive Service Excellence guidelines recommend a four-phase test. First, check the static voltage with the engine off (expect 12.6V). Second, monitor the voltage during engine cranking; it should never drop below 9.6V at room temperature. Third, check the idle voltage with no accessories running (expect 13.5V to 14.5V). Finally, load test the system by turning on the high beams, the blower motor, and the rear defroster simultaneously. The alternator must maintain at least 13.2V under this maximum load. If it fails the final phase, the internal diodes are failing.
Are You Experiencing Other Symptoms?
The battery indicator rarely appears in isolation. Drivers usually notice secondary physical symptoms as the electrical system begins to collapse. Mapping these symptoms to the warning light accelerates the diagnostic process.
What Does Battery Light Mean on a Car When Flickering?
A warning indicator that flashes intermittently almost always signals a slipping serpentine belt or worn alternator carbon brushes. When the belt slips over the pulley, rotational speed drops, and voltage generation pauses for a fraction of a second. Similarly, as carbon brushes wear down to their structural limits, they bounce off the internal rotor, causing rapid spikes and drops in voltage that make the dashboard light flicker randomly over bumps.
Whining Noises Under the Hood
A loud, mechanical whining noise that changes pitch with engine RPM points to a failing alternator bearing. The heavy tension of the drive belt eventually destroys the steel bearings inside the alternator case. As the bearings grind against each other, they produce a distinct whine. This mechanical failure usually precedes total electrical failure by several weeks.
Sudden Loss of Power Steering
Many modern vehicles use Electric Power Steering racks instead of traditional hydraulic pumps. These EPS systems draw massive amounts of electrical current (often exceeding 60 amps). When the alternator dies and the battery voltage drops below 11.5 volts, the computer will intentionally shut down the EPS system to save power for the fuel pump. The steering wheel will immediately become extremely heavy and difficult to turn.
Expert Diagnostics: Common Mistakes to Avoid
Amateur mechanics frequently make errors that compound charging system problems, turning a minor repair into a major financial loss. Avoiding these specific pitfalls is critical for protecting the vehicle’s electrical architecture.
The most common mistake is replacing the battery without testing the alternator first. A completely dead alternator will forcefully drain a brand-new battery within 30 miles of driving. Draining a standard lead-acid starting battery to zero volts causes permanent sulfation on the lead plates, permanently destroying the new battery’s reserve capacity. Always prove the alternator is functioning before purchasing a new battery.
Another critical error involves disconnecting a battery terminal while the engine is running to test the alternator. This old mechanic trick worked on vehicles built before 1990. On modern vehicles, the battery acts as a massive electrical shock absorber. Removing the terminal creates a phenomenon called a load dump, sending a 40-volt to 60-volt spike through the wiring harness. This spike can instantly fry the Body Control Module, the Engine Control Unit, and the infotainment system, resulting in thousands of dollars in damage.
A third mistake is applying dielectric grease incorrectly. Dielectric grease is an electrical insulator. Many drivers mistakenly apply the grease directly between the battery post and the metal clamp, which creates massive electrical resistance. The correct method is to assemble and tighten the dry metal connection first, and then coat the outside of the assembly with grease to block oxygen and moisture.
Preventive Maintenance by Driver Profile
Different driving habits place different stresses on the automotive charging system. Tailoring your maintenance strategy to your daily routine prevents unexpected dashboard warnings.
| Driver Profile | Primary Risk Factor | Preventive Maintenance Strategy |
|---|---|---|
| Urban Commuter | Short trips prevent full battery recharging | Use a plug-in trickle charger once a month to maintain 12.6V. |
| Long-Distance Driver | High heat destroys alternator diodes | Inspect the serpentine belt for micro-cracking every 40,000 miles. |
| DIY Hobbyist | Unnoticed parasitic battery drains | Clean battery posts with baking soda and a wire brush annually. |
| Off-Road Driver | Mud and water intrusion shorts the alternator | Keep a portable lithium-ion jump starter pack charged in the glovebox. |
Urban drivers who only commute five miles a day are highly susceptible to premature battery failure. The starter motor pulls massive amperage to crank the engine, and a five-minute drive does not give the alternator enough time to replace that lost power. Over months, the battery suffers from chronic undercharging, leading to irreversible plate sulfation.
The Bottom Line
When the battery light illuminates, your vehicle has lost its ability to generate electricity and is living on borrowed time. The problem rarely lies with the battery itself, but rather points to a failed alternator, a snapped drive belt, or heavily corroded wiring. By immediately reducing electrical loads and pulling over to a safe location, you can prevent dangerous engine stalls in heavy traffic. Always diagnose the alternator output with a multimeter before spending money on replacement parts.
Frequently Asked Questions
Can you drive with the battery light on?
Yes, but only for a very short distance. Your vehicle is running entirely on battery reserve power. Depending on the size of your battery and the electrical loads you leave running, the engine will typically stall completely within 15 to 45 minutes as the fuel pump and spark plugs lose power.
Why is the battery light on but the car starts fine?
A car can start perfectly fine if the battery has a full surface charge, but the light will illuminate if the alternator fails to take over power generation once the engine is running. The battery has enough cold cranking amps to spin the starter, but it will rapidly drain as you continue driving.
Does the battery light mean I need a new battery?
No, the light almost always indicates that the charging system (the alternator, belt, or wiring) has failed. A battery merely stores power, while the alternator generates it. If you buy a new battery without fixing a dead alternator, the new battery will quickly die as well.
Why did the light turn on right after a jump start?
A jump start forces heavy amperage into a depleted system. If the light stays on after removing the jumper cables, your alternator is entirely dead and cannot sustain the engine on its own. Alternatively, the voltage surge from the jump start may have blown the main alternator fusible link.
What happens to a hybrid vehicle when the 12V warning appears?
Hybrid vehicles use a high-voltage traction battery for driving and a separate 12-volt battery to run the computers and dashboard screens. If the 12-volt warning appears, the DC-to-DC converter has failed to charge the smaller battery. The vehicle will safely power down its computers and refuse to shift into drive.


