Safelite typically takes one to two hours to physically replace a windshield, plus a mandatory one-hour drying period before the vehicle is safe to drive. If your modern vehicle features advanced safety cameras requiring recalibration, the entire appointment will take three to five hours from start to finish.
Key Facts at a Glance
- The standard physical labor time for a glass swap without sensors is 45 to 60 minutes.
- Polyurethane adhesive requires a strict 60-minute Safe Drive-Away Time (SDAT) to cure.
- Advanced Driver Assistance Systems (ADAS) calibration adds 45 to 60 minutes to the service.
- Mobile technicians require covered shelter if local weather forecasts predict rain or freezing temperatures.
- Blue retention tape must remain on the vehicle for 24 hours to prevent structural shifting.
- High-pressure commercial car washes must be avoided for 48 to 72 hours after installation.
Exactly How Long Does Safelite Take to Replace a Windshield?
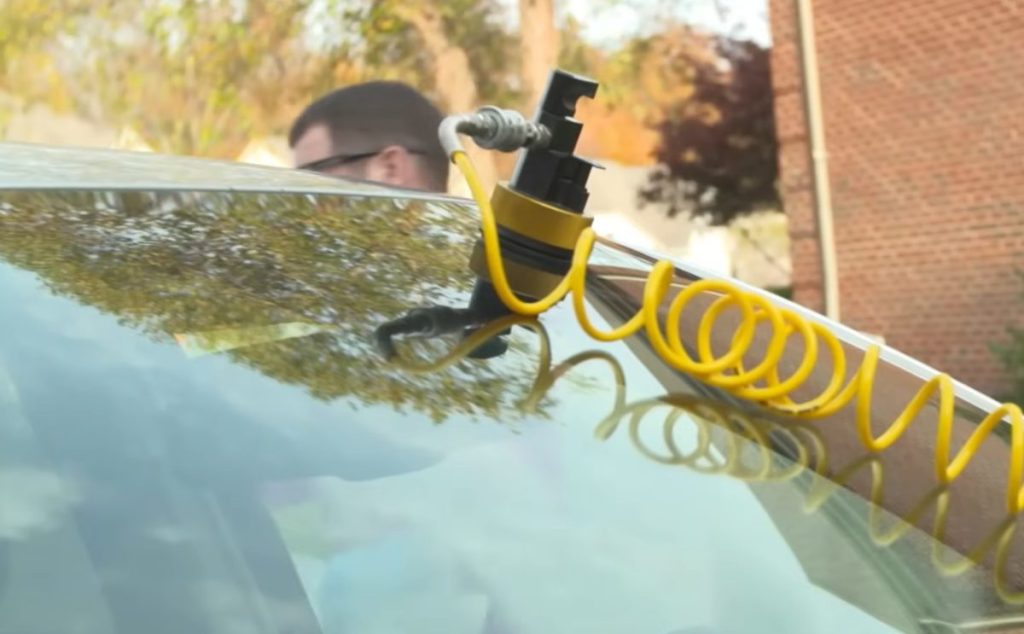
When drivers ask how long does Safelite take to replace a windshield, the answer relies entirely on your vehicle’s technology and the glass position. A basic front glass replacement requires roughly two hours of total downtime, combining the technician’s physical labor with the chemical curing process.
Vehicles manufactured after 2016 almost universally include windshield-mounted safety sensors for lane-departure warnings and automated emergency braking. These Advanced Driver Assistance Systems (ADAS) require meticulous digital recalibration after the new glass is set. The recalibration process forces technicians to use specialized laser targets and diagnostic computers, pushing the total appointment time to between three and five hours.
To plan your day accurately, review the exact time commitments based on the specific service your vehicle requires.
| Service Scenario | Physical Labor Time | Curing Time (SDAT) | Camera Recalibration | Total Time Commitment |
| Basic Windshield (No Sensors) | 45 to 60 minutes | 60 minutes | 0 minutes | Approx. 2 Hours |
| Rear Windshield Window | 60 minutes | 60 minutes | 0 minutes | Approx. 2 Hours |
| Modern Vehicle (With ADAS) | 60 to 90 minutes | 60 minutes | 45 to 60 minutes | 3 to 5 Hours |
| Minor Chip or Crack Repair | 30 minutes | 0 minutes (Instant UV cure) | 0 minutes | 30 to 45 Minutes |
What Is Safe Drive-Away Time (SDAT)?
Safe Drive-Away Time is the strict, scientifically measured window required for polyurethane adhesive to molecularly bind and solidify enough to withstand airbag deployment pressure. Safelite mandates a minimum 60-minute SDAT period before you can turn the ignition key.
The windshield acts as a primary safety shield in modern vehicle architecture. It provides up to 60 percent of the vehicle’s structural roof support during a rollover accident and roughly 45 percent of the structural integrity during a front-end collision. Furthermore, the passenger-side airbag deploys upward into the windshield at nearly 200 miles per hour before bouncing toward the occupant.
If you drive the vehicle before the polyurethane cross-linking process reaches its minimum threshold, normal driving vibrations will break the chemical seal. According to the Auto Glass Safety Council (AGSC) 2023 installation standards, a premature drive away compromises the bond entirely, meaning the windshield could detach outward during a crash, rendering the passenger airbag completely useless.
How Does ADAS Camera Recalibration Affect the Wait?
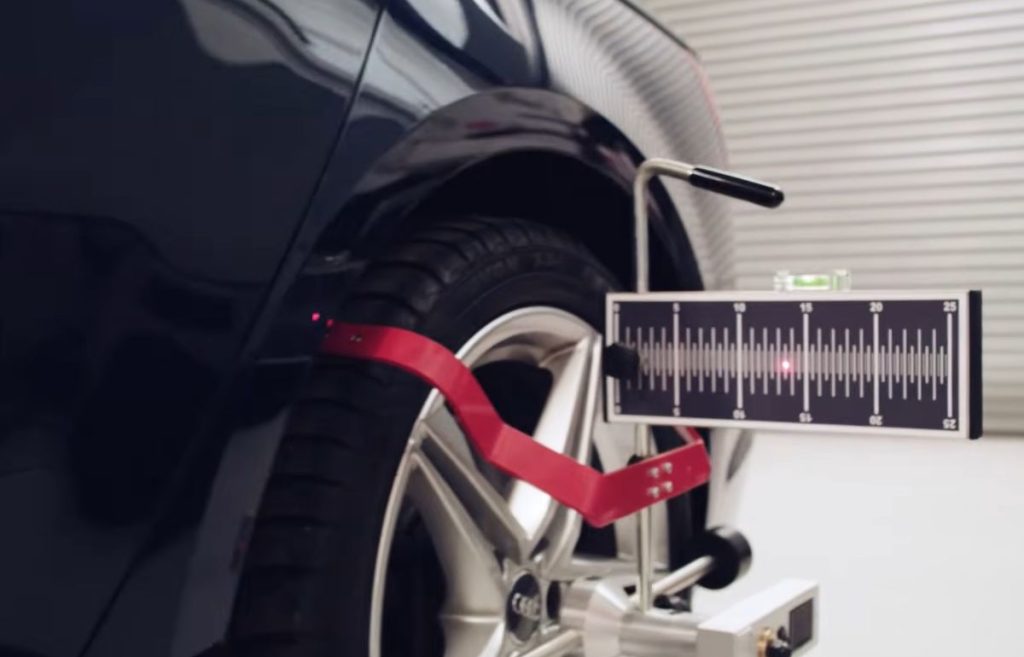
ADAS camera recalibration adds at least 45 to 60 minutes to a Safelite appointment because the technician must perfectly align the vehicle’s computer vision systems to the new glass pitch. If the camera bracket on the new windshield sits even one millimeter off the original factory angle, the vehicle’s automatic braking system could misjudge a stopping distance by several feet.
Safelite performs two different types of calibration depending on your vehicle’s manufacturer requirements.
Static calibration requires the vehicle to sit perfectly level inside a Safelite facility. Technicians set up highly specific black-and-white geometric targets at precise distances from the front bumper under controlled lighting conditions. The diagnostic computer then teaches the camera to recognize these targets.
Dynamic calibration requires the technician to plug a diagnostic tablet into the vehicle’s OBD-II port and physically drive the car on a well-marked highway at specific speeds. The camera recalibrates by reading the painted lane lines in real time. Dynamic calibration is highly susceptible to weather delays, as heavy rain or snow covers the lane markings, forcing the technician to postpone the calibration phase entirely.
Does Service Location Change How Long the Repair Takes?
The physical glass replacement takes the same amount of time whether you visit a Safelite shop or hire a mobile technician, but your location choice heavily influences your personal time commitment. Evaluating the logistics between a shop drop-off and a mobile driveway repair determines how much of your workday is interrupted.
Mobile service offers exceptional convenience because the technician drives a fully equipped van directly to your home or office parking lot. You bypass the transit time and the waiting room entirely. However, mobile appointments come with wide four-hour arrival windows, and the service is entirely dependent on clear weather.
In-shop service requires you to drive to a brick-and-mortar Safelite Service Center. This option is highly recommended for vehicles requiring static camera calibration, as the shop floors are perfectly leveled for laser alignment. Shop appointments are completely immune to weather delays.
| Service Location | Weather Requirements | Camera Calibration Capability | Ideal Customer Profile |
| In-Shop Service | None (Climate controlled) | Handles static and dynamic systems | Owners of modern tech-heavy vehicles |
| Mobile Service (Home) | Requires garage if raining or freezing | Dynamic calibration only | Remote workers avoiding transit downtime |
| Mobile Service (Office) | Requires covered parking garage | Dynamic calibration only | Busy professionals working standard shifts |
What Are the Exact Steps in the Replacement Process?
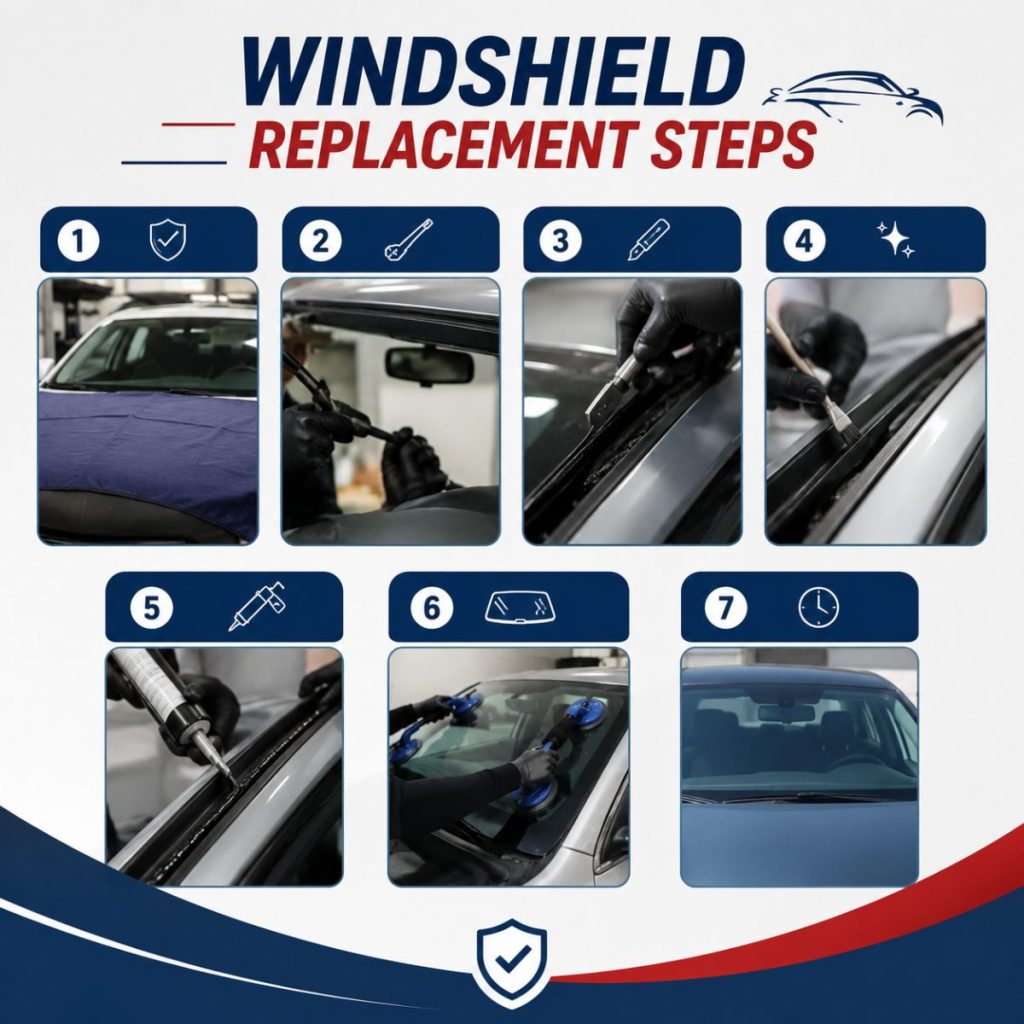
When a full replacement is required, technicians execute a highly regulated sequence to ensure structural integrity and leak prevention. Understanding the sequence explains why the physical labor takes up to an hour.
Step 1: Preparation and Protection (5 Minutes)
The technician documents the vehicle’s current condition and wraps protective moving mats over the hood, fenders, and interior dashboard. This prevents scratched paint and keeps debris out of the cabin vents.
Step 2: Hardware and Cowl Removal (10 Minutes)
Windshield wipers, the interior rearview mirror, electronic toll tags, and the exterior plastic trim cowls are systematically detached from the frame.
Step 3: The Cut Out Phase (15 Minutes)
Using specialized pull-knives, heavy-duty suction cups, or advanced wire-cutting systems, the technician slices through the old urethane seal. The damaged windshield is then lifted away from the vehicle body.
Step 4: Flange Prepping and Priming (10 Minutes)
The technician shaves the old adhesive bead down to a thin, clean base layer measuring roughly one to two millimeters. The exposed metal frame (the pinch weld) is inspected for rust. Any bare metal is treated with a specialized black primer to prevent future corrosion and ensure chemical adhesion.
Step 5: Polyurethane Adhesive Application (5 Minutes)
A high-pressure electric caulking gun applies a thick, continuous bead of advanced polyurethane adhesive around the perimeter framework. Experienced technicians apply this in a “V-bead” shape (a triangle rather than a round circle) so the adhesive compresses evenly without leaving air pockets.
Step 6: Setting the New Glass (5 Minutes)
The new windshield is precisely dropped onto the wet urethane frame using heavy-duty lifting suction cups. The technician aligns the glass to ensure symmetrical gaps on all sides.
Step 7: Curing and Detailing (60 Minutes)
The hardware cowl, wipers, and mirrors are reinstalled. The technician vacuums the interior cabin and cleans all surrounding windows. The car then sits completely still for the mandatory minimum of 60 minutes to fulfill the SDAT requirement.
OEM vs. OEE Glass: Does It Change the Service Time?
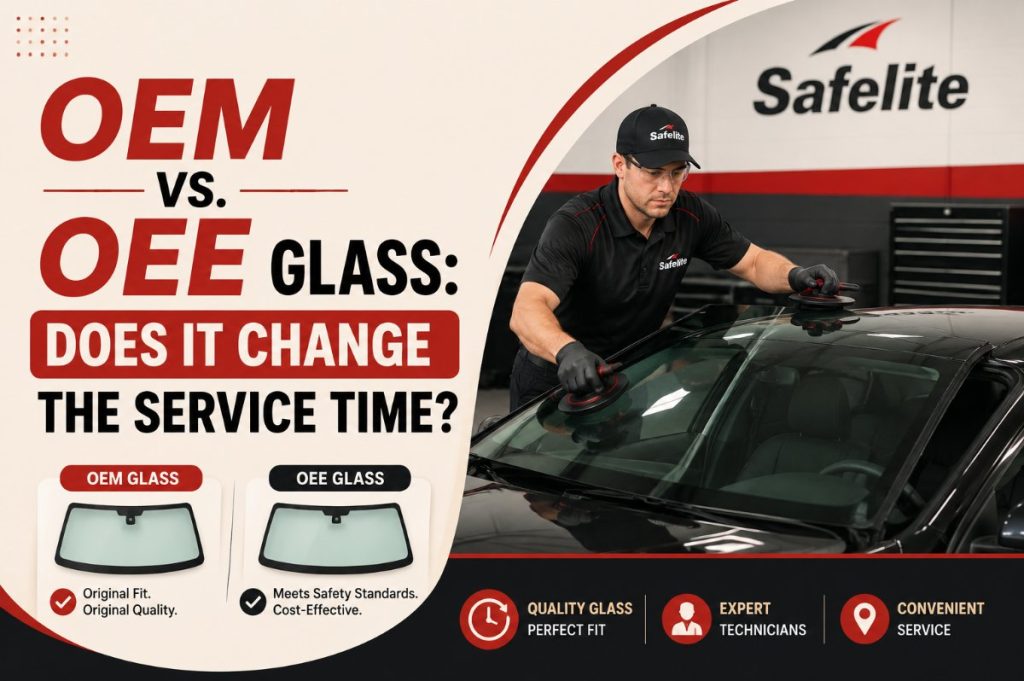
The type of glass you choose dictates how fast you can secure an appointment and how much you will pay out of pocket. Safelite offers both Original Equipment Manufacturer (OEM) glass and Original Equipment Equivalent (OEE) aftermarket glass.
OEM glass is fabricated by the exact same manufacturer that built the original window on the factory assembly line. It features identical thickness, tinting, acoustic dampening layers, and perfectly stamped manufacturer logos. Securing OEM glass often delays your appointment by three to five days because it must be ordered directly from a dealership network. Insurance companies frequently push back on OEM requests for older vehicles, requiring extra time for adjuster approvals.
OEE aftermarket glass is manufactured by third-party companies to match the exact size and safety specifications of the original window. OEE glass is readily stocked in Safelite warehouses, allowing for next-day or even same-day appointments. While it lacks the branded logo and may feature minor cosmetic variations in the edge curvature, it offers massive cost savings.
| Glass Category | Price Range Comparison | Appointment Lead Time | ADAS Calibration Risk |
| OEM (Original Equipment) | $800 to $1,500+ | 3 to 7 days (Special Order) | Zero risk; factory exact brackets |
| OEE (Aftermarket) | $250 to $600 | 24 to 48 hours (In Stock) | Minor risk of lens distortion |
| Dealership Sourced | $1,000 to $2,000+ | 1 to 2 weeks | Zero risk; factory exact brackets |
What Must You Avoid Doing After Installation?
The moment the technician hands back the keys, the polyurethane adhesive is only cured enough to withstand basic driving forces. The chemical reaction continues for weeks. Failing to observe post-installation physics will result in structural shifting, severe water leaks, or maddening wind noises.
First, leave the retention tape exactly where it is. Technicians place heavy blue painters tape across the top edge of the roofline to hold the glass firmly against gravity while the glue stabilizes. Removing this tape before 24 hours pass risks the heavy glass sliding downward by a millimeter, exposing a gap at the roofline.
Second, you must avoid automated commercial car washes for a minimum of 48 to 72 hours. High-pressure water jets and heavy friction brushes will easily puncture holes into the drying urethane layer. Hand washing with a gentle hose is acceptable, but keeping the car dry is optimal.
Finally, manage your cabin air pressure. Slamming a car door with all the windows rolled up forces a massive volume of air outward. Because the vehicle cabin is highly sealed, that air pressure will seek the weakest exit point, which is your freshly glued windshield. Leave your driver or passenger window rolled down at least an inch for the first day to vent the pressure safely when closing doors.
| Restricted Action | Minimum Wait Time | Structural Risk Factor | Safe Alternative |
| Removing Blue Tape | 24 Hours | Glass slides downward from gravity | Leave tape on while driving normally |
| Closing Doors Tightly | 24 Hours | Cabin air pressure blows out the seal | Leave one window cracked 1 inch |
| Automated Car Wash | 48 to 72 Hours | Water jets puncture the drying urethane | Gentle hand wash or wait 3 days |
| Dash Sunshades | 24 Hours | Pushing against glass breaks the seal | Park in the shade |
How Can You Troubleshoot Post-Installation Issues?
Even with precise procedures, localized adhesive failures occur. Safelite includes a Nationwide Lifetime Warranty covering structural defects, air leaks, and water leaks for as long as you own the vehicle.
If you hear a whistling or “whooshing” wind noise at highway speeds, you have a localized gap in the adhesive seal. The V-bead likely folded over during compression, creating a microscopic air tunnel. Minimize your driving speed to prevent the gap from widening, and contact Safelite to schedule a free structural re-seal.
If you spot water drops running down the inside of the dash panel after a rainstorm, the seal has suffered a minor structural failure. Keep the car covered out of active storms to prevent electrical damage to your dashboard wiring, and schedule a warranty inspection immediately.
If your lane-departure warning or automated braking dash lights stay illuminated, the camera calibration failed. The lens either shifted out of alignment or the diagnostic computer lost its handshake with the vehicle’s mainframe. Contact the specific Safelite branch that performed the work to run an immediate diagnostic scan.
How Much Does Safelite Windshield Replacement Cost?
Your final bill depends heavily on your location, your vehicle technology, and your insurance policy.
Drivers carrying comprehensive auto insurance in “zero-deductible” states (such as Florida, South Carolina, and Kentucky) pay zero dollars out of pocket. State law requires insurance companies to waive the deductible for windshield replacements to encourage safe driving visibility.
For cash-paying customers driving older vehicle models without high-tech sensors, a standard OEE replacement typically costs between $250 and $500.
For cash-paying customers driving modern vehicles, the cost jumps dramatically. High-end glass paired with digital safety systems pushes the total bill to between $800 and $1,200. The ADAS sensor alignment alone accounts for $250 to $600 of that total because it requires expensive proprietary software licensing and highly trained diagnostic labor.
The Bottom Line on How Long Does Safelite Take to Replace a Windshield
Understanding how long does Safelite take to replace a windshield comes down to matching your personal schedule with your vehicle’s technical demands.
If you are a busy professional working from home, book a mobile service appointment. It completely eliminates transit downtime and gets the glass swapped in two hours right in your driveway, provided the weather stays dry.
If you drive a high-tech vehicle like a newer Honda, Toyota, or Subaru, book an in-shop appointment exclusively. Advanced safety cameras require precise level flooring and custom digital lighting configurations to align accurately. Surrendering three to five hours in a waiting room is a minor inconvenience compared to a failing automatic braking system.
If you are paying cash on a tight budget, request standard aftermarket OEE glass. Get a localized online quote directly from the Safelite website, search for active coupon codes, and prepare to wait the standard two hours for a secure, safe installation.
Frequently Asked Questions
Can Safelite replace a windshield in the rain?
Safelite cannot perform a mobile windshield replacement in the rain unless you provide a spacious, fully covered garage or carport. Moisture permanently ruins the chemical cross-linking process of the polyurethane adhesive, meaning the glass will never bond to the metal frame.
How long does a Safelite chip repair take?
A standard rock chip or crack repair takes roughly 30 minutes. Technicians inject a clear acrylic resin into the damaged area and cure it instantly using a specialized ultraviolet light, meaning there is zero wait time before you can safely drive the vehicle.
Do I need to be present for Safelite mobile service?
You do not need to stand next to the vehicle during a mobile appointment, but you must be available to unlock the car and hand over the keys. The technician will need access to the cabin to release the hood, remove interior trim, and reattach the rearview mirror.
How big of a crack can Safelite actually repair?
Safelite technicians can repair single cracks up to six inches long and isolated rock chips smaller than a quarter (roughly one inch in diameter). If the damage exceeds those dimensions, or if the crack intersects with the driver’s direct line of sight, federal safety standards force a total replacement.
Does Safelite vacuum the broken glass from my car?
Yes. Technicians use heavy-duty shop vacuums to remove shattered glass from the dashboard, floorboards, and surrounding seats. However, microscopic glass dust may settle into fabric pores, so a secondary deep interior detailing is recommended for severe shatter events.


