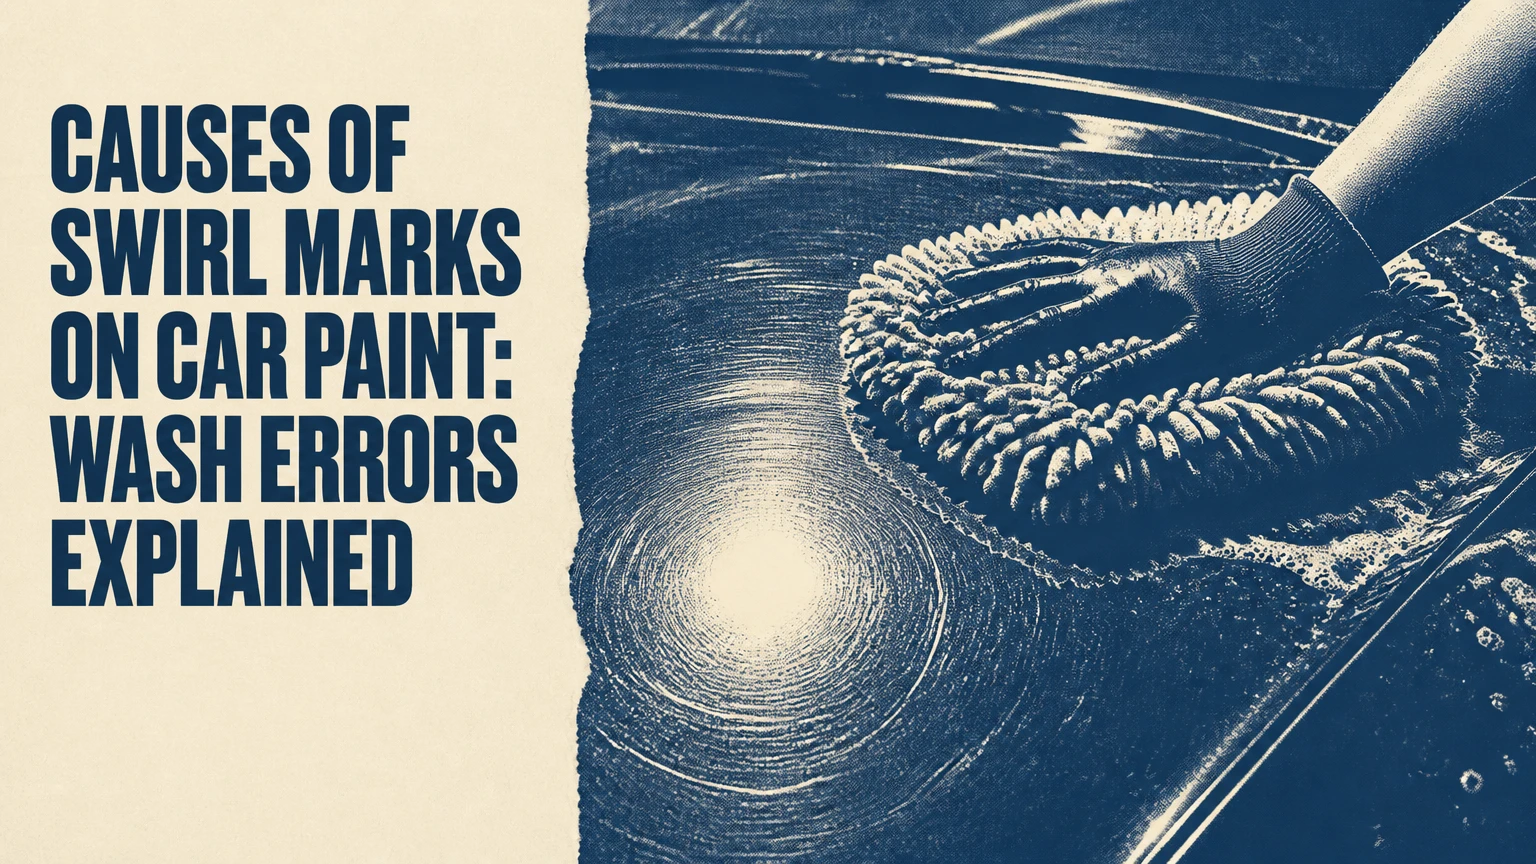
The causes of swirl marks on car paint are repeated contact between contaminated wash media and the clear coat, usually during washing, drying, or machine polishing. Dust, sand, road grit, dirty towels, automatic-wash brushes, and excessive pressure create fine scratches that scatter point-source light into circular-looking halos.
Key Facts at a Glance
- Swirl marks are networks of fine scratches in the clear coat, not circular grooves.
- A dirty wash mitt creates damage when trapped particles move under pressure across paint.
- Black and dark-colored vehicles reveal swirls more strongly because contrast makes reflected defects easier to see.
- Automatic brushes, contaminated towels, and dry dusting can create new marring even when the paint looks clean.
- Wax, sealants, and ceramic coatings can hide or reduce the appearance of minor defects, but they do not level scratches.
- Polishing removes swirls by removing a small amount of surrounding clear coat, so complete removal is not always the safest goal.
What Are Swirl Marks?
Swirl marks are dense, shallow scratches distributed across a vehicle’s clear coat. The scratches are usually straight, curved, or intersecting rather than truly circular, but a small sun or inspection lamp makes their edges appear as a halo around the light source.
Automotive paint normally includes primer, a color-bearing base coat, and a transparent clear coat. Swirl marks generally remain within the clear coat, although deeper scratches can pass through it and expose the base coat or primer. Clear-coat thickness varies by manufacturer, panel, repair history, and location; a typical total paint system may measure roughly 100-180 microns, while the clear layer is often only a fraction of that total.
The common “1.5-2.0 mil clear coat” figure is a useful approximation for some factory finishes, not a universal specification. A paint-depth gauge measures the combined coating stack, not clear coat alone, unless specialized inspection methods are used.
Why Do Swirls Look Circular?
Swirl marks look circular because directional scratches scatter light around a concentrated light source. The apparent pattern changes when the vehicle, light, or observer moves, which helps distinguish swirls from etched water spots or a single deep scratch.
The optical effect is primarily reflection and light scattering from irregular scratch edges. Refraction is not the best description of the visible halo. On dark paint, a bright sun or LED inspection lamp produces enough contrast to reveal thousands of tiny defects that remain difficult to see under cloudy, diffuse light.
How Does a Swirl Mark Form?
A swirl mark forms when a hard particle becomes trapped between paint and a moving wash or drying material. Pressure pushes the particle into the clear coat, and movement drags its sharp edges across the surface, creating a shallow trench.
The process has four linked conditions:
- Contamination: Sand, road grit, metal particles, dried compound, or loose dust reaches the paint.
- Pressure: A mitt, towel, brush, pad, or clothing presses the particle against the panel.
- Movement: The contact material travels across the surface instead of lifting away from it.
- Insufficient lubrication: Too little wash solution increases friction and reduces the particle’s ability to move away from the paint.
Particle hardness matters. Quartz-based sand can be harder than many paint components, while a clean microfiber can be relatively gentle. The same towel may be safe on a clean hood but damaging on a dusty door because the contamination changes the contact surface.
What Causes Swirl Marks on Car Paint Most Often?
Improper washing is the leading practical cause because washing combines contamination, pressure, moisture, and repeated movement. A single aggressive wash may create visible defects, but repeated low-level abrasion usually produces the dense pattern owners call swirls.
| Cause | Typical contact event | Why damage occurs | Most affected area |
|---|---|---|---|
| Dirty wash mitt | Mitt reused after lower panels | Grit becomes trapped in fibers | Doors, rocker panels |
| Automatic brush wash | Rotating brush contacts paint | Shared brushes carry abrasive soil | Hood, roof, upper doors |
| Dry dusting | Duster dragged over dry dust | No lubrication separates grit from paint | Horizontal panels |
| Poor towel drying | Towel pulled over residual dirt | Towel moves particles across clear coat | Hood, trunk lid |
| Machine-polishing error | Loaded pad worked too long | Abrasive residue and removed paint harden in pad | Flat panels, edges |
| Car-cover installation | Cover slides over dusty paint | Embedded dust acts like loose abrasive | Roof, hood, trunk |
| Clothing or bags | Denim, zippers, or straps rub paint | Repeated pressure creates localized marring | Door edges, fenders |
Which Washing Mistakes Create Swirls?
The most damaging washing mistakes are touching paint before removing loose grit, using contaminated media, applying unnecessary pressure, and allowing dirty water or products to dry on the surface. A safe wash reduces particle contact before the mitt reaches the paint.
Skipping the Pre-Rinse
A pre-rinse removes loose dust, sand, salt, and mud before the wash mitt touches the panel. A pressure washer can improve soil removal, but ordinary hose pressure still helps if the vehicle is thoroughly wetted from top to bottom.
Pre-rinsing does not remove bonded contamination such as tree sap, tar, or iron particles. Those contaminants need appropriate chemical treatment, but chemical decontamination should occur before clay or mechanical polishing.
Using One Bucket for Everything
A single bucket can work only when the wash process is exceptionally controlled, but it provides no dedicated clean-rinse stage. Each time a dirty mitt returns to the wash solution, suspended grit can be loaded back into the fibers.
A two-bucket process uses one bucket for shampoo solution and another for rinsing. Grit guards may reduce contamination at the bottom, but they do not make a dirty mitt safe automatically. Rinsing the mitt thoroughly, using separate tools for wheels, and changing dirty water remain more important than the bucket accessory.
Washing With Excessive Pressure
Pressure does not clean paint more effectively once lubrication and chemical dwell have done their work. Pressing harder to remove bugs, bird droppings, or road film increases the force driving particles into the clear coat.
Soften stuck contamination with pre-wash, a dedicated bug remover, or a damp towel placed over the area briefly. Never scrub hardened deposits dry.
Reusing a Dropped Mitt or Towel
A wash mitt that touches the ground should be removed from paint duty. Concrete, gravel, and workshop floors can embed sharp particles too deeply for a quick rinse to remove them reliably.
Mark paint towels by task. Wheel, engine-bay, jamb, glass, and paint-contact towels should not share the same job, because brake dust and oily residue can transfer contamination.
Can Drying Cause Swirl Marks?
Drying can cause swirl marks when a towel or drying tool moves across paint that still contains grit or when the operator applies heavy pressure. The safest drying method removes most water with air or blotting, then uses a clean, high-pile drying towel for remaining moisture.
A bath towel or T-shirt is unsuitable because its short, uneven fibers provide less space for particles to become buried. A quality automotive drying towel still requires correct technique. Saturated towels drag more readily, and a towel that falls on the ground should be retired from paint use.
Use a leaf blower or dedicated car dryer around mirrors, grilles, badges, trim gaps, and panel seams. Air drying reduces contact but can also move loose grit onto another panel, so the vehicle should be rinsed first.
Water spots are a separate defect. Minerals left behind after evaporation can etch or deposit on clear coat, while a towel can scratch the surface during removal. A vehicle may have both defects at the same time.
Can an Automatic Car Wash Create Swirls?
An automatic car wash can create swirl marks, especially when it uses shared brushes or cloth strips that contact many dirty vehicles. A touchless wash removes direct brush abrasion, but its recycled water, chemicals, and drying process can still leave deposits or expose existing defects.
| Wash type | Paint contact | Main risk | Typical best use |
|---|---|---|---|
| Brush tunnel | High | Shared grit and forceful contact | Heavily soiled vehicles when appearance is secondary |
| Cloth tunnel | High | Fabric carries soil between vehicles | Occasional emergency cleaning |
| Touchless automatic | None | Incomplete soil removal and mineral residue | Maintenance between careful hand washes |
| Rinseless wash | Controlled | Poor technique on heavy grit | Light-to-moderate dirt in suitable conditions |
| Careful hand wash | Controlled | Operator contamination or pressure | Best appearance-preservation option |
Touchless washing is not automatically perfect. If road film remains after the chemical cycle, wiping the vehicle immediately with a towel can create marring. Rinse thoroughly and inspect the surface before any contact drying.
Why Do Black Cars Show Swirls More Clearly?
Black cars show swirl marks more clearly because dark paint produces strong contrast between a clean reflection and light-scattering scratches. White, silver, and light gray paint can contain similar damage, but diffuse reflection often conceals it under ordinary lighting.
Paint color does not cause swirls. Clear-coat hardness, maintenance history, lighting, viewing angle, and panel contamination determine how visible the defects become. A black vehicle under a point-source LED may look heavily marked, while the same vehicle under an overcast sky can appear nearly perfect.
Dark colors also reveal polishing haze and rotary holograms. Owners sometimes mistake a lighting change for new damage because the pattern becomes visible after a wash removes oily fillers.
Are Swirl Marks Different From Scratches and Holograms?
Swirl marks are widespread shallow marring, while random scratches are isolated defects with a more defined direction or path. Holograms are machine-polishing trails, usually linked to rotary-tool movement, that appear as floating arcs or repeating patterns under strong light.
| Defect | Visual pattern | Likely source | Can light polishing remove it? |
|---|---|---|---|
| Swirl marks | Dense fine network or halos | Washing and drying abrasion | Often, if shallow |
| Random scratch | Single line or localized group | Key, branch, grit, impact | Only if within clear coat |
| Hologram | Arcs, ribbons, or “3D” trails | Rotary pad and compound | Usually, with finishing polish |
| Water-spot etching | Rings or irregular mineral outlines | Evaporated hard-water deposits | Sometimes, after chemical cleaning |
| Bird-dropping etch | Localized irregular stain | Acidic or alkaline residue | Sometimes, depending on depth |
| Oxidation or clear-coat failure | Broad haze, peeling, chalking | UV, degradation, adhesion failure | No, not through normal polishing |
A fingernail test is only a rough screen. If a fingernail catches sharply, the defect may be too deep for complete polishing. The test cannot measure remaining clear coat and should not replace inspection under controlled lighting.
Can a Car Cover or Duster Cause Swirls?
A car cover or duster can cause swirl marks when used on dusty paint or moved across the surface under pressure. The cover material itself is less important than whether grit is trapped between the cover and the clear coat.
Install a cover only on a clean, dry vehicle, and choose a fitted cover with a soft inner surface and secure tie-downs. Wind creates repeated movement that can abrade paint even when the cover initially fits correctly. Do not use a cover outdoors during dusty, windy conditions unless protection from contamination outweighs the abrasion risk.
Dry dusting is similarly risky. A duster can remove loose particles only when the surface is extremely clean and the tool is lifted frequently; dragging it across a daily-driven car is a fast way to add fine marring.
What Removes Existing Swirl Marks?
Machine polishing removes existing swirl marks by leveling the clear coat around the scratches with controlled abrasives. Glazes, waxes, and some all-in-one products can temporarily fill or mask fine defects, but they do not restore the original surface geometry.
Start with the least aggressive process that produces the required result. A test spot on one small area establishes whether a finishing polish, one-step product, or compound is appropriate for that paint.
| Correction approach | Typical defect removal | Typical working time | Typical professional price |
|---|---|---|---|
| Glaze or filler product | 0%, temporary masking | 30-90 minutes | $50-$150 |
| All-in-one polish | 20%-50% shallow marring | 3-5 hours | $150-$300 |
| One-step correction | 50%-80% light-to-moderate defects | 5-8 hours | $300-$650 |
| Two-step correction | 80%-95% suitable defects | 10-20 hours | $600-$1,400 |
| Wet sanding and multi-stage correction | Defect-specific, high risk | 24-40+ hours | $1,500-$3,500+ |
These are typical North American service ranges, not fixed prices. Vehicle size, paint hardness, panel condition, access, regional labor, and the required inspection standard can change the total substantially.
Can Wax or Ceramic Coating Remove Swirls?
Wax and ceramic coatings cannot remove swirl marks because neither product levels scratched clear coat. A coating can improve gloss, reduce chemical exposure, and make maintenance easier, but it preserves the defects beneath it.
Apply protection after correction and panel preparation. If a coating is installed over polished paint containing oils or fillers, the finish may initially look corrected and later reveal the original marring as the masking residue washes away.
Should You Correct Swirl Marks Yourself?
DIY correction is reasonable for a careful owner using a dual-action polisher, a test spot, clean pads, and conservative expectations. Professional correction is safer for expensive vehicles, thin or repainted panels, severe defects, and owners seeking high defect removal across the entire vehicle.
| Decision factor | DIY dual-action correction | Professional correction |
|---|---|---|
| Typical equipment cost | $200-$500 | Included in service price |
| Typical duration | 8-24 hours | 1-3 working days |
| Main tool | 8-15 mm dual-action polisher | DA and rotary tools as required |
| Paint inspection | Visual, optional gauge | Paint-depth gauge and inspection lighting |
| Beginner risk | Moderate at edges and body lines | Lower, depending on technician |
| Best target | 50%-80% improvement | 80%-95% selected defect removal |
| Main limitation | Learning curve and fatigue | Cost and variable shop quality |
A dual-action polisher is more forgiving than a rotary machine because its motion reduces concentrated heat and uniform cutting trails. It can still damage paint if used with excessive pressure, an aggressive pad, a dry compound, or prolonged work on an edge.
Mike Phillips’s frequently repeated detailing maxim is, “You can’t polish out what isn’t there.” The practical meaning is simple: polishing cannot safely remove a scratch that has penetrated beyond the available clear coat.
How Can You Prevent New Swirls?
Preventing new swirls requires reducing abrasive contact, not merely applying a stronger protectant. Use a pre-rinse, adequate lubrication, clean media, low pressure, and a controlled drying method every time the vehicle is washed.
A Low-Marring Wash Sequence
- Choose conditions: Work in shade on cool panels, ideally below approximately 90°F or 32°C.
- Clean the wheels first: Use separate wheel tools so brake dust does not reach paint towels.
- Pre-rinse from top to bottom: Remove loose particles before contact washing.
- Apply pre-wash: Allow the product to dwell according to its label, commonly 2-5 minutes, without drying.
- Use two wash media: Reserve one for upper paint and another for lower panels.
- Wash small zones: Move from roof and glass toward lower doors, rinsing the mitt after each section.
- Use straight, light passes: Avoid scrubbing in circles and let chemistry loosen contamination.
- Rinse thoroughly: Remove shampoo and loosened grit before drying.
- Blow out crevices: Remove trapped water from mirrors, badges, and trim.
- Blot or lightly glide a clean towel: Turn the towel frequently and replace it when saturated.
Circular washing does not itself create circular scratches. The key risk is abrasive contact combined with movement; straight passes simply make the direction of any accidental marring easier to diagnose.
Protection Choices and Their Limits
| Protection | Typical durability | Primary benefit | What it cannot do |
|---|---|---|---|
| Carnauba or synthetic wax | 4-12 weeks | Gloss and water behavior | Remove or prevent all abrasion |
| Paint sealant | 3-9 months | Longer chemical resistance | Stop grit from scratching paint |
| Consumer ceramic coating | 6-24 months | Easier cleaning and hydrophobicity | Repair existing swirls |
| Professional ceramic coating | 2-5 years | Durable chemical and cleaning barrier | Prevent all wash-induced marring |
| Paint protection film | 5-10 years typical | Physical sacrificial protection | Cover every panel invisibly forever |
Paint protection film provides the strongest physical defense in high-impact areas such as the front bumper, hood edge, mirror caps, and rocker panels. Ceramic coating improves maintenance but should not be marketed as scratch-proof.
Why Do Swirls Return After Polishing?
Swirls return after polishing when a product has filled rather than removed defects, when the inspection wiped away oils, or when the first maintenance wash recreates the same abrasion. Returning defects usually indicate masking or new marring, not spontaneous clear-coat damage.
Inspect corrected paint with a dedicated panel-preparation product or an appropriate diluted isopropyl-alcohol wipe, following the polish and coating manufacturer’s guidance. Test a small area first because solvents can affect fresh repairs, sensitive trim, or uncured finishes.
| Symptom after correction | Probable cause | Correct response |
|---|---|---|
| Defects reappear after one wash | Fillers or polishing oils | Degrease, inspect, then reassess |
| Paint looks gray or hazy | Micro-marring from compound or pad | Finish with a softer pad and polish |
| Curved trails appear under LED | Rotary holograms | Use a controlled finishing step |
| Product dusts heavily | Hot panel, dry pad, excess product | Reduce section size and product load |
| New lines appear after drying | Dirty towel or residual grit | Stop, rinse, replace towel, inspect |
| Some panels correct quickly | Different paint hardness or repair history | Tune process by panel, not by vehicle alone |
A fresh coating can make diagnosis harder if applied before true correction is confirmed. Inspect under multiple lighting angles before protecting the finish.
When Should a Professional Detailer Handle Swirls?
A professional detailer is the better choice when paint is thin, repainted, heavily scratched, expensive to replace, or required to meet a high visual standard. A shop should explain its process, inspect the vehicle, perform a test spot, and define a realistic removal target before quoting the job.
Ask whether the price includes:
- Paint-depth measurements or at least inspection for repaired panels
- Chemical and mechanical decontamination
- A documented one-step or two-step process
- Edge and trim protection
- Inspection after an oil-removing panel wipe
- Final protection and maintenance instructions
Avoid a provider promising 100% removal without discussing clear-coat preservation. Daily drivers encounter new contamination, and chasing every deep scratch can remove more protective material than the appearance improvement justifies.
The Bottom Line
The main causes of swirl marks on car paint are abrasive particles trapped during washing, drying, dusting, covering, or machine polishing. Preventing the damage depends on removing loose grit before contact, using clean dedicated media, minimizing pressure, and inspecting the finish under point-source light.
Existing swirls require correction rather than stronger wax. A mild one-step polish may improve shallow marring, while deeper or widespread defects need a measured professional process. The safest result is often 70%-90% improvement with clear-coat preservation, not risky perfection.
Frequently Asked Questions
Do swirl marks damage the clear coat?
Yes. Swirl marks are shallow clear-coat scratches, although their depth varies considerably. Fine marring may affect only the upper portion of the transparent layer, while deeper lines can approach the base coat. Repeated polishing removes surrounding clear coat, so correction should balance visual improvement against remaining paint thickness.
Why does a brand-new car already have swirl marks?
A new car can receive marring during factory finishing, transport, dealership washing, storage, or preparation for delivery. Dealer employees may use contaminated towels, automatic brushes, or aggressive polishing methods. Inspect a new vehicle under direct LED lighting before accepting correction or coating work.
Are swirl marks permanent?
Swirl marks are physically permanent until the scratched surface is leveled or the defects are filled. Polishing can remove suitable shallow defects, while glazes and some waxes hide them temporarily. A coating changes protection and cleaning behavior but does not permanently repair underlying scratches.
Can rinseless washing prevent swirl marks?
Rinseless washing can prevent many swirls when the vehicle has light contamination, the solution is mixed correctly, and multiple clean towels are used. It is unsuitable for thick mud or heavy sand unless loose contamination is removed first. The method reduces water use but does not eliminate the need for lubrication and careful media management.
Do swirl marks reduce a car’s resale value?
Visible swirls can reduce perceived paint condition, particularly on black, dark blue, and other high-contrast colors. Their effect on resale value depends on vehicle age, market demand, defect severity, and whether correction reveals deeper damage. A clean, well-maintained finish generally presents better than a heavily masked one.
Can hand polishing remove swirl marks?
Hand polishing can improve very light haze and isolated marring, but it usually cannot match the correction speed or consistency of a dual-action polisher. Hand work is useful for small areas, delicate trim-adjacent sections, or final finishing. Deep, widespread swirls normally require machine correction and controlled inspection.


