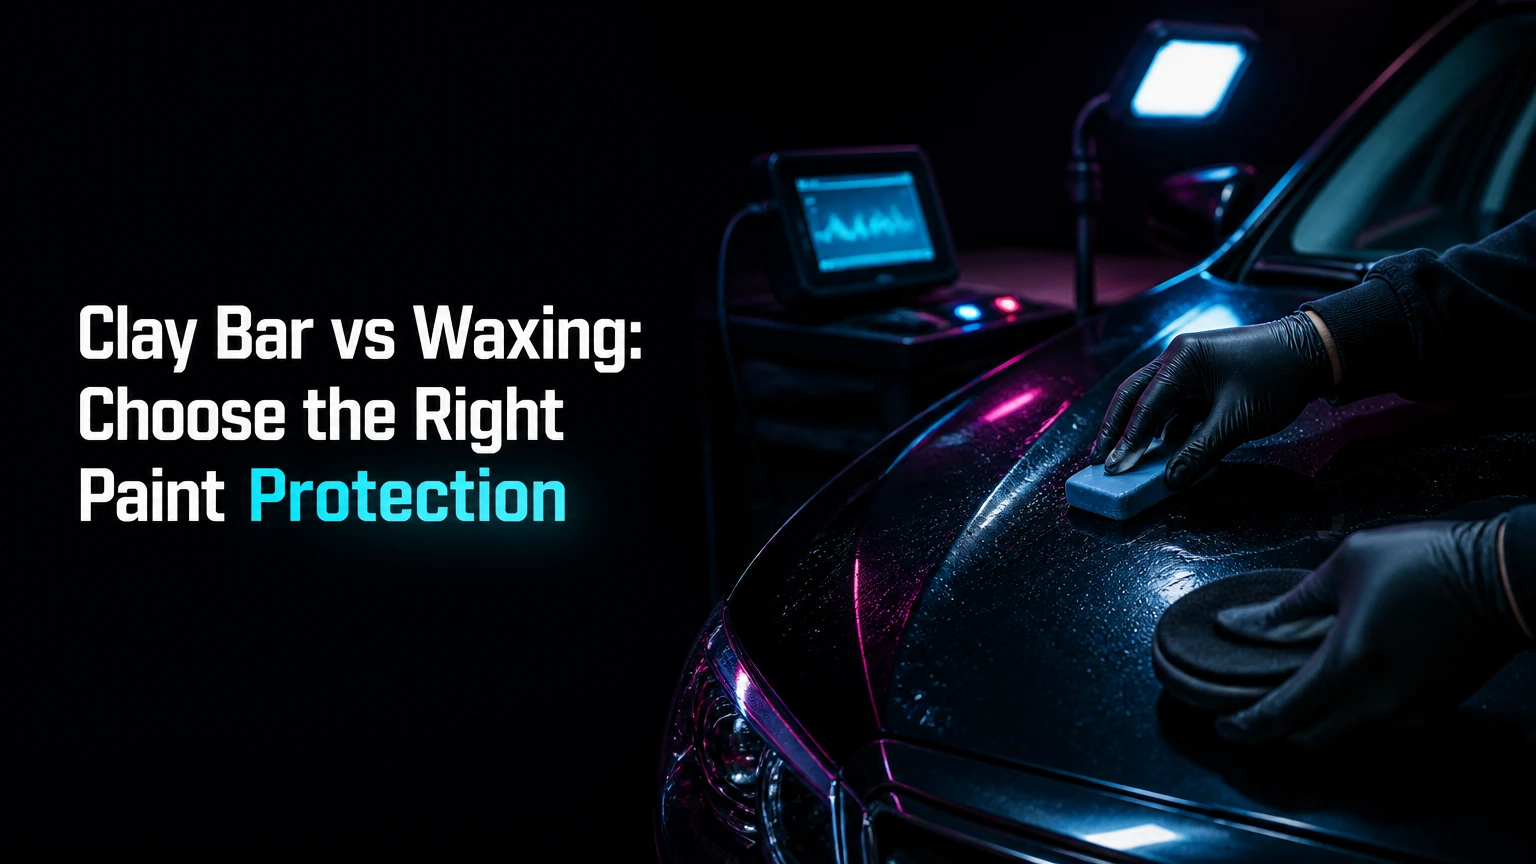
A clay bar removes bonded contaminants from automotive paint, while waxing places a temporary protective film over clean paint. Clay is a decontamination step; wax is a protection and appearance step. For most vehicles, the best answer is not clay bar versus waxing, but clay only when the paint feels contaminated, followed by wax or sealant when protection is needed.
Key Facts at a Glance
A clay bar removes surface-bound particles that normal washing cannot remove; car wax does not.
Wax adds gloss, slickness, and short-term resistance to water and environmental contamination; it does not repair scratches.
Claying can create light marring, especially on soft paint, so inspect the finish and polish if necessary.
The correct order is wash, chemical decontamination when needed, clay if contamination remains, then protect.
Typical consumer costs are $15-$40 for a clay kit and $10-$50 for wax or sealant.
A plastic-bag test can identify rough contamination more reliably than claying on a fixed calendar.
What Is the Difference Between Clay Bar and Waxing?
The difference is function: a clay bar cleans the paint mechanically, whereas wax protects the paint chemically and optically. A clay bar has no meaningful durable protective benefit, and wax cannot safely remove firmly bonded iron, overspray, rail dust, or industrial fallout.
What Does a Clay Bar Remove?
Detailing clay is a pliable resin or synthetic polymer compound that grabs protruding contamination while it moves across a lubricated panel. Common targets include paint overspray, industrial fallout, rail dust residue, tree sap residue, and stubborn road film that remains after washing.
Clay does not dissolve contamination. It shears or pulls particles from the upper paint surface and holds them within the working face. Lubrication reduces friction and gives contaminants somewhere to move without dragging directly across dry clear coat.
A clay bar cannot correct swirl marks, oxidation, etching, dents, or deep scratches. It also is not a substitute for tar remover or an iron remover, because chemical products can dissolve specific contaminants before mechanical contact becomes necessary.
What Does Car Wax Do?
Car wax leaves a thin sacrificial film that changes water behavior, surface slickness, and reflected appearance. Carnauba-based products generally emphasize warm gloss, while synthetic polymer sealants usually prioritize durability and sharper reflection.
Wax does not permanently block every environmental hazard. Bird droppings, bug residue, tree sap, acid rain, and ultraviolet exposure can still damage paint when they remain on the vehicle, so prompt washing matters more than the wax label alone.
A cleaner wax is different from a pure wax. Cleaner wax may contain chemical cleaners or mild abrasives that remove light oxidation and improve appearance, but it still cannot replace paint correction for substantial swirls or scratches.
Clay Bar vs Waxing: Which Performs Better?
Neither process is “better” because each solves a different surface problem. Clay wins when paint feels gritty after washing; waxing wins when the paint is already clean and the goal is short-term protection, gloss, and easier maintenance.
| Decision criterion | Clay bar | Wax or sealant | Practical winner |
|---|---|---|---|
| Primary job | Removes bonded contamination | Adds surface protection | Depends on the goal |
| Typical working time | 45-90 minutes for a sedan | 10-60 minutes, product dependent | Spray protection |
| Typical consumer cost | $15-$40 per kit | $10-$50 per container | Wax |
| Surface feel | Removes roughness and grit | Adds slickness after application | Both, in sequence |
| Scratch correction | Cannot correct scratches | Cannot correct scratches | Neither |
| Marring risk | Possible with poor technique | Low, except cleaner waxes | Wax |
| Typical repeat interval | When bag test detects grit, often 1-2 times yearly | About 2-6 months, product dependent | Wax lasts longer between tasks |
| Best preparation role | Before polishing or protecting | Final protection step | Clay first, protection second |
Does Waxing Hide or Remove Scratches?
Wax can temporarily mask very fine micro-marring by filling or optically reducing contrast, but it does not remove or level the damaged clear coat. A polish removes a controlled amount of clear coat through abrasive refinement; wax simply covers the prepared surface.
This distinction prevents a common mistake. If a black vehicle looks hazy after claying, adding wax may make the finish look better under one light source, but the haze remains beneath the film and will return as the product wears away.
Verdict: Choose polishing for defects, clay for bonded contamination, and wax for protection after surface preparation.
Should You Clay Before Waxing?
You should clay before waxing when the washed paint feels rough or the plastic-bag test detects raised particles. You should skip claying when the paint is already smooth, because unnecessary mechanical contact introduces avoidable friction and possible marring.
Use a thin disposable plastic bag over your fingertips and glide it across clean, dry paint. The bag amplifies texture that bare fingers may miss. Test the hood, roof, trunk lid, and lower doors, since contamination often varies by panel.
The correct workflow is:
- Wash the vehicle thoroughly with a pH-neutral car shampoo.
- Dry it and inspect for tar, sap, iron particles, and overspray.
- Apply an iron remover to suspected ferrous fallout, following the label dwell time.
- Remove tar or sap with a dedicated solvent safe for automotive paint.
- Clay only the panels that remain rough.
- Inspect for marring under strong, diffuse lighting.
- Polish if necessary, then apply wax, sealant, or a compatible spray protectant.
Chemical decontamination should precede claying because dissolving part of the contamination reduces the amount of mechanical force required. Product manufacturers differ on whether their iron removers are safe on every wheel or painted surface, so the product label controls the procedure.
How Much Time and Money Do Clay and Waxing Require?
A typical DIY clay-and-wax session costs $25-$90 and takes approximately 1.5-3 hours for a standard sedan, excluding paint correction. Professional pricing commonly ranges from $100-$250 for claying and $75-$150 for a basic wax application, although regional labor rates vary.
| Service or material | Typical DIY price | Typical time | Main variable |
|---|---|---|---|
| Fine clay kit | $15-$40 | 45-90 minutes | Sedan size and contamination |
| Synthetic clay mitt | $20-$45 | 30-75 minutes | Wash method and panel condition |
| Paste or liquid wax | $10-$50 | 30-60 minutes | Haze time and buffing difficulty |
| Spray sealant or spray wax | $12-$35 | 10-20 minutes | Panel count and wipe-off |
| Iron remover, 500-750 ml | $15-$30 | 15-30 minutes | Fallout severity |
| Professional clay service | $100-$250 | 1-3 hours | Vehicle size and correction needs |
| Professional wax application | $75-$150 | 1-2 hours | Product and preparation level |
These are typical planning ranges, not universal prices. A heavily contaminated SUV may take twice as long as a maintained compact car, and a professional package may include washing, chemical decontamination, polishing, and protection under one bundled price.
Which Clay Tool Should You Use?
A fine traditional clay bar provides the most direct control, while a synthetic clay mitt or towel offers faster cleaning and easier contamination removal after rinsing. The safest choice depends on paint softness, operator pressure, and whether you can inspect and correct light marring.
| Tool | Typical use | Strength | Main risk | Best user |
|---|---|---|---|---|
| Fine traditional clay | Light to moderate bonded contamination | Precise control | Marring if dirty or overworked | Careful DIY detailer |
| Medium traditional clay | Heavy overspray and neglected paint | Faster aggressive removal | Cloudiness requiring polish | Experienced operator |
| Synthetic clay mitt | Maintenance decontamination | Rinses clean after dropping | Can mar soft paint | Daily-driver owner |
| Synthetic clay towel | Large vehicles and rapid work | Broad coverage | Edge contamination or uneven pressure | Professional detailer |
| Clay pad for machine use | Controlled machine decontamination | High productivity | Excess heat and aggressive correction | Trained professional |
Traditional clay should be folded frequently to expose a clean face. If it touches the ground, discard it. A synthetic mitt or towel can often be rinsed after a drop, but inspect it carefully and test it on an inconspicuous panel before continuing.
Start with the least aggressive tool that can solve the problem. Medium clay is not automatically superior because unnecessary aggressiveness increases the likelihood of polishing afterward.
How Do You Clay Paint Safely?
Safe claying requires clean paint, generous lubricant, light pressure, and small working sections. Work one panel or an area of roughly 2 square feet at a time, and stop as soon as the surface becomes smooth rather than repeatedly polishing already-clean paint.
Step 1: Wash and Inspect the Vehicle
Wash from the top downward, rinse thoroughly, and dry with a clean microfiber towel or air. Do not clay loose grit, because clay is designed for bonded contamination, not for carrying ordinary dirt across the finish.
Inspect in shade or controlled lighting. Mark areas with overspray, tar, sap, or visible fallout so you can apply the appropriate chemical treatment before claying.
Step 2: Apply Chemical Decontamination
Spray iron remover on cool, wet or dry paint only when the product label permits that use. Allow the stated dwell time, usually several minutes, then rinse completely before claying.
Use tar remover on tar spots rather than trying to grind them away with clay. Solvents can affect trim, fresh paint, or sensitive coatings, so keep them on the intended surface and wipe them away promptly.
Step 3: Lubricate a Small Section
Apply enough dedicated clay lubricant to keep the panel visibly wet. A dedicated lubricant provides predictable slickness; some quick detailers work, but household cleaners and dish soap can strip protection or leave unsuitable residues.
If the clay grabs, squeaks, or leaves smears, add lubricant immediately. Dry claying is one of the fastest ways to create micro-marring.
Step 4: Glide With Minimal Pressure
Flatten the clay and move it in straight, overlapping passes. Use only the weight of your hand, because pressure does not make clay chemically stronger; it increases friction and can press contamination into the clear coat.
You will know the section is finished when the clay moves quietly and the paint feels smooth through a thin plastic bag. Wipe the lubricant away before moving to the next area.
Step 5: Inspect and Decide on Polishing
Check the paint under an LED inspection light or bright indirect daylight. Fine haze or gray residue after claying indicates that the vehicle may need a finishing polish before protection.
Do not assume every vehicle requires polishing. If the finish remains clear and glossy, proceed directly to protection.
How Should You Wax After Claying?
Apply wax only after the paint is clean, residue-free, and cool to the touch. Spread a very thin layer with a foam or microfiber applicator, follow the product’s flash time, and remove the residue with a clean, plush towel.
| Protection product | Typical durability | Appearance tendency | Application time | Suitable situation |
|---|---|---|---|---|
| Carnauba paste wax | 6-12 weeks | Warm, soft gloss | 30-60 minutes | Show appearance and hobby use |
| Synthetic liquid sealant | 3-6 months | Bright, reflective finish | 30-60 minutes | Commuters seeking durability |
| Spray wax | 2-8 weeks | Moderate gloss and slickness | 10-20 minutes | Fast maintenance |
| SiO2 spray sealant | 2-6 months | Strong water behavior | 15-30 minutes | Easy modern protection |
| Cleaner wax | 4-10 weeks | Gloss with light cleaning | 30-60 minutes | Mild oxidation and one-step work |
Durability varies with weather, wash chemistry, storage, mileage, and preparation. The stated ranges are typical practitioner ranges, not guarantees. A vehicle parked outdoors in intense sun and washed with strong alkaline detergents will usually lose protection sooner.
Apply less product than seems necessary. A visible thick white film wastes wax and makes removal difficult without improving protection. Avoid direct sun and panels hot enough to dry the product before the prescribed wipe-off time.
What Are the Most Common Failure Modes?
The most common clay failure is insufficient lubrication, while the most common waxing failure is applying protection over contamination or residue. Both errors come from treating detailing products as interchangeable shortcuts rather than steps with separate surface requirements.
- Clay sticks or leaves dark smears: Add lubricant, reduce pressure, and replace contaminated clay. Do not continue rubbing a dry section.
- Hazy paint appears after claying: Inspect under proper lighting and use a mild finishing polish if the haze remains. Wax may hide it temporarily but will not correct it.
- Dropped traditional clay is reused: Discard it immediately. Even a clean-looking bar may hold abrasive grit.
- Wax becomes difficult to buff: Apply a fresh thin layer over the residue, allow it to soften briefly, then remove it with a clean towel. Do not scrape cured wax.
- Wax fails quickly: Check whether the surface was oily, contaminated, overheated, or cleaned with a strong detergent.
- Trim turns white: Keep paste wax away from textured plastic and wipe accidental residue promptly with an appropriate cleaner.
A counterintuitive professional rule is that more claying is not better detailing. Mechanical decontamination has a cost, even when the tool feels gentle, because every pass creates some friction against the clear coat.
Which Routine Fits Your Vehicle?
The right routine depends on contamination, paint sensitivity, storage, and the owner’s maintenance tolerance. A commuter often needs annual inspection and light decontamination, whereas a neglected vehicle may require chemical treatment, clay, inspection, and polishing before protection.
Daily Commuter
Test the paint twice yearly, especially after winter or a period of industrial exposure. If roughness is limited, use an iron remover and a fine synthetic mitt during a wash, then apply a spray sealant or synthetic polymer protectant.
Skip traditional clay when the paint is smooth. The time saved is less important than avoiding unnecessary marring on soft factory clear coat.
Weekend Detailing Enthusiast
Perform a full wash and chemical decontamination, then use fine traditional clay on contaminated panels. Inspect the finish before applying a synthetic sealant, and add carnauba wax later only if the appearance is worth the additional maintenance.
A sealant and wax can be layered, but compatibility and cure time depend on the products. Follow the sealant label rather than assuming every product needs a 24-hour wait.
Show-Car Owner
Use the plastic-bag test rather than a fixed schedule. Remove contamination with the least aggressive method, correct visible marring with machine polishing when appropriate, and choose carnauba wax for the desired warm appearance or a sealant for longer event-weekend protection.
Show-car preparation should prioritize optical clarity over maximum water beading. A highly hydrophobic product cannot compensate for scratches, residue, or uneven polishing.
Vehicles With Ceramic Coatings or Matte Paint
Do not automatically clay a ceramic-coated vehicle. Follow the coating manufacturer’s maintenance guidance, because aggressive mechanical decontamination can reduce performance or damage a fragile maintenance layer.
Matte and satin paint require product-specific care. Traditional polishing and many waxes can create uneven gloss, so use only products explicitly approved for the finish.
What Should You Choose?
Choose a clay bar when the paint feels rough after washing, and choose wax or sealant when the clean paint needs protection. If both conditions exist, use clay first and protection second, with polishing inserted only when inspection reveals marring or existing defects.
Choose Clay When
- The plastic-bag test detects gritty particles.
- Overspray remains after washing.
- Iron remover reduces but does not eliminate roughness.
- Wax, sealant, or coating preparation requires a clean surface.
- The vehicle has spent months near railways, factories, construction, or heavy traffic.
Choose Wax or Sealant When
- The paint already feels smooth.
- You want water repellency and easier washing.
- Gloss needs improvement without paint correction.
- Existing protection has weakened.
- You have limited time and need a spray product.
Choose Neither Yet When
- The vehicle is still dirty.
- The panel is hot or exposed to direct sunlight.
- The paint has loose grit that has not been washed away.
- You are trying to remove scratches, oxidation, or etching.
- A coating manufacturer prohibits the selected clay or wax product.
The conclusion is straightforward: clay bar vs waxing is a false either-or choice for most detailing jobs. Use clay to remove contamination only when testing shows a need, then use wax or sealant to protect the clean surface, and polish when the paint itself requires correction.
FAQ
Can I Wax Without Using a Clay Bar?
Yes, you can wax without claying when washed paint feels smooth and the plastic-bag test reveals little or no roughness. Waxing a clean, smooth vehicle avoids unnecessary mechanical contact. If contamination remains, wax may reduce slickness, shorten durability, and leave bonded particles beneath the protective film.
Does a Clay Bar Remove Water Spots?
A clay bar may remove mineral particles sitting on top of paint, but it will not reliably dissolve etched water-spot damage. Use a water-spot remover appropriate for the finish first, then assess whether polishing is required. Persistent rings or cloudy marks usually involve etching rather than removable surface grit.
Is a Clay Mitt Better Than a Traditional Clay Bar?
A clay mitt is faster, larger, and easier to rinse, while a traditional fine clay bar offers more precise control. Neither is universally safer. On soft or delicate paint, a fine bar used with ample lubricant may produce less marring than an aggressively used synthetic mitt.
Can Wax Remove Swirl Marks?
Pure wax cannot remove swirl marks because wax contains no corrective abrasive capable of leveling damaged clear coat. Cleaner wax can reduce the appearance of very light defects through mild cleaning or filling, but machine or hand polishing is the correct method for measurable defect removal.
How Often Should I Clay and Wax My Car?
Clay when contamination returns, often once or twice per year for an outdoor vehicle, rather than claying automatically every season. Wax according to its product type and observed behavior: spray products may need renewal every 2-8 weeks, while synthetic sealants commonly last 3-6 months under typical conditions.


