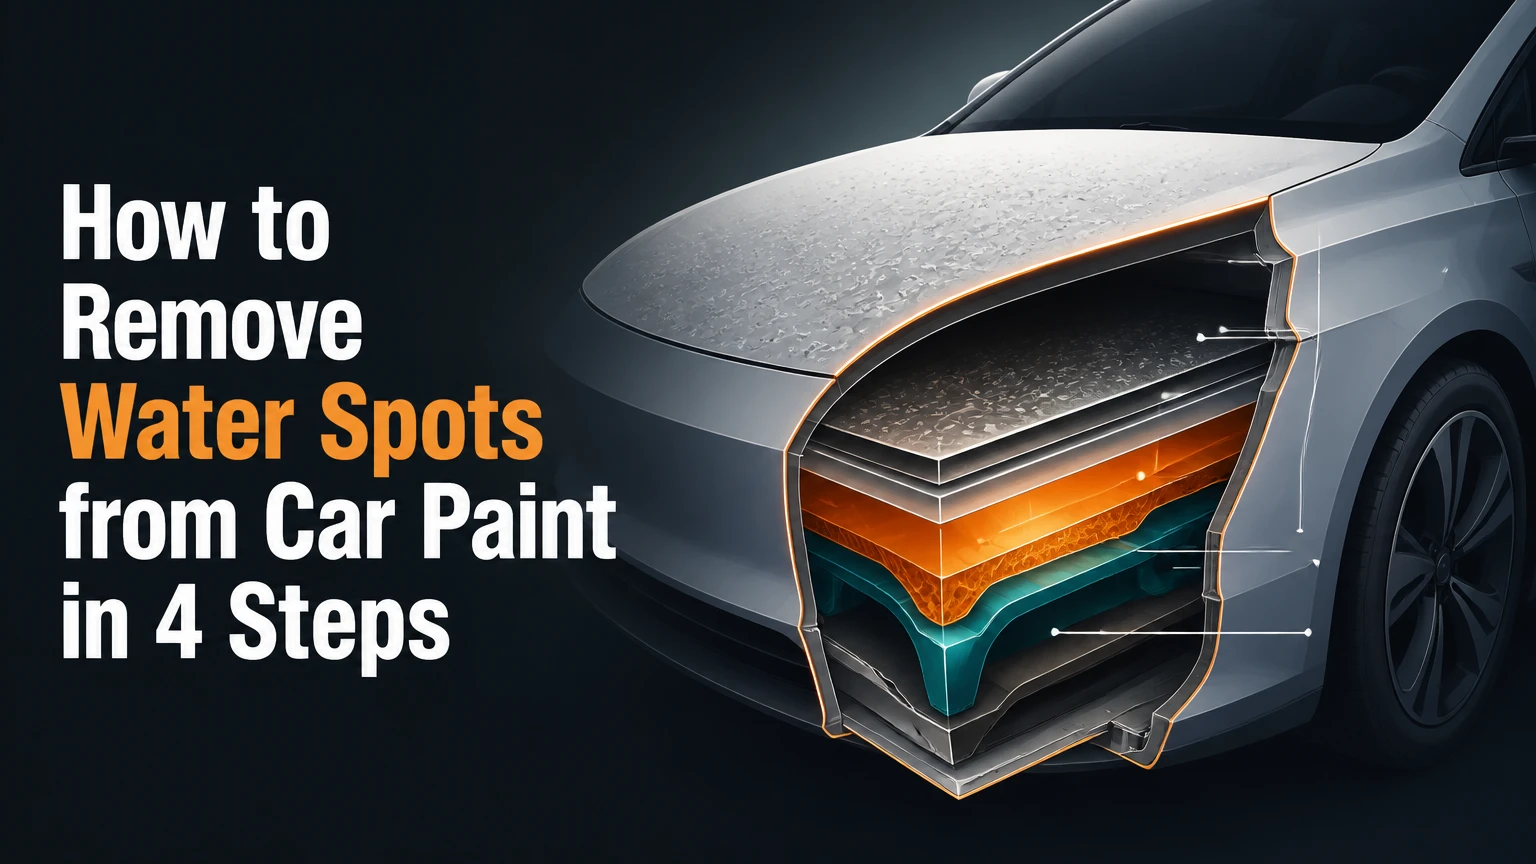
To remove water spots from car paint, wash and dry the panel, test a diluted vinegar solution or dedicated mineral remover on fresh deposits, then polish only if etching remains. The safest sequence takes 30 minutes to 5 hours, depending on severity, and always starts with the least abrasive treatment.
Key Facts at a Glance
Water spots are mineral deposits left when calcium, magnesium, silica, or other dissolved solids remain after water evaporates.
A rough, raised spot usually needs washing, clay, or chemical dissolution; a smooth-looking ring that returns when wet is usually etched clear coat.
White vinegar can help with fresh, light mineral deposits, but vinegar cannot level a crater etched into automotive clear coat.
Machine polishing removes a small amount of clear coat, so a test spot should precede every larger correction.
Never use scouring pads, razor blades, undiluted acids, hydrofluoric acid, or household bleach on automotive paint.
Drying the car before mineral-rich water evaporates is the most effective prevention step.
What Causes Water Spots on Car Paint?
Water spots form when water evaporates and leaves dissolved minerals on the clear coat. Hard tap water commonly contains calcium and magnesium; well water can carry additional iron, while sprinkler water may contain concentrated mineral deposits after repeated evaporation.
Rain can also create spots. Rainwater collects airborne dust, industrial residue, salt, and acidic contaminants before landing on the vehicle. A sprinkler that wets one side of a car every morning often creates more severe spotting than a single rain shower because the same mineral-rich water repeatedly dries in sunlight.
Heat changes the risk, not the basic mechanism. A hot panel accelerates evaporation, concentrates dissolved solids into smaller rings, and can increase the time that acidic or alkaline contamination remains active. The phrase “baked-in water spots” describes the result, although the damage is usually a combination of mineral concentration, chemical attack, and repeated heat exposure rather than minerals literally melting into paint.
Automotive clear coat is a thin transparent polymer layer over the colored base coat. A deposit sits above that layer; an etch is a depression in the layer. The difference determines whether cleaning or abrasion is appropriate.
Which Water Creates the Worst Spots?
Sprinkler and untreated well water often create the most concentrated mineral deposits, while rainwater can create more chemically varied contamination. Water hardness is measured by dissolved calcium and magnesium, but silica, iron, road salt, and industrial fallout also affect how difficult a deposit becomes.
| Water source | Common residue | Typical severity | First treatment |
|---|---|---|---|
| Municipal hard water | Calcium carbonate, magnesium salts | Light to moderate | Wash, dry, diluted vinegar |
| Well water | Calcium, magnesium, iron, silica | Moderate to severe | Dedicated remover, test spot |
| Lawn sprinkler | Concentrated mineral rings | Moderate to severe | Chemical remover after washing |
| Rainwater | Dust, salts, acidic fallout | Light to severe | Wash, inspect, then polish if etched |
| Car-wash rinse water | Hard-water minerals, detergent residue | Light to moderate | Thorough rinse and drying |
The source does not prove the damage type. A fresh sprinkler spot may be harmless, while a single contaminated rain event can etch paint if it dries repeatedly on a hot hood.
Are the Spots on Top of the Paint or Etched Into It?
Raised, gritty residue indicates a surface deposit, whereas a smooth ring that remains visible after wetting usually indicates clear-coat etching. Use a clean wash, fingertip, and water test before selecting a chemical or abrasive treatment.
Inspect the vehicle in shade after washing. Do not diagnose a dirty panel under direct sunlight because glare can hide faint rings and make residue look worse than it is.
Run a clean fingertip through a thin plastic sandwich bag across the area. A gritty or raised texture suggests bonded contamination above the surface. The bag test is not a laboratory measurement, but it makes fine roughness easier to detect without dragging a bare fingernail across the paint.
Next, wet the panel with clean water. If the ring disappears while wet and returns as the panel dries, the paint may have a physical depression that still reflects light differently. Chemical removal can remove residue around the crater, but it cannot rebuild missing clear coat.
| Spot type | Physical appearance | Feel after washing | Wet-panel behavior | Correct response |
|---|---|---|---|---|
| Type I surface deposit | White or gray raised ring | Gritty or rough | Often remains visible | Chemical dissolution |
| Bonded contamination | Small rough dots or crust | Noticeably textured | Usually remains visible | Clay with lubricant |
| Type II etching | Faint circular or irregular depression | Usually smooth | Temporarily disappears | Polish after test spot |
| Acidic fallout | Irregular dull marks or craters | Smooth or lightly rough | May partially disappear | Decontaminate and assess |
| Clear-coat failure | Hazy, peeling, fractured finish | Flaking or unstable | Does not normalize | Stop polishing, repair panel |
Water spots are not always circular. Windshield washer spray, roof runoff, bird droppings, and chemical overspray can create irregular marks that resemble hard-water damage. If the stain has a dark outline, oily film, or discoloration unrelated to water flow, identify the contaminant before applying an acid cleaner.
Before You Start: Tools, Cost, and Safety
A basic water-spot removal job needs car shampoo, two wash buckets, microfiber towels, a clay bar or mitt, lubricant, diluted white vinegar or a paint-safe mineral remover, and paint protection. A light DIY job typically costs $15-$40 and takes 30-90 minutes; etched correction can cost $80-$300 in equipment and require 2-5 hours.
| Item | Typical quantity or specification | Typical price | Purpose |
|---|---|---|---|
| Car shampoo | 30-60 milliliters per wash | $8-$25 | Remove loose soil |
| Microfiber towels | 6-10 towels, 300-500 GSM | $12-$35 | Drying and wiping |
| Clay bar or mitt | 100-200 grams or 1 mitt | $10-$30 | Remove bonded residue |
| White vinegar | 5%-6% acetic acid, diluted 1:1 | $2-$5 | Light mineral deposits |
| Dedicated remover | 473-500 milliliters | $15-$35 | Stubborn surface minerals |
| Finishing polish | 250-500 milliliters | $15-$35 | Light etching |
| Dual-action polisher | 8-15 millimeter throw | $120-$250 | Consistent correction |
| Paint sealant | 250-500 milliliters | $15-$40 | Post-treatment protection |
Work in shade with the vehicle panel below approximately 90°F, or below the product label’s stated maximum. Wear nitrile gloves and eye protection, provide ventilation, and keep chemicals off skin, glass, matte trim, anodized metal, and unprotected plastic unless the label specifically approves those surfaces.
Never mix an acidic water-spot remover with bleach, ammonia, alkaline wheel cleaner, or another chemical. Hydrofluoric acid products are inappropriate for casual DIY paint care because exposure can cause severe tissue injury and systemic toxicity. A stronger chemical is not a safer or more professional solution.
How Should You Prepare the Car?
Prepare the vehicle by cooling the paint, removing loose grit, and creating a small test area. Chemical products and polishing compounds behave unpredictably on hot, dirty, or heavily contaminated paint, so preparation controls both scratching and staining risk.
Park in shade and close the windows. Rinse the vehicle from top to bottom, then wash one panel at a time using a clean mitt and dedicated automotive shampoo. Inspect the affected panel after drying; do not apply vinegar or a dedicated remover over road grit.
A professional rule of thumb is simple: if the paint feels rough after washing, decontaminate before polishing. Hard mineral crust under a polishing pad can create random scratches that require more aggressive correction than the original spots.
Step 1: Wash, Dry, and Decontaminate
Wash the vehicle with a two-bucket method, dry it completely, and clay only where bonded contamination remains. Use roughly 30-60 milliliters of shampoo in the manufacturer’s recommended water volume, rinse the mitt after each small section, and avoid allowing water to air-dry on the panel.
- Rinse the roof, glass, hood, and upper sides first, where loose grit is usually lighter.
- Wash a 2-by-2-foot section with straight, low-pressure passes.
- Rinse the mitt in the plain-water bucket before reloading shampoo.
- Rinse the panel thoroughly and dry immediately with a clean microfiber towel.
- Spray clay lubricant over a 2-by-2-foot section and glide the clay with almost no pressure.
- Fold the clay when its working face becomes visibly dirty.
You will know Step 1 worked when the panel feels smooth through a plastic bag and no loose white crust transfers to the towel. Do not keep claying a spot that remains visibly circular after the surface becomes smooth; that appearance points toward etching rather than contamination.
The common mistake is using clay as an eraser for paint damage. Clay removes material sitting above the surface, but it does not level a crater or restore lost clear coat.
Step 2: Dissolve Mineral Deposits
Use a paint-safe water-spot remover on cool paint when washing and clay do not remove the deposit. For a home alternative, apply a 1:1 mixture of distilled water and white vinegar to a microfiber applicator for a short test, then rinse and dry the area completely.
Vinegar’s acetic acid can dissolve some carbonate-based deposits, but it is not a universal treatment. Silica-rich spots, iron contamination, old deposits, and actual etching may remain unchanged. Never assume that failure justifies an industrial acid.
For a dedicated product, follow the label rather than copying a generic dwell time. Many formulations are intended for 30-60 seconds of contact, while others require immediate wiping. Apply the product to the towel or applicator instead of flooding the panel, work a small test spot, and prevent drying.
- Use one or two sprays on the applicator for a 2-by-2-foot section.
- Wipe lightly for 30-60 seconds, or follow the label’s shorter limit.
- Rinse with a damp microfiber towel or clean water.
- Dry the panel and inspect under angled light.
- Repeat once only if the deposit is visibly dissolving.
You will know the chemical treatment worked when the raised ring disappears and the paint remains smooth without a dull halo. The common mistake is leaving an acidic product to dry, which can create new staining or haze.
| Removal method | Best target | Typical time | Typical cost | Main limitation |
|---|---|---|---|---|
| Distilled water wipe | Very fresh residue | 5-10 minutes | $1-$3 | Does not dissolve dried minerals |
| White vinegar, 1:1 | Light carbonate deposits | 15-30 minutes | $2-$5 | Weak against silica and etching |
| Dedicated mineral remover | Stubborn surface deposits | 20-60 minutes | $15-$35 | Can strip wax or damage sensitive trim |
| Clay decontamination | Bonded surface particles | 20-45 minutes | $10-$30 | Cannot repair clear-coat craters |
| Hand polish | Very light etching | 45-120 minutes | $15-$40 | Slow and inconsistent on severe damage |
| DA machine polish | Moderate etching | 2-5 hours | $120-$300 | Removes a measurable paint layer |
| Professional correction | Severe or widespread damage | 1-2 days | $300-$800+ | Higher cost and scheduling time |
Step 3: Polish Etched Clear Coat
Polish etched clear coat only after washing, claying, and chemical removal fail. A dual-action polisher with a polishing foam pad and a fine polish is the normal first correction, while compound and a microfiber cutting pad should be reserved for deeper marks that survive a controlled test spot.
Use painter’s tape to protect adjacent trim. Prime a clean pad with a thin film of polish, add three or four pea-sized drops, and work a 2-by-2-foot area at a moderate speed. Keep the pad flat, use light-to-moderate pressure, and make four to six slow cross-hatch passes.
Wipe the residue with a clean microfiber towel. A small amount of diluted panel wipe or isopropyl alcohol can reveal whether the polish filled the appearance temporarily, but test panel-wipe compatibility first because strong solvents may affect fresh protection or delicate finishes.
Inspect under an LED light from several angles. If the ring is less visible but still present, perform one additional polishing cycle. If the improvement stops, more pressure or more passes may remove clear coat without producing a proportional visual gain.
You will know the step worked when the reflection remains consistent while the panel is dry, wet, and viewed from changing angles. The common mistake is chasing every last ring until the clear coat becomes dangerously thin.
When Should You Use Compound Instead of Polish?
Use compound only when a finishing polish cannot reduce the etched outline after one or two controlled cycles. Compound cuts faster and leaves more haze or micro-marring, so follow it with a finishing polish and stop when the defect approaches the surrounding paint’s clarity.
A typical beginner setup is a 5-inch dual-action backing plate, medium polishing foam, and finishing polish. A microfiber cutting disc and compound can remove deeper etching, but the combination has a higher risk of heat, haze, and excessive clear-coat removal.
Hand-applied scratch repair products may improve the appearance of light marks, but they are not equivalent to machine paint correction. They usually contain abrasives or fillers and cannot safely level a deep crater across a large panel.
Step 4: Protect the Paint and Prevent Recurrence
Apply a synthetic sealant, wax, or compatible ceramic spray after the surface is clean and corrected. Chemical removers and polishing generally weaken or remove previous wax protection, while fresh protection reduces mineral bonding and makes the next wash easier.
Follow the product’s cure time. Many sealants need several hours without rain, while ceramic spray products may require a dry window of 12-24 hours; the bottle instructions control because solvent and resin systems differ.
Protection does not make paint immune to water spots. A ceramic coating can reduce adhesion and improve washing, but mineral-rich water can still dry on its surface and leave deposits. Coatings also require coating-safe maintenance products, not aggressive acidic cleaners used repeatedly.
Prevent recurrence by drying immediately after washing, using filtered or softened rinse water when practical, and keeping sprinklers away from the vehicle. A drying aid can reduce towel drag, but it cannot compensate for allowing hard water to evaporate on a hot hood.
| Protection type | Typical durability | Typical cost | Water-spot behavior | Maintenance requirement |
|---|---|---|---|---|
| Spray wax | 2-8 weeks | $10-$25 | Short-term release improvement | Reapply monthly |
| Paste or liquid sealant | 3-6 months | $15-$40 | Better chemical resistance | Reapply twice yearly |
| Ceramic spray sealant | 3-12 months | $20-$60 | Easier rinsing and drying | Use coating-safe shampoo |
| Professional ceramic coating | 2-5 years | $500-$1,500 | Reduced bonding, not immunity | Annual inspection |
| Paint protection film | 5-10 years | $1,500-$5,000 | Protects covered paint | Maintain film-safe products |
Which Removal Method Should You Choose?
Choose chemical dissolution for raised mineral deposits, machine polishing for confirmed etching, and professional correction when damage is widespread or close to the clear-coat limit. The cheapest method is not always the safest, because repeated acid applications and unnecessary compounding both consume protection or paint.
A budget owner with fresh sprinkler spots should wash, test diluted vinegar, and apply sealant. A detailing enthusiast with several months of spotting should use a dedicated remover, clay, and a DA polisher only where the wet-panel test indicates etching.
A newer vehicle with uncertain paint history deserves a conservative test spot. Factory clear coat varies by manufacturer and panel, and previous sanding or polishing may have already reduced the remaining thickness.
What Is the Best Option for Different Situations?
| Situation | Recommended method | Expected result | Avoid |
|---|---|---|---|
| Same-day sprinkler spots | Wash and dry, then vinegar test | Deposit removal in 15-30 minutes | Immediate compounding |
| Six-month hard-water rings | Dedicated remover, then inspect | Surface mineral removal in 30-60 minutes | Repeated vinegar soaking |
| Spots vanish when wet | DA polish on a test area | Reduced or removed etching in 1-3 cycles | More acid exposure |
| Whole-car severe etching | Professional paint correction | Panel-level restoration in 1-2 days | Aggressive DIY sanding |
| Ceramic-coated vehicle | Coating-approved remover | Deposit removal without coating stripping | Strong solvents or abrasive clay |
| Matte or satin paint | Manufacturer-approved cleaner | Controlled, low-gloss-safe cleaning | Polishing or compound |
| PPF-covered panel | Film-approved cleaner | Surface deposit removal | General paint polish |
What If the Spots Keep Reappearing?
If water spots disappear when wet and return when dry, the surface minerals may already be gone and the clear coat is probably etched. Stop escalating chemical strength, perform a light polishing test, and compare the dry reflection before deciding whether more correction is justified.
If vinegar has no effect, the deposit may contain silica or iron, may be chemically bonded, or may be below the surface. A dedicated paint-safe mineral remover is a reasonable next step, but hydrofluoric acid is not a safe DIY escalation and should not be recommended for routine automotive paint care.
If a dedicated remover leaves a haze, rinse the panel, wash it with neutral shampoo, and inspect after drying. Do not layer another chemical over the residue. Fresh haze may be product residue or chemical sensitivity; persistent dullness may indicate existing etching.
If ghost rings remain after compound, inspect whether the ring is a crater or whether the surrounding panel has become hazy. A crater that remains after sensible correction may extend through much of the clear coat. Further abrasion can expose base coat, after which repainting rather than detailing becomes the repair.
Common Mistakes and How to Fix Them
Polishing Before Removing Crust
Hard mineral particles can become trapped between the pad and paint, creating random scratches and circular micro-marring. Stop, wash the panel again, clay the affected area, clean the pad, and restart with a fresh test spot.
Working on Hot Paint
Direct sun can dry vinegar, acidic removers, and polish before they can be wiped evenly. Move the vehicle to shade, cool the panel with water if appropriate, dry it, and wait until the surface is comfortable to touch.
Scrubbing With a Household Sponge
Kitchen scouring pads are much more aggressive and less uniform than automotive polishing media. If a sponge has already dulled the finish, wash the area and assess the scratches under a light before attempting a mild polish.
Using a Dry Clay Bar
Dry clay increases drag and can mar clear coat. Add lubricant until the clay glides freely, and discard clay that falls onto the ground because embedded grit can scratch the paint.
Repeating Acid Treatments Indefinitely
Acid may remove deposits, but it cannot rebuild etched paint. After one or two label-compliant applications with no visible improvement, switch to diagnosis and a test polish instead of increasing dwell time.
Trusting Fillers as a Permanent Repair
Glazes and some scratch products can temporarily hide etching. Wipe the area with a compatible panel cleaner and inspect again after the next wash before concluding that the defect is repaired.
What Changes for Ceramic Coatings, Glass, and PPF?
Ceramic coatings, glass, and paint protection film require surface-specific products because automotive paint cleaners are not automatically safe for every finish. A coating-safe mineral remover may remove deposits while preserving the coating, but aggressive acids can reduce coating performance or stain film.
Glass water spots are often harder than paint spots because mineral deposits bond strongly to silica-rich surfaces. Use a glass-specific cleaner and dedicated glass polish, protect rubber seals, and avoid transferring glass polish onto painted panels.
PPF can show water spots on its topcoat even when the underlying paint is protected. Use the film manufacturer’s approved cleaner and avoid machine polishing unless the film manufacturer specifically permits it. Matte and satin paint should never be polished with conventional products because polishing can create a permanent glossy patch.
When Is Professional Paint Correction Safer?
Professional correction is safer when etching covers multiple panels, the vehicle has a thin or previously corrected finish, or the owner lacks a dual-action polisher and inspection lighting. A typical professional service costs $300-$800 or more and takes one to two days, depending on vehicle size and correction stages.
Ask the detailer whether the service includes a test spot, paint-thickness assessment, chemical decontamination, and post-correction protection. A reputable operator should explain what the process can improve and what it cannot safely remove.
Professional correction is not a guarantee of perfect removal. Deep craters, clear-coat failure, and damage through the clear layer may require a body shop, repainting, or panel replacement. The correct professional recommendation may be to preserve the remaining finish rather than chase an invisible defect.
How Much Time and Money Does Removal Take?
Fresh surface spots usually take 15-60 minutes and $2-$35 in supplies, while etched vehicle-wide damage commonly takes 2-5 hours for DIY correction or $300-$800 for professional detailing. Vehicle size, paint condition, access to shade, and whether protection must be reapplied determine the final project range.
A single hood or roof can often be corrected as a focused project. A full SUV may require several pads, more towels, additional product, and a full day even when the damage is moderate.
The main cost difference is labor and paint risk. Chemical cleaning is inexpensive but cannot repair etching; machine correction costs more because it requires equipment, time, inspection, and controlled removal of clear coat.
Frequently Asked Questions
Can I Remove Water Spots Without Polishing?
Yes, fresh surface deposits can often be removed without polishing by washing, claying, and applying a paint-safe mineral remover. Polishing becomes necessary only when the deposit has etched the clear coat, which is suggested by a smooth ring that disappears when wet and returns when dry.
Does WD-40 Remove Water Spots From Car Paint?
WD-40 may loosen some residue because it contains petroleum-based solvents, but it is not a dedicated mineral remover and can leave an oily film that obscures the actual condition. Wash the area afterward, and use a labeled automotive paint product instead of relying on a temporary appearance change.
Are Hard Water Spots Permanent?
Hard-water spots are not always permanent. Raised mineral deposits are usually removable, while etching can be reduced or eliminated only if enough clear coat remains for safe polishing; damage through the clear coat is permanent without refinishing.
Can I Use Lemon Juice on Automotive Paint?
Lemon juice is an inconsistent acid treatment and can contain sugars, oils, or contaminants that complicate cleanup. A properly diluted white vinegar test or labeled automotive mineral remover gives more predictable concentration and application guidance, although neither treatment repairs etched clear coat.
How Soon Should I Remove Water Spots?
Remove water spots as soon as practical, ideally during the same day they occur. Rapid drying leaves concentrated minerals behind, and repeated heat cycles can turn a removable deposit into etched damage that requires abrasion.
Will Ceramic Coating Stop Water Spots?
Ceramic coating will not stop water spots completely. A coating can reduce surface adhesion and simplify washing, but hard water, sprinkler spray, and rain contamination can still dry on the coating; prompt rinsing and drying remain necessary.
The Bottom Line
The safest way to remove water spots from car paint is to diagnose the mark before choosing the treatment. Wash and dry first, remove bonded residue with lubricant and clay, dissolve surface minerals with a mild or dedicated cleaner, and polish only confirmed etching with a controlled test spot.
Fresh deposits may cost $2-$35 and take less than an hour. Deep or widespread etching may require several hours, specialized equipment, or professional correction. Never use abrasive household pads or hydrofluoric acid, and stop polishing when the remaining defect is deeper than the clear coat can safely support. Prevention begins with prompt drying, cleaner rinse water, and renewed paint protection.


