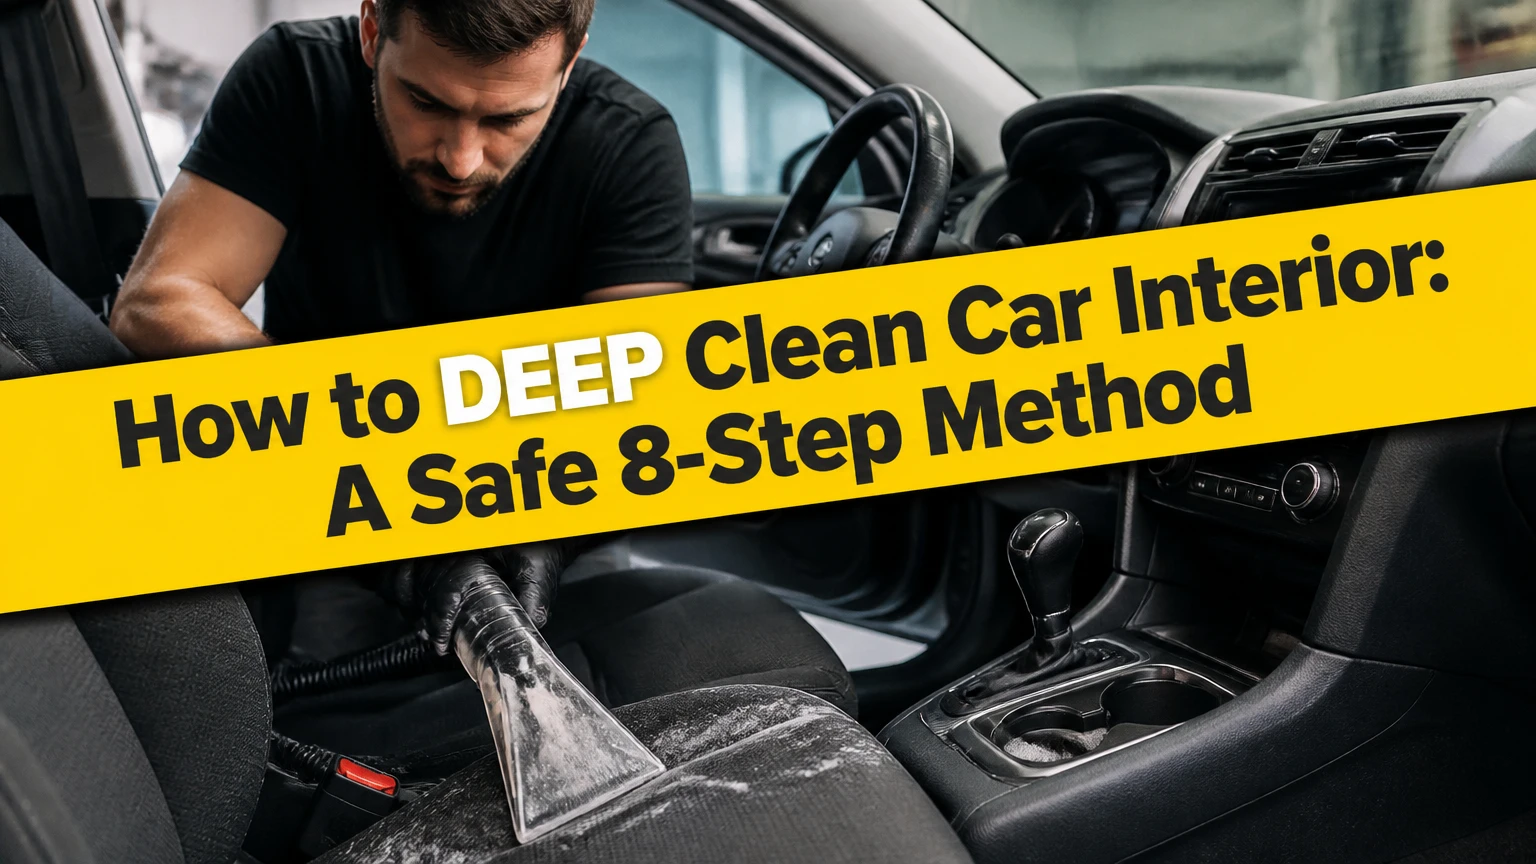
To deep clean a car interior, remove loose debris, vacuum dry soil, clean upper surfaces, scrub upholstery, extract carpets, treat odors, and dry the cabin completely. An average sedan takes 4-8 hours, including drying time, and the most important success factor is controlling moisture so dirt and odors do not remain beneath fabric or carpet.
Key Facts
A thorough interior detail typically takes 4-8 hours for a sedan and longer for an SUV or van.
Dry vacuuming must happen before wet cleaning because moisture turns loose soil into mud.
Cloth seats and carpets require minimal solution followed by thorough extraction and airflow.
Headliners should be cleaned with a lightly dampened towel because excess liquid can loosen adhesive.
Ammonia-free glass cleaner is the safer choice for vehicles with aftermarket window tint.
A persistent odor usually indicates a hidden source, contaminated padding, or incomplete drying.
What Deep Cleaning a Car Interior Includes
Deep cleaning a car interior means restoring the cabin’s hard surfaces, soft surfaces, glass, and odor condition rather than performing a quick wipe and vacuum. The work includes removing embedded sand, dust, food residue, body oils, pet hair, stains, allergens, and odor sources from areas such as seat tracks, carpet padding, vents, door pockets, and cup holders.
A routine clean may take 30-60 minutes and cover visible surfaces. Interior detailing is more intensive because it reaches seams, hinges, seat rails, belt webbing, floor edges, and gaps around switches. The correct order is dry soil removal, surface cleaning, upholstery treatment, extraction, glass cleaning, and controlled drying.
Why does cleaning science matter?
Cleaning products work through four interacting factors: chemical action, heat, agitation, and time. Surfactants loosen the bond between soil and a surface, enzymes break down some organic contamination, moderate heat softens grease, brushing dislodges particles, and dwell time lets the product work before wiping or extraction.
The four factors are often called the CHAT principle. A strong product cannot compensate for poor technique. For example, a fabric cleaner sprayed onto heavily dusty carpet can create a paste that penetrates deeper, while aggressive brushing can damage a woven seat even when the chemical is appropriate.
Material identification comes first. Automotive vinyl, thermoplastic trim, coated leather, aniline leather, Alcantara-style microfiber, polyester fabric, foam, rubber, and headliner adhesive tolerate different levels of water, heat, friction, and alkalinity. Test every chemical on a hidden area, follow the label dilution, and stop if dye transfers or the finish changes.
Before You Start: Tools, Time, and Safety
Prepare the vehicle in shade or a ventilated garage with doors open. A sedan normally requires 4-8 hours of work and drying, while a three-row SUV can require 6-10 hours when seats and carpets are heavily soiled.
| Requirement | Typical specification | Why it matters |
|---|---|---|
| Microfiber towels | 10-20 towels, 300-500 GSM | Separates dirty wiping from final drying |
| Vacuum | 5-12 horsepower shop vacuum or equivalent | Removes sand before liquid cleaning |
| Detailing brushes | 3-5 nylon and soft-bristle sizes | Reaches seams, vents, stitching, and trim |
| Interior cleaner | 500-1,000 milliliters, label-diluted | Controls residue and chemical strength |
| Extractor or wet vacuum | 1-2 liter recovery capacity | Removes dissolved soil and rinse water |
| Drying airflow | 1-2 fans for 4-8 hours | Prevents damp padding and musty odor |
Disconnecting the vehicle battery is not normally necessary for ordinary interior cleaning, but never probe connectors, seat wiring, airbag modules, or fuse openings with liquid. Keep the ignition off when cleaning around switches, and do not flood seat controls, screens, speakers, USB ports, or dashboard vents.
Wear nitrile gloves and use ventilation when handling concentrated cleaners. If the cabin contains visible mold across large areas, needles, bodily fluids, or extensive sewage contamination, stop DIY cleaning and use a specialist with appropriate respiratory and biohazard controls.
Step 1: Remove Clutter and Expose Hidden Dirt
Remove trash, child seats, personal items, floor mats, and removable organizers before cleaning. Open each door, move the front seats fully forward and backward, raise adjustable armrests, and inspect under the rear bench, because hidden debris can fall back onto a freshly cleaned floor.
Shake rubber mats outside the vehicle. Brush loose dirt from carpet mats before vacuuming them. Photograph the interior if you are cleaning a vehicle for sale, since a record of pre-existing damage prevents confusion about worn bolsters, scratches, stains, or discoloration.
Inspect stains before applying any product. Coffee, milk, urine, vomit, grease, road salt, ink, dye transfer, and mildew need different treatment. Do not treat every stain with a stronger all-purpose cleaner. Strong alkalinity can lighten fabric, dry leather coatings, and leave a white residue on textured plastic.
Checkpoint: The cabin should contain no loose objects, mats, or visible large debris.
Common mistake: Leaving mats inside causes dirt to fall onto finished carpet during later steps.
Step 2: Blow Out and Vacuum Dry Soil
Use a vacuum crevice tool around seat rails, carpet edges, stitching, console gaps, door pockets, and under the pedals. Vacuum carpets in two directions, then repeat with the nozzle held close to the fabric; cross-direction passes lift sand that a single pass leaves embedded.
Compressed air can dislodge dirt from vents, seat seams, and tracks, but use it before the final vacuum pass and wear eye protection. Short bursts at moderate pressure are safer than directing high-pressure air at an airbag seam, speaker grille, or electrical connector. A Tornador-style tool is effective for sand and dust, but it also redistributes contamination unless the vacuum follows immediately.
For pet hair, scrape fabric with a rubber brush or slightly damp rubber glove before vacuuming. A pumice tool can work on durable carpet, but avoid seat fabric, headliners, leather, and delicate trim. Remove hair from the vacuum filter frequently because a blocked filter reduces suction.
Checkpoint: No visible sand should remain in seams, and the vacuum should collect little new debris after two final passes.
Common mistake: Wetting carpet before vacuuming converts dry grit into abrasive sludge.
Step 3: Clean the Headliner and Upper Pillars
Clean the headliner with a barely damp microfiber towel and a small amount of mild fabric cleaner. Apply the product to the towel, never directly to the ceiling, and wipe in one direction with light pressure.
Headliner fabric is bonded to foam or board with adhesive that can soften under saturation or heat. Do not use a drill brush, steam nozzle, or soaking extractor on the ceiling. Work in sections of roughly 30 by 30 centimeters, then turn to a dry side of the towel.
Upper pillars near airbags need similar restraint. Wipe the visible surface without trapping liquid beneath trim or around an airbag cover. If the headliner has a broad water stain, sagging fabric, nicotine discoloration, or mold, professional removal may be safer than repeated wet cleaning.
Checkpoint: The fabric feels almost dry after wiping, with no dark wet edge or loosened section.
Common mistake: Scrubbing one spot until it looks lighter can create a permanent nap or color difference.
Step 4: Clean the Dashboard, Console, Doors, and Vents
Spray interior cleaner onto a brush or towel, not onto the dashboard, touchscreen, instrument cluster, speaker grille, or switch panel. Agitate textured trim, cup holders, door pulls, steering-wheel seams, and vent louvers, then wipe the suspended soil away before the product dries.
Use a dedicated screen cleaner or a water-dampened clean microfiber on infotainment displays. Paper towels can scratch glossy surfaces, and excess liquid can enter the screen edge. Clean steering wheels carefully because silicone dressings reduce grip and can transfer to hands.
A soft detailing brush lifts dust from vents and stitching. Follow with a vacuum or towel rather than blowing contaminated dust deeper into the cabin. For sticky residue, use several mild applications instead of one aggressive application. Always check whether the panel has a matte, textured, piano-black, or soft-touch finish.
| Surface | Product approach | Tool | Maximum moisture |
|---|---|---|---|
| Textured vinyl | pH-mild interior cleaner | Soft nylon brush | Damp towel only |
| Touchscreen | Screen-safe cleaner or distilled water | 300-500 GSM microfiber | No dripping liquid |
| Piano-black trim | Clean water or finish-safe cleaner | Plush microfiber | Light mist on towel |
| Rubber pedals | Diluted cleaner, no dressing | Stiff nylon brush | Damp, then dry |
| Vents | Mild cleaner on brush | Detail brush and vacuum | No pooled liquid |
Finish with a low-sheen, water-based UV protectant on compatible vinyl and plastic. Avoid oily silicone products that create dashboard glare, collect dust, or make the steering wheel and pedals slippery.
Checkpoint: Panels feel clean and dry rather than greasy, and no liquid remains around switches.
Common mistake: Spraying directly onto a console spreads liquid into electronics and creates residue beneath buttons.
Step 5: Deep Clean Cloth Seats and Fabric
Vacuum cloth seats thoroughly, then identify the fabric type and stain. For ordinary body oils or food marks, mist a fabric cleaner over a small section, allow 2-5 minutes of dwell time, agitate with a soft or medium brush, and extract with a controlled amount of clean water.
Use roughly 30-60 milliliters of diluted solution per seat section as a starting point, adjusting for fabric condition and product instructions. The goal is to suspend soil, not saturate the foam. On removable floor mats, more water is acceptable if extraction and airflow are available.
Enzyme cleaners can help with milk, urine, vomit, and other organic residues, but enzymes require the product’s stated dwell temperature and time. Enzymes do not remove every dye, grease, or smoke compound. Use a dedicated tannin treatment for stubborn coffee or tea discoloration, and never mix acidic and alkaline cleaners in the seat.
A drill brush speeds work on durable carpet but can fuzz upholstery or pull loose threads. Use manual agitation on seat bolsters, perforations, and older fabric. Extract slowly, make a second dry pass, and stop when the recovery water is only lightly colored.
Checkpoint: Fabric appears evenly clean, no foam remains, and the seat surface is damp rather than soaked.
Common mistake: Repeatedly adding cleaner because extracted water is still tinted can damage fabric without removing a permanent dye.
Step 6: Clean Leather, Vinyl, and Perforated Surfaces
Leather seats require a leather-specific cleaner, a soft horsehair or upholstery brush, and a dry microfiber towel. Apply cleaner to the brush or towel, work a small section, wipe away soil promptly, and condition only after the surface is clean and fully dry.
Most modern automotive leather is coated, but aniline, semi-aniline, nubuck, and aftermarket leather may require specialized products. A conditioner cannot repair peeling clear coat, dye failure, cracking from age, or structural damage. Heavy petroleum or silicone products can darken porous leather and leave a slippery film.
Perforated leather needs less liquid than solid leather. Keep cleaner out of the holes because fluid can reach foam, heating elements, or ventilation channels. Use a damp cotton swab or soft brush around perforations, then dry the area with towel pressure rather than flooding it.
Vinyl seat sides and synthetic leather can usually tolerate a mild interior cleaner, but finish variation is common. Test first. Do not use a stiff drill brush on coated leather.
| Material | Cleaner | Agitation | Conditioning or protection |
|---|---|---|---|
| Coated leather | pH-balanced leather cleaner | Horsehair brush | Leather protectant after drying |
| Aniline leather | Manufacturer-approved cleaner | Soft cloth only | Specialist conditioner |
| Vinyl | Mild interior cleaner | Soft nylon brush | Water-based UV protectant |
| Perforated leather | Low-moisture leather cleaner | Small soft brush | Minimal product near holes |
| Alcantara-style microfiber | Material-specific cleaner | Soft fabric brush | No conventional leather conditioner |
Checkpoint: Leather feels clean and natural, with no oily film or darkened untreated section.
Common mistake: Conditioning dirty leather seals grime into the grain and can make the surface glossy.
Step 7: Extract Carpets and Floor Mats
Clean removable mats outside the vehicle when possible. Vacuum first, apply diluted carpet cleaner to a manageable area, agitate the fibers, rinse with a small amount of clean water, and use a wet-dry vacuum or extractor to recover the liquid.
For vehicle carpet, begin with less solution than you think you need. Floor carpet often sits above foam or insulation that can retain water long after the surface feels dry. Salt stains may need a controlled rinse, while greasy marks may need a solvent-safe pre-treatment tested on an inconspicuous edge.
Run the extractor slowly, then make two or three suction-only passes. Clear recovery tanks before they become full, and keep the vacuum filter clean. Extracted water does not need to run perfectly clear to indicate success, because some carpet dyes and aged backing materials naturally tint the recovery water.
Do not reinstall wet mats. Stand them vertically or hang them where the backing can dry, and use fans inside the cabin with windows cracked if weather permits.
Checkpoint: Carpet feels cool and slightly damp, not wet, with no squishing under firm hand pressure.
Common mistake: Flooding the floor to chase clear water increases drying time and can wet hidden insulation.
Step 8: Clean Seatbelts, Glass, and Final Details
Pull each seatbelt out fully and support it without clamping or sharply creasing the webbing. Wipe the belt with a cloth dampened with mild soap solution, rinse with a separate damp cloth, and leave it extended until dry. Do not use bleach, solvent, stiff brushes, or high heat because belt fibers and restraint components must remain intact.
Clean interior glass last, after all dust and products have been removed. Use an ammonia-free glass cleaner on a towel, not directly over the dashboard. Wipe vertically on the inside and horizontally on the outside, so the direction of any remaining streak identifies which side needs correction. A second dry microfiber removes haze.
Clean the trunk threshold, hatch trim, seat hinges, door jambs, and pedal area during final inspection. Return mats only after they are dry. A non-greasy protectant belongs on compatible plastic and vinyl, never on steering wheels, pedals, seatbelts, or glass.
Checkpoint: Windows are clear under direct light, belts retract normally, and every hard surface feels dry.
Common mistake: Using a scented product to hide odor before the actual source is dry or removed.
Which Interior Cleaning Method Should You Use?
Manual chemical agitation is the best starting method for most DIY interiors because it costs little and gives the operator control. Steam suits low-moisture work on compatible hard surfaces, while hot-water extraction is better for deeply embedded soil in fabric and carpet when strong drying airflow is available.
| Method | Best use | Typical cost | Drying requirement |
|---|---|---|---|
| Manual agitation | Dashboards, vinyl, light fabric stains | $20-$50 supplies | 15-60 minutes |
| Steam cleaning | Grease, vents, compatible hard trim | $150-$600 machine | 30-120 minutes |
| Hot-water extraction | Carpet, cloth seats, salt, deep soil | $300-$1,500 machine | 4-12 hours |
| Compressed air | Sand, seams, vents, pet hair | $60-$150 tool, compressor extra | None, followed by vacuum |
Steam can damage soft plastics, instrument markings, adhesives, and leather coatings when the nozzle stays close for too long. Hot-water extraction removes more dissolved contamination but carries the greatest risk of wet padding. Compressed air moves contamination rather than removing it, so vacuum afterward.
Professional interior detailing commonly costs $150-$250 for a compact car, $200-$350 for an SUV, and $250-$500 or more for a large truck or three-row vehicle. Mold remediation, biohazard cleanup, and extreme pet-hair removal can add specialist labor.
How Should You Dry the Interior?
Dry the vehicle with doors open, fans aimed across seats and carpet, and windows cracked when humidity and security allow. Typical extracted carpet drying takes 4-8 hours, but dense foam, cold weather, high humidity, and excessive solution can extend drying beyond 12 hours.
Do not judge dryness only by the top fabric. Press a clean, dry towel firmly into the seat and carpet; if the towel becomes noticeably damp, continue airflow. Run the vehicle’s ventilation system only when safe and practical, using fresh-air mode rather than recirculation, but do not leave an unattended engine running in an enclosed garage.
A musty smell after cleaning usually means retained moisture or a missed source. Check under mats, beneath the rear seat, cargo wells, spare-tire compartments, door pockets, and cabin air-filter areas. Ozone can reduce some persistent odor compounds, but it does not replace source removal, and people and pets must remain outside during treatment and airing.
Common Mistakes and How to Fix Them
Over-saturating seats and carpet
Stop adding water when the fabric is evenly damp and extraction recovery begins to lighten. Use suction-only passes and fans to recover moisture; if padding remains wet overnight, professional extraction may prevent prolonged odor and microbial growth.
Using dish soap or laundry detergent
Household detergents can leave surfactant residue that attracts new soil. Rinse with a small amount of clean water, extract thoroughly, and switch to a vehicle or upholstery product with the correct dilution.
Applying glossy dashboard dressing
Wipe the surface with a damp microfiber to remove excess dressing. Use a low-sheen, water-based protectant only on approved surfaces, and never apply it to controls, pedals, steering wheels, or glass.
Scrubbing stains aggressively
Stop when the stain no longer responds after two controlled treatments. Continued friction can roughen fibers or remove dye, producing a larger visible defect than the original mark.
Ignoring seatbelts and hidden compartments
Clean belt webbing, seat rails, door pockets, cargo wells, and the spare-tire area during the same visit. Hidden organic residue can keep producing odor even when the visible cabin looks clean.
Mixing cleaning chemicals
Never mix bleach, ammonia, acids, peroxide, solvents, or unknown concentrated products. Blot or rinse according to the product label, ventilate the cabin, and seek medical advice if fumes cause breathing difficulty or eye irritation.
Which Approach Fits Your Car?
Budget daily driver
Use a shop vacuum, 10-15 microfiber towels, diluted interior cleaner, fabric cleaner, and soft brushes. Skip steam and extraction equipment unless stains or odors justify rental costs. Spend effort on dry vacuuming and drying rather than buying multiple dressings.
Family vehicle with food and spills
Choose an enzyme cleaner for confirmed organic contamination, a rubber hair-removal tool, and an extractor or wet vacuum. Remove child seats before cleaning and inspect beneath them, where compressed crumbs, milk, and moisture commonly accumulate.
Pet-occupied vehicle
Remove hair mechanically before applying liquid. A rubber brush works on fabric, while a narrow vacuum nozzle reaches seat rails and cargo seams. Treat urine as a source-removal problem, not a fragrance problem, and inspect foam if odor returns after drying.
Older luxury car or delicate materials
Use pH-balanced products designed for the specific leather or microfiber. Avoid generic APC, high heat, drill brushes, and heavy conditioner until a hidden test confirms compatibility. Preserve original matte texture rather than pursuing a glossy appearance.
Vehicle being sold
Prioritize odor-free, dry, residue-free surfaces, clear glass, clean seatbelts, and neglected areas such as door jambs and cargo wells. Do not conceal cigarette, mold, or flood damage with fragrance, because buyers and inspectors may detect the source later.
How Often Should You Deep Clean a Car Interior?
Deep clean a normally used vehicle every 6-12 months, with light vacuuming and wipe-downs every 2-4 weeks. Pet use, children, smoking, winter salt, construction dust, and frequent food consumption justify a 3-6 month interval.
Clean spills immediately because protein, sugar, and milk residues become harder to remove after drying. Vacuum high-traffic carpet monthly, wash floor mats when visibly soiled, and replace the cabin air filter according to the vehicle manufacturer’s schedule or sooner when dust and odor persist.
FAQ
Can I use an all-purpose cleaner inside my car?
You can use a properly diluted, material-compatible all-purpose cleaner on many vinyl and plastic surfaces, but test first and avoid screens, leather, headliners, suede-like fabrics, and unsealed materials. Apply APC to a towel or brush, not directly to electronics, and wipe residue before it dries.
How do I remove cigarette smell from a car interior?
Remove ash and residue, clean hard surfaces, wash or extract fabric, replace the cabin air filter, and inspect carpet padding, headliner, trunk areas, and ventilation paths. Fragrance and ozone may reduce the smell temporarily, but cigarette odor returns when tar-contaminated porous materials remain untreated.
How do I remove vomit or urine odor from car carpet?
Remove solid residue, blot liquid, use an enzyme cleaner approved for automotive fabric, follow its dwell time, rinse lightly, extract thoroughly, and dry with airflow. If odor returns after the surface dries, contamination may have reached foam or insulation and may require seat or carpet removal.
Is steam cleaning safe for leather car seats?
Steam is not universally safe for leather seats. Short, controlled exposure may suit some coated leather, but heat and moisture can damage finishes, adhesives, perforations, and porous leather. A leather-specific cleaner with a soft brush is the safer default unless the material manufacturer approves steam.
Why does my car smell worse after cleaning?
A stronger odor after cleaning usually indicates wet padding, loosened organic residue, a contaminated cabin filter, or a hidden spill. Dry the cabin fully, inspect under mats and seats, replace the filter if needed, and avoid adding fragrance until the source has been identified.
Can I deep clean a car interior in winter?
You can clean an interior in winter if the cabin can remain ventilated and dry for at least 8-12 hours. Use less liquid, prioritize dry methods, run fans in a heated garage, and do not close the vehicle while carpets or seat foam remain damp.
The Bottom Line
How to deep clean car interior work succeeds when the sequence controls soil and moisture: inspect materials, remove dry debris, clean from ceiling to floor, extract fabric carefully, and create sustained airflow until every layer is dry. Manual agitation handles most maintenance, while steam and extraction are specialized tools with specific risks. Source removal matters more than fragrance, and a clean cabin should feel dry, matte, residue-free, and safe to touch.


