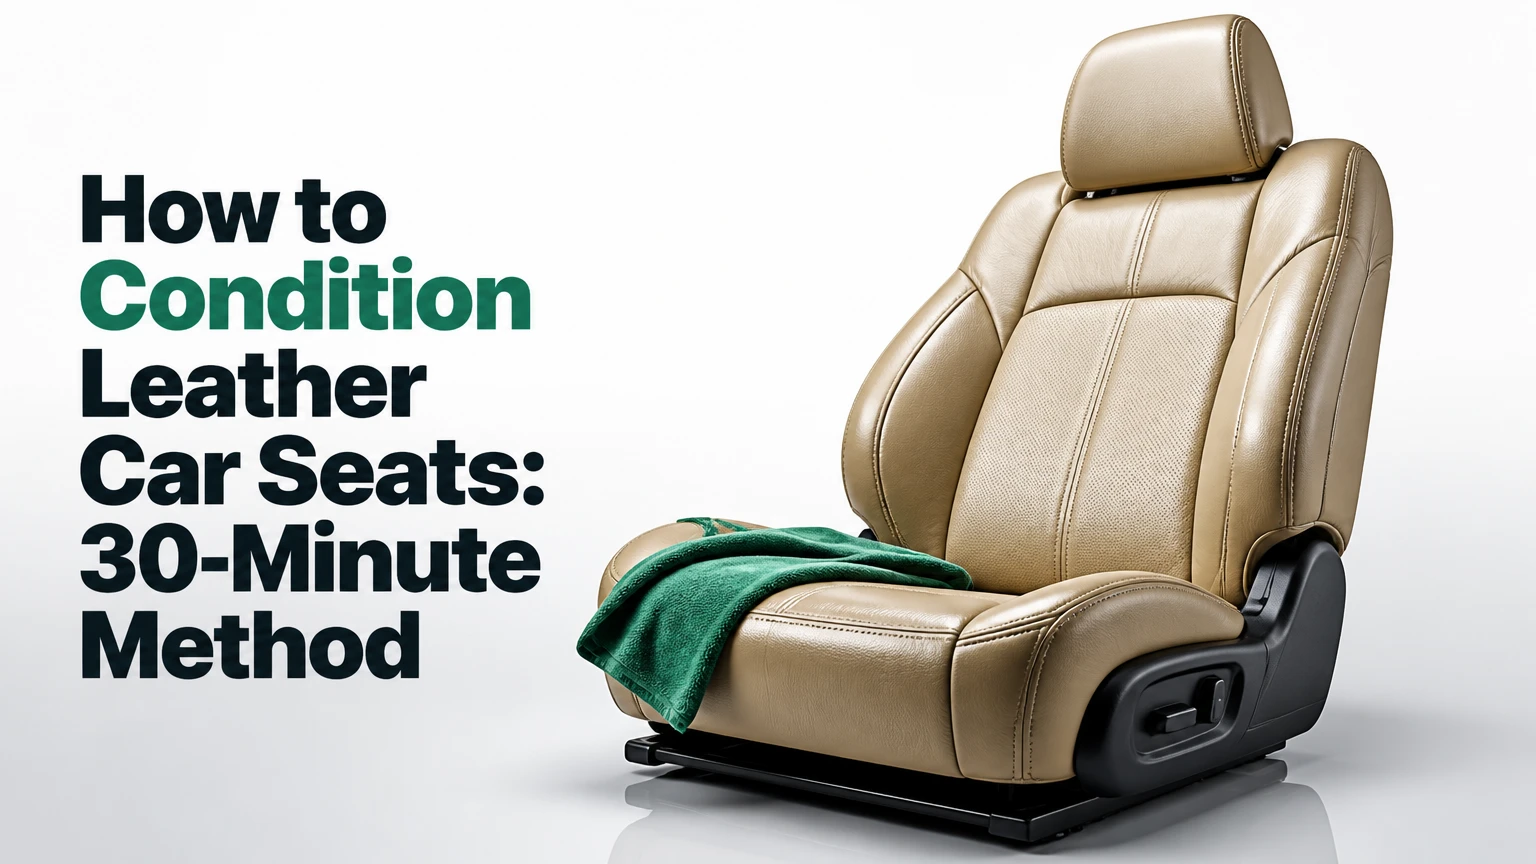
To condition leather car seats, vacuum and clean the upholstery, let the surface dry, patch-test a vehicle-approved conditioner, apply a very thin coat with a microfiber applicator, allow the product to dwell, then buff away all residue. A complete interior usually takes 30-45 minutes, excluding deep stain removal and overnight drying.
Key Facts at a Glance
Most modern automotive leather has a protective polyurethane topcoat, so conditioner mainly improves surface lubrication, appearance, and protection rather than soaking deeply into the hide.
Clean leather before conditioning because embedded grit can abrade the finish and become sealed beneath oily residue.
A thin, matte finish is the correct endpoint; a glossy or slippery seat usually has too much product.
Perforated leather requires minimal product and careful wiping because blocked holes can restrict seat ventilation.
Typical maintenance is every 3-6 months, adjusted for sunlight, heat, clothing friction, and daily use.
Household oils, petroleum jelly, shoe polish, and dish soap are unsuitable for automotive leather upholstery.
What Leather Conditioner Does in a Car
Leather conditioner is a formulated cream, lotion, spray, or balm that lubricates and protects automotive leather surfaces. On modern finished leather, most of the formula remains at or near the coating, where it can reduce dry friction, improve tactile feel, and leave a light protective film.
Automotive leather differs from an untreated leather boot or saddle. Manufacturers commonly apply pigment, a polyurethane finish, and sometimes a protective clear layer. That finish controls color, stain resistance, and sheen, but it also limits deep absorption. A product marketed for open-pore furniture leather may therefore be inappropriate for a coated car seat.
Conditioning does not reverse abrasion, restore missing pigment, or rebuild split hide fibers. A conditioner can make mildly dry-looking leather feel less stiff, but cracks, peeling, dye loss, and torn bolsters require repair or replacement.
How Does Conditioning Work on Finished Leather?
Conditioning works primarily at the surface of finished automotive leather. The product fills microscopic irregularities, reduces friction between the coating and clothing, and leaves a temporary or semi-durable barrier against handling soils and ultraviolet exposure.
Some formulas contain oils, waxes, polymers, or water-based emulsions. Their performance depends more on compatibility and residue control than on the amount absorbed. The Leather Research Laboratory and automotive upholstery manufacturers distinguish finished leather from absorbent aniline leather, which is why a vehicle owner should follow the carmaker’s material-care instructions before choosing a product.
One practitioner rule is especially reliable: if a drop remains visibly wet or oily after buffing, the seat received more conditioner than its finish can use.
What Should You Use on Leather Car Seats?
Use a water-based, pH-balanced leather cleaner and a conditioner labeled for automotive finished leather. Choose a light lotion or spray for newer seats, a compatible cream for mildly dry seats, and avoid heavy waxes unless the product manufacturer specifically approves them for automotive upholstery.
Read the vehicle owner’s manual first. Some manufacturers recommend a damp cloth and mild soap for routine care, while others specify a branded leather cleaner or prohibit silicone, solvent, oil, or alcohol-based products. “Leather” in a product name does not prove compatibility with a modern coated seat.
| Product type | Typical amount for four seats | Best application | Main limitation |
|---|---|---|---|
| Water-based spray | 15-30 mL | Monthly or light routine care | Limited correction of stiff-feeling leather |
| Cream or lotion | 20-40 mL | Three-month maintenance | Can leave residue if overapplied |
| Wax-heavy balm | 10-25 g | Older compatible leather, controlled use | Higher risk of shine and perforation blockage |
| Cleaner-conditioner | 30-60 mL | Fast maintenance after light soil | Cleaning and conditioning are both moderate |
| Interior protectant | 20-40 mL | UV and dye-transfer reduction | May not provide traditional conditioning feel |
Which Conditioner Is Best for Perforated Seats?
A thin water-based automotive formula is usually safest for perforated seats because it is easier to spread and remove from ventilation holes. Thick balm should not be pushed across perforations, and spraying directly onto the seat increases the chance of liquid entering the foam.
Perforated leather has holes commonly measuring about 1-2 millimeters across, although designs vary by vehicle. Use a small amount on the applicator rather than the upholstery, work around one seat panel at a time, and wipe across the holes with a clean microfiber towel before the product dries.
Heated seats add another reason to limit moisture. Conditioning liquid should never be allowed to pool around switches, seams, heating elements, occupancy sensors, or seat-belt hardware.
Before You Start
Prepare the vehicle in shade, with the seats cool and the doors open for ventilation. Heat accelerates evaporation and can make a product streak before you spread it evenly.
| Item | Typical specification or quantity | Purpose |
|---|---|---|
| Leather cleaner | 30-60 mL for four seats | Removes body oil and soil |
| Leather conditioner | 20-40 mL for four seats | Surface lubrication and protection |
| Microfiber towels | 4-6 towels, 300-500 GSM | Application, wiping, and buffing |
| Soft detailing brush | 1 brush, nylon or horsehair | Seams and textured areas |
| Vacuum | Crevice tool plus soft brush | Removes abrasive grit |
| Applicator pad | 1-2 foam or microfiber pads | Controls product quantity |
| Nitrile gloves | 1 pair | Keeps oils off hands |
| Drying time | 10-30 minutes minimum | Prevents trapped moisture |
Typical cost: DIY supplies cost $15-$45 if you already own towels and a vacuum. A professional interior detail commonly costs $75-$250 in North America, depending on vehicle size, soil level, stain treatment, and local labor rates.
Difficulty: Easy for maintenance, moderate for neglected seats. A deep clean involving grease, dye transfer, mold, or cracked pigment should be handled separately.
How to Condition Leather Car Seats Step by Step
Step 1: Identify the Seat Material
Check the owner’s manual and inspect the seat surface before applying anything. Automotive upholstery may combine genuine finished leather, vinyl side panels, synthetic leather, suede-like microfiber, and plastic trim on the same seat.
Place one drop of clean water on an inconspicuous genuine-looking area only if the manufacturer provides no identification guidance. Finished leather usually holds the drop briefly, while absorbent leather darkens quickly. This is not a definitive laboratory test, so stop if the material changes color.
Success checkpoint: You know whether the product is approved for the actual upholstery, not merely for leather in general.
Common mistake: Treating suede, Alcantara, vinyl, and polyurethane-coated leather with one product. Suede-like microfiber requires a separate care method.
Step 2: Remove Clutter and Vacuum Thoroughly
Remove child seats, mats, loose objects, and anything stored in seat pockets. Vacuum the cushion, backrest, bolsters, seams, belt openings, and the gap between the seat and center console using a soft brush or narrow crevice tool.
Hold the vacuum nozzle slightly above delicate surfaces when possible. Direct contact can drag grit across the finish, especially on the driver’s outer bolster. Spend extra time where sand, pet hair, and food particles collect.
Success checkpoint: No loose grit appears when you wipe a seam with a clean white microfiber towel.
Common mistake: Applying cleaner while grit remains in the stitching. Liquid turns loose particles into abrasive paste.
Step 3: Clean the Leather Surface
Apply a small amount of dedicated leather cleaner to a microfiber towel, not directly onto the seat. Work in an area about 30 by 30 centimeters, using light overlapping strokes. Use a soft brush only on textured grain and seams, never with enough pressure to flatten the finish.
Wipe the lifted soil with a separate towel dampened with clean water. Repeat rather than scrubbing harder. Body oil on a steering-side bolster may require two or three light cleaning passes.
Allow the upholstery to dry for at least 10 minutes. After a heavy wet cleaning, wait 30-60 minutes and ventilate the cabin until the leather feels uniformly dry.
Success checkpoint: The surface feels clean and dry, with no dark wet patches and no slippery cleaner film.
Common mistake: Using dish soap or household degreaser. These products can remove surface oils unevenly, leave alkaline residue, or attack dyes and coatings.
Step 4: Patch-Test the Conditioner
Apply a pea-sized amount, approximately 0.5-1 mL, to a hidden section beneath the seat or on the rear edge of a bolster. Spread it thinly, wait 10-15 minutes, then wipe and inspect the area after it dries.
Check for darkening, dye transfer, gloss change, tackiness, whitening, or a softened coating. For valuable, vintage, perforated, or visibly damaged interiors, extend the observation period to 24 hours.
Success checkpoint: The test area matches the surrounding color and sheen and does not feel sticky.
Common mistake: Testing only for color change. A conditioner can leave the color unchanged while making the finish tacky or slippery.
Step 5: Apply a Thin Coat
Put a nickel-sized amount, approximately 2-3 mL, on a microfiber or foam applicator for one front seat cushion and backrest. Spread the conditioner in straight or overlapping strokes across one panel, then redistribute the remaining product before adding more.
Avoid soaking seams, perforations, seat controls, and belt hardware. For a rear bench, use roughly 4-8 mL depending on its width and finish. The product should disappear into an even, low-sheen film within several minutes.
Do not chase a wet appearance. A glossy seat is usually an overapplication warning, not evidence of superior nourishment.
Success checkpoint: The panel looks even and satin-matte, with no visible pools at seams or edges.
Common mistake: Pouring conditioner directly onto the seat. Direct application creates concentrated spots that are difficult to level.
Step 6: Allow Dwell Time and Buff
Let the conditioner dwell for the time stated on its label, typically 5-20 minutes for a water-based automotive product and up to 30 minutes for a thicker cream. Then buff the panel with a clean, dry microfiber towel using light pressure.
Turn the towel frequently so removed residue does not spread back across the seat. Buff perforated areas with short, controlled passes rather than pressing the towel into every hole.
A practical return-to-use window is 30-60 minutes after final buffing. If the seats still feel oily, leave the vehicle ventilated for several hours and wipe again before driving. Full evaporation or film stabilization may take up to 24 hours for some products.
Success checkpoint: Clothing does not pick up residue, and the seat does not feel slick when you run a dry palm across it.
Common mistake: Leaving the recommended dwell time unchecked. Some products are designed to be wiped immediately, while others require a short dwell.
How Do the Main Product Choices Compare?
The most useful comparison is not “deepest absorption.” It is compatibility, residue control, ease of removal, and suitability for the seat’s finish.
| Decision factor | Spray | Cream or lotion | Balm or paste | Cleaner-conditioner |
|---|---|---|---|---|
| Typical application time | 5-10 minutes | 15-25 minutes | 20-35 minutes | 10-15 minutes |
| Residue risk | Low | Medium | High | Medium |
| Perforation safety | Highest with towel application | Moderate with thin coat | Lowest | Moderate |
| Best seat condition | New or lightly used | Mildly dry or dull | Compatible older leather | Lightly dirty daily driver |
| Typical reapplication | 1-3 months | 3-6 months | 4-6 months | 1-2 months |
| Finish tendency | Matte to satin | Satin | Satin to glossy | Matte to satin |
Cream is not automatically better than spray. A heavy product can attract dust, transfer to clothing, and make a driver slide against the bolster. For most modern interiors, a light compatible protectant used consistently is safer than infrequent overconditioning.
Is a Leather Coating Better Than Conditioner?
A leather coating can provide longer-lasting resistance to dye transfer, abrasion, and liquid spills, but it does not replace cleaning or repair. Coatings are useful for new vehicles, light-colored interiors, high-contact bolsters, and family vehicles, while conditioner remains simpler for periodic DIY maintenance.
Professional coatings vary widely. Some are polymer or ceramic-based and require meticulous preparation; others are protectants marketed as coatings without comparable durability. Ask for the product’s cure time, maintenance requirements, compatibility with polyurethane finishes, and removal procedure.
How Often Should Leather Seats Be Conditioned?
Condition leather seats every 3-6 months as a starting schedule, then adjust according to use and exposure. A daily-driven vehicle parked outdoors in a hot climate may need surface protection every 1-3 months, while a covered weekend vehicle may need it only twice a year.
| Vehicle situation | Cleaning interval | Conditioning or protection interval | Reason |
|---|---|---|---|
| Daily commuter, indoor parking | Every 4-6 weeks | Every 3-4 months | Moderate friction and soil |
| Outdoor parking, strong sun | Every 3-4 weeks | Every 1-3 months | Heat, UV exposure, and drying |
| Family or pet use | Weekly spot cleaning | Every 2-3 months | Spills, claws, and clothing soil |
| Classic or lightly used car | Every 2-3 months | Every 4-6 months | Lower contact frequency |
| White or pale leather | Every 2-4 weeks | Every 2-3 months | Dye transfer becomes visible quickly |
Condition by evidence, not by a fixed calendar alone. If the finish remains clean, supple, matte, and non-sticky, adding more product may create problems rather than solve them.
What Should You Avoid?
Avoid olive oil, coconut oil, mink oil intended for boots, petroleum jelly, shoe polish, furniture polish, alcohol-heavy cleaners, bleach, abrasive melamine sponges, and silicone-rich tire dressing. Household oils can oxidize, become rancid, attract soil, soften adhesives, or leave a film that interferes with later repair.
Avoid steam on seats with unknown construction. Excess heat and moisture can affect adhesives, foam, electronics, occupancy sensors, and perforation channels. Never use a stiff wire brush on pigment or polyurethane coating.
Leather conditioner is also a poor solution for structural damage. Peeling clearcoat, open cracks, transfer of color, torn stitching, and foam exposure need a leather technician or upholstery shop.
How Do You Fix Common Conditioning Problems?
Most conditioning failures come from excess product, incomplete cleaning, or moisture trapped in seams and perforations. Correct the problem by removing residue rather than adding another chemical layer.
| Problem | Likely cause | First correction | Escalation point |
|---|---|---|---|
| Greasy or sticky finish | 2-3 times too much product | Warm damp towel, then dry buff | Professional cleaning if tack remains 24 hours |
| White residue in holes | Balm trapped in perforations | Soft dry brush and vacuum | Remove seat cushion cover if holes remain blocked |
| Uneven shine | Inconsistent spread or buffing | Reclean panel and apply 1-2 mL | Refinish if coating has changed permanently |
| Dark wet patches | Excess moisture or absorbent leather | Ventilate 30-60 minutes | Technician if color remains dark after 24 hours |
| Dye transfer remains | Soil or clothing dye already bonded | Dedicated cleaner and repeated light passes | Specialized dye-transfer treatment |
| Slippery driving surface | Waxy residue | Clean, rinse-wipe, and buff | Stop driving until pedal and seat control feel normal |
For white residue in perforations, use a soft dry toothbrush or an approved detailing brush while vacuuming nearby. Do not force a toothpick deep into the hole, because it can enlarge the perforation or push product into the foam.
What Changes for Different Seat Conditions?
New leather seats usually need cleaning and protection rather than rich conditioning. The factory finish is intact, and aggressive products can make a new seat shinier or more slippery than intended.
Slightly dull or dry-feeling seats benefit from a light cleaner followed by a thin compatible lotion. Concentrate on driver bolsters, seat-entry areas, and armrests because those zones receive more friction than the center of an unused rear cushion.
Cracked or peeling seats need diagnosis first. If cracks are only superficial in the topcoat, a specialist may clean, fill, recolor, and reseal the area; conditioner alone cannot restore missing coating.
Synthetic leather, including vinyl and polyurethane-based alternatives, often needs a water-based interior protectant rather than an oil-rich leather balm. Check the manufacturer’s material designation because synthetic upholstery can become glossy, swollen, or tacky when exposed to unsuitable oils.
Expert Rules That Prevent Expensive Damage
Treat the finish, not the marketing label. A seat described as “semi-aniline leather” may still have a protective topcoat, while a product labeled “natural” may contain oils that remain greasy on automotive pigment.
The driver’s outer bolster deserves separate attention. Entry friction damages that area faster than the seat center, so clean it more often but apply no thicker product layer than elsewhere.
Matte is a measurable finish target. Compare the treated panel with an adjacent untreated panel under the same light. If the treated area reflects a sharp highlight or feels slick, remove residue.
Conditioning cannot compensate for heat. A windshield sunshade, ventilated parking, and reduced UV exposure often protect leather more effectively than additional product, particularly when the upholstery already has an intact coating.
FAQ
Can I Condition Leather Seats Without Cleaning Them?
Clean leather before conditioning whenever visible soil, body oil, sand, or dye transfer is present. Conditioner can trap grime against the finish, and that contamination increases friction during use. If the seat is genuinely clean, wipe it with a dry microfiber towel and proceed with a patch test rather than performing an unnecessary wet wash.
Can I Use Baby Wipes on Automotive Leather?
Baby wipes are not a dependable leather-care product because formulas may contain moisturizers, fragrances, surfactants, or preservatives that leave residue. An occasional emergency wipe is less harmful than abrasive scrubbing, but remove the residue with a clean damp microfiber towel and use a vehicle-approved cleaner for regular maintenance.
How Much Conditioner Should One Car Seat Get?
One front seat typically needs 2-5 mL of conditioner for the cushion, backrest, and bolsters. Start with about 2-3 mL, spread it across the entire panel, and add small amounts only when the applicator stops leaving an even film. Perforated seats generally require less product than smooth seats.
Should I Condition Leather Before or After a Long Road Trip?
Condition leather one or two days before a long road trip, not immediately before departure. Cleaning and buffing need time to remove excess residue, and a slick seat can reduce driving stability. During the trip, wipe spills promptly and use a dry towel on high-contact areas instead of repeatedly applying conditioner.
Does Conditioner Remove Scratches From Leather Seats?
Leather conditioner does not remove scratches, gouges, peeling pigment, or torn upholstery. It may temporarily darken shallow surface scuffs, making them less noticeable, but persistent damage requires cleaning, color-matched repair, recoloring, or replacement by an automotive upholstery specialist.
The Bottom Line
The safest way to condition leather car seats is to identify the material, vacuum thoroughly, clean lightly, dry completely, patch-test the formula, and apply a thin automotive-approved coat panel by panel. Buff until the finish is matte and dry, protect perforations from excess product, and repeat every 3-6 months according to use and climate.


