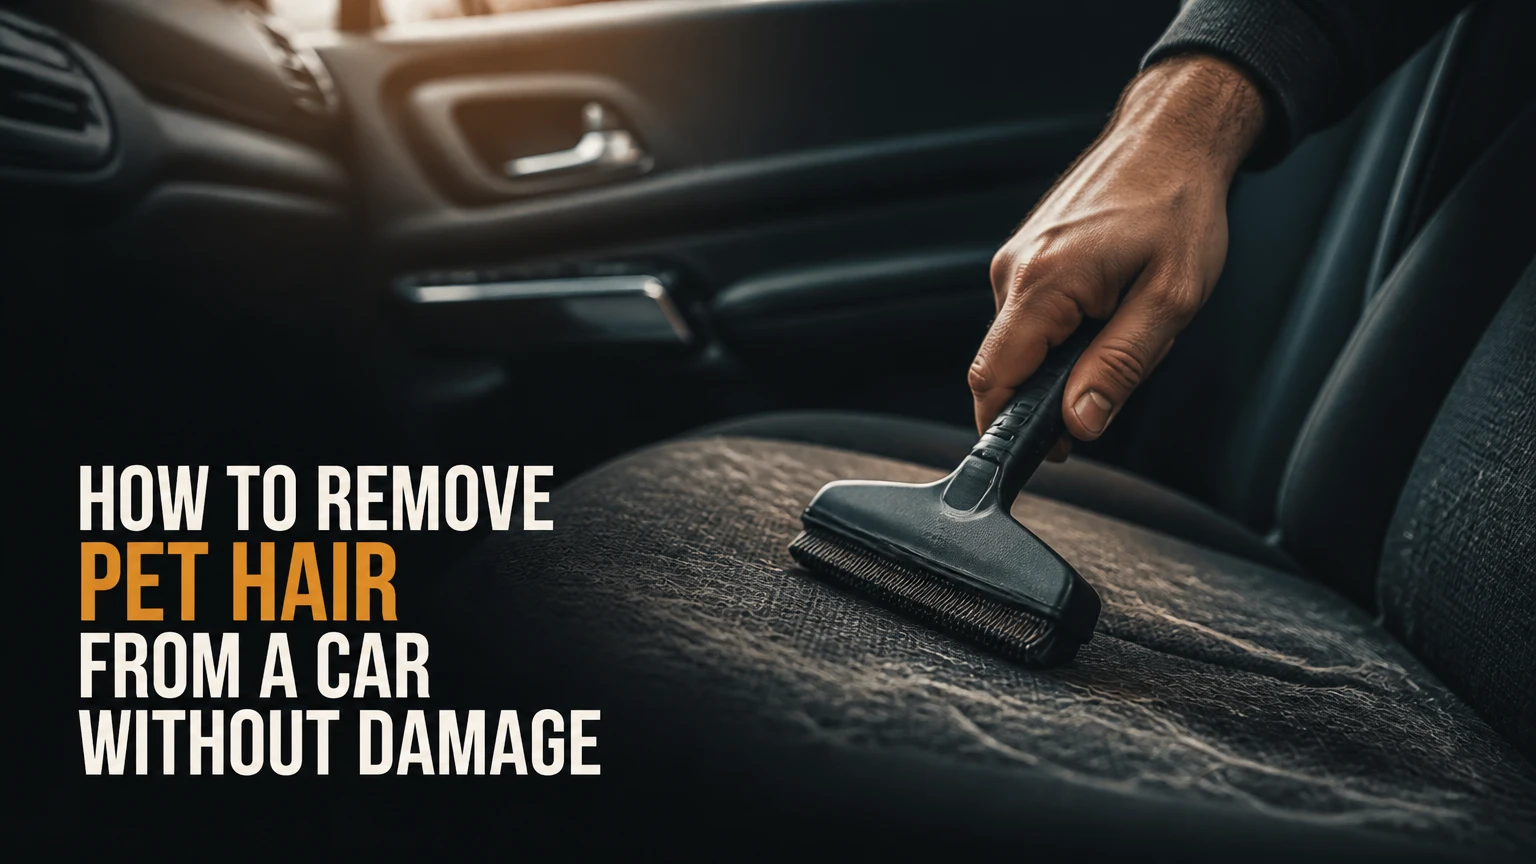
To remove pet hair from a car, vacuum loose fur, agitate embedded strands with a rubber detailing brush, collect the resulting piles, and vacuum again from the headliner downward. A typical moderately hairy interior takes 30-60 minutes and costs $0-$25 with household tools. The surface material determines whether abrasion or moisture is safe.
Key Facts
Rubber brushes loosen embedded pet hair from cloth and carpet without the abrasion of a pumice stone.
Vacuuming before agitation removes loose fur, while vacuuming after agitation collects hair pulled from the upholstery weave.
Pumice stones are suitable only for robust, coarse carpet and can permanently damage leather, vinyl, stitching, and headliners.
A lightly damp rubber glove can remove surface fur cheaply, but a glove cannot match a rubber brush on dense carpet.
Clean the vehicle from high surfaces downward so hair dislodged from the headliner does not contaminate finished seats.
Typical full-car cleaning takes 20-35 minutes for light shedding, 30-60 minutes for moderate shedding, and 60-120 minutes for severe buildup.
Why does pet hair stick to car upholstery?
Pet hair sticks to car upholstery because barbed fibers lodge between fabric threads, while static electricity and friction hold lighter strands against synthetic surfaces. Short, stiff hairs from breeds such as Boxers, Bulldogs, Pugs, and Labradors often penetrate carpet more tightly than long hair, although long hair creates larger tangles around seams and seat rails.
Car interiors combine several hair-trapping surfaces:
- Woven cloth seats: Hair enters the weave and becomes difficult for suction alone to remove.
- Nylon or polypropylene carpet: Coarse loops grip short hairs and tolerate more mechanical agitation.
- Leather and vinyl: Hair usually remains on the surface, but collects along stitching, perforations, and seat gaps.
- Plastic trim: Static attracts floating strands, especially on dry days.
- Headliners: Light fabric holds hair through static and weak surface fibers that can loosen under aggressive scrubbing.
The most effective sequence uses different forces in order. A vacuum removes loose material, a rubber tool creates friction and gathers embedded strands, and a second vacuum pass removes the piles. Water can reduce static, but excessive moisture changes the task from hair removal to upholstery drying and stain control.
What tools remove pet hair from a car?
The best basic setup is a crevice vacuum nozzle, a rubber detailing brush or squeegee, microfiber towels, a soft interior brush, and a pair of rubber gloves. Choose the tool according to the surface, because the fastest method for coarse carpet can damage leather or delicate upholstery.
| Tool or method | Typical cost | Best surface | Typical full-car time | Main limitation |
|---|---|---|---|---|
| Rubber detailing brush | $8-$20 | Cloth seats, carpet, mats | 30-60 minutes | Requires repeated hand strokes |
| Rubber dishwashing glove | $2-$6 | Light fur on cloth and vinyl | 45-90 minutes | Weak on dense, short hair |
| Crevice vacuum nozzle | $0-$40 | Seams, tracks, console gaps | 20-45 minutes | Suction alone misses embedded hair |
| Motorized upholstery head | $30-$80 | Cloth seats and carpet | 20-40 minutes | Brush roll can wrap with fur |
| Lint roller | $5-$12 | Smooth seats and trim | 45-90 minutes | Adhesive sheets fill quickly |
| Pumice pet-hair stone | $8-$15 | Coarse trunk carpet only | 20-45 minutes | Abrasion can fray or scratch |
| Compressed-air blow gun | $20-$100 | Tracks and deep crevices | 15-30 minutes | Disperses dander without containment |
A rubber brush is the safest first purchase for most cloth interiors. A pumice stone can be faster on heavily contaminated cargo carpet, but the tool removes material as well as hair if pressure is excessive. That trade-off makes it inappropriate for upholstery, carpet binding, stitching, plastic, vinyl, and leather.
Should you use fabric softener spray?
A diluted fabric-softener spray can reduce static temporarily, but it is optional and carries residue and staining risks. If used, apply a very light mist to a hidden section of fabric, wait about two minutes, agitate the fibers, and allow the upholstery to dry completely before closing the vehicle.
Do not soak seats or spray near seat-belt retractors, electrical connectors, heated-seat controls, side-airbag seams, or the headliner. Fabric softener is not an upholstery cleaner, disinfectant, or odor neutralizer. Its fragrance can also mask rather than remove pet odor.
Plain water in a fine mist is a lower-residue alternative for static control. Use the least moisture that improves collection, and avoid any spray on leather unless the leather-care product specifically permits it.
How to Remove Pet Hair From a Car: 7 Steps
Before You Start
| Requirement | Typical specification |
|---|---|
| Time | 30-60 minutes for moderate shedding |
| Difficulty | Moderate, with heavy hand work on carpet |
| Cost | $0-$25 using a vacuum, gloves, and a rubber tool |
| Materials | Vacuum, crevice nozzle, rubber brush, microfiber towels, waste bag |
| Optional items | Motorized head, fabric-safe mist, soft brush, seat-cover wash bag |
| Working conditions | Dry, ventilated area with doors or windows open |
Park in a shaded, dry location. Remove the pet, child seats, floor mats, trash, toys, and loose belongings before cleaning. Inspect for dampness first, since wet fur clumps into upholstery and increases the chance of odor.
Step 1: Open and inspect the interior
Open all doors and lower the windows slightly so dislodged hair and dander can escape instead of settling on another surface. Use a flashlight to inspect seat seams, under-seat rails, the cargo-area corners, door pockets, and the headliner.
Work from the highest surface downward: headliner, pillars, dashboard, seats, console, door panels, and floor. Remove mats and clean them outside the vehicle, where their loosened hair cannot fall onto finished upholstery.
You will know it worked when: loose hair, sand, and visible debris are removed from the cabin before agitation begins.
Common mistake: Starting with the seats while overlooking the headliner. Later movement sends ceiling hair back onto the cleaned upholstery.
Step 2: Vacuum loose fur and debris
Use a crevice nozzle around seams, seat rails, console joints, and the gap between the seatback and cushion. Use an upholstery nozzle or soft brush on cloth seats, and keep the nozzle slightly above delicate surfaces so suction does not pull loose threads.
Vacuum in overlapping passes from top to bottom. Empty the canister or inspect the bag after each major section, and remove fur from the filter and brush roll when airflow drops. Heavy hair can block a small vacuum quickly, especially when mixed with sand.
You will know it worked when: remaining hair appears attached to the fabric rather than lying freely on top.
Common mistake: Relying on a household vacuum’s suction alone. Vacuuming removes loose fur efficiently but usually leaves hair embedded in woven cloth and carpet.
Step 3: Agitate cloth and carpet with rubber
Hold a rubber detailing brush at a shallow angle and pull it in short, straight, overlapping strokes toward one collection area. Keep each stroke single-directional rather than scrubbing in circles, because circular motion can twist hair deeper into the weave.
Use firmer pressure on durable floor carpet and lighter pressure on seat fabric. Brush a section approximately 12 by 12 inches, stop when hair forms a visible line, and collect the line before moving to the next section.
A slightly damp rubber glove works on light surface fur. Put the glove on, dampen the palm, squeeze out excess water, and wipe in one direction. The glove should feel barely damp, not wet.
You will know it worked when: fur gathers into ropes, lines, or piles that can be lifted without scraping repeatedly.
Common mistake: Brushing too aggressively. If fibers rise, fray, or change direction permanently, reduce pressure and switch to a softer rubber tool.
Step 4: Collect each pile immediately
Use the vacuum to collect every gathered line before continuing. Holding piles in place prevents hair from spreading back across the surface, and it also lets you see which areas still need a second agitation pass.
For stubborn seams, stretch a small piece of masking tape or painter’s tape around two fingers with the adhesive facing outward. Press and lift rather than dragging across fabric. Duct tape can leave adhesive on trim, so reserve it for protected hard-to-reach areas and test first.
You will know it worked when: the cleaned section shows the original upholstery color and no loose pile remains along its edges.
Common mistake: Creating a large central pile and leaving it until the end. Air movement and clothing can redistribute that fur into clean sections.
Step 5: Treat seams, tracks, and crevices
Lower the seat and move it through its normal adjustment range, keeping fingers clear of powered mechanisms. Vacuum the exposed track, then use a soft brush or a narrow strip of low-tack tape to lift hair from corners.
For metal tracks, a crevice tool is safer than a screwdriver. If using a flat tool wrapped with tape, keep the tool insulated from electrical wiring and avoid forcing it beneath powered seat components. Compressed air can clear a track, but direct the airflow toward the open door and immediately vacuum the displaced material.
You will know it worked when: no hair remains packed against the track ends, seat-belt anchor, or gap beside the center console.
Common mistake: Blowing compressed air across the cabin. The air removes hair from one gap while scattering dander onto the dashboard, vents, and cleaned seats.
Step 6: Use a motorized brush only when needed
A motorized upholstery attachment combines agitation and suction, making it useful for large cloth seat cushions and carpet. Move slowly, keep the head flat, and inspect the brush roll every few minutes so wrapped fur does not reduce airflow or overheat the motor.
Use a non-motorized rubber tool first when the hair is long and tangled. Long strands can wrap around rotating brushes, while short needle-like hairs may require several light passes rather than one forceful pass.
You will know it worked when: the attachment collects hair continuously without leaving visible lines, loose threads, or a stalled brush roll.
Common mistake: Pressing the powered head hard into upholstery. Pressure slows the brush, reduces suction, and can polish or flatten the fabric unevenly.
Step 7: Perform the final vacuum and wipe-down
Vacuum every surface again, following the same top-to-bottom route. Use a soft brush on dashboard plastic, door panels, and instrument bezels, then wipe hard surfaces with a clean, slightly damp microfiber towel.
For leather or vinyl, remove hair with a vacuum and soft brush before applying a manufacturer-approved interior cleaner. Do not drag a pumice stone, stiff bristle brush, or abrasive block across these materials.
You will know it worked when: a white microfiber towel wiped across the seat collects little or no visible fur, and no hair falls from the headliner during a final inspection.
Common mistake: Closing the doors immediately. Let damp areas dry fully, because trapped humidity encourages odor and can affect electronic components.
Which pet-hair removal method is safest and fastest?
Rubber agitation followed by vacuuming is the best general method because it removes embedded hair without the surface damage associated with abrasive stones. Pumice is fastest on coarse cargo carpet, while gloves are the cheapest practical option for light fur and lint rollers are best reserved for small touch-ups.
| Method | Removal mechanism | Safe use | Avoid on | Typical result |
|---|---|---|---|---|
| Rubber brush | Friction gathers embedded strands | Cloth, carpet, rubber mats | Loose-weave delicate fabric under heavy pressure | High removal with low abrasion |
| Damp rubber glove | Friction and slight static control | Light fur on cloth and vinyl | Saturated upholstery and electronics | Moderate removal at low cost |
| Pumice stone | Mechanical hooking and abrasion | Robust, coarse carpet | Leather, vinyl, stitching, headliner, fine cloth | Very high removal with material risk |
| Lint roller | Adhesive pickup | Smooth cloth, trim, final touch-up | Deep carpet and large areas | Low to moderate removal |
| Motorized vacuum head | Agitation plus suction | Large cloth surfaces | Loose threads and long fur without brush checks | High removal with maintenance |
| Compressed air | Pneumatic displacement | Tracks, seams, enclosed gaps | Open cabin without a vacuum positioned nearby | Fast displacement, incomplete collection |
Pumice stones deserve special caution. A stone may appear effective because it pulls out both hair and loose upholstery fibers; repeated use can leave a bald or fuzzy patch that becomes more visible after cleaning.
How should you remove pet hair from leather, cloth, and carpet?
Cloth upholstery needs rubber agitation, carpet tolerates stronger mechanical work, and leather needs gentle vacuuming around seams followed by an approved leather cleaner. No single tool is safe for every automotive surface, so divide the interior into material zones before cleaning.
| Interior material | Recommended method | Pressure or moisture limit | Tool to avoid | Typical time |
|---|---|---|---|---|
| Cloth seat fabric | Rubber brush, then vacuum | Light pressure, minimal mist | Pumice and stiff dry scrubbing | 10-20 minutes per row |
| Coarse floor carpet | Rubber brush or careful stone | Moderate pressure, dry first | Excessive circular scraping | 10-30 minutes |
| Leather seat | Vacuum, soft brush, microfiber | Dry removal first | Pumice, adhesive tape, hard bristles | 5-15 minutes |
| Vinyl trim | Vacuum and damp microfiber | No pooled liquid | Abrasive stones and solvent sprays | 5-10 minutes |
| Headliner | Soft brush or low suction | Almost dry, minimal pressure | Strong vacuum and wet spray | 5-10 minutes |
| Seat tracks | Crevice nozzle and soft brush | Keep liquids away from mechanisms | Forced tools near wiring | 5-15 minutes |
Leather often looks clean after vacuuming but still retains hair in perforations. Use a soft detailing brush with strokes directed away from the perforation openings, then wipe with a compatible product. Do not push fur deeper into ventilated seat holes.
Headliners are particularly vulnerable. The fabric is often bonded to foam, and excessive moisture or rubbing can loosen the adhesive and create sagging. A light vacuum pass and gentle brush are safer than a wet extraction process.
What should you do about short, embedded dog hair?
Short, needle-like dog hair requires repeated light agitation rather than maximum force. Mist the fabric only if static is causing reattachment, wait about two minutes, brush with a rubber tool in one direction, and vacuum each small section before moving on.
For thick carpet, make two passes at different angles, such as front-to-back and left-to-right, but keep each individual stroke straight. This changes the direction of friction without the fiber-twisting effect of circular scrubbing.
A pumice stone can work on durable trunk carpet when the surface is dry and the operator uses minimal pressure. Test an inconspicuous area first. Stop immediately if carpet fibers collect with the hair or the backing becomes visible.
Short hair also exposes a vacuum limitation: suction pulls at the exposed ends but cannot overcome the mechanical grip of the fabric. That is why agitation must precede the final vacuum pass.
How long and how much does car pet-hair removal take?
A do-it-yourself pet-hair cleanup typically costs $0-$25 and takes 20-120 minutes, depending on hair density, interior size, and whether the hair is embedded or merely loose. Professional detailing commonly costs about $150-$350 for a severe interior, although local labor rates and odor treatment can change the quote.
| Hair condition | DIY time | DIY cost | Likely method | Professional need |
|---|---|---|---|---|
| Light surface fur | 20-30 minutes | $0-$10 | Vacuum and glove | Usually unnecessary |
| Moderate cloth-seat buildup | 30-60 minutes | $8-$25 | Rubber brush and vacuum | Optional |
| Dense short hair in carpet | 60-120 minutes | $10-$40 | Rubber tool, repeated passes | Often worthwhile |
| Hair in tracks and every seam | 60-150 minutes | $10-$40 | Crevice work and controlled air | Useful before sale |
| Hair plus persistent odor | 90-180 minutes | $20-$60 | Hair removal, fabric cleaning, drying | Recommended if odor persists |
| Severe commercial-vehicle cleanup | 2-4 hours | $30-$80 DIY | Multiple tools and extraction | $150-$350 typical |
A professional detailer becomes more cost-effective when hair covers multiple rows, has been ground into damp fabric, or accompanies urine, vomit, or persistent odor. Extraction alone does not guarantee hair removal, because water can mat strands into the upholstery before mechanical agitation separates them.
What mistakes make pet hair harder to remove?
The most damaging mistakes are using abrasion on the wrong material, wetting the upholstery excessively, and vacuuming without cleaning the filter. Recovery depends on the failure: dry damp fabric completely, stop abrasion at the first sign of fraying, and clear the vacuum before restoring suction.
- Circular scrubbing: Switch to straight, overlapping strokes with a rubber tool. Vacuum the loosened lines immediately.
- Pumice on leather or vinyl: Stop using the stone. For light scratches, consult a leather-care professional rather than applying more cleaner.
- Too much fabric-softener spray: Blot excess moisture with a clean towel, ventilate the car, and allow complete drying before repeating any treatment.
- Clogged vacuum filter: Turn off and unplug the vacuum, remove wrapped fur from the brush roll, and clean or replace the filter according to the manufacturer’s instructions.
- Compressed air without containment: Reposition the vacuum nozzle at the exit point, blow a small area toward it, and capture the displaced hair immediately.
- Wet hair on upholstery: Let the surface dry as far as practical, then break apart the hardened clumps with a dry rubber tool before using any liquid product.
- Ignoring the headliner: Clean the headliner first and repeat the final vacuum pass across seats and floors.
The practitioner rule is simple: if the tool removes visible fabric fibers, it is too aggressive, regardless of how much hair it collects. A clean-looking patch with damaged upholstery is not a successful result.
How can you prevent pet hair from returning?
A washable hammock cover, regular brushing of the pet, and a five-minute weekly rubber-brush pass prevent most severe buildup. Prevention works best when the cover captures loose fur before it reaches the seat, while routine cleaning stops hair from being compressed into the upholstery weave.
Use a properly fitted seat cover that protects the seatback, cushion, and footwell. Secure the cover so it cannot interfere with seat belts, child restraints, seat-mounted airbags, or the driver’s controls. Follow the vehicle and restraint manufacturer’s installation instructions.
Keep a small rubber brush and crevice nozzle in the vehicle for maintenance. After each trip, shake or vacuum the cover outside the cabin, then inspect the door-side seam and floor edge. Wash the cover according to its care label, because a hot dryer can set odor or shrink poorly fitted fabric.
Pet grooming also changes the load entering the cabin. Brushing the animal before travel removes loose undercoat at the source, although grooming should occur in an appropriate area rather than inside the car.
Frequently Asked Questions
Can a regular vacuum remove all pet hair from a car?
A regular vacuum removes loose fur but rarely removes all embedded hair from woven seats or coarse carpet. Use the vacuum before and after a rubber brush, because agitation separates strands from the fabric while suction collects them. A crevice nozzle remains useful even when the vacuum lacks a motorized head.
Is a squeegee better than a rubber glove for car hair?
A rubber squeegee or dedicated detailing brush is usually better for dense car hair because its edge concentrates friction and gathers longer lines. A rubber glove costs less and works well for light surface fur, tight seat contours, and quick maintenance. Neither tool should be used wet enough to saturate upholstery.
Can I use a pumice stone on car carpet?
A pumice stone can be used cautiously on dry, coarse, robust floor or trunk carpet after a hidden-area test. Do not use it on leather, vinyl, cloth seats, headliners, carpet binding, stitching, or delicate looped material. Stop when fibers appear in the collected debris, because continued abrasion is damaging the carpet.
How do I remove pet hair from car seat belts?
Extend the seat belt slowly, support it so it does not retract, and vacuum or wipe the webbing with a dry microfiber cloth. Avoid adhesive residue, soaking, bleach, and abrasive tools, because contamination can affect belt retraction and webbing integrity. Allow the belt to dry fully before letting it retract.
Why does pet hair keep reappearing after cleaning?
Pet hair reappears when the headliner, seat tracks, floor mats, or seat gaps were skipped, or when static causes loose strands to move back onto finished surfaces. Clean high areas first, remove mats from the cabin, empty the vacuum frequently, and perform a final inspection after closing and reopening each door.
The Bottom Line
The reliable answer to how to remove pet hair from car interiors is a two-pass process: vacuum loose fur, gather embedded hair with a rubber tool, then vacuum again from the headliner downward. Use abrasion only on tested coarse carpet, keep leather and headliners nearly dry, and clean small sections so collected hair cannot spread back across the vehicle.


