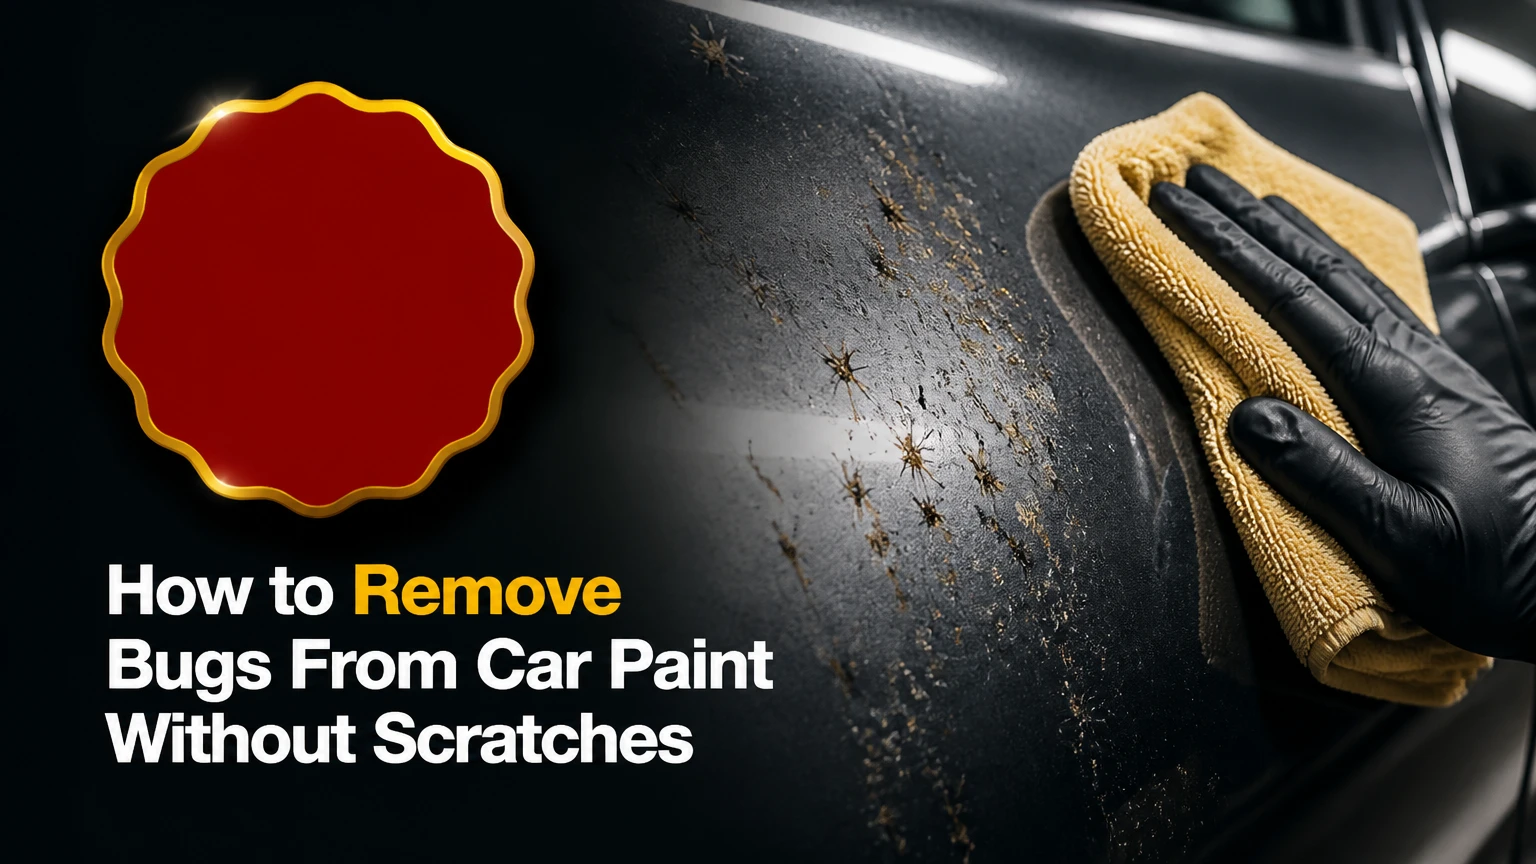
To remove bugs from car paint safely, cool the panel, rinse away loose debris, apply a dedicated automotive bug remover for 2-3 minutes, then lift the softened residue with a wet microfiber mitt. Rinse and dry immediately. The most important factor is preventing dried insect material or cleaner from being rubbed across unlubricated paint.
Key facts
Fresh bug residue usually comes off in 5-10 minutes with water, automotive shampoo, and microfiber.
Baked-on splatter often needs a dedicated bug-and-tar remover with a 2-3 minute dwell time.
Bug cleaner must remain wet and should never dry on a hot panel.
A clay bar removes bonded residue but does not repair clear-coat etching.
A dull outline remaining after cleaning indicates possible etching, not leftover dirt.
Kitchen sponges, dry towels, and aggressive scrubbing create avoidable clear-coat scratches.
What Causes Bug Splat Damage?
Bug splatter damages automotive paint when acidic, protein-rich residue remains on hot clear coat for extended periods. Sunlight and panel heat accelerate drying and bonding, while repeated wiping increases the chance that hardened particles will scratch the surface.
Insect residue can contain body fluids, proteins, waxes, chitin fragments, and road dust. The residue is not uniformly acidic, so a fixed pH range should not be treated as a universal measurement for every insect or splat. The practical risk is clear: heat and prolonged dwell time make removal harder.
Modern vehicles normally have a thin clear coat over the color coat. The clear coat provides gloss and some chemical resistance, but it is not an unlimited barrier. If a bug mark remains after washing and still looks cloudy from several angles, the surface may have been chemically etched.
Bug removal is therefore a two-stage job. First, dissolve and lift the contamination. Second, inspect for damage after the paint is clean and dry. More scrubbing cannot reverse material that has already changed the clear coat.
How does bug remover work?
Automotive bug removers use water, surfactants, solvents, and sometimes enzymes to soften organic residue before contact with the paint. The formula loosens proteins and oily material, allowing a microfiber towel or wash mitt to remove the residue with less pressure.
Product formulas vary considerably. Some are safe for frequent use on clear coat, while stronger products may reduce wax or sealant durability. Read the label for use on painted surfaces, plastic trim, glass, PPF, and ceramic coatings.
A cleaner is not a replacement for lubrication. Even softened residue can contain grit, so the surface still needs rinsing and controlled agitation.
What Do You Need Before Starting?
A basic bug-splat cleanup needs 15-30 minutes, $10-$25 in supplies, and no machine polisher. Work in shade with panels below roughly 90°F, or wait until the bodywork feels cool to the back of your hand.
Before-you-start checklist
| Item | Typical amount or specification | Purpose |
|---|---|---|
| Automotive bug remover | 4-8 fluid ounces per front end | Softens dried organic residue |
| Clean water | 1-3 gallons for spot cleaning | Rinsing cleaner and particles |
| Microfiber towels | 3-5 towels, 300-500 GSM | Wiping and drying |
| Microfiber wash mitt | 1 dedicated mitt | Low-abrasion agitation |
| Hose or pressure washer | 1,000-2,000 PSI, 24 inches away | Removes loose debris |
| Automotive shampoo | 1-2 ounces per 3-5 gallons | General washing and lubrication |
| Nitrile gloves | 1 pair | Skin protection from cleaner |
Use a separate mitt or towel for the lower bumper, grille, and license-plate area. Those locations collect more sand and road grit than the hood, so transferring their contamination to the roof or doors can cause marring.
Inspect the paint before cleaning. Photograph deep marks, missing clear coat, stone chips, or peeling areas because aggressive liquid cleaners cannot repair those defects.
How Do You Remove Bugs From Car Paint?
The safest process has five steps and usually takes 10-20 minutes for a front bumper, mirrors, hood edge, and windshield. Keep the residue wet, minimize pressure, and replace contaminated towel faces instead of continuing to wipe with one dirty cloth.
Step 1: Cool the Paint
Park the car in shade and wait until the bumper, hood, mirrors, and headlights feel cool. Avoid cleaning immediately after highway driving, when airflow may leave the front end much hotter than the surrounding air.
Do not rely only on ambient temperature. A black hood in direct summer sun can become hot enough to flash-dry cleaner within seconds, even when the weather forecast says 75°F.
You will know this worked when: cleaner remains liquid for at least two minutes after application.
Common mistake: Spraying bug remover onto a hot panel and allowing it to dry before agitation.
Step 2: Pre-Rinse Without Wiping
Rinse the contaminated panels from top to bottom using a hose or pressure washer. A pressure washer should operate around 1,000-2,000 PSI for consumer detailing, with the nozzle kept at least 24 inches from the paint.
Use water to remove loose dust, wings, legs, and grit before introducing a towel. Do not wipe during the pre-rinse, because dragging partially detached debris across the clear coat can create linear scratches.
Pay special attention to the hood leading edge, grille surround, mirror caps, bumper corners, and the lower windshield. Rinse wheel-arch edges separately so their dirt does not flow back onto the freshly rinsed bumper.
You will know this worked when: loose splats disappear without physical contact and only bonded outlines remain.
Common mistake: Holding the spray nozzle too close to badges, sensors, weather seals, or damaged paint.
Step 3: Apply a Dedicated Bug Cleaner
Spray enough automotive bug remover to fully wet the splats, usually 2-4 ounces for a bumper-sized area. Let the product dwell for 2-3 minutes, or follow the product label if it specifies a different time.
Apply the cleaner to one manageable section at a time. The surface should remain visibly wet, but the product should not run down the entire side of the car. If a section begins drying, add more product rather than rubbing harder.
Avoid applying a strong cleaner to unpainted matte plastic, vinyl wraps, aftermarket graphics, or fresh touch-up paint unless the manufacturer approves it. Test an inconspicuous area first.
You will know this worked when: the residue turns soft, swollen, or streaky and begins releasing during a light rinse.
Common mistake: Letting the chemical dry, which can leave its own spotting or residue and complicate the original problem.
Step 4: Lift the Softened Residue
Saturate a clean microfiber wash mitt or towel with water and make straight, overlapping passes over the wet panel. Use the weight of the mitt rather than firm hand pressure, and fold towels into several clean faces.
Do not use circular scrubbing. Circular motion does not automatically cause scratches, but it can distribute contamination across a wider area and makes it harder to identify the direction of any new marring.
Rinse the mitt after each small section. If the towel face feels gritty, discard it for washing and use a fresh one. A towel cannot safely trap unlimited grit.
You will know this worked when: the paint feels visually clean and the towel glides without catching on raised residue.
Common mistake: Continuing to wipe after the towel has collected dark grit or insect fragments.
Step 5: Rinse, Dry, and Inspect
Flood the cleaned area with fresh water until no foamy or oily cleaner remains. Dry with a clean, plush microfiber towel, using light straight passes or a filtered air blower around grilles and emblems.
Water left on paint can evaporate into mineral deposits, especially in hard-water regions. Dry the panel promptly, then inspect it in direct but controlled light from several angles.
Do not apply wax, sealant, or ceramic spray over visible cleaner residue. Protection belongs on clean, dry paint.
You will know this worked when: the panel feels smooth, looks uniform, and shows no remaining raised material under a strong inspection light.
Common mistake: Evaluating the result while the panel is still wet, because water can temporarily hide cloudy etching.
Which Cleaner or Method Should You Use?
A dedicated bug remover is the best first choice for moderate dried splatter because it softens organic residue before contact. Car shampoo works for fresh contamination, clay handles bonded particles after washing, and machine polishing addresses etching rather than residue.
| Method | Typical cost | Typical time | Best condition | Main risk |
|---|---|---|---|---|
| Water and automotive shampoo | $0.50-$2 per wash | 5-10 minutes | Fresh splats under 24 hours | Extra wiping if residue has hardened |
| Dedicated bug remover | $10-$20 per bottle | 5-15 minutes | Dried or moderate splatter | Product drying on hot paint |
| Synthetic clay mitt | $15-$35 | 20-45 minutes | Bonded residue after washing | Micro-marring without lubricant |
| Traditional clay bar | $10-$25 per kit | 20-45 minutes | Small embedded areas | Picking up grit and scratching |
| WD-40 or solvent remedy | $5-$10 | 10-20 minutes | Emergency use only | Oily film and weakened protection |
| Professional correction | $150-$400 or more | 2-5 hours | Etched or visibly marred paint | Cost and clear-coat removal |
When should you use a clay bar?
Use a clay bar or synthetic clay mitt only after washing and chemically treating the surface. Clay is appropriate when the paint feels rough under a clean plastic bag or fingertip, but it is unnecessary for residue that a bug cleaner can dissolve.
Apply dedicated clay lubricant generously and work a small area with light pressure. Fold traditional clay frequently so contaminated material does not remain on the contact face. A synthetic clay mitt should be rinsed immediately if dropped.
Clay removes bonded contamination. It does not remove a cloudy chemical etch, and it can introduce light marring that requires polishing on delicate or dark paint.
Are household remedies safe?
Household remedies are inconsistent and should not be the normal method for painted panels. Dryer sheets can contain fibers or additives that create friction, while WD-40 may dissolve residue but leaves an oily film and can reduce wax or sealant durability.
Dish soap is not an instant paint destroyer, but repeated use is a poor maintenance choice because its detergent system is designed to remove kitchen grease, not preserve automotive protection. A pH-balanced car shampoo is the safer routine option.
Never use a kitchen scouring pad, melamine foam, razor blade, abrasive powder, or dry paper towel on automotive paint. The short-term saving is smaller than the cost of polishing or repainting scratched clear coat.
What Changes for Different Vehicle Surfaces?
Painted clear coat, glass, plastic trim, PPF, ceramic coatings, and matte finishes do not have identical chemical tolerances. Use the product label for the specific surface, reduce dwell time on untested materials, and rinse thoroughly.
| Surface | Safe starting method | Product caution | Inspection point |
|---|---|---|---|
| Clear-coated paint | Bug remover, rinse, microfiber | Do not let cleaner dry | Cloudy outlines or marring |
| Windshield glass | Glass-safe bug cleaner and scrub pad | Avoid paint-only solvents | Wiper chatter or greasy film |
| Headlight lens | Plastic-safe cleaner and microfiber | Avoid abrasive household pads | Haze, yellowing, or coating failure |
| Ceramic coating | Coating-approved cleaner and rinse | Strong solvents may reduce topper life | Water behavior after cleaning |
| Paint protection film | PPF-approved cleaner, short dwell | Avoid petroleum products unless approved | Lifted edges or adhesive exposure |
| Matte paint or wrap | Label-approved cleaner only | Polishing changes the sheen | Shiny spots or uneven texture |
How do you clean a ceramic-coated car?
Clean a ceramic-coated vehicle with a coating-safe bug remover, cool water, and a soft microfiber mitt. Ceramic coatings make contamination easier to release, but they do not make the surface immune to acid staining, scratches, or dried chemicals.
Do not use clay automatically on coated paint. Chemical decontamination is usually the lower-risk first step, and clay may reduce coating performance in the treated area if used aggressively.
How do you remove bugs from PPF?
Use a PPF-approved cleaner, keep the film cool, and avoid directing high-pressure water at exposed film edges. A pressure washer can lift a vulnerable edge when the nozzle is too close, particularly around mirrors, bumper corners, and seams.
Do not use WD-40, tar solvent, or a strong alkaline product on PPF unless the film manufacturer permits it. Test a hidden area and rinse all cleaner from seams.
How Can You Tell if Bugs Etched the Paint?
Bug residue is removable when it feels raised, looks three-dimensional, or disappears after chemical softening. Etching is likely when the area is smooth but a fixed cloudy, dull, or sharply outlined mark remains after cleaning and drying.
Use a strong inspection light and view the panel at several angles. A water spot, wax residue, clear-coat failure, and paint chip can resemble etching, so diagnosis matters before polishing.
Try a gentle hand polish on a small test spot. If the mark improves, a mild finishing polish may be sufficient. If the defect remains, a detailer may need a dual-action polisher, compound, and finishing polish.
Machine correction removes a small amount of surrounding clear coat to level the defect. It cannot restore clear coat that has failed, peeled, or become deeply cracked. Stop polishing when the defect does not improve after a controlled test section.
What if the bug spray dried on the paint?
Re-wet the dried product with the same cleaner or a paint-safe quick detailer, allow about 60 seconds of rehydration, then rinse and lift it with a saturated microfiber towel. Never scrape the dry film with a fingernail or plastic card.
Work on a cool panel and test a small section first. If a stain remains after reactivation, wash the panel with car shampoo before deciding whether the issue is chemical residue or etching.
What Are the Most Common Removal Mistakes?
The most damaging mistake is adding friction before contamination has softened. Correcting the technique usually requires re-wetting, rinsing, and changing the towel rather than applying a stronger chemical.
- Scrubbing dry splats: Reapply cleaner, wait 2-3 minutes, and use a wet mitt.
- Working in direct sunlight: Move the vehicle or clean a smaller panel before the product flashes dry.
- Using one towel everywhere: Separate the grille and lower bumper towel from the hood towel.
- Skipping the pre-rinse: Rinse first so grit does not become abrasive paste.
- Polishing before washing: Remove contamination before using clay or a machine.
- Applying protection over residue: Rewash and inspect before using wax, sealant, or ceramic spray.
An experienced detailer treats every towel face as a limited resource. Reusing a saturated face is often more damaging than choosing a less expensive cleaner.
How Much Time and Money Should You Expect?
DIY bug removal typically costs $10-$25 and takes 10-30 minutes, depending on residue age and the number of panels affected. Professional service typically costs $50-$150 for cleaning alone, or $150-$400 or more when polishing is needed.
| Vehicle condition | DIY materials | Typical labor time | Likely treatment |
|---|---|---|---|
| Fresh front-end splats | $0.50-$5 | 5-10 minutes | Rinse and car shampoo |
| One-week dried residue | $10-$20 | 10-20 minutes | Dedicated bug remover |
| Several-week baked-on residue | $15-$35 | 30-60 minutes | Cleaner, clay, possible polish |
| Visible light etching | $25-$75 | 1-3 hours | Test polish or dual-action correction |
| Deep or widespread etching | $150-$400 or more | 2-5 hours | Professional correction assessment |
Prices vary by region, vehicle size, product quantity, and whether the detailer includes a full exterior wash. A quote that includes paint correction should identify the correction stage, protection product, and expected improvement.
How Do You Prevent Future Bug Stains?
Remove bug residue within 24-48 hours whenever practical, especially after highway travel in warm weather. Apply a wax, synthetic sealant, ceramic spray, ceramic coating, or PPF according to the vehicle’s condition and your maintenance budget.
| Protection option | Typical installed or product cost | Reapplication interval | Best use |
|---|---|---|---|
| Spray wax | $10-$20 | 2-6 weeks | Low-cost routine protection |
| Synthetic sealant | $15-$40 | 3-6 months | Daily-driver durability |
| Ceramic spray topper | $15-$35 | 1-3 months | Easy maintenance enhancement |
| Professional ceramic coating | $500-$2,000 | 1-5 years, product dependent | High-maintenance paint care |
| Front-end PPF | $800-$2,500 | 5-10 years, film dependent | Maximum stone and bug protection |
Protection changes cleaning behavior, not chemistry. A coating can lower adhesion and improve rinsing, but dried residue can still stain or etch if neglected.
For long trips, carry a labeled bottle of approved cleaner, two or three microfiber towels, and a small water supply. At a fuel stop, soften the splats without dry wiping, then complete the wash at home.
Frequently Asked Questions
Can a regular car wash remove dried bugs?
A regular car wash may remove fresh or lightly dried bugs, but baked-on residue often survives the initial wash. Pre-treat the front end with a paint-safe bug remover for 2-3 minutes, then use the wash process. Do not choose a harsher automatic brush cycle simply because the first wash leaves outlines.
Is bug remover safe for clear coat?
Automotive bug remover is generally safe for cured clear coat when the label approves painted surfaces and the product remains wet for its specified dwell time. Compatibility depends on formula, surface temperature, and existing protection. Test unfamiliar products on a hidden section and rinse thoroughly.
Should you remove bugs before or after washing the car?
Pre-treat heavy bug splatter before the main wash, then wash the vehicle normally. The pre-treatment reduces the amount of abrasive residue that reaches the wash mitt. Light fresh splats can be removed during a conventional wash if the rinse and lubrication are adequate.
How often should bug residue be removed?
Remove heavy bug residue as soon as possible, ideally within 24-48 hours and immediately after long summer trips. Weekly washing is usually sufficient for light exposure, but hot sunlight, dark paint, and extended parking increase the need for prompt spot cleaning.
Can a car wash remove permanent bug etching?
A car wash cannot remove permanent clear-coat etching because washing removes contamination rather than leveling damaged paint. A hand polish may improve mild marks, while a professional detailer may use a dual-action polisher and compound. Peeling or failed clear coat requires refinishing, not more cleaning.
The Bottom Line
To remove bugs from car paint, cool the vehicle, pre-rinse without touching, apply a dedicated cleaner for 2-3 minutes, gently lift the softened residue with a wet microfiber mitt, and rinse and dry immediately. Use clay only for bonded contamination, and use polishing only after confirming that a dull mark is etching. Prompt cleaning and durable paint protection prevent most repeat damage.


