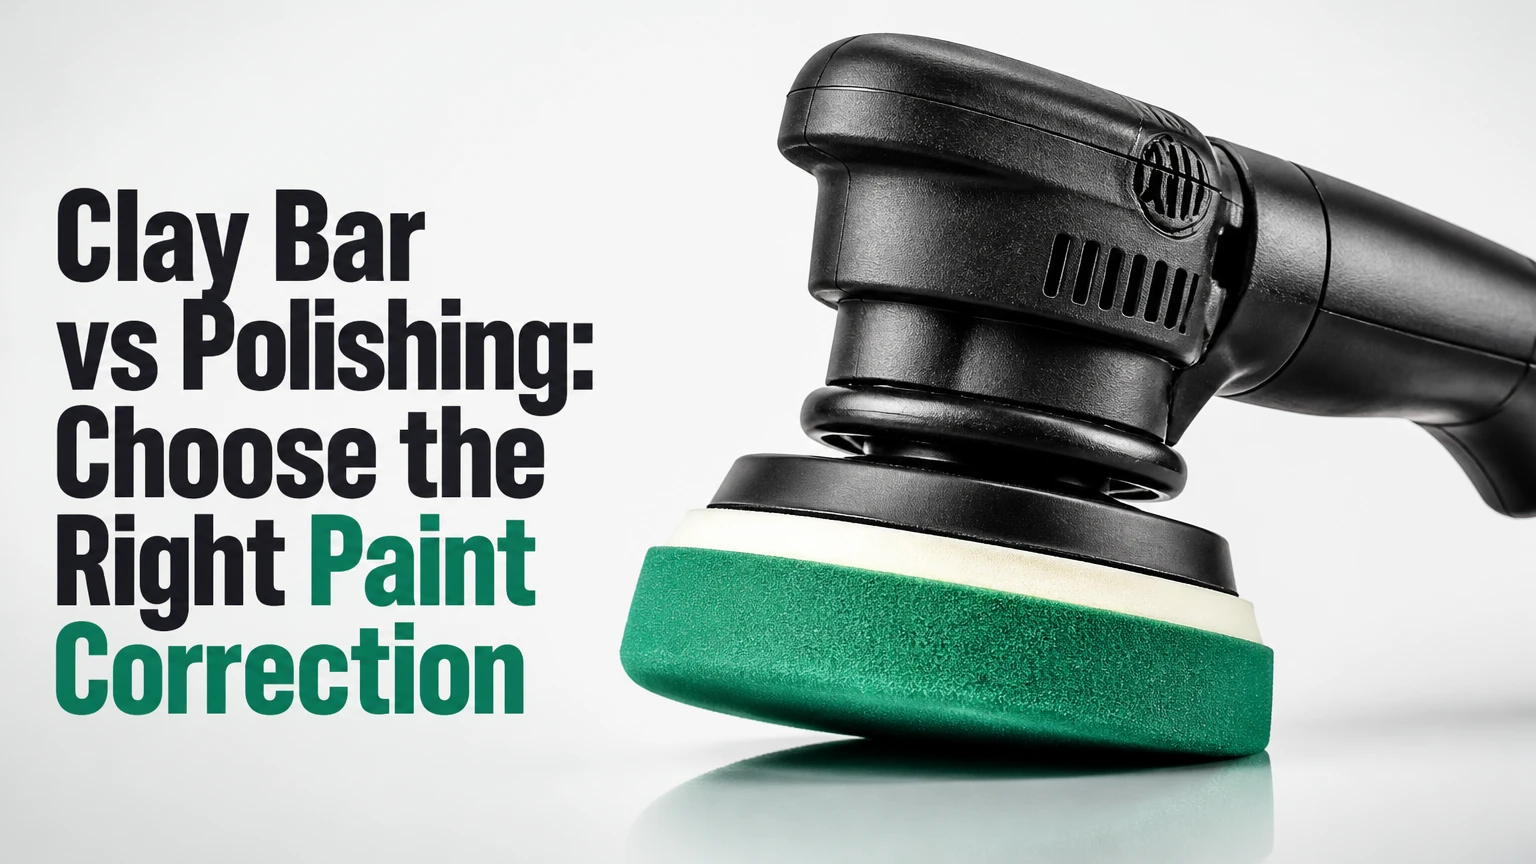
Clay barring removes bonded contamination sitting above automotive paint, while polishing uses abrasives to level or refine the clear coat beneath the surface. Clay makes paint smooth; polishing makes paint clearer and more reflective. Most correction jobs use them in sequence, with washing and chemical decontamination before clay, then a test spot before polishing.
Key Facts at a Glance
- A clay bar removes bonded particles, but it does not repair scratches or swirl marks.
- Polishing reduces visible defects by removing or reshaping a microscopic amount of clear coat.
- Claying normally precedes polishing because contamination can embed in a polishing pad.
- Iron remover and tar remover can reduce the amount of mechanical claying required.
- Fine clay is safer for routine work; aggressive clay often creates marring that needs polishing.
- Deep scratches that catch a fingernail may require sanding, repainting, or acceptance rather than more polishing.
Clay Bar vs Polishing: The Core Difference
Clay barring is a decontamination step, whereas polishing is a paint-correction step. A clay bar uses a tacky resin or synthetic polymer surface to shear and capture particles protruding from the paint; a polish uses abrasive particles, pad movement, and pressure to level the surrounding clear coat.
The simplest diagnosis is tactile. If washed paint feels gritty or rough under a clean plastic bag, contamination remains bonded to the surface. If the paint feels smooth but shows circular marks under a strong light, polishing may help. A vehicle can need both treatments, one treatment, or neither.
Clay does not remove a scratch because the scratch is a depression in the coating. Polishing can reduce a scratch only when enough surrounding clear coat remains to level the depression safely. That distinction prevents the most common mistake: using an abrasive process to solve a contamination problem, or using clay to solve a defect problem.
What Does a Clay Bar Remove?
A clay bar removes bonded fallout that ordinary shampoo cannot release. Common examples include industrial overspray, rail dust, brake dust residue, tree sap specks, and tiny tar deposits. Clay does not dissolve these materials; the lubricated clay physically captures or shears them from the surface.
Traditional detailing clay is available in fine, medium, and aggressive grades, although manufacturers use different grading systems. Fine clay is the sensible starting point for a maintained daily driver. Synthetic clay towels, mitts, and pads are faster over large panels and can usually be rinsed after contamination, but their greater contact area can create more marring if used with poor lubrication or excessive pressure.
What Does Polishing Remove?
Polishing removes or refines paint defects by abrasive leveling. A compound cuts more aggressively, a finishing polish removes lighter defects and haze, and an all-in-one product combines light abrasion with cleaning agents and temporary or durable protection.
Polishing can reduce wash marring, oxidation, light water-spot etching, and machine holograms. It cannot restore missing paint, repair failed clear coat, or make every deep scratch disappear. A defect that catches a fingernail usually extends too deeply for safe complete removal, especially on thin or previously corrected panels.
Which Surface Problem Do You Have?
The correct process depends on whether the problem is above the paint, inside the clear coat, or caused by coating failure. A diagnosis before product selection reduces both unnecessary abrasion and avoidable marring.
| Surface observation | Likely cause | First treatment | Expected result |
|---|---|---|---|
| Roughness under plastic bag | Bonded fallout or overspray | Iron remover, then fine clay | Smooth tactile surface |
| Black specks near wheel arches | Tar or road film | Tar remover, then wash | Reduced spotting |
| Orange or purple bleeding after chemical spray | Iron particles | pH-balanced iron remover | Dissolved ferrous contamination |
| Circular marks under LED light | Wash-induced marring | Test spot with fine polish | Reduced haze and swirls |
| White mineral outline | Water-spot residue or etching | Mineral remover, then polish if etched | Residue removal or defect reduction |
| Scratch catches fingernail | Deep clear-coat or paint damage | Measure and assess, do not chase | Partial improvement or refinishing |
| Peeling, cloudy clear coat | Clear-coat failure | Body-shop repair | Polishing cannot restore adhesion |
Chemical decontamination should come before clay when iron and tar are heavy. Removing soluble contamination first keeps abrasive clay cleaner and reduces the number of passes over the paint.
How Do the Two Processes Work?
Clay barring relies on controlled friction across a lubricated surface. Light pressure allows the clay to contact raised contamination without aggressively dragging debris across the panel. The clay should initially feel resistant, then glide more freely as the section becomes clean.
Polishing relies on abrasive friction. A pad spreads compound or polish while machine orbit, rotation, pressure, and working time determine the correction rate. A dual-action polisher is generally more forgiving for beginners than a rotary polisher because its oscillating motion reduces the chance of concentrating heat in one place.
A useful practitioner rule comes from detailing educator Kevin Brown: “Remove the least amount of paint necessary to achieve the desired result.” That rule changes the goal from perfect defect removal to an appropriate improvement level, which matters on factory paint with unknown previous correction.
Clay Media and Abrasive Products
| Product category | Typical use | Relative aggression | Typical working life |
|---|---|---|---|
| Fine traditional clay | Maintained paint and coating preparation | Low | 1-3 vehicles per piece |
| Medium traditional clay | Heavy fallout and neglected paint | Medium | 1-2 vehicles per piece |
| Synthetic clay mitt | Large vehicles and maintenance work | Low-medium | 10-30 vehicles with care |
| Heavy clay or clay disc | Severe contamination and professional work | High | Product-dependent, often 5-15 vehicles |
| Finishing polish | Light haze, micro-marring, gloss refinement | Low | Several panels per bottle |
| One-step polish | Moderate swirls and gloss improvement | Medium | 1-3 vehicles per bottle |
| Heavy compound | Deep manageable defects | High | 1-2 vehicles per bottle |
Product labels are not standardized across brands. A “medium” clay from one manufacturer may behave like a fine or aggressive product from another, so a test section remains more reliable than the label alone.
Which Is Safer for Clear Coat?
Claying is usually safer because it removes contamination without intentionally abrading clear coat, but poor lubrication, dirty media, or aggressive pressure can create marring. Polishing carries greater long-term risk because every correction pass removes some clear coat, even when the visual change appears minor.
Factory clear coat commonly measures approximately 35-50 microns in total, but the usable outer portion is unknown without paint-depth information and vehicle-specific context. A paint-depth gauge measures total film thickness, including primer, basecoat, clear coat, and sometimes filler, so it cannot identify clear-coat thickness by itself.
Typical removal from a mild one-step polish may be well below 1 micron, while aggressive correction can remove more. The frequently repeated 1-3 micron estimate is a broad practitioner range, not a guaranteed result for every pad, compound, paint system, or machine. Repeated heavy correction is the greater risk.
Winner for routine safety: clay, provided the surface is lubricated and the media remains clean. Winner for defect removal: polishing, because clay cannot level clear-coat defects.
Is Clay or Polishing Faster and Cheaper?
Clay is usually the lower-cost and faster process. Typical DIY clay materials cost $15-$40 and take 30-90 minutes for a normal sedan after washing; polishing ranges from $40-$150 for hand or borrowed equipment to $150-$300 when buying a beginner dual-action machine and accessories.
Professional pricing varies by paint size, condition, correction target, location, and protection package. A contamination removal service may cost $50-$150, while machine polishing commonly ranges from $250-$1,200 or more for multi-stage correction.
| Service or DIY approach | Typical equipment cost | Typical vehicle time | Typical outcome |
|---|---|---|---|
| Fine clay by hand | $15-$40 | 30-90 minutes | Smooth paint, no scratch correction |
| Synthetic clay mitt | $25-$60 | 30-75 minutes | Fast decontamination, possible light marring |
| Hand-applied AIO | $20-$50 | 2-4 hours | Light cleaning, gloss, temporary protection |
| Beginner DA one-step | $150-$300 | 4-8 hours | Moderate swirl reduction |
| Professional one-step | $250-$600 | 3-6 hours | Consistent gloss improvement |
| Professional two-step | $600-$1,200+ | 8-20 hours | High defect reduction, greater paint removal |
Winner for cost and time: clay. Polishing costs more because the operator needs pads, abrasives, inspection lighting, machine control, and additional preparation.
Should You Clay Before Polishing?
Clay before polishing when a clean paint surface still feels rough or when fallout is visible. The preferred sequence is wash, chemical decontamination, clay only where needed, dry, inspect, and then polish after a small test spot confirms the product and pad combination.
Polishing unclean paint can load the pad with abrasive contamination. That may increase micro-marring, create random scratches, and obscure whether the chosen polish is working. Claying an entire vehicle is also unnecessary when chemical decontamination leaves the surface smooth.
Correct Preparation Sequence
- Wash the vehicle: Work in shade on cool panels, using a clean wash mitt and drying towels.
- Remove chemical contamination: Apply a compatible iron remover to painted surfaces, allow the labeled dwell time, and rinse completely.
- Remove tar: Use a dedicated tar remover on cool paint, then wash the solvent-treated area.
- Perform a bag test: Slide clean plastic over the paint. Clay only sections that remain rough.
- Clay small sections: Lubricate an area of roughly 50 by 50 centimeters and use straight, light passes.
- Inspect the media: Fold traditional clay after contamination appears. Discard it if dropped.
- Perform a test spot: Try the least aggressive polish and pad combination on a 45 by 45 centimeter area.
- Correct progressively: Increase pad or compound aggression only when the test spot cannot meet the target.
- Inspect residue: Wipe carefully with a clean microfiber towel and inspect under white or LED lighting.
- Protect the paint: Apply wax, sealant, or coating only after polishing residue is removed and the surface is prepared according to the protection product.
You will know claying worked when the panel feels uniformly smooth and the clay glides with little resistance. You will know polishing worked when the test area shows improved reflections without new haze, holograms, or obvious rotary trails.
Can You Polish by Hand?
Hand polishing can remove light oxidation, stains, and very shallow haze, but it rarely matches machine correction for widespread swirls. A hand applicator cannot maintain the same pressure, pad movement, and abrasive cycle across an entire vehicle, so the process takes longer and produces less uniform correction.
Hand polishing is appropriate for a small isolated panel, a delicate trim piece approved for polishing, or a vehicle needing mild gloss enhancement. An all-in-one product applied with a foam applicator can provide a practical improvement while removing less material than an aggressive compound.
A dual-action machine is the better entry point for a full vehicle. Use a small test spot, keep the pad flat, work a section rather than the whole panel, and clean or replace pads before spent product causes haze.
Winner for light localized work: hand polishing. Winner for consistent full-vehicle correction: dual-action machine polishing.
Which Should You Choose for Your Situation?
The right choice changes with paint condition, correction target, and future use. A new vehicle with rough transport fallout may need decontamination without polishing, while a clean but swirled vehicle needs polishing without automatic claying.
Daily Driver With Rough, Shiny Paint
Choose chemical decontamination followed by fine clay where the bag test detects roughness. Skip polishing unless inspection under strong light reveals defects that justify clear-coat removal.
Enthusiast Car With Moderate Swirls
Choose a fine clay process if contamination remains, followed by a dual-action one-step polish. A medium foam polishing pad and moderate-cut product often provide a balanced improvement without the paint removal associated with a heavy compound.
Vehicle Being Prepared for Ceramic Coating
Choose the least aggressive process that leaves the paint clean and optically clear. Coating manufacturers commonly require thorough washing, decontamination, polishing when needed, and a compatible panel wipe because bonded contamination and polishing oils can interfere with uniform bonding.
Neglected Commercial or Fleet Vehicle
Use chemical decontamination first, then select synthetic or medium clay based on a test area. A one-step polish may improve presentation efficiently, but pursuing deep defect removal across thin, heavily weathered paint may create more risk than value.
Matte or Satin Paint
Do not use conventional polishing on matte or satin paint. Abrasive leveling can create glossy spots that cannot be blended like gloss paint; use manufacturer-approved matte cleaners and protectants instead.
Common Mistakes and How to Fix Them
Using Clay on Dry Paint
Dry clay creates high friction and can drag contamination across the finish. Add enough dedicated lubricant to maintain a wet film, then reduce pressure rather than forcing the clay through resistance.
Using Circular Clay Motions
Circular motion does not automatically cause scratches, but it makes later inspection and defect tracing harder. Straight overlapping passes keep the working pattern controlled and make any marring easier to diagnose.
Reusing Dropped Traditional Clay
A dropped clay bar can collect grit that exceeds the hardness of automotive clear coat. Discard traditional clay after it touches the ground; rinseable synthetic media still requires inspection for embedded debris.
Polishing a Hot Panel
Heat accelerates solvent evaporation and can make a compound difficult to remove. Work below direct sun on a cool panel, use short cycles, and stop if the surface becomes too hot to touch comfortably.
Choosing Aggression Before Testing
A heavy compound may remove defects quickly but create haze or consume clear coat unnecessarily. Start with the mildest credible combination, complete one test spot, and record the pad, product, speed, passes, and result.
Chasing Defects That Are Too Deep
Repeated polishing cannot safely remove a scratch that extends through clear coat into basecoat. Stop when the defect catches a fingernail, shows exposed primer, or remains unchanged after a controlled test, then consider touch-up or body repair.
How Often Should You Clay or Polish?
Clay when contamination returns, not automatically at every scheduled detail. Many vehicles need clay once or twice yearly, while cars parked near rail lines, factories, airports, or construction areas may need inspection more frequently.
Polish only when visible defects or oxidation justify correction. A well-maintained vehicle might need a light polish every 1-2 years, but that interval is not a maintenance requirement; repeated polishing removes paint, whereas washing and protection preserve it.
Use protection and safer washing to extend both intervals. A sealant or coating reduces contamination adhesion, and clean wash media reduces the swirl marks that create demand for polishing.
Clay and Polish Alternatives
Chemical decontamination is the main alternative to clay for iron particles and tar, but it does not replace mechanical removal of every bonded contaminant. A fallout remover can dissolve ferrous particles, while a solvent can loosen tar; remaining overspray may still require clay.
An all-in-one product is the main alternative to a dedicated correction sequence. It combines mild abrasive cleaning and protection, making it useful for a daily driver, but it cannot deliver the defect removal of a dedicated compound and polish.
A glaze can visually fill or mask some fine defects, but the improvement may diminish after washing. Paint protection preserves the finish but does not correct existing scratches.
| Goal | Best first choice | Why | Limitation |
|---|---|---|---|
| Remove iron fallout | Iron remover | Dissolves ferrous particles chemically | Does not remove every bonded residue |
| Remove tar spots | Tar remover | Softens petroleum-based deposits | Requires careful solvent handling |
| Improve light haze | Finishing polish | Refines the clear coat | Limited correction on deep marks |
| Add gloss quickly | AIO product | Cleans, lightly polishes, protects | Shorter correction reach |
| Hide fine defects | Glaze | Fills or masks visually | Effect can fade after washing |
| Preserve corrected paint | Sealant or coating | Reduces future contamination and wash friction | Does not repair existing defects |
The Bottom Line on Clay Bar vs Polishing
Clay bar vs polishing is not an either-or contest: clay removes bonded contamination above the surface, while polishing corrects defects within the clear coat. Use chemical decontamination and a targeted clay treatment when paint feels rough; use a test-led polish when the surface is smooth but visibly swirled. Choose the least aggressive process that reaches the desired result.
Frequently Asked Questions
Can a clay bar damage car paint?
A clay bar can mar or scratch automotive paint when the surface lacks lubrication, the media contains grit, or the operator applies excessive pressure. Fine clay on clean, cool, well-lubricated paint has lower risk, but dark soft paint may still need a finishing polish afterward to remove faint haze.
Does polishing remove water spots?
Polishing can reduce etched mineral water spots after washing and chemical treatment remove the surface deposit. If the mark is only residue, a mineral-safe cleaner may solve it without abrasion. Deep etching requires controlled correction, and polishing cannot replace clear coat that has already been chemically damaged.
Should a new car be clayed?
A new car should be clay-treated only after a wash and bag test identify bonded contamination. Rail dust, transport fallout, and dealership storage can leave roughness on new paint, but automatic claying without diagnosis may create unnecessary marring. A new car does not automatically need polishing.
Is a clay mitt better than a clay bar?
A clay mitt is faster and easier to rinse during large-vehicle work, while a traditional clay bar provides more precise control on small sections and heavily contaminated areas. Synthetic media can be reused after being dropped only when the manufacturer allows rinsing, and it should still be inspected before reuse.
Can polishing remove oxidation permanently?
Polishing can remove surface oxidation when healthy clear coat remains beneath it. Severe oxidation caused by clear-coat failure will return or worsen because the coating has lost adhesion or integrity. Peeling, cloudy delamination, and exposed basecoat require refinishing rather than additional abrasive correction.
What should be done after claying?
After claying, wipe the paint, inspect for marring, and polish only if the finish needs correction. Apply a compatible wax, sealant, or coating after polishing residue is removed. If claying was performed before coating installation, follow the coating manufacturer’s panel-preparation and solvent instructions.


