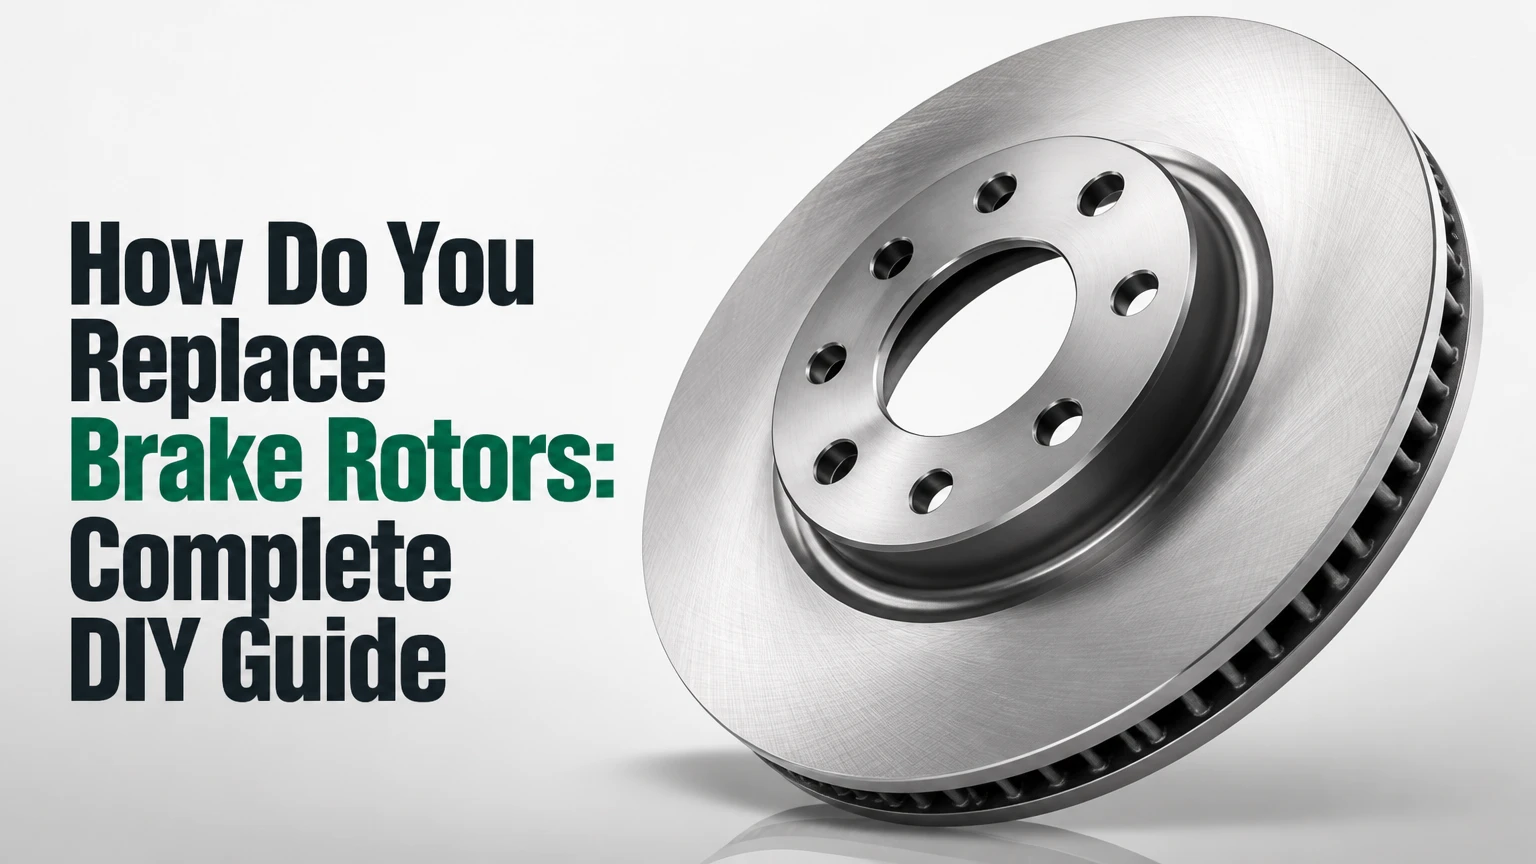
Replacing brake rotors requires unbolting the wheel, removing the brake caliper and mounting bracket, extracting the old disc from the hub face, cleaning rust from the mating surface, mounting a new rotor, compressing the caliper piston, and torqueing all fasteners to factory specifications. Executing this mechanical procedure restores vehicle stopping power, eliminates pedal vibration, and ensures balanced friction generation across your braking axle.
| Metric | Specification |
|---|---|
| Timeframe | 1.5 to 2.5 hours per axle |
| Difficulty Level | Intermediate DIY mechanical skill |
| Tool Requirements | Metric socket set, breaker bar, torque wrench, C-clamp, wire brush |
| Cost Range | $120 to $400 in parts per axle |
Before You Start: Tools, Time, and Safety Prerequisites
Replacing brake rotors requires specific preparation, specialized tools, and adherence to strict safety protocols before lifting your vehicle. You will need a hydraulic floor jack, heavy-duty jack stands rated for your vehicle weight, wheel chocks, a breaker bar, a socket set featuring 12mm to 19mm sockets, a C-clamp or specialized piston compressor, a wire brush, brake parts cleaner aerosol, high-temperature synthetic brake grease, and a torque wrench capable of measuring in foot-pounds.
The entire job takes roughly 60 to 90 minutes per side for an intermediate DIY mechanic working in a well-lit garage or driveway. Always work on a completely flat, level concrete surface, and never rely on a hydraulic floor jack alone to support the vehicle while your hands or body are positioned beneath the wheel wells. Park the car, engage the emergency brake firmly, and place solid wheel chocks behind the tires that remain planted on the ground to prevent unexpected rolling.
Step 1: Loosen Lug Nuts and Lift the Vehicle
To lift the vehicle safely, break the torque on the wheel lug nuts by turning them counterclockwise by one half-turn using a breaker bar while the tires remain firmly planted on the ground. Slide your hydraulic floor jack under the manufacturer-designated pinch weld or reinforced frame lifting point, and raise the vehicle until the tire clears the ground by at least three inches. Place a heavy-duty jack stand beneath the designated subframe support point, slowly lower the hydraulic jack until the vehicle rests securely on the jack stand, and give the chassis a firm push to confirm absolute stability before removing the lug nuts completely to pull the wheel assembly off the hub.
- Action: Break lug nut torque, jack up the vehicle, and position a rated jack stand under the frame.
- Quantities & Settings: Loosen nuts 180 degrees; elevate vehicle 3 inches; torque jack stand to chassis support point.
- Success Check: The vehicle remains completely stationary and balanced when pushed firmly from the side.
- Common Mistake: Placing the hydraulic jack under plastic rocker panels or thin floor pan sheet metal, which causes severe structural damage.
Step 2: Disassemble the Brake Caliper
The brake caliper must be unbolted from its mounting bracket and safely suspended to prevent internal damage to the high-pressure rubber hydraulic brake line. Locate the two sliding guide pin bolts on the rear side of the caliper assembly, and remove them using a ratchet and socket. Slide the caliper off the outer brake pad and rotor face, and immediately suspend it from the upper coil spring using a heavy-duty bungee cord, zip tie, or mechanic wire. Never allow the caliper to hang unsupported by its rubber brake hose, as the dead weight will stretch and rupture the internal fabric mesh, causing catastrophic hydraulic fluid loss and total brake failure.
- Action: Unbolt caliper slide pins, slide off the rotor, and hang securely from suspension components.
- Quantities & Settings: Two guide pin bolts per caliper; torque bolts to 34–47 Nm during reassembly.
- Success Check: The brake caliper hangs freely from the suspension spring with zero tension on the rubber hose.
- Common Mistake: Letting the caliper dangle freely by the rubber brake line, which tears internal hydraulic layers.
Step 3: Remove the Caliper Bracket and Old Rotor
Removing the caliper mounting bracket grants physical clearance to pull the heavy iron rotor off the wheel hub studs. Locate the two large mounting bolts securing the bracket to the steering knuckle or axle housing, break them loose using a long breaker bar, and set the bracket aside alongside the old brake pads. Pull the old brake pad friction pieces out of the bracket clips. Pull the old rotor straight off the wheel hub studs; if corrosion has fused the disc to the hub face, strike the flat hat surface between the studs firmly with a heavy rubber mallet or dead-blow hammer to break the rust bond.
- Action: Unbolt the mounting bracket, extract old brake pads, and pull the rotor off the hub.
- Quantities & Settings: Two bracket bolts requiring 95–135 Nm of torque upon reinstallation.
- Success Check: The old rotor slides completely off the wheel studs, exposing the bare metal wheel hub flange.
- Common Mistake: Striking the outer friction edge of the rotor with a steel hammer, which can chip cast iron or damage wheel bearings.
Step 4: Clean the Wheel Hub and Prep the New Rotor
Preparing the mating surface is the single most critical step in preventing steering wheel vibration and brake pedal pulsation caused by lateral rotor runout. Attach a stiff steel wire brush to an electric drill or scrub vigorously by hand across the entire face of the wheel hub flange until every trace of orange rust scale, flake, and debris is completely eliminated. Spray the bare hub with aerosol brake cleaner and wipe it clean with a lint-free shop towel. Take your brand-new replacement rotor, spray both internal and external surfaces thoroughly with brake cleaner to strip away the thick factory anti-corrosion storage oil, and wipe it completely dry.
- Action: Scrub the wheel hub flange clean of rust, spray with brake cleaner, and degrease the new rotor.
- Quantities & Settings: 100 percent removal of rust scale; zero oil residue on new rotor friction surfaces.
- Success Check: The wheel hub face is clean raw metal, and the new rotor surface is dull, dry, and squeaky clean.
- Common Mistake: Failing to remove the manufacturing storage oil from the new rotor, which bakes into the pads and destroys stopping friction.
Step 5: Install the New Rotor and Caliper Bracket
Mounting the new components requires precise hardware positioning and correct torque application to ensure structural integrity under heavy thermal loads. Slide the clean, degreased replacement rotor over the wheel hub studs until the flat hat sits flush against the cleaned hub flange, temporarily securing it with a single lug nut if the rotor wobbles. Rebolt the heavy caliper mounting bracket back onto the steering knuckle, inserting new stainless steel anti-rattle abutment clips into the bracket channels. Torque the large bracket mounting bolts to your vehicle manufacturer specifications, which typically range from 70 to 100 foot-pounds.
- Action: Place new rotor on hub, install bracket with new hardware clips, and torque bolts to spec.
- Quantities & Settings: Bracket bolts torqued to 95–135 Nm (70–100 ft-lbs); new clips snapped securely into place.
- Success Check: The new rotor sits perfectly flat against the hub with zero wobble, and the bracket is rigidly secured.
- Common Mistake: Reusing worn, corroded pad clips, which causes brake pads to bind unevenly in their tracks.
Step 6: Compress the Caliper Piston and Reinstall Caliper
Compressing the hydraulic piston creates the necessary physical gap to fit the caliper over thicker, brand-new brake pads. Slide your new brake pads into the stainless steel bracket clips, applying a microscopic film of high-temperature synthetic brake grease exclusively to the metal ear sliding contact points. Place an old brake pad against the hollow face of the caliper piston, position a heavy-duty C-clamp across the back of the caliper housing and the old pad, and slowly turn the handle to retract the piston flush into its cylinder bore. As you compress the piston, monitor the master cylinder brake fluid reservoir under your hood to ensure fluid does not overflow from displaced volume. Slide the caliper over the new pads, insert the guide pin bolts, and torque them to factory specifications.
- Action: Compress caliper piston with a C-clamp, install new pads with proper grease, and bolt caliper down.
- Quantities & Settings: Guide pin bolts torqued to 25–35 ft-lbs; fluid reservoir monitored continuously.
- Success Check: Caliper slides smoothly over the new pads, and guide pins tighten down securely without cross-threading.
- Common Mistake: Getting synthetic brake grease onto the friction face of the brake pads or rotor, which causes instant braking slip.
Step 7: Mount the Wheel and Perform Pedal Pump-Up
Final reinstallation requires correct wheel mounting mechanics and hydraulic pressure restoration before operating the vehicle on public roads. Mount the wheel back onto the lug studs, hand-tighten all lug nuts in a crisscross star pattern, and lower the vehicle off the jack stands using your floor jack. Torque the lug nuts in a star pattern to factory specification using a calibrated torque wrench. Sit in the driver seat and pump the brake pedal vigorously 4 to 5 times until the pedal feels firm and hard; this mechanical action pushes the caliper pistons outward to seat the brake pads firmly against the new rotor faces.
- Action: Remount tire, lower vehicle, torque lug nuts in a star pattern, and pump brake pedal.
- Quantities & Settings: Lug nuts torqued to vehicle spec (typically 80–100 ft-lbs); 4 to 5 pedal pumps.
- Success Check: The brake pedal is firm and stiff before putting the vehicle into gear.
- Common Mistake: Putting the vehicle in reverse or drive and attempting to brake without pumping the pedal first, resulting in a terrifying zero-braking incident.
Rotor Types Compared: Selection and Performance
Choosing the correct rotor type depends on your driving habits, vehicle weight, and environmental operating conditions. Standard blank smooth rotors offer maximum structural thermal mass and surface contact area for daily commuting, whereas slotted rotors excel at venting out gas and water during heavy towing applications.
| Rotor Type | Best Used For | Key Advantage | Key Disadvantage |
|---|---|---|---|
| Blank / Smooth | Daily commuting, sedans, light SUVs | Maximum structural lifespan and lowest cost | Retains heat longer under heavy continuous braking |
| Slotted | Towing, heavy trucks, mountain descents | Continuous venting of dust, water, and brake gases | Accelerates brake pad wear rate |
| Drilled | Wet climates, light street performance | Excellent initial bite and rapid water evacuation | Prone to thermal stress cracking under track racing |
| Two-Piece | Track racing, high-performance sports cars | Reduces unsprung weight and handles extreme heat | Extremely expensive replacement cost |
Common Brake Rotor Replacement Mistakes and How to Fix Them
Executing a brake job without accounting for minor mechanical variables often leads to frustrating noises, vibrations, or component failure. Understanding these failure modes ensures long-term reliability and optimal stopping performance.
- Hanging Calipers by Hydraulic Hoses: Stretches internal rubber reinforcement threads, resulting in restricted fluid flow or sudden hose rupture. Always suspend calipers securely with wire or bungee cords.
- Skipping Hub Face Rust Removal: Leaving microscopic rust flakes behind causes lateral rotor runout, translating into severe steering wheel vibration under braking. Scrub the hub to bare metal.
- Contaminating Rotors with Storage Oil: Leaving factory anti-corrosion oils on the disc ruins new friction pads instantly. Spray and wipe both sides with dedicated brake parts cleaner.
- Uneven Greasing of Slide Points: Applying excessive brake lubricant causes it to liquefy under high thermal spikes and bleed onto the rotor friction face. Apply a thin, invisible film only on metal-on-metal sliding ears.
Frequently Asked Questions
Do you always need to replace brake pads when changing rotors?
Replacing brake pads whenever you install new rotors is standard industry best practice to ensure even friction pairing. Old brake pads develop wear grooves and glassed-over resin surfaces that will score, warp, and ruin your brand-new rotors within a few hundred miles. Installing fresh pads alongside new rotors guarantees optimal bedding and maximum stopping power.
How can you tell when brake rotors need to be replaced?
Brake rotors require replacement when they exhibit deep scoring grooves, visible edge cracking, rust scaling that compromises structural integrity, or when their thickness measures below the manufacturer minimum discard specification stamped on the rotor hat. Additionally, a steering wheel that shakes violently when you press the brake pedal at highway speeds indicates warped or unevenly worn rotors.
What is brake bedding, and why is it necessary after replacement?
Brake bedding is the process of gradually depositing an even transfer layer of friction pad material onto the smooth surface of the new rotor through a series of controlled moderate stops from moderate speeds. Bedding prevents brake squeal, reduces pad glazing, and optimizes the friction coefficient between the pad and rotor for maximum stopping efficiency.
Can you machine or resurface brake rotors instead of buying new ones?
You can machine or resurface brake rotors on a lathe only if the remaining metal thickness is safely above the mandatory discard limit after the machining cut is completed. Modern factory rotors are manufactured with minimal excess thermal mass to save vehicle weight, meaning most thin modern rotors must be discarded and replaced rather than resurfaced.
Why does my brake pedal feel spongy after replacing rotors and pads?
A spongy brake pedal occurs when the caliper pistons have not been fully pumped back out against the pads after installation, or if micro-bubbles of air entered the hydraulic system during compression. Pump the brake pedal firmly 5 times while the vehicle is parked to reset the piston air gap; if the pedal remains spongy, bleed the brake lines immediately.


