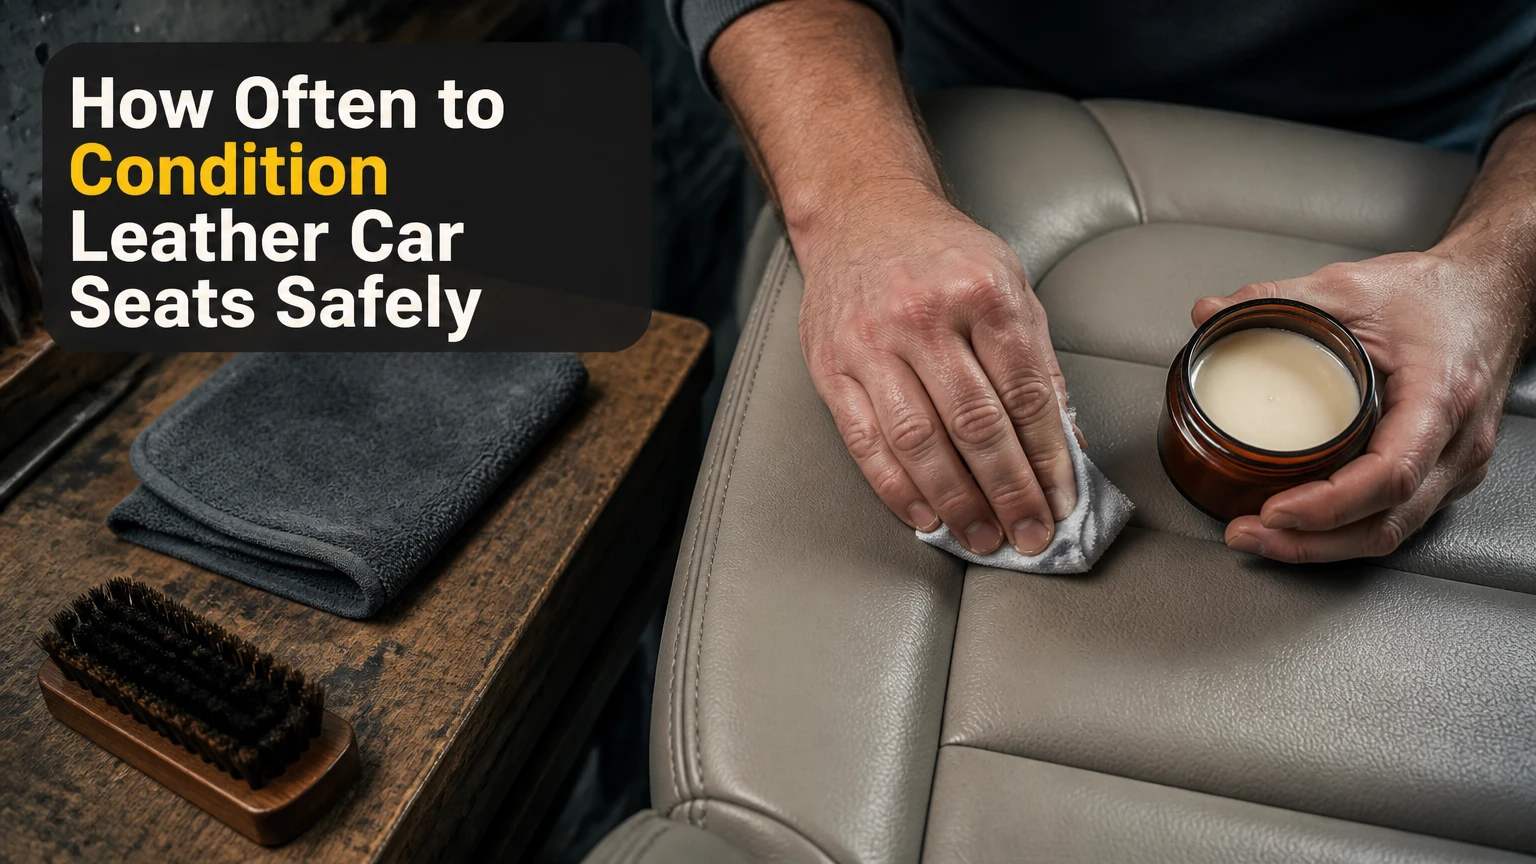
Condition leather car seats about every 3-6 months when the vehicle is a daily driver in a moderate climate, but shorten the interval to roughly 1-3 months when seats face strong UV, desert heat, tropical humidity, heavy use, or uncovered parking. Clean and inspect the leather first because modern coated automotive leather often needs surface protection more than deep oil absorption.
Key Facts at a Glance
- Moderate climate: Condition automotive leather every 3-6 months after cleaning and inspection.
- High UV or uncovered parking: Inspect monthly and typically condition every 1-3 months.
- Light maintenance: Wipe dust and body oils away every 2-4 weeks, without automatically adding conditioner.
- Modern coated leather: Accepts limited product penetration because polyurethane or pigment topcoats cover most of the hide.
- Perforated seats: Require a thin application to an applicator, never a heavy cream poured directly into the holes.
- Cracked leather: Conditioner may improve flexibility around minor dryness, but it cannot rebuild missing hide or repair a split seam.
How Often Should Leather Car Seats Be Conditioned?
Most leather car seats need conditioning two to four times per year, with a practical default of once every three months for a daily-driven vehicle. The correct interval depends more on leather finish, sunlight, cabin temperature, occupant contact, and parking exposure than on the vehicle’s age alone.
A lightly used car kept in a garage may need only every six months. A taxi, family SUV, or work vehicle parked outside in Arizona, Australia, southern Spain, or tropical Southeast Asia may need inspection every month and treatment every 1-3 months. Frequent inspection is safer than automatically applying more product.
Automotive detailing suppliers commonly recommend quarterly maintenance, while vehicle manufacturers often emphasize gentle cleaning and approved products rather than a universal conditioning calendar. Owner’s-manual instructions take priority because some seats contain synthetic leather, vinyl side bolsters, heating elements, ventilation channels, or special coatings that respond poorly to oily dressings.
| Vehicle situation | Inspection interval | Typical conditioning interval | Main reason |
|---|---|---|---|
| Garage-kept weekend car | Every 3-6 months | Every 6 months | Low UV and low contact |
| Daily commuter, temperate climate | Every 1-2 months | Every 3-4 months | Regular friction and body oils |
| Family SUV with children or pets | Every 2-4 weeks | Every 2-3 months | Spills, abrasion, and contamination |
| Uncovered vehicle in strong sun | Monthly | Every 1-3 months | UV exposure and cabin heat |
| Taxi, rideshare, or fleet vehicle | Weekly | Every 4-8 weeks | High occupancy and cleaning load |
| Cold, dry winter climate | Every 1-2 months | Every 2-4 months | Low humidity and heater use |
The interval is a starting point, not a target to exceed. A seat that remains clean, supple, matte, and free from transfer may not need another application yet.
Why Does Automotive Leather Need Maintenance?
Automotive leather loses performance through surface contamination, flexing, heat, ultraviolet radiation, and repeated contact with clothing rather than through a simple evaporation of all its original oils. The majority of modern vehicle leather is finished with pigment and a protective clear coat, so conditioner primarily lubricates and protects the surface instead of freely soaking through the hide.
Leather is a fibrous collagen material. Repeated flexing can create fatigue, while grit trapped at a bolster or seam acts as an abrasive during entry and exit. Sweat, sunscreen, denim dye, food oils, and hand creams can also change the finish or produce a glossy, slippery area.
A conditioner may reduce surface friction and leave a light protective film. However, the claim that every automotive seat needs deep nourishment through microscopic pores is too broad. Coated leather has a sealed or semi-sealed finish, and excess product usually remains on top, where it can attract dust, create glare, or transfer onto clothing.
What Does Conditioner Actually Do?
Automotive leather conditioner can lubricate the finish, reduce a dry tactile feel, and add limited water and soil resistance. It cannot reverse ultraviolet fading, rebuild torn collagen, replace missing pigment, or repair a cracked polyurethane topcoat.
The useful outcome is controlled surface maintenance. The wrong outcome is a wet, glossy seat covered in residue. Product labels differ substantially, so the manufacturer’s directions determine dwell time, compatibility, and whether buffing is required.
How Do I Know Leather Seats Need Conditioner?
Leather seats may need conditioning when a clean, inconspicuous area feels unusually dry or rough, loses its normal low-sheen finish, or shows early stiffness at high-flex points. Surface gloss, dirt, or dye transfer alone does not prove dryness because those signs often indicate contamination or finish wear.
Inspect the driver’s outer bolster, seat cushion, steering-wheel contact zone, and rear child-seat area. Compare those places with a lightly used rear seat after cleaning. If the surface feels equally smooth and flexible, additional conditioner may provide little benefit.
Use a simple inspection sequence:
- Vacuum loose grit from seams and folds.
- Clean a small section with an automotive leather cleaner.
- Let the section dry completely for 30-60 minutes.
- Compare texture, sheen, flexibility, and color with an untreated section.
- Apply conditioner only if the product is approved for that finish.
A dark, shiny driver bolster is usually dirty or burnished, not thirsty. A sticky seat is over-treated, not under-conditioned. These distinctions prevent unnecessary applications.
Which Leather Finish Changes the Schedule?
Leather finish determines product choice more strongly than the word “leather” on a vehicle specification sheet. Coated or pigmented leather generally tolerates a light maintenance product, while aniline, semi-aniline, and open-pore finishes demand the owner’s manual or upholstery manufacturer’s instructions.
| Seat material or finish | Typical vehicle location | Product approach | Typical interval |
|---|---|---|---|
| Pigmented, coated leather | Most seat faces and bolsters | Water-based automotive cleaner and light conditioner | 3-6 months |
| Synthetic leather, vinyl, or PVC | Side panels and lower trim | Manufacturer-approved vinyl or synthetic-leather protectant | 2-4 months |
| Semi-aniline leather | Premium luxury interiors | Finish-specific lotion after patch testing | 2-4 months |
| Aniline or open-pore leather | Limited specialty interiors | Specialist product only | 1-3 months if approved |
| Perforated leather | Ventilated seat centers | Thin product on pad, careful hole control | 3-6 months |
| Suede, Alcantara, or microfiber inserts | Sport and luxury interiors | Dedicated textile cleaner, no leather conditioner | Product-specific |
Nappa describes a soft leather style, not one universal finish. Some Nappa seats are heavily coated; others have a more absorbent surface. Treating every Nappa seat with a rich balm is therefore unsafe.
Heated and ventilated seats also require restraint. Avoid saturating cushions, forcing liquid into ventilation holes, or using heat to accelerate absorption. Moisture and residue can migrate into foam, fan channels, sensors, and wiring.
Which Conditioner Format Is Best?
A thin, water-based automotive conditioner is usually the safest default for modern coated seats, while a finish-specific lotion suits approved semi-aniline leather and a specialist balm belongs on compatible open-pore hide only. No format is universally best because absorption, sheen, residue, perforation, and manufacturer restrictions differ.
| Product format | Typical price | Best use | Main limitation |
|---|---|---|---|
| Water-based liquid or spray | $10-$30 | Coated daily-driver seats | Limited benefit on severely damaged leather |
| Cream or lotion | $15-$40 | Approved absorbent or premium finishes | Can leave oily residue |
| Balm or wax paste | $20-$60 | Compatible open-pore leather | Difficult around perforations and stitching |
| Cleaner-conditioner | $10-$25 | Light routine maintenance | Weaker cleaning and conditioning than separate products |
| Professional restoration kit | $40-$150+ | Color loss, coating repair, minor restoration | Requires finish matching and technique |
Apply a small amount to the pad rather than directly to the seat. A quarter-sized amount may cover one seat section, but spread rate varies by product. The correct measure is a thin, even film that disappears after buffing, not a visibly wet surface.
Is a Cleaner-Conditioner Enough?
A cleaner-conditioner is adequate for lightly soiled, modern coated leather when the vehicle receives frequent maintenance. Separate products are better for heavy contamination because cleaning requires soil removal, while conditioning requires controlled product placement.
Do not use a 2-in-1 formula to handle ground-in denim dye, sunscreen buildup, food grease, mold, or cracking. A stronger cleaner may be needed, and aggressive scrubbing can permanently alter the topcoat.
How Do You Condition Leather Car Seats?
Condition leather car seats by vacuuming, cleaning, drying, applying a thin compatible layer, allowing the label-specified dwell time, and buffing away residue. A complete two-row interior typically takes 45-90 minutes, and the most important success factor is a clean, fully dry surface.
Before You Start
| Requirement | Typical specification |
|---|---|
| Working time | 45-90 minutes for two rows |
| Product cost | $10-$40 for a consumer cleaner and conditioner |
| Temperature | 60-80°F, or 16-27°C |
| Tools | Vacuum, soft brush, two microfiber towels, applicator pad |
| Cleaner quantity | 2-4 ounces for a moderately dirty two-row cabin |
| Conditioner quantity | 1-3 ounces for a two-row cabin, product-dependent |
| Drying time | 30-60 minutes after cleaning |
| Workspace | Shade or an enclosed, ventilated garage |
Step 1: Vacuum Abrasive Debris
Vacuum the seat faces, creases, seams, bolster gaps, and perforations with a soft brush attachment. Hold the nozzle near the surface instead of dragging a hard plastic edge across the finish.
You will know this step worked when no loose grit appears along the stitching or falls from the perforations during gentle brushing. A common mistake is applying liquid while sand, crumbs, or pet hair remains under the applicator.
Step 2: Clean the Surface
Spray a pH-balanced automotive leather cleaner onto a microfiber towel or soft horsehair brush, not directly onto the seat. Work one section at a time with light pressure, then remove cleaner and soil with a separate damp towel.
Allow the leather to dry for 30-60 minutes before conditioning. The surface should feel cool and dry rather than tacky. A common mistake is using household detergent, disinfectant, alcohol, bleach, saddle soap, or abrasive melamine foam, all of which can alter dyes and coatings.
Step 3: Patch-Test the Product
Test the cleaner and conditioner under the seat, behind the seatback, or on another hidden area. Wait until the test section dries, then check for color transfer, darkening, gloss, stickiness, and texture change.
Patch testing matters most with white leather, red or blue dyes, semi-aniline finishes, older interiors, and aftermarket recoloring. Stop if the towel picks up finish color or the test area looks different from the surrounding panel.
Step 4: Apply a Thin Layer
Put a small amount of conditioner on a clean foam or microfiber applicator. Spread it from seam to seam with overlapping passes, using less product on perforated centers and heavily worn bolsters.
The desired surface is uniformly damp for a short time, not visibly oily. Keep conditioner away from seat belts, controls, steering wheels, pedals, and airbag seams. A common mistake is pouring product onto the seat, which creates a concentrated spot and increases the chance of blocked holes.
Step 5: Follow the Label Dwell Time
Let the product sit for the time stated by its manufacturer, commonly 5-30 minutes for routine automotive formulas. Some products require immediate buffing, while specialty products may specify longer contact time.
Generic claims that every conditioner needs 20 minutes to 2 hours are not reliable across water-based emulsions, oils, waxes, and synthetic protectants. Do not place plastic over the seats or heat the cabin to force absorption.
Step 6: Buff and Inspect
Buff each seat with a clean, dry microfiber towel until the finish feels smooth and looks low-sheen. Check stitching, creases, perforations, and the driver’s bolster for residue.
You will know the application worked when the surface feels clean and flexible without slipperiness, visible streaks, or wet patches. If the towel continues removing oily material, use a fresh towel and continue buffing rather than adding more product.
Step 7: Allow Ventilation Before Use
Keep the vehicle ventilated and avoid sitting on the seats until the product feels dry and non-transferable. A typical wait is 1-4 hours, but product directions control the timing.
Do not interpret “curing” as proof that conditioner has deeply entered the hide. For coated leather, the practical goal is a stable, residue-free surface.
What Schedule Fits Your Climate and Usage?
Strong UV, high cabin heat, abrasive dust, and heavy occupancy justify more frequent inspection, but they do not always justify more conditioner. In harsh environments, cleaning contamination and reducing solar exposure can protect seats more effectively than increasing oily product volume.
| Environment or usage | Maintenance plan | Protective action |
|---|---|---|
| Desert sun and dust | Wipe every 1-2 weeks, condition every 1-2 months if approved | Use a windshield sunshade and park under cover |
| Tropical humidity | Clean every 2-4 weeks, condition every 2-3 months | Dry spills promptly and ventilate the cabin |
| Cold, dry winters | Clean monthly, condition every 2-4 months | Avoid conditioning below 50°F, or 10°C |
| Coastal salt air | Wipe monthly, condition every 3-4 months | Remove salt film before it dries |
| Family vehicle | Spot-clean weekly, full clean every 1-2 months | Use washable seat protectors under child seats |
| Long-term storage | Clean and dry before storage | Use breathable cover and climate control |
A windshield shade lowers surface heating and reduces UV exposure. It can extend the useful interval more effectively than a heavy balm, especially on black dashboards and exposed front seats.
What Should You Avoid on Perforated or Damaged Seats?
Avoid heavy creams, waxes, oils, and direct spraying on perforated seats because residue can enter ventilation holes and remain in the foam. Avoid DIY conditioning altogether when the leather has open cracks, detached coating, broken stitching, exposed substrate, or an active dye-transfer problem.
The safest approach for perforated leather is to apply product to a pad, use a very thin layer, and wipe across the holes with a clean towel before the product dries. Never use a toothpick or metal tool aggressively, since it can enlarge holes or damage the internal membrane.
Neglected seats require diagnosis before treatment. Do not place plastic bags over seats, park in direct sun, or create a homemade “steam room.” Heat can accelerate dye migration, harden coatings, deform foam, and intensify solvent fumes. A professional may use controlled heat in a repair process, but that is not equivalent to leaving treated seats in sunlight.
Can Conditioner Repair Cracks?
Conditioner cannot repair a structural crack, torn hide, missing finish, or failed stitching. A flexible filler, color-matched coating, or upholstery repair may address minor cosmetic damage, while a split bolster or exposed foam usually needs a professional repair or replacement panel.
Use conditioner only after the underlying repair and finish are compatible. Oily products can interfere with adhesion if applied before recoloring or coating work.
How Much Time and Money Does Maintenance Require?
Routine DIY cleaning and conditioning typically costs $20-$70 in consumables and takes 45-90 minutes for two rows. Professional interior cleaning commonly costs about $75-$250, while leather recoloring, filler work, or panel repair can exceed $200 depending on damage and vehicle size.
| Service or approach | Typical cost | Typical time | Suitable outcome |
|---|---|---|---|
| DIY light wipe-down | $5-$15 | 15-25 minutes | Removes fresh dust and body oils |
| DIY clean and condition | $20-$70 | 45-90 minutes | Routine protection on intact seats |
| Professional leather cleaning | $75-$250 | 2-4 hours | Deeper soil removal and even finish |
| DIY recoloring kit | $40-$150 | 4-10 hours | Small cosmetic color correction |
| Professional repair | $200-$800+ | 1-3 days | Cracks, tears, stitching, or panel damage |
These are typical consumer and detailing ranges, not fixed prices. Regional labor rates, leather type, seat count, and damage severity change the final amount.
What Are the Best Alternatives to Frequent Conditioning?
Regular cleaning, UV reduction, careful entry and exit, and prompt spill removal often protect modern coated leather better than frequent conditioning. A dedicated UV protectant may be preferable when the seats are intact but exposed to strong sunlight, provided the vehicle manufacturer permits that product.
Useful alternatives include:
- Clean high-contact areas every 2-4 weeks.
- Use a windshield shade during outdoor parking.
- Remove wet clothing, sunscreen, and food residue promptly.
- Lift child seats periodically to remove trapped grit and inspect compression marks.
- Use a separate vinyl protectant on synthetic trim when specified.
- Keep pets on a washable blanket or fitted seat cover.
- Avoid denim dye transfer by cleaning pale interiors more often.
A seat does not become healthier because it looks glossy. High gloss commonly indicates product buildup, skin oil, or polished wear.
How Do You Fix Common Conditioning Problems?
Most conditioning problems come from excess product, inadequate cleaning, incompatible chemistry, or moisture trapped in perforations. Correct the surface before applying another product, and stop DIY treatment when the coating itself is failing.
| Problem | Likely cause | Corrective action | Stop condition |
|---|---|---|---|
| Sticky or greasy finish | Too much conditioner or poor buffing | Wipe with a barely damp microfiber towel, then dry-buff | Tackiness remains after two clean passes |
| White residue in holes | Dried cream or wax | Soft brush, low-suction vacuum, and careful wiping | Holes remain blocked or foam is wet |
| Splotchy dark areas | Uneven application or absorbency | Clean the full panel and retest a hidden area | Color does not normalize when dry |
| Strong odor | Excess oil, solvent, or trapped moisture | Ventilate for several hours and remove residue | Odor persists for 24-48 hours |
| Shiny bolster | Dirt, friction, or finish burnishing | Clean gently and compare with an unused area | Topcoat is worn or color is missing |
| Cracking after treatment | Existing coating failure or heat damage | Stop conditioning and seek repair assessment | Hide or foam is exposed |
Do not use olive oil, petroleum jelly, hand lotion, shoe polish, cooking oil, or household wax. These materials can remain greasy, oxidize, attract dust, soften stitching, stain clothing, or interfere with future refinishing.
FAQ
Should I Condition Leather Seats After Every Cleaning?
No. Clean leather seats after visible soil or at a routine interval, then condition only when the finish and inspection indicate a need. Applying conditioner after every weekly wipe-down can create buildup on coated leather, especially in warm cabins and high-contact areas.
Can I Condition Leather Seats in Winter?
Yes, but apply the product in a warm, dry space when the seat surface is above roughly 50°F, or 10°C, unless the label gives a different minimum. Cold leather spreads product poorly, while moisture trapped in a cold cabin can prolong drying and leave streaks.
Should New Leather Car Seats Be Conditioned?
Usually, new coated seats need gentle cleaning and manufacturer-approved protection rather than immediate heavy conditioning. Inspect the owner’s manual first, because factory-applied coatings and synthetic seat sections may not need an oil-based product during the first maintenance cycle.
How Long Should I Wait Before Sitting on Conditioned Seats?
Wait until the surface is dry, non-sticky, and does not transfer product to a clean white microfiber towel. Many routine products need about 1-4 hours, but the label controls because formulas differ in carrier solvents, wax content, and drying behavior.
Can I Condition Leather Seats Before Selling the Car?
Yes, provided the seats are cleaned, dry, and free from cracks or finish failure. Use a thin, low-sheen product and buff completely; a greasy or artificially glossy interior can make wear more visible and may transfer onto a buyer’s clothing.
Is Leather Conditioner Necessary for Every Leather Seat?
No. Some automotive seats are coated leather, vinyl, polyurethane, or microfiber rather than absorbent hide, and those materials may require only a manufacturer-approved cleaner or protectant. Verify the material and finish before choosing a conditioning product.
The Bottom Line
Condition leather car seats every 3-6 months as a starting schedule, then adjust toward 1-3 months for strong sun, dry heat, heavy occupancy, or uncovered parking. Inspect first, clean before conditioning, apply a thin compatible layer, and buff away residue. For modern coated leather, consistent cleaning and UV reduction usually matter more than frequent heavy treatment.


