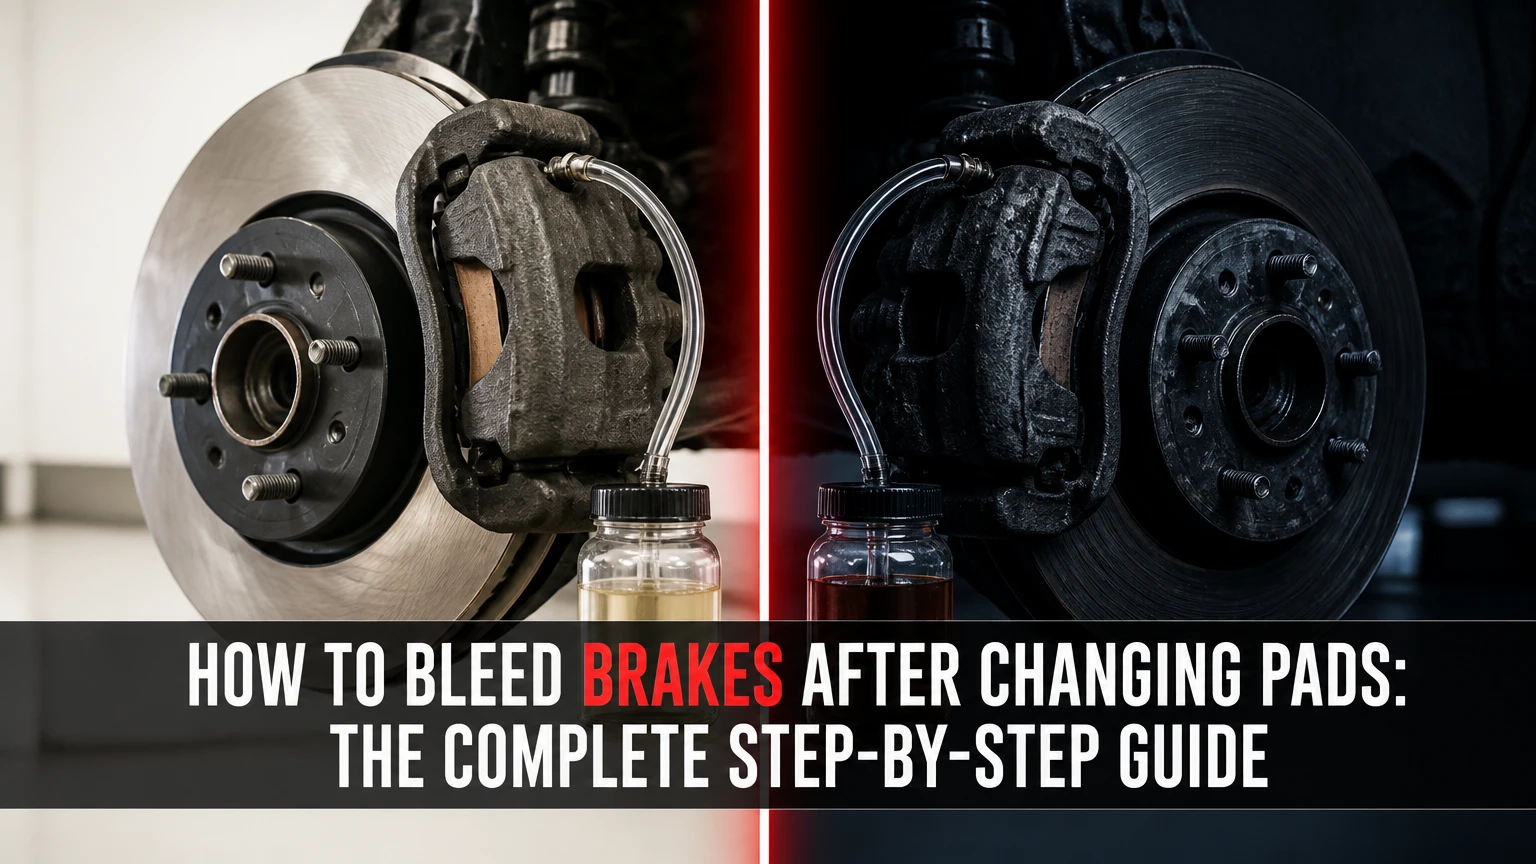
Learning how to bleed brakes after changing pads restores firm hydraulic pressure to your brake pedal and purges trapped air bubbles out of your vehicle’s braking lines. Bleeding your brake system involves a simple 6-step procedure: lifting the vehicle, preparing the master cylinder, attaching a catch tube, executing a fluid exchange sequence, topping off fluid levels, and completing a static pressure check. Expect this task to take between 45 and 90 minutes using basic hand tools. The single factor that determines success is maintaining a continuous fluid seal at the master cylinder and bleeder valves so atmospheric air never re-enters the lines.
Before You Start
- Total Time Required: 45 to 90 minutes
- Difficulty Level: Intermediate (Beginner-accessible with precise execution)
- Estimated Cost: $15 to $35 (for fresh fluid, tubing, and catch container)
- Prerequisite Skills: Ability to safely lift a vehicle on jack stands and operate basic hand wrenches.
Required Tools and Materials Checklist
| Item | Specification / Quantity | Core Purpose |
| Fresh Brake Fluid | 1 to 2 Quarts (Unopened DOT 3, 4, or 5.1 per cap spec) | Replaces contaminated fluid and fills hydraulic lines |
| Box-End or Flare-Nut Wrench | 8mm, 10mm, or 11mm (6-point preferred) | Opens bleeder valves without rounding soft hex heads |
| Clear Vinyl Tubing | 1/4-inch Inner Diameter (2 to 3 feet length) | Directs fluid to catch bottle and reveals air bubbles |
| Clear Catch Bottle | 16 oz plastic container filled with 2 inches fresh fluid | Prevents back-siphoning of air into open bleeder valve |
| Turkey Baster or Fluid Syringe | Clean manual fluid extractor | Siphons excess dirty fluid from master cylinder reservoir |
| Jack and Jack Stands | Rated for vehicle weight (1 jack, 4 stands) | Safely elevates all four corners of the vehicle |
| Torque Wrench & Lug Socket | Matches wheel lug specs (typically 80–100 lb-ft) | Secures wheels safely after service completion |
| Brake Cleaner & Shop Towels | 1 can solvent cleaner, 5–10 heavy rags | Neutralizes corrosive brake fluid spills immediately |
Step 1: Elevate the Vehicle and Access the Brake Calipers
Park the vehicle on a level concrete surface, engage the parking brake, and loosen all wheel lug nuts by one-half turn using your lug wrench. Raise the vehicle using a hydraulic floor jack at designated pinch welds or frame jacking points, then position sturdy jack stands beneath all four support points. Lower the vehicle onto the jack stands until it rests completely stable. Remove the lug nuts and pull all four wheels off to expose the brake calipers and bleeder screws.
Vehicle Elevation Setup:
  [ Front Left ] ------------ [ Front Right ]
        |                            |
        +------- ( Master Cylinder ) +
        |                            |
  [ Rear Left ]  ------------ [ Rear Right ]  <-- Start Here (Furthest)
You will know this step worked when the vehicle rests completely stationary on four jack stands with all four wheels removed, exposing clean access to every caliper bleeder nipple.
Common Mistake at Step 1: Jacking the vehicle on an incline or relying solely on a hydraulic jack without safety stands. Always verify stability by giving the vehicle a firm push at the bumper before working underneath.
Step 2: Clean, Siphon, and Top Off the Master Cylinder Reservoir
Pop the engine hood and locate the translucent brake fluid reservoir mounted on top of the master cylinder near the firewall on the driver side. Wipe the entire exterior cap and reservoir neck thoroughly with a shop towel to remove dirt, grease, and road grit. Remove the reservoir cap.
If you compressed the caliper pistons while installing your new brake pads, fluid has been pushed back up into the reservoir, often raising the level above the MAX mark. Use a clean syringe or turkey baster to siphon out dirty fluid until the reservoir is roughly one-quarter full. Immediately fill the reservoir to the MAX line with fresh fluid from a sealed container. Rest the reservoir cap loosely back on top of the opening to prevent debris contamination while allowing air displacement.
You will know this step worked when the master cylinder reservoir contains clean, clear fluid filled exactly to the MAX line, free of floating particulate matter.
Common Mistake at Step 2: Allowing road dirt into the open master cylinder. A single speck of dirt can foul the internal valving of an ABS hydraulic control unit, causing soft pedal feel or valve failure.
Step 3: Set Up the Submerged Catch Bottle Assembly
Move to the passenger rear caliper, which is the caliper positioned furthest along the brake line path from the master cylinder on standard vehicles. Locate the bleeder screw on the upper portion of the caliper body and peel off its protective rubber dust cap. Inspect the hex head and clear away any rust using a wire brush. Slip your box-end or 6-point flare-nut wrench over the bleeder nipple so it sits securely on the hex fitting.
Push one end of your 1/4-inch inner diameter clear plastic tubing firmly over the ribbed nipple of the bleeder screw. Place the opposite end of the tubing into your clear catch bottle. Pour approximately two inches of fresh brake fluid into the bottom of the bottle, ensuring the tip of the plastic hose stays completely submerged below the fluid surface.
Submerged Tube Set Up:
  [ Bleeder Screw ] ===( Clear Tubing )===> [ Catch Bottle ]
                                                |  |
                                             |~~~~~~| <-- Submerged End
                                             |  FLUID |
                                             +------+
You will know this step worked when the hose fits tightly onto the bleeder nipple without air gaps, and the discharge end remains continuously submerged beneath fluid inside the bottle.
Common Mistake at Step 3: Leaving the discharge hose suspended in mid-air inside an empty bottle. If the bleeder screw is opened while the hose tip is dry, atmospheric air can be sucked directly back into your caliper bore.
Step 4: Execute the Two-Person Pressure Bleed Routine
Coordinate with an assistant seated in the driver seat using clear verbal signals. Instruct your assistant to pump the brake pedal 3 to 4 times with smooth strokes, then hold steady, firm down-pressure on the pedal. Your assistant must call out loudly: “Holding!”
While your assistant maintains firm pedal pressure, use your wrench to turn the bleeder screw counterclockwise one-quarter to one-half turn. Fluid mixed with dark streaks and visible air bubbles will surge through the clear tube into your bottle. As fluid escapes, the brake pedal will sink completely to the floorboards. Your assistant must maintain continuous downward pressure on the pedal without releasing it.
Once the initial fluid surge slows down after 1 to 2 seconds, turn the bleeder screw clockwise until it seats firmly. Call out loudly to your assistant: “Release!” Your assistant can now release the pedal back to its top position. Repeat this exact pump-hold-open-close-release cycle 4 to 6 times for this wheel.
Bleeding Communication Loop:
  Assistant: Pumps pedal 3x --> Holds down --> Yells "Holding!"
  Technician: Opens valve 1/4 turn --> Fluid/Air flows --> Closes valve --> Yells "Release!"
  Assistant: Releases pedal --> Loop repeats
You will know this step worked when the fluid flowing through the clear tube transitions from cloudy or bubble-streaked fluid to clear, pristine fluid containing zero air bubbles.
Common Mistake at Step 4: The assistant releasing the brake pedal while the bleeder screw is still open. This instantly pulls a vacuum, drawing air from the tube back into the caliper lines.
Step 5: Monitor and Replenish Master Cylinder Fluid Levels
After completing the bleeding cycle at the first caliper, return to the engine bay immediately to check the fluid level inside the master cylinder reservoir. As you purge fluid at the wheels, the fluid level inside the master cylinder drops rapidly.
If the level approaches the MIN line, top it back off to the MAX line using your fresh brake fluid. Never allow the reservoir fluid level to drop to the bottom of the container.
Repeat the setup and bleeding process from Step 3 and Step 4 at each remaining wheel location in strict sequential order:
- Passenger Rear (RR) – Furthest distance
- Driver Rear (LR) – Second furthest distance
- Passenger Front (RF) – Third furthest distance
- Driver Front (LF) – Closest distance
You will know this step worked when you have successfully bled all four calipers in sequence while keeping the master cylinder reservoir above the half-full level throughout the entire procedure.
Common Mistake at Step 5: Allowing the master cylinder to run completely dry. If air enters the master cylinder piston chambers, it gets forced directly into the ABS module pump, requiring specialized electronic tools to clear.
Step 6: Verify System Pressure, Inspect for Leaks, and Clean Up
Once all four wheels have been bled and the bleeder screws are snug, perform a static pressure test before reinstalling the wheels. With the engine off, have your assistant pump the brake pedal 2 to 3 times. The pedal should become rock-hard and travel no more than 1 to 2 inches before encountering solid resistance. Hold heavy pressure on the pedal for 15 seconds; if the pedal slowly creeps toward the floor, a hydraulic leak exists.
Tighten each bleeder screw to factory torque specifications (typically 6 to 10 lb-ft or 8 to 14 Nm). Spray all bleeder fittings and caliper surfaces thoroughly with solvent brake cleaner to wash away fluid residue, then dry them with shop rags. Reattach the rubber dust caps onto every bleeder nipple. Mount the wheels, thread the lug nuts by hand, lower the vehicle to the ground, and torque the lug nuts in a star pattern to manufacturer specifications. Top off the master cylinder fluid to the MAX line one final time and tighten its cap securely.
You will know this step worked when the brake pedal feels rock-firm underfoot with zero pedal sink, all bleeder screws are torqued clean and dry, and the master cylinder cap is locked tight.
Common Mistake at Step 6: Leaving residual brake fluid on painted caliper surfaces or bleeder threads. Brake fluid is a powerful chemical solvent that strips wheel clear-coat and chassis paint down to bare metal within hours.
Common Mistakes and How to Fix Them
1. The Brake Pedal Remains Spongy After Bleeding
- Root Cause: Air bubbles remain trapped in high spots inside the caliper passages, or micro-bubbles are stuck inside the ABS valving body.
- How to Fix: Drive the vehicle at low speeds in a safe area to cycle the brakes gently. Perform a second round of bleeding starting again at the furthest wheel. If the pedal is still soft, use a scan tool to cycle the ABS solenoids while bleeding, or perform an automated ABS bleed procedure.
2. Bleeder Valve Threads Leaking Atmospheric Air
- Root Cause: Loosening the bleeder screw turns unseats the thread seal, drawing ambient air past the threads into the hose during manual or vacuum extraction. This makes it look like there is endless air inside your brake lines.
- How to Fix: Unscrew the bleeder valve completely (be prepared for minor fluid dripping), wrap the upper male threads with two layers of PTFE thread sealant tape—keeping the bottom tapered point free of tape—and screw it back in. Alternatively, coat the exposed base of the bleeder nipple with heavy silicone grease to create a dynamic seal around the threads.
3. Stripped or Rounded Bleeder Screw Hex Heads
- Root Cause: Using standard open-ended wrenches or 12-point box wrenches on soft, rusted steel bleeder fittings.
- How to Fix: Apply penetrating oil liberally to the bleeder base and allow it to soak for 20 minutes. Tap the top of the bleeder screw gently with a brass punch and small hammer to break rust bonds. Use a dedicated 6-point flare-nut wrench or socket to gain maximum grip across all hex faces.
4. Overfilled Master Cylinder Reservoir After Pad Bedding
- Root Cause: Pushing old caliper pistons back into their bores pushes displaced fluid back into the reservoir. Bleeding fresh fluid on top of an un-siphoned reservoir causes fluid to overflow when new thick pads heat up and expand.
- How to Fix: Always siphon down old fluid before pushing pistons back during pad installation. Check fluid height after a short test drive and siphon off any excess fluid above the MAX line.
System Variations and Alternative Bleeding Methods
Solo Pressure Bleeder Method
A mechanical pressure bleeder mounts directly onto the master cylinder reservoir cap using a sealed adapter. The pressure unit forces fresh fluid down into the reservoir under 10 to 15 PSI of air pressure.
Solo Pressure Bleeder Setup:
  [ Pressure Tank (15 PSI) ] ===( Fluid Line )===> [ Master Cylinder ]
                                                          |
                                                  [ Caliper Bleeder ]
When using a pressure bleeder:
- You do not need an assistant to pump the brake pedal.
- Simply pressurize the tank to 12-15 PSI, attach the line to the reservoir, and open each caliper bleeder valve one by one until fresh fluid flows.
- Do not exceed 15 PSI, or you risk cracking plastic OEM fluid reservoirs.
Vacuum Bleeder Method
Vacuum bleeders use a handheld vacuum pump or pneumatic shop-air puller attached directly to the caliper bleeder nipple.
- The tool pulls a vacuum (15 to 20 in-Hg) at the bleeder nipple, drawing fluid down from the master cylinder.
- Thread sealing (using PTFE tape or silicone grease) on the bleeder nipple is mandatory when using vacuum bleeders to prevent continuous false bubble lines.
Modern Electronic Parking Brake (EPB) and ABS Systems
Vehicles equipped with electronic parking brakes or integrated electro-hydraulic braking systems often lock hydraulic fluid paths when powered off.
- Before bleeding rear calipers on EPB-equipped cars, put the braking system into Service Mode using an OBD2 scan tool or dashboard menu sequence to retract the electronic actuator motors.
- If air entered the ABS hydraulic control unit during pad changes, run an ABS Automated Bleed routine via a bi-directional scan tool. This cycles internal solenoid valves while flushing fluid.
How Long Does It Take and What Does It Cost?
Time Breakdown
- Vehicle Lifting and Wheel Removal: 15 minutes
- Master Cylinder Siphoning and Prep: 5 minutes
- Bleeding 4 Wheel Calipers: 20 to 40 minutes (5 to 10 minutes per corner)
- Fluid Level Checks and Wheel Reinstallation: 15 minutes
- Total Time Required: 55 to 75 minutes for a standard passenger car.
Cost Estimate
| Expense Category | DIY Cost Range | Professional Shop Cost |
| Fresh Brake Fluid (2 Quarts) | $12 – $22 | $30 – $50 (Fluid markup) |
| Tubing and Catch Bottle | $5 – $10 | Included in labor |
| Labor Fees | $0 (Self-performed) | $120 – $200 |
| Total Estimated Cost | $17 – $32 | $150 – $250 |
Frequently Asked Questions
Do I always need to bleed brakes after changing pads?
No. If you change pads without opening bleeder valves, disconnecting brake lines, or pushing air into the system, bleeding is not strictly required. However, flushing out old moisture-laden fluid during a pad change prevents internal corrosion and delivers optimal pedal firmness.
What happens if I mix different brake fluid DOT ratings?
Mixing DOT 3, DOT 4, and DOT 5.1 is safe because they are all glycol-based fluids with compatible chemistry, though your boiling point defaults to the lowest rated fluid. Never mix silicone-based DOT 5 fluid with any glycol fluid, as this degrades internal rubber seals and causes system failure.
Why is my brake pedal sinking to the floor after bleeding?
A pedal sinking to the floor indicates air remains trapped in the lines, a bleeder screw was left loose, or internal master cylinder piston seals have failed. Inspect all four calipers for external fluid leaks, then re-bleed the entire system starting from the furthest wheel.
What size tubing do I need for brake bleeder valves?
Most automotive caliper bleeder nipples fit standard 1/4-inch inner diameter clear vinyl tubing. For smaller Japanese or European bleeder nipples, 3/16-inch inner diameter tubing provides an airtight, snug fit that prevents fluid leaks and air back-siphoning.
How much brake fluid do I need to flush the system completely?
Flushing a typical passenger vehicle hydraulic brake system requires 1 to 1.5 quarts (approx 1 to 1.5 liters) of fresh brake fluid. Purchase two 32 oz cans so you have plenty of extra fluid to keep the reservoir filled throughout the procedure.
Understanding how to bleed brakes after changing pads guarantees your vehicle retains crisp pedal feel, immediate stopping response, and safe hydraulic pressure across all road conditions.


