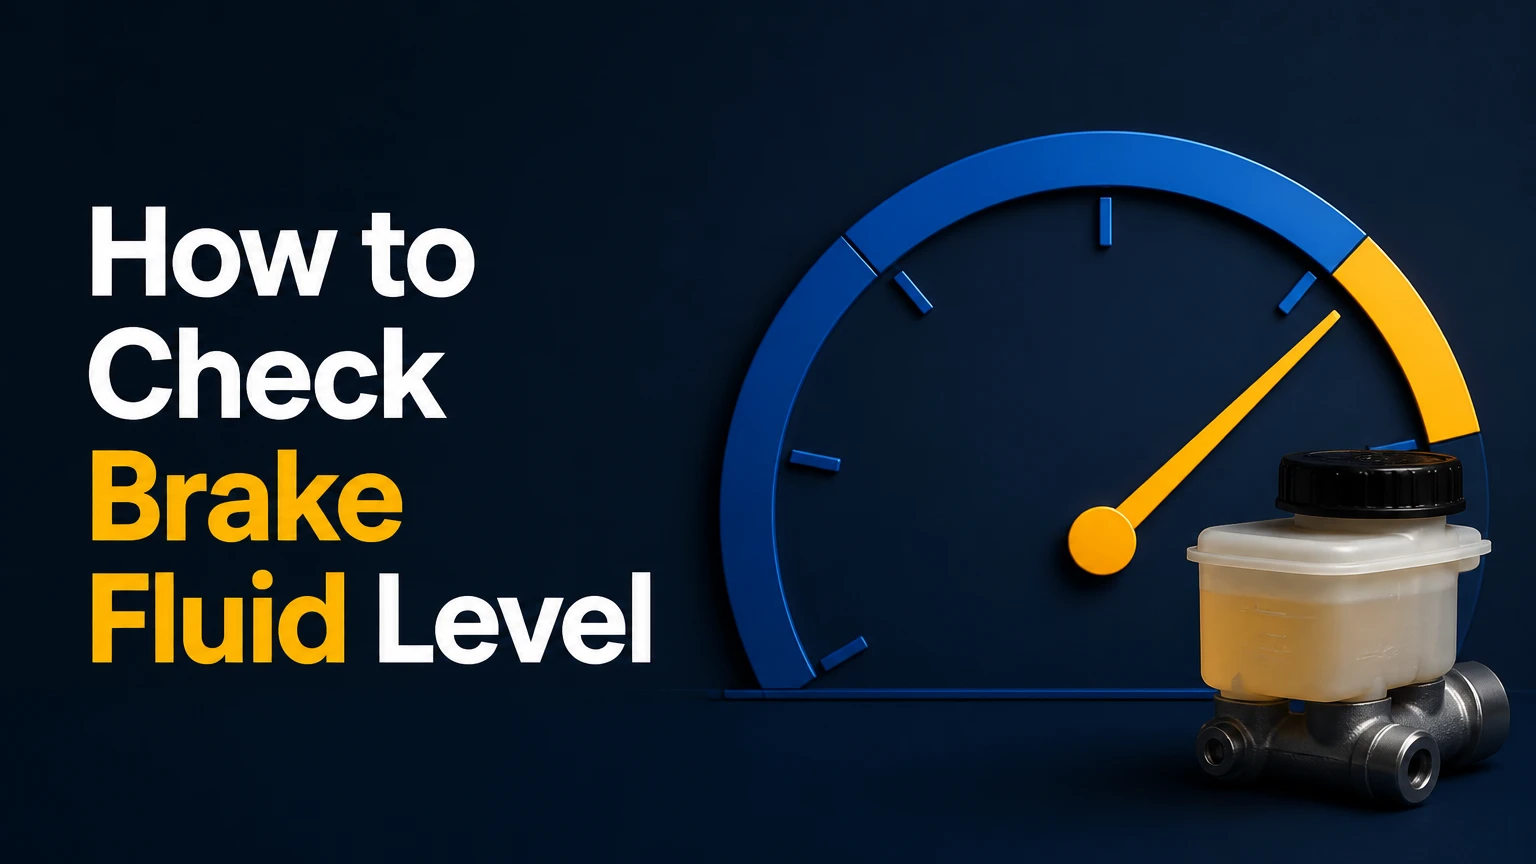
Checking your brake fluid level requires parking your vehicle on level ground, locating the translucent master cylinder reservoir on the firewall, and inspecting the fluid line against the MIN and MAX markings using a flashlight. This total process takes under 10 minutes, requires beginner-level mechanical skill, and protects your hydraulic braking system from air locks, moisture contamination, and catastrophic brake failure.
Before You Start
- Time Required: 5 to 10 minutes
- Difficulty Level: Beginner (No special mechanics training required)
- Typical Cost: $0 (inspection) to $10–$25 (if topping up with fresh fluid)
- Prerequisites: Engine turned off and completely cool to the touch; vehicle parked on a flat, solid surface; parking brake fully engaged.
Required Tools and Materials
- Safety Glasses: ANSI Z87.1 approved eye protection
- Nitrile Gloves: Minimum 4 mil thickness (protects skin from corrosive fluid)
- LED Flashlight: 100+ lumens for backlighting dark reservoirs
- Microfiber Towel or Shop Rag: Clean, lint-free cloth
- Brake Fluid: 8 oz to 12 oz sealed container matching your vehicle specification (DOT 3, DOT 4, or DOT 5.1 glycol-based fluid; or DOT 5 silicone fluid). Check your master cylinder cap for exact specification.
- Digital Brake Fluid Moisture Tester (Optional): Optical refractometer or electronic conductivity pen calibrated for DOT fluids
Complete Step-by-Step Brake Fluid Level Check
Follow these sequential steps to inspect your brake fluid level and quality accurately without introducing dirt or ambient moisture into the sealed hydraulic lines.
Step 1: Secure Vehicle and Ensure Engine Is Cool
Park your vehicle on flat, level pavement, turn off the ignition, set the parking brake firmly, and allow the engine bay to cool for at least 15 to 20 minutes.
[Park on Flat Surface] ➔ [Set Parking Brake] ➔ [Allow Engine to Cool]
Level ground is essential because an inclined surface shifts the fluid tilt inside the reservoir, causing false low or high readings. Opening a hood over a hot engine introduces burn risks from exhaust manifolds and can cause heat-expanded fluid readings. Pull the interior hood release lever, unlatch the safety catch under the front lip of the hood, and secure the hood using the prop rod or integrated hydraulic struts. Put on safety glasses and nitrile gloves before touching components inside the engine bay.
- Success Checkpoint: You will know you are ready when the engine components are cool to the touch and the vehicle sits completely level.
- Common Mistake: Checking fluid on a steep driveway. A 5-degree slope can misrepresent fluid levels by up to 15 milliliters, causing you to overfill or underfill the system.
Step 2: Locate the Master Cylinder Reservoir
Look toward the back of the engine bay on the driver side to locate the translucent plastic master cylinder reservoir mounted directly in front of the firewall.
[Look at Driver-Side Firewall] ➔ [Identify Vacuum Booster] ➔ [Find Plastic Reservoir]
The reservoir sits directly atop the metal master cylinder, which is bolted to a round metal drum known as the brake vacuum booster. The reservoir body is made of semi-transparent off-white plastic so that fluid levels can be read from the outside without breaking the hydraulic seal. On some manual transmission vehicles, this same reservoir may also supply hydraulic fluid to the clutch master cylinder through an auxiliary side hose.
- Success Checkpoint: You will know you located the correct part when you see a white plastic tank with a black or yellow cap stamped with a brake warning symbol (a circle inside parentheses) or text specifying fluid types such as “Use Only DOT 3 Fluid”.
- Common Mistake: Confusing the brake fluid reservoir with the power steering fluid reservoir or windshield washer neck. Verify the stamped text on the cap before proceeding.
Step 3: Clean External Reservoir Body and Cap
Take a clean microfiber cloth and thoroughly wipe away all dust, road grime, grease, and loose dirt from the reservoir cap and external walls.
[Grab Lint-Free Cloth] ➔ [Wipe Cap Edges] ➔ [Clean Translucent Sidewalls]
Cleaning the exterior prior to any detailed inspection or opening is mandatory. Hydraulic brake systems operate on strict tolerances. Microscopic dirt or grit particles falling into an opened reservoir can score the internal rubber piston seals of your master cylinder, leading to internal pressure loss and brake pedal sinking.
- Success Checkpoint: You will know this step is successful when the plastic cap and external markings on the reservoir walls are completely free of grime and grit.
- Common Mistake: Skipping exterior cleaning before opening the cap. Opening a dirty cap drops abrasive debris straight into the fluid.
Step 4: Perform Visual Level Inspection with Backlighting
Shine your high-beam LED flashlight directly against the back or side of the plastic reservoir tank while viewing the MIN and MAX indicators molded on the front exterior wall.
[Position Flashlight Behind Tank] ➔ [Locate MIN / MAX Molded Lines] ➔ [Observe Fluid Line]
Do not open the reservoir cap to check the fluid level. Brake fluid is highly hygroscopic, meaning it rapidly absorbs moisture directly from the ambient air. Leaving the cap off degrades the fluid boiling point. Look closely at the molded graduations on the plastic body. The upper boundary is marked MAX (or FULL), and the lower boundary is marked MIN (or ADD). Gently rock the vehicle fender with your free hand if the fluid shadow is difficult to distinguish; watching the fluid sloshing inside makes the exact liquid height instantly visible.
- Success Checkpoint: You will know it worked when you clearly spot the liquid meniscus resting between the MIN and MAX lines.
- Common Mistake: Removing the cap just to see inside. Always read the level visually through the translucent plastic body to avoid exposing the system to humidity.
Step 5: Evaluate Fluid Color and Test Quality
Hold your flashlight directly against the wall of the reservoir to evaluate the clarity and color of the fluid inside the tank.
[Illuminate Fluid Tank] ➔ [Check Color Tint] ➔ [Use Moisture Tester (If Available)]
Fresh brake fluid ranges from crystal clear to light amber or pale yellow, depending on the specific DOT formulation. If the fluid appears dark brown, black, or contains visible suspended debris, it has oxidized and absorbed excessive moisture or dissolved rubber from internal brake hoses. If you possess an electronic moisture tester, remove the cap briefly, submerge the tester probes 1 inch into the fluid, and read the percentage display.
Fluid Condition Chart:
[ Clear / Light Amber ] ➔ Excellent Condition (0% to 1% Moisture)
[ Dark Amber / Brown  ] ➔ Marginal (2% to 3% Moisture) - Schedule Flush
[ Black / Black Sludge] ➔ Critical Failure (>3% Moisture) - Flush Immediately
- Success Checkpoint: You will know the fluid is in good health if it retains a clear amber appearance and registers under 2% water content on a digital tester.
- Common Mistake: Assuming dark fluid is acceptable as long as the level is high. Dark fluid indicates a severely reduced boiling point, which can cause steam locks and sudden brake pedal fade during hard stops.
Step 6: Perform Controlled Top-Up (If Below Minimum)
If the fluid level sits at or below the MIN line, remove the cap, collapsible rubber diaphragm gasket, and slowly pour fresh, un-opened fluid into the neck until the level reaches the MAX mark.
[Remove Cap Gasket] ➔ [Check Sealed Fluid Bottle] ➔ [Pour Slowly to MAX Line]
Only use a brand-new, factory-sealed bottle of brake fluid that precisely matches the DOT specification stamped on your reservoir cap (typically DOT 3, DOT 4, or DOT 5.1). Never use a bottle of brake fluid that has been sitting open on a shelf for more than a few months, as it has already absorbed atmospheric moisture. Position a clean rag directly underneath the fill neck to catch stray drips. Pour in small increments, waiting 5 seconds between pours for the fluid surface to stabilize, and stop the instant the liquid hits the MAX mark.
+-----------------------------------------------------------------------+
| WARNING: Brake fluid destroys automotive paint instantly.             |
| Keep rag under nozzle. If fluid touches paint, flush immediately with |
| copious amounts of cold soapy water. Do not wipe or rub.              |
+-----------------------------------------------------------------------+
- Success Checkpoint: You will know you have topped up correctly when the fluid level rests precisely at the MAX line without exceeding it, using fluid from an airtight, newly opened container.
- Common Mistake: Filling the reservoir past the MAX line. Overfilling leaves no space for fluid expansion as brakes warm up during driving, which can cause hydraulic drag and lock up your brake pads while driving.
Step 7: Reseal Reservoir and Inspect Surrounding Surfaces
Reinsert the rubber diaphragm seal into the cap, screw or latch the reservoir cap tightly back into place, and inspect the surrounding engine bay for accidental fluid spills.
[Inspect Rubber Diaphragm] ➔ [Seat Cap Securely] ➔ [Clean Any Stray Drips]
Ensure the cap clicks into its locked position or aligns with its structural stop tab. If your cap features an electrical connector plug for the low-fluid warning sensor, verify that the wiring harness is firmly clipped back into place. Wipe off any drips on the outer neck with your shop rag. Close the vehicle hood securely and test the brake pedal feel with the engine running before driving on public roads.
- Success Checkpoint: You will know the system is sealed when the cap is fully tightened, sensor wires are plugged in, and zero liquid residue remains on external plastic surfaces.
- Common Mistake: Forgetting to reconnect the electrical sensor wire on the cap, which disables your dashboard low-brake-fluid warning light.
Common Mistakes and How to Fix Them
Hydraulic brake systems are unforgiving when subjected to improper maintenance techniques. Review these common operational errors and their matching corrective steps.
+-----------------------------------------------------------------------------------+
| Mistake                       | Cause                             | Correction    |
+-------------------------------+-----------------------------------+---------------+
| Overfilling Past MAX Line     | Fast pouring without pausing      | Syphon out    |
| Mixing Silicone & Glycol      | Using DOT 5 in DOT 3/4 system     | Full flush    |
| Spilling Fluid on Body Paint  | Pouring without funnel or cloth   | Wash with soap|
| Ignoring Rapid Drops          | Driving on worn pads or leaks     | Inspect pads  |
| Leaving Cap Off Long Term     | Distracted work during top-up     | Flush system  |
+-----------------------------------------------------------------------------------+
Overfilling the Reservoir Beyond MAX
- The Error: Pouring too quickly brings liquid up into the neck well above the MAX line.
- The Fix: Insert a clean, brand-new turkey baster or syringe into the neck to draw out excess fluid until the level lowers precisely to the MAX marker. Dispose of the drawn fluid safely; never pour drawn fluid back into a new container.
Mixing Incompatible Brake Fluid Types
- The Error: Adding DOT 5 (silicone-based) into a system containing DOT 3, DOT 4, or DOT 5.1 (glycol-based) fluids.
- The Fix: DOT 5 is completely incompatible with glycol-based fluids and will react to form a gelatinous sludge that ruins rubber seals and anti-lock braking system (ABS) valves. If mixed, do not start the engine or depress the brake pedal. Tow the vehicle to a professional technician to perform a full system teardown, flushing, and seal replacement.
Spilling Brake Fluid on Painted Engine or Body Panels
- The Error: Splattering fluid onto painted surfaces during a pour.
- The Fix: Immediately douse the affected area with large volumes of cold water and car wash soap. Brake fluid acts as a aggressive paint solvent. Do not rub the area with a dry cloth, as rubbing presses the chemical solvent deeper into the clear coat. Water neutralizes and dilutes the glycol base instantly.
Blindly Topping Up a Rapidly Dropping Fluid Level
- The Error: Refilling a low reservoir without investigating why the level dropped in the first place.
- The Fix: As brake pads wear down, master cylinder fluid moves down into the caliper pistons to compensate for thin pad material. A fluid level near MIN usually indicates worn brake pads that require replacement, not necessarily a leak. If you top up to MAX with worn pads, pushing the caliper pistons back during a future pad replacement will force excess fluid to overflow the reservoir onto your engine bay. If the level dropped rapidly over a few days, inspect inner tire walls, brake lines, and calipers for active hydraulic leaks before driving.
Leaving the Reservoir Cap Off
- The Error: Forgetting to reinstall the cap after checking or topping up, exposing the fluid to atmospheric air for hours.
- The Fix: Glycol brake fluid saturates with water when exposed to humid air. Water lowers the boiling point of the fluid from over 230°C (446°F) down to under 140°C (284°F). If left unsealed for over an hour in high humidity, perform a complete brake fluid flush to purge contaminated fluid from the lines.
Process Variations for Different Vehicle Systems
The process for checking brake fluid alters slightly depending on vehicle age, reservoir cap mechanisms, and secondary hydraulic systems.
       [Vehicle Configuration Variations]
                     |
    +----------------+----------------+
    |                                 |
[Modern Plastic Reservoir]     [Classic Metal Master Cylinder]
    |                                 |
    • Translucent body                • Cast iron / aluminum body
    • Screw or twist cap              • Metal bale wire clamp
    • Side visual check               • Must remove cover to check
    • Sensor wire on cap              • Use ruler / visual dip
Classic Cars with Cast-Iron Master Cylinders
- The Difference: Vintage vehicles and older classic trucks use opaque cast-iron master cylinders without translucent plastic walls.
- How to Check: You must clean the metal cover thoroughly with a wire brush or rag, unlatch the heavy metal wire clamp (bale arm) using a flathead screwdriver, and lift off the solid top plate. Check the fluid height inside the metal chambers directly. The fluid line must sit approximately 6mm to 10mm (1/4 inch to 3/8 inch) below the top lip of the reservoir wall.
Vehicles with Push-Twist vs. Screw-Off Caps
- The Difference: Modern European cars often utilize push-and-twist locking caps rather than standard threaded caps.
- How to Check: Push firmly down on the plastic cap head before twisting counterclockwise 90 degrees to clear the internal retaining tabs. When reinstalling, push down and rotate clockwise until an audible double-click confirms the rubber gasket is completely compressed.
Systems Integrated with Hydraulic Clutches
- The Difference: Manual transmission models frequently run both the primary braking system and the clutch master cylinder off a shared reservoir.
- How to Check: Locate the secondary hydraulic hose attached to the mid-section wall of the plastic reservoir. Ensure the fluid level stays well above this mid-level nipple. If the brake fluid drops below the clutch supply port, air enters the clutch hydraulics, causing the clutch pedal to fall flat to the floorboard and preventing gear engagement.
How Long Does It Take and What Does It Cost?
Checking your brake fluid level is one of the most cost-effective preventive maintenance tasks you can perform at home.
+----------------------------------------------------------------------------------+
| Service Type            | Self-Service Cost | Professional Cost | Time Required   |
+-------------------------+-------------------+-------------------+-----------------+
| Level Inspection        | $0                | $0 - $20          | 5 minutes       |
| Fluid Top-Up (8-12 oz)  | $10 - $25         | $30 - $50         | 10 minutes      |
| Complete Brake Flush    | $20 - $40 (DIY)   | $120 - $220       | 45 - 60 minutes |
+-------------------------+-------------------+-------------------+-----------------+
Doing a visual check costs nothing and takes under 5 minutes. If a top-up is needed, a 12-ounce bottle of high-performance DOT 4 or DOT 5.1 synthetic fluid costs between $10 and $25 at any auto parts retail store. By contrast, repair shops typically charge a minimum half-hour labor fee ($50 to $90) plus marked-up fluid fees for a simple top-up. Catching contaminated fluid early via visual checks prevents master cylinder and ABS module replacements, which routinely cost between $600 and $1,500 in parts and labor.
Frequently Asked Questions
Can I mix DOT 3 and DOT 4 brake fluid in my car?
Yes, DOT 3, DOT 4, and DOT 5.1 are glycol-based fluids and are chemically compatible with each other in emergency situations. However, you should always use the fluid specified on your reservoir cap. Adding DOT 3 to a system designed for DOT 4 lowers the overall boiling point of your braking system. Never mix DOT 5 (silicone) with any other fluid type.
Why is my brake fluid low if there are no visible leaks?
As your brake pads wear down over time, the caliper pistons remain extended further outward to keep the pads close to the brake rotors. Fluid from the master cylinder fills this expanded volume inside the caliper lines, causing the reservoir fluid level to drop slowly toward the MIN line. This drop is normal and signals pad wear rather than a fluid leak.
How often should I check my brake fluid level?
Check your brake fluid level at least once every month, or every time you open the hood to check engine oil or refill windshield washer fluid. Additionally, perform an immediate visual check before embarking on long road trips or carrying heavy towed loads through mountainous terrain.
What color should clean brake fluid be?
Clean, fresh brake fluid ranges from virtually clear to a light amber tint. As it ages, absorbs atmospheric moisture, and collects microscopic rubber debris from internal flexible brake hoses, it turns dark brown and eventually opaque black. Dark brown or black fluid requires a complete hydraulic system flush.
Can I drive my car if the brake fluid is below the MIN line?
No, driving with brake fluid below the MIN line is unsafe. If the level drops too far, air can be sucked into the master cylinder pistons when braking or turning sharp corners. Air in hydraulic brake lines compresses, causing soft pedal feel, extended stopping distances, or total brake pedal failure.
Maintaining proper brake fluid levels and inspecting fluid condition regularly guarantees consistent stopping power and extends the operational lifespan of your vehicle’s hydraulic brake components. Perform this simple 5-minute visual inspection monthly to catch pad wear and hydraulic issues before they compromise road safety.


