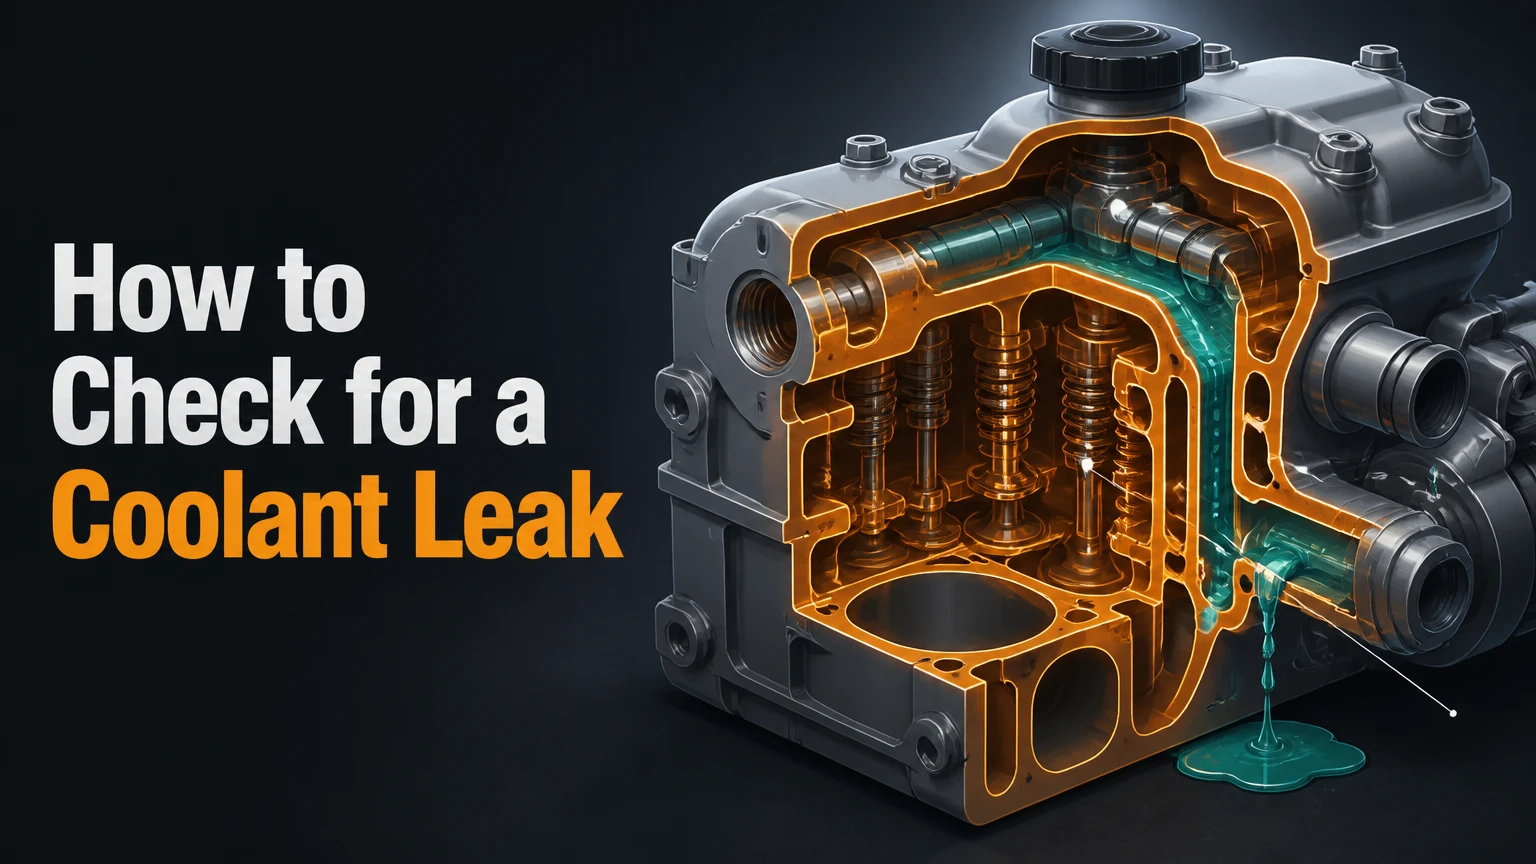
Checking for a coolant leak requires a systematic diagnostic approach to locate where the pressurized antifreeze mixture is escaping the closed cooling loop. You must visually inspect hoses, apply mechanical pressure to the system, and test for internal combustion gases. Learning how to check for a coolant leak prevents catastrophic engine overheating.
Key Facts / At a Glance
- System operating pressure ranges from 13 to 16 PSI for standard passenger vehicles.
- Internal leaks often present as milky engine oil or thick white exhaust smoke.
- Opening a hot radiator cap releases boiling fluid under pressure and causes severe thermal burns.
- UV dye testing requires an automotive blacklight to illuminate microscopic cracks behind engine accessories.
- Professional leak diagnostic fees typically range between $80 and $150.
- Ethylene glycol is highly toxic and requires specialized environmental disposal.
What Equipment Do You Need to Find a Coolant Leak?
You need specialized diagnostic tools to safely pressurize the cooling system and detect invisible exhaust gases. Gathering the correct equipment before you begin ensures you can identify both external drips and internal engine breaches without running a dangerously hot engine. Most auto parts stores offer loaner programs for the heavy diagnostic kits, meaning you do not have to purchase them outright.
Before starting the diagnostic process, secure the vehicle on a flat, dry surface and allow the engine to cool for a minimum of three hours. You will need safety glasses and nitrile gloves to protect your skin from toxic ethylene glycol exposure.
| Diagnostic Tool Name | Primary Target Component | Estimated Cost Range | Time to Complete Test |
| Cooling System Pressure Tester | Radiator seams and rubber hoses | $40 to $90 | 15 to 30 minutes |
| Combustion Leak Block Tester | Cylinder head gasket and engine block | $30 to $50 | 10 to 15 minutes |
| UV Dye and Blacklight Kit | Water pump and hidden rear hoses | $15 to $35 | 45 to 60 minutes |
| Automotive Infrared Thermometer | Engine block and thermostat housing | $20 to $40 | 5 to 10 minutes |
Step 1: Perform a Cold Visual Inspection
You must always begin by examining the engine bay when the vehicle has cooled down completely. A visual inspection relies on spotting brightly colored fluid or crusty residue around engine components. The cooling system operates under pressure, meaning dried coolant leaves a white chalky trail at the exact point of failure.
Start by looking at the plastic reservoir expansion tank to verify if the fluid sits below the minimum fill line. Manufacturers dye automotive coolant in bright, unnatural colors to distinguish it from engine oil or transmission fluid. You will typically see neon green, orange, pink, red, or dark blue fluid depending on the specific chemical formulation required by your vehicle manufacturer. Place a large piece of clean cardboard directly under the engine bay. The cardboard catches dripping fluid and allows you to trace the exact vertical drop point of the leak.
Where are the most common leak locations?
The most frequent failure points include the radiator side tanks, the water pump weep hole, and the rubber hoses connecting the engine block. Heat cycles degrade EPDM rubber hoses over time, causing them to split near the metal clamp connections. Plastic radiator side tanks crack from road vibration and thermal expansion. The water pump features a specific weep hole designed by automotive engineers to drip fluid downward when the internal shaft bearing seal fails.
Step 2: How to Check for a Coolant Leak Using Mechanical Pressure
You perform a pressure test by attaching a manual hand pump to the radiator filler neck and forcing air into the system to replicate operating conditions. This mechanical method forces fluid out of hidden cracks without the danger of interacting with a running, hot engine. Remove the cold radiator cap, select the correct rubber adapter for your specific vehicle make, and attach the pump securely to the filler neck.
Pumping the system pressurizes the entire closed loop, including the radiator, the heater core, and all connecting hoses. By observing the analog gauge on the hand pump, you can determine if the system holds pressure or if air is escaping through a physical breach in the materials.
What is the correct pressure for testing?
You must pump the tester gauge to the exact specification printed on the factory radiator cap, which typically reads between 13 and 16 PSI for standard passenger cars. Never exceed this printed number. According to guidelines from the Automotive Service Association (2023), pumping the system to 25 PSI or higher will actively create new leaks by rupturing perfectly healthy heater cores or splitting aging radiator seams.
Once you reach the specified pressure, stop pumping and watch the needle for 15 minutes. If the pressure drops, fluid is actively escaping the system. Keep the system pressurized and use a flashlight to trace the rubber lines, listening for a faint hissing sound or looking for fresh fluid dripping onto the cardboard below.
Step 3: How Can You Find Hidden Internal Leaks?
You locate internal coolant leaks by checking the engine oil dipstick for water contamination and using a chemical combustion leak tester on the open radiator neck. Internal leaks occur when the cylinder head gasket fails or the metal engine block cracks, allowing coolant to mix with oil or enter the combustion chamber directly.
Pull the engine oil dipstick and wipe it on a clean white paper towel. Look for a frothy, opaque substance resembling chocolate milk. This emulsion forms when high-pressure engine oil mixes with water and ethylene glycol inside the crankcase. If you find milky oil, you have a severe internal breach requiring an immediate mechanical engine tear-down.
Using a chemical combustion block tester
A block tester identifies exhaust gases pushing into the cooling jacket by changing the color of a reactive chemical fluid. Fill the plastic tester tube with the provided blue detection fluid and place it firmly into the open radiator neck. Crank the engine and let it run at idle. Squeeze the rubber bulb repeatedly to draw fumes rising from the radiator through the detection fluid.
If the blue fluid turns yellow or green, carbon monoxide and combustion gases are leaking into the coolant loop. This chemical reaction confirms a blown head gasket or a cracked cylinder head. According to data from the National Institute for Automotive Service Excellence (ASE), head gasket repairs resulting from these internal leaks typically cost between $1,500 and $3,500 depending on the engine configuration.
Step 4: Using UV Dye to Trace Microscopic Slow Leaks
You find intermittent or extremely slow leaks by pouring a fluorescent ultraviolet dye into the coolant reservoir and scanning the entire engine bay with a blacklight. This advanced method excels at locating microscopic cracks that only open under maximum operating temperatures when the vehicle is moving down the highway.
Buy a dedicated automotive coolant dye compatible with your specific antifreeze chemistry. Pour the designated amount into the cold radiator, replace the cap securely, and drive the vehicle for 30 miles to circulate the dye completely through the engine block and heater core. Park the vehicle in a dark environment, put on the yellow enhancement glasses provided in the dye kit, and shine the UV flashlight over every hose connection, the water pump housing, and the firewall. The leaking dye will glow a bright, radioactive yellow-green, pinpointing the exact source of the failure.
What Are the Main Types of Coolant Leaks?
Coolant leaks fall into three distinct physical categories based on their mechanical origin and severity. Identifying the category dictates the required repair strategy and the total financial cost of the fix. External leaks involve accessible outer components, internal leaks involve heavy engine metallurgy, and cabin leaks involve the interior climate control system.
| Leak Category | Primary Component Location | Key Diagnostic Symptom | Average Repair Cost Range |
| External Engine Leak | Radiator seams and rubber hoses | Bright puddles on the ground | $150 to $1,000 |
| Internal Engine Leak | Cylinder head gasket and block | Milky engine oil or white exhaust | $1,500 to $3,500 |
| Cabin Interior Leak | Heater core behind the dashboard | Sweet smell inside the car | $800 to $1,500 |
| EV Battery Loop Leak | High-voltage battery thermal plate | Dashboard isolation fault warning | $2,000 to $5,000 |
Diagnostic Methods Compared: Which Should You Use?
Choosing the correct diagnostic method depends entirely on the symptoms your vehicle displays and the state of the engine. You should always start with the least invasive method before progressing to chemical tests or specialized UV mapping.
| Diagnostic Technique | System State Required | Primary Detection Target | Equipment Cost Range |
| Visual Cold Check | Engine completely cold and off | Dried crust or large puddles | $0 (Free) |
| Manual Pressure Test | Engine cold and off | Pinpointing exact external drips | $40 to $90 |
| Combustion Gas Test | Engine running at operating temp | Blown head gaskets | $30 to $50 |
| UV Dye Tracing | Driven hot, then parked in dark | Slow, temperature-dependent leaks | $15 to $35 |
Common Mistakes and How to Fix Them
You can easily damage a vehicle or injure yourself if you bypass standard safety protocols during a diagnostic test. Avoid these frequent errors when searching for a leak to prevent escalating a minor repair into a major engine replacement.
Opening a hot, pressurized system: The cooling system operates under extreme pressure. Removing the radiator cap while the engine is hot instantly depressurizes the system, causing the superheated fluid to flash-boil and erupt violently. This mistake results in severe third-degree chemical and thermal burns. You must wait a minimum of three hours after driving before touching the cooling system.
Over-pressurizing during manual tests: Hand-operated pressure pumps generate significant mechanical force. Pumping the gauge to 25 PSI when the system is only rated for 15 PSI will actively create new leaks. The excess pressure easily splits plastic radiator side seams and ruptures the delicate aluminum tubes inside the heater core. Always stop pumping exactly at the PSI rating stamped on the factory radiator cap.
Misidentifying air conditioning condensation: Finding a puddle of clear, odorless water under the passenger side of the vehicle during summer is completely normal. This fluid is simply condensation dripping from the air conditioning evaporator drain tube. Engine coolant will always feel slightly oily to the touch, possess a bright color, and smell distinctly sweet.
Relying on liquid stop-leak additives: Pouring chemical sealer into the radiator provides a temporary, emergency patch for tiny pinhole leaks. However, these thick additives coagulate upon contact with air and heat. They frequently clog the narrow passageways inside the heater core and engine block, reducing total cooling capacity and causing permanent engine damage. You should only use these products to limp a vehicle to a repair shop in a desperate roadside emergency.
What Are the Symptoms of a Coolant Leak?
Diagnosing a cooling system requires mapping the physical evidence to the correct mechanical failure. Different components produce highly specific visual and auditory signatures when they breach their physical seals.
Sweet smell inside the cabin with foggy windows
A strong smell of maple syrup inside the car accompanied by a greasy film on the interior windshield indicates a leaking heater core. The heater core acts as a miniature radiator located directly behind the dashboard. When it cracks, the interior climate blower motor pushes the vaporized toxic coolant directly into the passenger cabin.
White exhaust smoke while accelerating
Thick, billowing white smoke emerging from the tailpipe signifies that coolant is entering the engine cylinders and burning alongside the gasoline. This symptom points directly to a blown head gasket, a warped cylinder head, or a cracked engine block. The exhaust smoke will also carry the distinct sweet odor of burning ethylene glycol.
Fluid dripping directly behind the engine pulleys
A steady drip or spray of coolant originating from the front center of the engine, directly behind the serpentine belt pulleys, means the water pump shaft seal has failed. Automotive engineers design water pumps with a weep hole specifically to direct fluid outward when the internal bearing degrades, providing a highly visible warning before the pump seizes completely.
Identifying temperature-dependent cold leaks
A cold leak occurs when a rubber hose or plastic fitting shrinks slightly as the ambient temperature drops overnight. This material shrinkage breaks the seal at the metal connection point, allowing a small amount of fluid to drip onto the ground. Once the engine starts and heats up, the materials expand, sealing the microscopic gap and stopping the leak entirely. Replacing standard worm gear clamps with constant tension spring clamps often solves this specific failure.
How Does Checking an Electric Vehicle Cooling System Differ?
Electric vehicles use complex, multi-loop liquid cooling systems to regulate battery pack temperatures, cabin climate, and high-voltage inverter modules. A coolant leak in an EV poses a severe high-voltage electrical isolation risk rather than just a mechanical overheating issue.
Most modern electric vehicles utilize separate thermal loops filled with a specific low-conductivity dielectric coolant. You cannot use a standard manual pressure tester on an EV battery cooling loop without specialized manufacturer diagnostic software to open the electronic bypass valves. If an EV detects a coolant pressure drop, it typically triggers an isolation fault and disables the high-voltage contactors, preventing the vehicle from driving entirely. You must never attempt to repair an EV battery coolant leak with liquid stop-leak additives, as these conductive chemicals will instantly destroy the battery modules and void the vehicle warranty.
How Do You Safely Dispose of Leaking Coolant?
Ethylene glycol, the primary chemical component in traditional automotive antifreeze, is highly toxic to humans, pets, and the local groundwater supply. You must treat any leaked or drained coolant as hazardous chemical waste.
A single puddle left on a driveway can attract neighborhood animals due to its sweet taste, leading to fatal kidney failure if ingested. You must wear nitrile gloves when cleaning up a leak to prevent chemical skin absorption. Use a dedicated absorbent material like bentonite clay or commercial spill granules to soak up the spilled fluid on your garage floor. Sweep the saturated material into a heavy-duty plastic bag and seal it completely. The Environmental Protection Agency (EPA) strictly prohibits pouring old coolant down a residential drain, a storm sewer, or into the soil. You must transport the sealed waste to a municipal hazardous materials disposal facility or a participating automotive parts store that accepts chemical recycling.
What Are the Expert Rules of Thumb for Diagnostics?
Experienced automotive technicians follow strict operational guidelines when evaluating thermal management systems. A non-professional might stop at the first visible symptom, but master mechanics know that cooling failures frequently cascade and cause secondary damage.
- The rule of dual failures: When a water pump fails, the subsequent overheating event often warps the aluminum cylinder head. You must always test for combustion gases after replacing a failed water pump to ensure the head gasket survived the extreme temperature spike.
- The heater core bypass test: If the interior cabin smells sweet and the passenger floorboard is wet, disconnect the two heater hoses at the engine firewall and loop them together with a brass fitting. If the coolant loss completely stops, the heater core is definitively the source of the hidden leak.
- Mandatory pressure cap replacement: The radiator cap contains a calibrated metal spring that dictates overall system pressure. You should replace the radiator cap every time you replace a major cooling system component. A weak, aged cap spring allows coolant to boil at a lower temperature, which perfectly mimics a severe mechanical leak.
Frequently Asked Questions
Can you drive a car with a coolant leak?
You should never drive a vehicle with an active, fast coolant leak. Losing fluid lowers the system pressure and drops the boiling point of the remaining liquid, leading to immediate engine overheating. Driving an overheating car for even five minutes can warp the aluminum cylinder head or crack the engine block.
What color is leaking engine coolant?
Automotive manufacturers dye coolant in bright, unnatural colors to distinguish it from engine oil or transmission fluid. You will typically see bright neon green, orange, pink, red, or dark blue fluid depending on the specific chemical formulation required by your vehicle make and model.
How long does a pressure test take?
A standard cooling system pressure test takes between 30 and 45 minutes to complete. You need 15 minutes to attach the tool and pump the system to the specified pressure rating. You must then wait an additional 15 to 20 minutes to observe the gauge for any microscopic pressure drops.
Will a coolant leak always cause overheating?
A microscopic pinhole leak may not cause immediate overheating if the plastic reservoir contains enough reserve fluid to compensate for the slow loss. However, as the fluid level drops below the water pump impeller, the system loses its ability to circulate the liquid, inevitably leading to a rapid overheating event.
Is air conditioning condensation the same as a coolant leak?
Air conditioning condensation is pure, clean water pulled from the humid ambient air, while coolant is a toxic chemical mixture. A/C condensation drips from the passenger side firewall during the summer and leaves no residue. Coolant feels oily, smells sweet, and leaves a white chalky stain when it dries.


