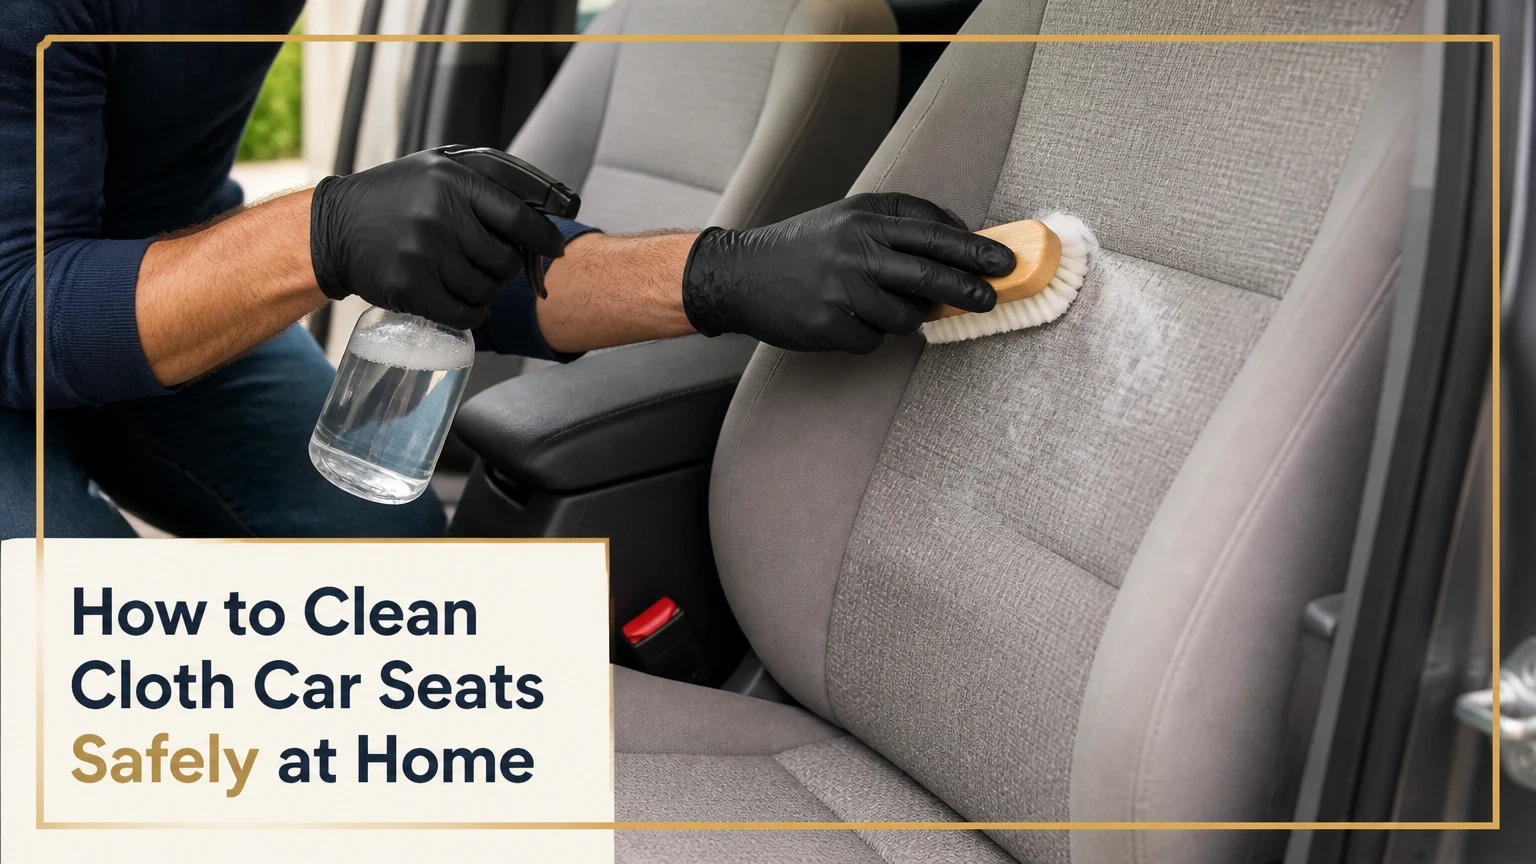
To clean cloth car seats, vacuum loose debris, pretreat stains, apply a small amount of upholstery cleaner, agitate gently, extract the dirty moisture, and dry the fabric completely. A typical two-seat job takes 45-90 minutes plus 4-12 hours of drying, and moisture control determines whether the result stays clean or develops odors.
Key Facts at a Glance
- Cloth car seats should feel damp after cleaning, never wet through to the foam.
- Vacuuming before liquid cleaner prevents dust and sand from becoming abrasive mud.
- A wet-dry extractor removes more contaminated moisture than towels alone.
- Most seats need 4-12 hours to dry, depending on humidity, airflow, foam thickness, and cleaner volume.
- Dish soap can leave a sticky residue that attracts new soil, so a low-residue upholstery product is safer.
- Steam loosens light grease and reduces surface moisture, but it does not remove embedded mud without extraction.
Before You Start
Cloth upholstery can include polyester, nylon, olefin, blended fibers, foam padding, heating elements, occupancy sensors, and side-airbag seams. The vehicle owner’s manual takes priority over generic detailing advice, particularly when a seat contains electrical connectors, an occupancy sensor, or an integrated airbag.
Time, Cost, and Difficulty
A light maintenance clean usually takes 30-45 minutes and costs $5-$15 in consumables. A heavily soiled interior commonly takes 90-150 minutes, while professional upholstery cleaning typically costs about $75-$250 for a vehicle, depending on the number of seats, stain severity, location, and whether odor treatment is included.
| Job level | Typical hands-on time | Drying time | Typical DIY cost |
|---|---|---|---|
| One small spill | 10-20 minutes | 2-6 hours | $3-$10 |
| Two front seats | 45-90 minutes | 4-12 hours | $10-$35 |
| Five-seat interior | 90-150 minutes | 6-18 hours | $15-$60 |
| Professional extraction | 60-120 minutes | 2-8 hours | $75-$250 |
Work in shade or an enclosed, well-ventilated area. Direct hot sunlight can dry cleaner unevenly and leave visible rings, but a cold, humid garage can extend drying enough to create a musty smell.
Tools and Materials
Gather a vacuum with a crevice attachment, two or more white microfiber towels, a soft-to-medium nylon upholstery brush, a dedicated fabric cleaner, clean water, and either an upholstery extractor or wet-dry vacuum. White towels make dye transfer and soil removal easier to see.
| Item | Recommended specification | Amount or setting | Purpose |
|---|---|---|---|
| Vacuum | Crevice and brush attachments | 10-15 minutes per seat | Removes grit, hair, and crumbs |
| Upholstery cleaner | Low-foaming, low-residue fabric formula | 30-60 mL per seat section | Suspends oily and particulate soil |
| Brush | Soft or medium nylon bristles | 1 brush, light pressure | Separates soil from fibers |
| Microfiber towels | White, lint-free, absorbent | 4-8 towels | Blotting and final moisture removal |
| Extractor | Upholstery nozzle, controlled spray | 2-4 passes per section | Pulls contaminated liquid from fabric |
| Air movement | Fan or open doors | 4-12 hours | Removes water vapor from foam |
Test the cleaner on a hidden lower edge first. Wait 10 minutes, then check for color change, bleeding, texture change, or a lighter ring. Do not clean over a damaged seam, exposed foam, loose fabric, or a deployed side-airbag cover.
How to Clean Cloth Car Seats
The safest process has six stages: dry vacuuming, stain pretreatment, controlled application, gentle agitation, extraction, and complete drying. Clean one seat section at a time, because a small working area keeps the cleaner active and makes it easier to remove moisture before it travels into the cushion.
Step 1: Remove Loose Dirt and Personal Items
Remove floor mats, child restraints, seat covers, coins, and objects from the seat pockets. Slide the seat forward and backward, then vacuum the cushion, backrest, seams, hinge gaps, and the area beneath the front edge.
Open seams with your fingers while vacuuming, but do not force the nozzle into fabric gaps or electrical openings. For pet hair, press a dry rubber glove or rubber squeegee lightly across the fabric before vacuuming; static and friction gather hair without wetting the fibers.
Success checkpoint: The vacuum collects loose grit, hair, and crumbs without producing a damp mud-like residue.
Common mistake: Applying cleaner before removing sand, which grinds against the fabric during brushing.
Step 2: Treat Stains by Type
Blot fresh liquid spills with a dry towel, working from the outside toward the center. Do not rub fresh coffee, milk, urine, or vomit deeper into the cushion. Apply cleaner to a towel for small spots and allow a typical dwell time of 3-5 minutes, unless the product label specifies otherwise.
Stain chemistry matters. Protein residues respond better to enzyme-based products, while oily sunscreen and grease need a compatible surfactant or automotive fabric degreaser.
| Stain or soil | First treatment | Dwell and action | Avoid |
|---|---|---|---|
| Coffee or tea | Cool water, then fabric cleaner | 3-5 minutes, blot and extract | Hot water on milk-containing drinks |
| Grease or sunscreen | Upholstery-safe degreaser | 3-5 minutes, light agitation | Solvent or brake cleaner |
| Milk or food | Enzyme fabric cleaner | Follow label, usually 5-10 minutes | Fragrance-only deodorizer |
| Urine or vomit | Enzyme cleaner after solid removal | Repeat treatment if odor remains | Ammonia-based cleaner |
| Ink | Product labeled for textile ink | Test hidden area first | Acetone or aggressive solvent |
| Mud | Dry completely, vacuum, then clean | Two light passes if needed | Wetting the mud immediately |
Success checkpoint: The stain lightens without a colored halo spreading beyond the original mark.
Common mistake: Treating every stain with the same household mixture, which can set proteins, bleach dyes, or leave residue.
Step 3: Apply Upholstery Cleaner Sparingly
Mist cleaner across a section measuring roughly 30 by 30 centimeters, or follow the product’s dilution and coverage instructions. The fabric should become evenly damp on the surface; the foam beneath should not feel saturated when you press a towel against it.
Foam is the hidden risk. Seat cushions can retain moisture long after the surface appears dry, and trapped water can produce odor, corrosion, or mildew in poorly ventilated interiors. Avoid spraying directly into seat-belt buckles, wiring gaps, adjustment controls, stitching tears, and side-airbag labels.
A dedicated upholstery cleaner uses surfactants to surround oily particles and suspend particulate soil so extraction can remove them. More product does not create more cleaning power after the fabric reaches its soil-carrying limit. It usually creates more residue.
Success checkpoint: Cleaner distributes evenly without pooling, dripping, or soaking through the seat.
Common mistake: Flooding the entire seat because the surface looks uneven after the first mist.
Step 4: Agitate the Fabric Gently
Use a soft or medium nylon brush with overlapping strokes. Start at the outside of a stain and move inward, then brush the complete seat panel in one direction to reduce visible texture differences.
Use light pressure, approximately the force needed to compress the bristles halfway. Wire brushes, stiff grout brushes, and aggressive drilling attachments can fuzz polyester, pull loops, and create permanent pilling. Perforated or heavily textured cloth needs shorter strokes because long circular scrubbing can distort the weave.
Foam indicates mechanical mixing, not proof that the seat is clean. Excessive foam can also make rinsing and extraction more difficult.
Success checkpoint: Soil transfers to the foam or towel, while the fabric remains flat and intact.
Common mistake: Scrubbing harder when a stain persists instead of changing the chemical treatment.
Step 5: Extract Dirty Moisture
An upholstery extractor is the preferred tool for a deep clean because it sprays controlled liquid and immediately removes much of it. Make one slow wet pass, followed by two or four slow dry passes with the spray trigger released.
If using a wet-dry vacuum without a spray function, lightly mist the cleaner first, agitate, then wipe and vacuum the section. Press the upholstery nozzle firmly enough to maintain contact, but do not crush the cushion or drag the nozzle across loose threads.
A clean, dry microfiber towel can remove surface moisture during maintenance cleaning, but towels rarely extract deep contamination from foam. Change towels when they become visibly dirty, or they will redistribute soil.
Success checkpoint: The recovery water becomes progressively clearer, and the seat feels cool and damp rather than heavy or wet.
Common mistake: Stopping after one extraction pass because the fabric surface looks dry.
Step 6: Dry the Seat Completely
Open the vehicle’s doors or windows and place a fan so air moves across the seat surface and out of the cabin. Rotate the fan or reposition it after 30-60 minutes to prevent one area from drying while another remains damp.
Do not run a gasoline engine in a garage to operate the heater. Carbon monoxide can accumulate without a reliable warning odor. If using the vehicle’s climate system outdoors, use fresh-air mode rather than recirculation and combine it with open doors when safe.
Most lightly treated seats dry in 4-8 hours. Dense foam, high humidity, cold temperatures, and heavy extraction can extend that period to 12-18 hours.
Success checkpoint: A dry white towel pressed firmly into the cushion stays dry after 30 seconds, and the seat no longer feels cool or clammy.
Common mistake: Reinstalling a child restraint or closing the car overnight before the foam passes the towel test.
Which Cleaning Method Should You Use?
Manual cleaning is best for light maintenance, extraction is best for embedded soil, and steam is best for low-moisture surface work. No method removes heavy mud, oily residue, and deep odor equally well, so the correct choice depends on contamination depth and drying conditions.
| Method | Best use | Typical working time | Typical drying time | Main limitation |
|---|---|---|---|---|
| Manual cleaner and towels | Light dirt and isolated spills | 30-60 minutes | 2-8 hours | Limited deep extraction |
| Wet-dry vacuum | Small sections and budget cleaning | 45-90 minutes | 4-12 hours | Requires careful moisture control |
| Carpet extractor | Embedded soil and multiple seats | 60-150 minutes | 6-18 hours | Higher water use and rental cost |
| Steam cleaner | Light grease and crevices | 30-60 minutes | 1-4 hours | Does not flush out deep soil |
| Professional detailer | Severe odor, mold, or whole interior | 60-180 minutes | 2-12 hours | Typical cost of $75-$250 |
Is Steam Safe for Cloth Car Seats?
Steam can be safe on some automotive fabrics when used briefly, from a distance, and according to the vehicle and machine instructions. Steam is not a substitute for extraction when the seat contains mud, food residue, urine, or oily contamination.
Keep the nozzle moving and use a microfiber cover so concentrated heat does not dwell on one point. Avoid side-airbag seams, occupancy sensors, seat controls, exposed foam, and damaged fabric. Heat does not automatically sanitize every seat because temperature, contact time, and penetration vary across the cushion.
Can You Use Dish Soap or Vinegar?
A small amount of properly diluted dish soap can remove oil, but it is a poor routine choice because many formulas foam heavily and leave surfactant residue. White vinegar can reduce some alkaline odors, yet it is not a universal disinfectant, enzyme cleaner, or stain remover.
Do not combine vinegar with bleach, ammonia, peroxide products, or unknown chemicals. If a seat feels stiff after cleaning, use a manufacturer-approved upholstery rinse or a light application of clean water followed by thorough extraction rather than automatically applying vinegar.
How Do You Prevent Water Rings and Wicking?
Water rings usually occur when a wet boundary dries unevenly, while wicking occurs when dissolved soil moves upward from the cushion as moisture evaporates. Clean the full fabric panel lightly rather than wetting only a small central spot, then extract the entire damp boundary.
If a stain returns, wait until the seat is fully dry before judging the result. Reapply a small amount of compatible cleaner, agitate gently, and extract with several dry passes. Avoid repeatedly soaking the same spot because each cycle can push contamination deeper.
An expert detailing rule is simple: the edge of a damp area should be gradual, not sharply defined. Hard spray borders are more likely to leave rings.
How Do You Remove Persistent Odor?
Persistent odor requires removing the odor source, not covering it with fragrance. Milk, urine, vomit, food, and mildew can penetrate foam, where surface sprays cannot reach the residue.
Use an enzyme product labeled for automotive textiles when the odor is biological. Follow its label, avoid mixing it with disinfectants, and extract excess liquid after the required dwell time. Dry the seat aggressively with airflow, then reassess after 24 hours.
A musty smell that returns after two complete drying cycles may indicate contaminated foam, carpet padding, or HVAC components. Visible mold, recurring moisture, or a flooded vehicle warrants professional remediation because superficial upholstery cleaning cannot reliably remove hidden growth.
What Should You Avoid Around Seat Electronics?
Avoid liquid near seat-mounted airbags, occupancy sensors, heating elements, electrical connectors, belt buckles, and seat tracks. These components vary by vehicle, so the service information and owner’s manual determine which areas may be wet-cleaned.
Do not disconnect yellow airbag connectors unless the manufacturer’s repair procedure specifies the step and the vehicle battery precautions are followed. Do not remove upholstery from an integrated airbag seat without trained knowledge, because incorrect reassembly can affect deployment.
Child restraints require separate care. Clean the removable cover according to its label, never add aftermarket protectors beneath the restraint unless approved, and follow the restraint manufacturer’s instructions for harness webbing. Do not saturate a car seat harness or use bleach on it.
Common Mistakes and How to Fix Them
| Problem | Likely cause | Recovery procedure | Prevention |
|---|---|---|---|
| Brown stain returns | Wicking from foam | Lightly clean the whole panel and extract | Use gradual damp edges |
| Seat smells sour | Foam stayed damp | Re-extract, ventilate 12-24 hours | Use fewer sprays and more dry passes |
| Fabric feels crunchy | Cleaner residue | Light rinse and extraction | Choose low-residue products |
| Color looks lighter | Dye transfer or bleaching | Stop and allow drying, then seek advice | Test hidden area first |
| Fabric has pills | Excessive abrasion | Trim only loose pills, do not brush harder | Use soft nylon and low pressure |
| Seat remains wet | Overapplication or weak extraction | Towel press, vacuum, and add airflow | Work in 30-centimeter sections |
The most common DIY error is confusing visible foam with cleaning effectiveness. Foam measures agitation and product interaction, while clear recovery water and a dry, residue-free fabric are better outcome checks.
Another counterintuitive rule is that more drying heat is not always better. High heat can set some stains, stress adhesives, and dry the surface before moisture leaves the foam. Air exchange and extraction usually matter more than maximum temperature.
Variations for Common Situations
Pet Hair and Pet Accidents
Remove dry hair before using water. For urine or vomit, remove solids, blot liquid, apply an enzyme cleaner, and extract after the label’s dwell time. Repeat only after the seat has dried enough to evaluate the odor.
Winter or Humid-Climate Cleaning
Reduce the amount of liquid and clean one seat at a time. Use a fan, a dehumidifier in an open garage, or a professional extractor with strong recovery. In relative humidity above roughly 70%, expect drying to take longer than 12 hours unless airflow and dehumidification are strong.
Heavily Soiled Family Vehicles
Renting an extractor is often more efficient than towel cleaning when all seats, carpets, and door panels need treatment. Pre-vacuum twice, use the machine’s lowest effective spray volume, and make additional dry passes before moving to the next panel.
How Often Should Cloth Seats Be Cleaned?
Vacuum cloth seats every 1-2 weeks in a regularly used vehicle and perform a damp maintenance clean every 3-6 months. Clean spills immediately, because milk, sugary drinks, and urine become harder to remove after drying into foam.
Vehicles carrying pets, children, smokers, or construction workers may need monthly spot treatment and quarterly extraction. A protective textile product can slow liquid absorption, but it cannot replace vacuuming or remove existing contamination.
When Should You Hire a Professional?
Professional cleaning is appropriate when mold is visible, odor returns from the cushion, a vehicle has flood exposure, or seat fabric has extensive biological contamination. It is also sensible when the upholstery is delicate, the seat contains complex electronics, or you cannot provide a safe 12-hour drying window.
Ask the detailer whether the quoted service includes extraction, odor-source treatment, stain limitations, and drying guidance. A low price that only masks odor may not solve contamination in the foam.
FAQ
Will baking soda clean cloth car seats?
Baking soda can absorb some surface odor after a dry application, but it does not extract oily soil or biological contamination from seat foam. Vacuum it thoroughly before wet cleaning, and do not use it as a substitute for an enzyme product or upholstery extraction when urine, milk, or vomit is involved.
Can I use a home carpet cleaner on vehicle seats?
A home carpet cleaner can work if its upholstery attachment permits controlled spray and strong recovery. Use the lowest effective liquid volume, protect electrical components, and make extra dry passes because vehicle seat foam is often thicker and less ventilated than household carpet padding.
How long should I wait before sitting on a cleaned seat?
Wait until the seat passes a firm white-towel test and feels neutral in temperature, not cool or clammy. That commonly takes 4-12 hours after moderate cleaning, although dense foam and humid weather can require 18 hours or longer.
Does cloth-seat protection prevent stains?
Fabric protection can reduce the speed at which water-based spills absorb, giving you more time to blot them. It does not prevent grease, ink, mud, or odor contamination, and it must be applied only after the seat is clean and completely dry.
Can cleaning remove cigarette smoke from cloth upholstery?
Cleaning can reduce smoke residue on fabric, but smoke odor may remain in foam, carpet, headliner, plastics, and the ventilation system. Multiple low-moisture treatments, activated-carbon filtration, and HVAC cleaning may be necessary, while ozone treatment requires professional controls because ozone can irritate lungs and damage some materials.
Is mold on a car seat safe to clean at home?
Small surface spots may be manageable with appropriate protective equipment and a compatible product, but widespread mold, flood damage, or recurring growth should receive professional assessment. Do not dry-brush mold inside a closed vehicle, because airborne spores can spread through the cabin and ventilation system.
The Bottom Line
The reliable way to clean cloth car seats is to remove dry debris first, match the cleaner to the stain, apply minimal moisture, agitate without damaging the weave, extract contaminated liquid, and verify complete drying. For routine maintenance, towels may be sufficient; for embedded dirt or biological odor, controlled extraction is the better choice. The success of how to clean cloth car seats depends less on scrubbing force than on residue removal and moisture control.


