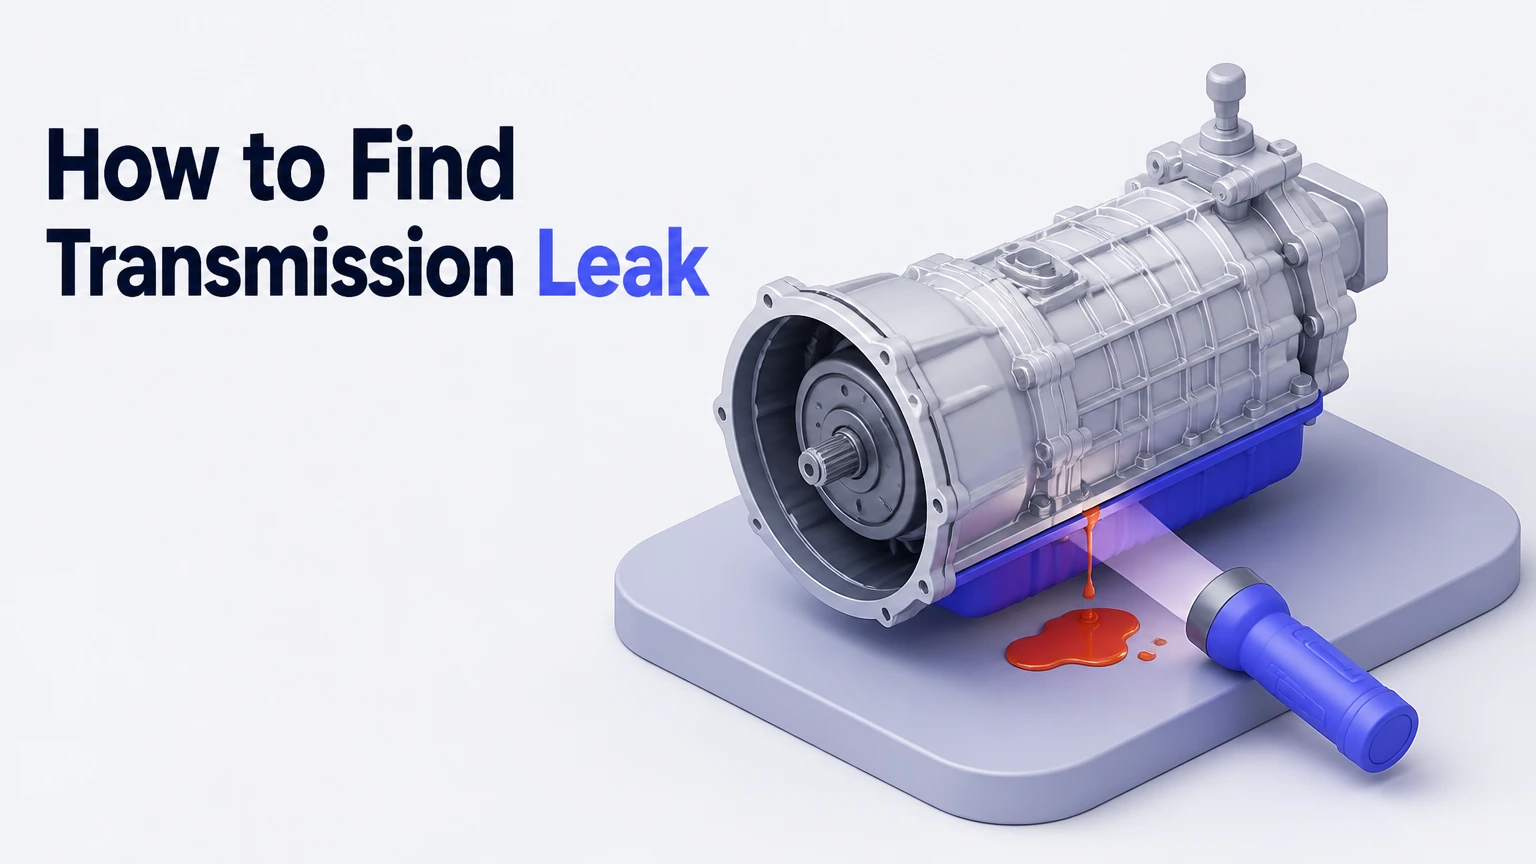
Finding a transmission leak requires verifying the fluid type, cleaning the gearbox housing, and tracing the active drip using talcum powder or UV fluorescent dye. Identifying the exact source early prevents internal hydraulic pressure loss. You must learn how to find transmission leak locations quickly to prevent total gearbox failure and save thousands in replacement costs.
Key Facts / At a Glance
- Transmission fluid is typically bright cherry red or dark brown with a sharp, sweet petroleum odor.
- Cardboard tracing helps map the general leak area overnight by capturing static drips.
- UV fluorescent dye provides the highest accuracy for finding hairline cracks in metal casings.
- Pan gasket replacements average $150 to $350 in professional repair shops.
- Operating a vehicle just one quart low on transmission fluid rapidly destroys internal friction clutches.
- Stop-leak chemical additives frequently swell internal seals too far, causing catastrophic valve body failure.
Diagnostic Tools and Preparation
Before starting the diagnostic process, you must secure the vehicle safely and gather the correct materials. You cannot accurately trace a fluid leak on a dirty, grease-covered undercarriage.
- Total Diagnostic Time: 1 to 2 hours
- Difficulty Level: Beginner to Intermediate
- Total Estimated Cost: $15 to $45 for diagnostic supplies
- Required Tools:
- White corrugated cardboard (at least 3 feet wide)
- Two cans of chlorinated brake cleaner
- White talcum powder or aerosol foot spray
- Automotive UV fluorescent leak detection dye (1 ounce)
- UV LED flashlight (395nm wavelength)
- Jack stands and wheel chocks
- Safety goggles and heavy duty shop towels
Prerequisite: Park the vehicle on solid, flat concrete. Never crawl under a vehicle supported only by a hydraulic jack. You must secure the vehicle on heavy duty steel jack stands and apply the parking brake.
How Do You Execute the Diagnostic Process?
Follow these sequential diagnostic steps to pinpoint the exact origin of the fluid loss. Accurate diagnosis prevents wasting money on replacing the wrong seals.
Step 1: Verify the Fluid Type
Your first action is confirming the leaking liquid is actually transmission fluid. Vehicles contain multiple hydraulic and lubricating fluids that look similar when mixed with road grime.
Wipe a fresh drip from the ground using a clean white paper towel. Observe the color and smell the fluid. Automatic transmission fluid (ATF) starts out bright cherry red. As ATF ages and absorbs clutch material, it turns dark reddish-brown or black. It feels slick and thin between your fingers and emits a distinct sweet, chemical burning smell.
If you drive a vehicle with a Continuously Variable Transmission (CVT), the fluid might be tinted green, yellow, or completely clear. Manual transmissions use heavy gear oil, which looks like thick honey and smells strongly of sulfur or rotten eggs.
Table 1: Vehicle Fluid Identification Matrix
| Fluid Type | Fresh Color | Old/Used Color | Texture & Viscosity | Distinctive Odor |
|---|---|---|---|---|
| Automatic Transmission | Bright Red | Dark Brown/Black | Thin, very slick | Sweet petroleum, slightly burnt |
| CVT Transmission | Green/Clear | Dark Amber | Thin, watery | Sharp chemical scent |
| Manual Gear Oil | Gold/Amber | Dark Brown | Thick, sticky | Strong sulfur, rotten eggs |
| Engine Oil | Light Amber | Opaque Black | Medium oily | Fuel vapor, exhaust soot |
| Power Steering | Red or Clear | Brownish Black | Thin, slick | Burnt marshmallow |
| Engine Coolant | Green/Orange/Pink | Muddy Brown | Watery, non-oily | Intensely sweet syrup |
Success Checkpoint: You will know it is transmission fluid if the paper towel shows a red tint and the liquid feels distinctly thinner than engine oil. Common Mistake: Confusing power steering fluid with transmission fluid. Many older vehicles use ATF in the power steering pump. Always check the steering rack lines before blaming the transmission.
Step 2: The Cardboard Position Test
Place a large sheet of clean white corrugated cardboard under the center of the engine bay and transmission housing. Leave the vehicle parked overnight.
Gravity will pull the fluid down from the lowest point of the chassis. In the morning, pull the cardboard out and map the spots relative to your front tires. A spot near the front radiator indicates a leaking cooler line. A spot directly in the middle, slightly behind the front tires, indicates a pan gasket leak.
Success Checkpoint: The cardboard will show distinct circular stains indicating the primary drip points. Common Mistake: Assuming the drip point on the cardboard is the exact location of the leak. Wind deflects leaking fluid backward along the metal chassis while driving. The actual leak source is almost always located forward of the cardboard drip stain.
Step 3: Degrease the Transmission Housing
You cannot find a fresh leak on a transmission caked in years of black oil sludge. You must strip the housing down to bare metal.
Put on your safety goggles. Spray the entire transmission casing, the oil reservoir pan, and the bell housing with chlorinated brake cleaner. Brake cleaner acts as a powerful degreaser that rapidly evaporates without leaving an oily residue behind. Wipe away the dissolved sludge with clean shop towels. Ensure the metal is completely dry before proceeding.
Success Checkpoint: The transmission housing will look dull gray or silver, with no shiny wet spots. Common Mistake: Using a pressure washer. High pressure water can force moisture past older rubber seals, introducing water into the transmission fluid and destroying internal friction plates.
Step 4: The Talcum Powder Trace
Dust the dry, clean transmission housing with white talcum powder or aerosol foot powder. Coat the pan gasket seam, the input shaft area, and the side cooler fittings completely white.
Start the engine and drive the vehicle around the block for exactly five to ten minutes. The internal hydraulic pump will pressurize the fluid. Fresh fluid will escape from the leak and travel through the white powder via capillary action.
Success Checkpoint: You will see an unmistakable, dark wet trail cutting clearly through the bright white powder, leading directly back to the source crack or failed seal. Common Mistake: Driving the car too far. If you drive for thirty minutes, the fluid will saturate the powder completely, masking the origin point.
Step 5: UV Fluorescent Dye Verification
For slow hairline cracks or hidden internal leaks, the talcum powder test may fail. You must use automotive grade UV fluorescent leak detection dye.
Pour one ounce of UV dye into the transmission filler tube (or through the dipstick tube). Start the engine, place your foot firmly on the brake, and shift through every single gear slowly. Hold the shifter in Reverse, Neutral, and Drive for ten seconds each. This forces the dyed fluid through every hydraulic circuit and valve body passage. Shut off the engine, turn off the garage lights, and shine a 395nm UV blacklight under the vehicle.
Success Checkpoint: The exact joint, cracked fitting, or weeping seal will glow violently bright neon green or yellow under the UV light. Common Mistake: Buying air conditioning UV dye. You must purchase dye specifically formulated for oil and transmission fluid, or it will not mix properly.
Where Do Transmissions Usually Leak?
Transmissions are complex hydraulic pumps sealed by rubber gaskets, metal O-rings, and silicone sealants. Rubber hardens and shrinks over time due to constant thermal cycling between freezing winter temperatures and 200-degree operating heat. Understanding where these components live helps you identify the failure.
The Transmission Pan Gasket
The pan gasket represents the most common failure point. The transmission pan sits at the very bottom of the unit, acting as the main fluid reservoir. The gasket sealing this pan to the main housing is usually made of rubber, cork, or molded silicone. Over time, the material compresses and hardens. Alternatively, DIY mechanics often warp the stamped steel pan lip by overtightening the bolts. Manufacturer specifications require pan bolts to be tightened to a precise 10-12 ft-lbs of torque in a crisscross pattern.
Fluid Cooler Lines
Automatic transmissions generate massive amounts of friction heat. To prevent melting, fluid pumps through metal or rubber cooler lines up to the front radiator. These lines are highly vulnerable to rust in winter climates. They also suffer from vibration damage, frequently rubbing against the steel subframe until a pinhole leak develops. If a cooler line ruptures while driving, the transmission will pump itself dry in under sixty seconds.
Front Pump and Torque Converter Seal
The front pump main seal sits inside the large bell housing where the transmission physically bolts to the rear of the engine block. When this seal hardens, fluid drips out of the bottom inspection slot of the bell housing. Diagnosing this location is exceptionally difficult because a failed rear main engine seal leaks oil out of the exact same slot. UV dye is the only definitive way to tell them apart without pulling the transmission out of the vehicle.
Output Shaft and Axle Seals
The location of this leak depends on your vehicle drivetrain. On a rear-wheel drive (RWD) vehicle, the output shaft seal sits at the very back of the transmission where the long metal driveshaft inserts. As the universal joints age, the driveshaft vibrates rapidly, grinding the rubber seal away. On a front-wheel drive (FWD) vehicle, the axle seals sit on the left and right sides of the transaxle. When these fail, red fluid drops directly onto the lower control arms and steering knuckles.
Component Repair Costs and Timeframes
Knowing the leak location dictates the financial reality of the repair. Some seals require thirty minutes and a wrench, while others require removing the entire engine block. According to the Automatic Transmission Rebuilders Association (ATRA, 2023), operating a transmission while low on fluid increases the likelihood of a total rebuild by over 400 percent.
Table 2: Transmission Leak Repair Costs
| Repair Category | Parts & Labor Cost Range | Required Diagnostic & Repair Time | Technical Complexity Level |
|---|---|---|---|
| Pan Gasket Replacement | $150 to $350 | 1.5 to 3 Hours | Low (DIY Friendly) |
| Cooler Line Replacement | $200 to $600 | 1 to 2 Hours | Medium |
| Output Shaft / Axle Seal | $250 to $500 | 2 to 4 Hours | Medium |
| Front Pump Main Seal | $800 to $1,200 | 5 to 8 Hours | High (Requires pulling gearbox) |
| Complete Rebuild / Overhaul | $2,500 to $4,500+ | 3 to 5 Days | Extreme (Specialist Required) |
Typical ranges show that replacing external components remains relatively affordable. The cost skyrockets when mechanics must charge ten hours of labor just to access an internal ten dollar rubber seal.
Which Detection Method Should You Choose?
Different users require different diagnostic approaches. A professional shop possesses tools the average driver lacks, but DIY methods remain highly effective for surface level failures.
Table 3: Diagnostic Method Comparison
| Detection Method | Primary Advantage | Primary Drawback | Best User Profile |
|---|---|---|---|
| Visual Cardboard Test | Entirely free and requires zero mechanical disassembly. | Highly inaccurate due to wind moving fluid along the frame. | The Everyday Driver seeking basic confirmation before visiting a shop. |
| Talcum Powder Trace | Cheap and provides immediate visual contrast for wet fluid. | Requires cleaning the undercarriage first to be effective. | The DIY Mechanic evaluating a pan gasket or cooler line. |
| UV Dye Tracing Kit | Hyper-accurate pinpointing of hidden or intermittent leaks. | Requires purchasing a specialized light and working in the dark. | The Advanced Car Hobbyist diagnosing complex bell housing leaks. |
| Professional Shop Lift | Provides guaranteed diagnosis using applied pressure tools. | Costs a $50 to $150 upfront diagnostic fee. | Drivers experiencing severe shifting issues or total fluid loss. |
Common Diagnostic Mistakes to Avoid
Amateur mechanics frequently make errors that transform a minor drip into a catastrophic failure. Avoid these standard pitfalls when assessing your gearbox.
Using Chemical Stop-Leak Additives Bottled transmission fix additives promise to cure leaks instantly. These liquids contain harsh chemical solvents designed to swell older rubber seals. They often stop the leak for roughly 500 miles. However, the solvent never stops working. It eventually swells the seal until it turns to soft mush and blows out completely under pressure. Furthermore, these thick additives gum up the microscopic internal electronic solenoids in modern valve bodies, completely ruining the transmission.
Overtightening Pan Bolts When a driver spots a leak around the transmission oil pan, their first instinct is to grab a wrench and crank the bolts down tighter. This is the worst possible action. Transmission pans are made of thin stamped steel. Tightening the bolts beyond 12 ft-lbs crushes the rubber gasket, splits the seal entirely, and permanently warps the steel lip of the pan. You must buy a completely new pan to fix the warping.
Ignoring Minor Seepage Transmission fluid serves three critical roles simultaneously. It acts as a hydraulic fluid to actuate gears, a lubricant to prevent metal friction, and a coolant to absorb heat. If a leak causes the fluid level to drop by even one quart, the hydraulic pump starts sucking in air. Aerated fluid cannot apply enough pressure to clamp the internal clutch packs together tightly. The clutches begin slipping, grinding their abrasive material into the fluid, and burning up entirely.
Specific Troubleshooting Scenarios
Fluid leaks present themselves under different physical conditions. Observing when the vehicle drips helps narrow down which hydraulic circuit has failed.
Table 4: Leak Symptoms and Likely Causes
| Observed Symptom | Likely Component Failure | Required Action |
|---|---|---|
| Fluid drips only when the engine runs | High pressure side (Cooler lines, front pump seal). | Inspect metal line fittings running to the radiator. |
| Fluid pours out rapidly while parked | Structural failure (Punctured pan, loose drain plug). | Do not start engine. Tow vehicle immediately. |
| Fluid is leaking onto a hot exhaust pipe | RWD tailshaft seal or rear pan gasket. | Fix immediately to prevent active engine fires. |
| Fluid looks milky, pink, and bubbly | Ruptured internal radiator core mixing coolant with ATF. | Requires immediate system flush to prevent delamination. |
When coolant mixes with transmission fluid, the resulting pink milkshake fluid destroys the friction glue holding the clutch packs together. This delamination happens within 24 hours of exposure.
How to Find Transmission Leak Causes in Specific Drivetrains
The layout of your vehicle dictates where you should look first. Front-wheel drive vehicles utilize a transaxle, which combines the transmission and the differential into one singular unit located sideways between the front wheels. When searching for a transaxle leak, inspect the left and right CV axle insertion points. These rubber boots and seals tear frequently when driving over severe potholes.
Rear-wheel drive vehicles utilize a traditional longitudinal transmission that runs down the center tunnel of the car. The most common RWD leak occurs at the rear extension housing. As the heavy metal driveshaft spins, any imbalance causes vibrations that slowly hammer the rear output seal out of round. If you see fluid splattered in a circular pattern inside the transmission tunnel, your output seal has failed.
Frequently Asked Questions
Can you drive a car with a transmission leak? You should never drive a vehicle with an active transmission leak unless you are heading directly to a repair shop a few miles away. Driving with low fluid drops hydraulic line pressure, which causes the internal clutches to slip and burn. A minor $150 gasket repair will escalate into a $3,000 complete rebuild if you drive the vehicle while low on fluid.
How do you check transmission fluid levels? Check the fluid while the engine is running and fully warmed up. Park on flat ground, shift through all the gears, and leave the vehicle idling in Park. Pull the transmission dipstick, wipe it clean, reinsert it fully, and pull it out again. The fluid must sit exactly within the crosshatched hot zone. Many modern vehicles have sealed transmissions without dipsticks, requiring a mechanic to check a bottom leveling plug.
Will a transmission leak ruin the engine? A transmission leak will not directly damage the internal engine block, but it will leave the vehicle completely stranded. However, if transmission fluid drips directly onto a hot catalytic converter or exhaust pipe, it poses a severe fire hazard. ATF is highly flammable when atomized or exposed to high exhaust temperatures.
How long does a transmission pan gasket last? A factory transmission pan gasket typically lasts between 80,000 and 120,000 miles before the rubber or silicone begins to harden and shrink. Extreme towing, hauling heavy loads, or living in climates with harsh winter salt significantly reduces the lifespan of the gasket and the cooler lines.
What happens if I overfill the transmission after finding a leak? Overfilling the transmission is equally as dangerous as letting it run dry. Excess fluid makes contact with the spinning internal gear sets, which whips the fluid into a foamy lather. Aerated, foamy fluid cannot build hydraulic pressure. The transmission will slip, overheat, and blow out the breather tube valve to relieve the extreme internal pressure.


