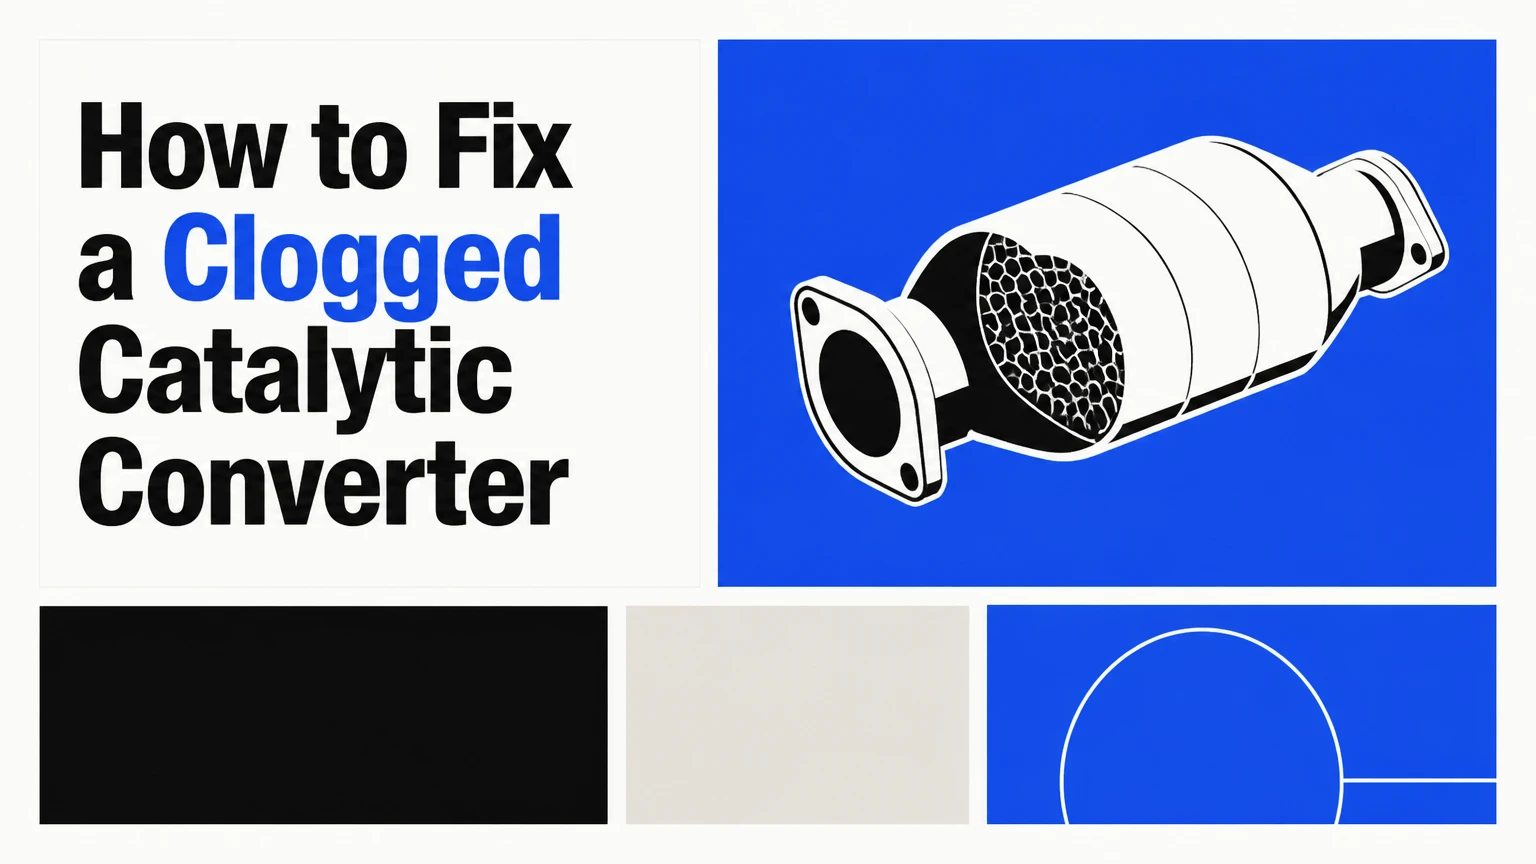
To fix a clogged catalytic converter, match the intervention to the clog’s severity by performing a high-RPM burnout for light carbon, pouring an in-tank chemical additive for moderate buildup, or conducting a 10-hour off-vehicle soap submersion for severe fouling. Execution requires 5 steps across 1 to 12 hours, with ultimate success determined by whether the internal ceramic honeycomb substrate remains physically intact.
Before You Start
- Total Time Required: 45 minutes (light/moderate cleaning) to 12 hours (deep off-vehicle soak).
- Difficulty Level: Intermediate (requires basic mechanical aptitude and exhaust bolt handling).
- Estimated Cost: $15–$65 (Cleaning methods) vs. $500–$2,500 (Full replacement).
- Prerequisite Conditions: Vehicle must not have a melted or rattling internal ceramic matrix. Engine must be free of active misfires or severe oil/coolant burning.
Required Tools and Materials Checklist
| Item | Specification / Quantity | Purpose |
| In-Tank Fuel Additive | 16 oz (e.g., Cataclean, Oxicat, or Liqui Moly) | Cleans fuel injection and dissolves exhaust carbon |
| Heavy-Duty Degreaser | 1 gallon (Citrus degreaser or Dawn Dish Soap) | Deep-soak chemical bath for removed converter |
| Wash Basin | 5–10 gallon heavy-duty plastic tub | Submerging the removed catalytic converter |
| Socket Wrench Set | 1/2-inch drive with 10mm–19mm deep sockets | Removing exhaust pipe flange nuts and bolts |
| O2 Sensor Socket | 22mm (7/8-inch) offset slotted socket | Safely removing upstream and downstream sensors |
| Penetrating Catalyst Oil | 1 can (PB Blaster or WD-40 Specialist) | Dissolving rust on exhaust manifold studs |
| Vehicle Elevation System | 2-ton minimum Hydraulic Jack and 2 Jack Stands | Raising and securing vehicle safely |
| Low-Pressure Power Washer | Electric washer rated under 1500 PSI | Rinsing loosened carbon out of matrix cells |
| Exhaust Gaskets | Vehicle-specific replacement flange gaskets | Ensuring leak-free seal upon reinstallation |
Phase 1: Diagnosing Clog Severity and Substrate Integrity
Before applying chemical or mechanical cleaning, confirm that the converter’s internal ceramic substrate is structurally sound.
Step 1: Perform the Rubber Mallet Acoustic Tap Test
Strike the outer metal casing of the cold catalytic converter firmly with a rubber mallet. Listen for rattling or loose tumbling sounds inside the shell.
- Detailed Execution: Raise and support the vehicle on jack stands. Position yourself under the exhaust assembly and strike the center shell of the converter 3–4 times with moderate force using a rubber mallet.
- Success Checkpoint: You’ll know it worked when you hear a solid, dull thud. If you hear a metallic rattle or loose ceramic bricks sloshing, stop immediately-the internal honeycomb has shattered and requires full replacement.
- Common Mistake & Fix: Striking with a steel ball-peen hammer instead of rubber. Steel hammers dent the stainless-steel casing, pinching the ceramic core and causing premature structural fracture.
Phase 2: Fixing Light Clogs via High-Temperature Exhaust Burnout
For vehicles driven primarily on short city trips, carbon accumulates because the exhaust gas temperature (EGT) never reaches catalytic activation thresholds.
Step 2: Execute an Italian Tune-Up Drive Cycle
Drive the vehicle under sustained high-RPM highway conditions to raise internal catalytic converter temperatures above $800^\circ\text{C}$ ($1472^\circ\text{F}$) for 15 continuous minutes.
- Detailed Execution: Warm up the engine by driving normally for 10 minutes until coolant reaches operating temperature ($90^\circ\text{C}$ / $194^\circ\text{F}$). Merge onto an open highway, select a lower gear (manual mode or 3rd gear in automatic), and hold engine speed steady between 3000 RPM and 4000 RPM at highway speed for 15 minutes.
- Success Checkpoint: You’ll know it worked when engine throttle response becomes snappy, hesitation under load disappears, and exhaust flow at the tailpipe feels strong and steady.
- Common Mistake & Fix: Lugging the engine at high throttle and low RPM. Low RPM produces excessive unburnt fuel that cools the converter down rather than heating it up. Keep engine speed strictly above 3000 RPM.
Phase 3: Fixing Moderate Clogs with In-Tank Chemical Cleaners
Carboxylic acids and specialized solvents in fuel-additive cleaners lower the combustion temperature of carbon deposits, allowing them to burn off at lower operating temperatures.
Step 3: Run a Concentrated In-Tank Chemical Cleaner Cycle
Add a full 16-ounce bottle of catalytic converter cleaner to exactly 4 gallons ($\frac{1}{4}$ tank) of gasoline and drive until near empty.
- Detailed Execution: Wait until your fuel gauge reads precisely $\frac{1}{4}$ tank. Pour the entire 16 oz bottle of fuel additive (e.g., Cataclean) directly into the fuel filler neck. Immediately drive the vehicle for 25–30 miles under mixed city and highway conditions until the low-fuel warning light turns on. Refill the tank with 91+ octane premium gasoline.
- Success Checkpoint: You’ll know it worked when the Check Engine Light (P0420 code) clears automatically after 50 miles of driving, or when backpressure drops below $1.0\text{ PSI}$ at idle.
- Common Mistake & Fix: Pouring the cleaner into a full tank of gas. Over-diluting the additive renders the active cleaning agents ineffective against hardened carbon scale.
Phase 4: Fixing Severe Clogs via Deep Submersion Chemical Bath
When chemical additives fail to clear heavy soot or oil-ash buildup, remove the unit to perform a 10-hour degreasing soak and flush.
Step 4: Remove the Catalytic Converter Assembly
Unbolt the catalytic converter exhaust flanges and remove upstream/downstream oxygen sensors without damaging exhaust studs.
- Detailed Execution: Spray all exhaust flange nuts and O2 sensor threads with penetrating oil and let soak for 20 minutes. Use a 22mm slotted socket to remove both oxygen sensors. Unbolt the front and rear flange nuts using a 1/2-inch drive socket wrench. Slide the converter assembly off its rubber isolation hangers.
- Success Checkpoint: You’ll know it worked when the converter is freed from the undercarriage with all exhaust flange stud threads intact and clean.
- Common Mistake & Fix: Applying maximum leverage to dry, rusted exhaust bolts, which shears the studs off the manifold. Always heat stubborn nuts with a propane torch or soak them repeatedly with penetrating oil prior to turning.
Step 5: Soak, Power Wash, Dry, and Reinstall the Converter
Submerge the removed converter in a hot water and degreaser solution for 8 hours, rinse out debris under low pressure, dry completely, and remount with new gaskets.
- Detailed Execution:
- Fill a 10-gallon plastic tub with hot water and mix in 1 gallon of heavy-duty citrus degreaser or Dawn dish soap.
- Submerge the catalytic converter completely and let it soak for 8 to 10 hours.
- Remove the converter from the tub. Set an electric power washer to under $1500\text{ PSI}$ using a 40-degree wide spray tip. Hold the nozzle at least 12 inches away from the ends and flush water through both sides until it runs clear.
- Blow compressed air through the honeycomb channels for 10 minutes and let it air-dry in a warm area for 2 hours.
- Bolt the converter back onto the vehicle using brand-new metal crush gaskets, torquing flange nuts to $35\text{–}45\text{ ft-lbs}$. Reinstall O2 sensors with anti-seize applied strictly to the threads.
- Success Checkpoint: You’ll know it worked when light passes clearly through the internal ceramic cells when viewed against a bright light source, and intake vacuum holds steady above $18\text{ in-Hg}$ at idle.
- Common Mistake & Fix: Using a high-pressure gas power washer ($>2000\text{ PSI}$) or holding the wand close to the ceramic substrate. High pressure fractures the delicate cordierite matrix, destroying the converter instantly.
Common Mistakes and How to Fix Them
- Acid Bath Destruction:
- Error: Submerging the converter in muriatic, hydrochloric, or phosphoric acid to clear stubborn carbon.
- Fix: Acid strips away the microscopic platinum, palladium, and rhodium washcoat layers, rendering the converter inert. Never use acidic solutions—stick strictly to pH-neutral degreasers or specialty fuel additives.
- Ignoring Engine Root Causes:
- Error: Cleaning a converter while ignoring active engine misfires (P0300) or worn valve stem seals.
- Fix: Unburnt fuel or burned engine oil will re-clog a freshly cleaned converter within 200 miles. Diagnose and repair leaky injectors, failed ignition coils, or blown head gaskets prior to cleaning.
- Reusing Damaged Exhaust Gaskets:
- Error: Installing old, crushed graphite gaskets during reassembly to save money.
- Fix: Reused gaskets create exhaust leaks that draw outside air into the exhaust stream. This tricks downstream O2 sensors into reporting false lean conditions. Always replace exhaust flange gaskets upon reinstall.
- Contaminating O2 Sensor Tips:
- Error: Getting anti-seize paste or degreaser soap on the tip of the oxygen sensor probe.
- Fix: Anti-seize paste containing silicone or metals ruins sensor element membranes. Apply anti-seize strictly to the upper male threads of the sensor, keeping the perforated tip completely clean.
Variations: Handling Different Clog Scenarios and Vehicle Types
Integrated Exhaust Manifold Converters (Manicats)
Modern front-wheel-drive vehicles frequently combine the catalytic converter directly into the engine’s exhaust manifold assembly.
- Process Adjustment: Off-vehicle chemical soaking requires removing heat shields and manifold studs from the cylinder head. If stud removal carries high risk, skip off-vehicle soaking and perform two consecutive in-tank chemical cleaner treatments combined with high-RPM driving.
Direct Bolt-On Underbody Converters
Older or rear-wheel-drive trucks utilize independent underbody converters mounted along the main exhaust pipe.
- Process Adjustment: Underbody units are prime candidates for Method 3 (Deep Soak). If flange bolts are severely rusted, cut the rusted hardware off using a angle grinder equipped with a cutoff wheel, replacing them with stainless-steel Grade 8 hardware during reinstallation.
How Long Does It Take and What Does It Cost?
| Cleaning Method | Active Labor Time | Total Elapsed Time | Estimated Cost | Success Rate |
| Italian Tune-Up | 15 mins | 30 mins | $0 (Fuel cost) | 35% (Light carbon only) |
| In-Tank Chemical | 10 mins | 1 hour | $15–$30 | 60% (Moderate buildup) |
| Off-Vehicle Deep Soak | 2.5 hours | 10–12 hours | $45–$70 | 80% (Heavy soot/oil ash) |
| Full Replacement | 2 hours | 2–3 hours | $500–$2,500 | 100% (All failure modes) |
Frequently Asked Questions
Can a totally blocked catalytic converter cause an engine to stall?
Yes, a severely clogged converter creates excessive exhaust backpressure ($>3.0\text{ PSI}$) that prevents cylinder evacuation. Exhaust gas remains trapped in the combustion chamber, choking off fresh intake air and causing the engine to sputter, lose power under acceleration, or stall shortly after starting.
Will lacquer thinner clean a clogged catalytic converter?
While some online forums advocate adding 1 gallon of lacquer thinner to half a tank of gas, it is highly risky. Lacquer thinner can degrade plastic fuel pump components, soften rubber fuel lines, and damage fuel injector seals. Stick to EPA-compliant, purpose-formulated catalytic converter additives.
How do I know if my catalytic converter is clogged or melted?
Perform a backpressure test or acoustic tap test. A clogged converter shows high backpressure ($>1.5\text{ PSI}$ at idle) but remains structurally intact inside. A melted converter exhibits a rattling noise when tapped with a mallet, extreme red glowing under load, and zero light transmission through its core.
How long does a catalytic converter cleaner take to clear a P0420 code?
In-tank chemical cleaners usually require 50 to 100 miles of continuous driving after application for the vehicle’s engine control module (ECM) to run and pass the OBD-II catalytic converter monitor test, automatically extinguishing the Check Engine Light.
Can driving with a clogged converter damage my engine?
Yes, extreme exhaust backpressure forces hot exhaust gases back into the combustion chamber. This elevates cylinder temperatures, leading to severe engine overheating, burnt exhaust valves, blown head gaskets, and potential turbocharger bearing failure in turbocharged vehicles.


