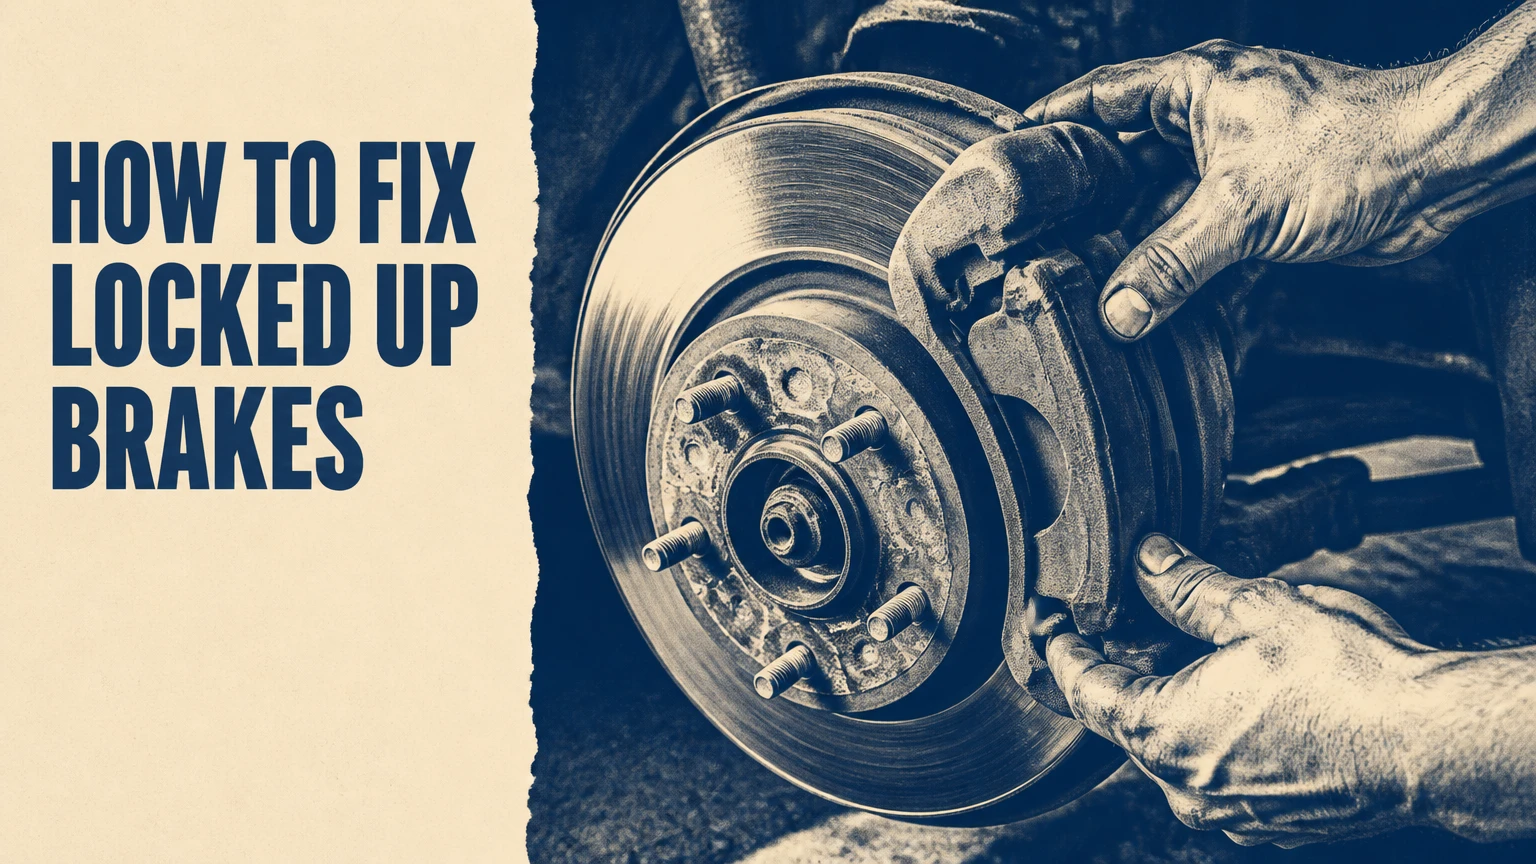
To learn how to fix locked up brakes, you must systematically isolate whether the lockup is caused by trapped hydraulic pressure or mechanical binding. The repair involves lifting the vehicle, performing a bleeder valve pressure test, inspecting or replacing seized calipers, slider pins, or hoses, bleeding the brake system, and torquing hardware to factory specs. Expect this project to take 1.5 to 3 hours using basic mechanical tools. Success relies entirely on identifying the exact root cause before replacing parts.
Before You Start
- Time Required: 1.5 to 3 hours
- Difficulty Level: Intermediate (Level 3 of 5)
- Estimated Cost: $20 to $150 (DIY repair) vs. $350 to $800 (Professional repair)
- Prerequisite Knowledge: Basic vehicle lifting safety, wheel removal, and hydraulic fluid handling.
Tools and Materials Checklist:
- Hydraulic floor jack (minimum 2-ton rating) and 2 rated jack stands
- Wheel chocks (2)
- Lug wrench or socket matching your vehicle lug nuts
- Metric socket and wrench set ($8\text{ mm}$ to $19\text{ mm}$)
- Torque wrench ($20\text{ to }150\text{ lb-ft}$ range)
- 6-inch heavy-duty C-clamp or caliper piston press tool (or disc brake piston cube tool for rear screw-in pistons)
- Bleeder wrench ($8\text{ mm}$ or $10\text{ mm}$) and 2 feet of $1/4\text{-inch}$ clear vinyl tubing
- Clean catch bottle partially filled with fresh brake fluid
- Heavy bungee cord or mechanic’s wire
- 2 cans of aerosol brake cleaner
- 1 tube ($2\text{ oz}$) of 100% pure silicone or ceramic brake grease (Do not use petroleum grease)
- Fresh brake fluid ($1\text{ to }2\text{ pints}$ of DOT 3 or DOT 4 as specified on reservoir cap)
- Replacement copper crush washers (if replacing caliper or hose)
- Safety glasses and nitrile gloves
Phase 1: Preparation and Fault Isolation
Step 1: Secure the Vehicle and Safely Lift the Affected Wheel
Position your vehicle on a flat, hard concrete surface and engage the parking brake unless the rear brakes are the locked wheels. Place heavy-duty wheel chocks firmly in front of and behind the tires that will remain on the ground. Using your lug wrench, loosen the lug nuts on the suspected wheel by $0.5$ turns counterclockwise while the tire is still touching the ground. Position your hydraulic floor jack under the manufacturer’s designated frame jack point, raise the vehicle until the tire sits 2 inches above the ground, and lower the vehicle directly onto a rated jack stand. Remove the lug nuts completely and pull the wheel off the hub assembly.
- Success Checkpoint: You’ll know it worked when the vehicle sits securely on the jack stand with zero wobble when shaken firmly by hand.
- Common Mistake: Lifting on floorboards or suspension arms instead of designated jack points. This bends the floorpan or damages control arms. Always verify jack point locations in your owner’s manual.
Step 2: Perform the Hydraulic Pressure Isolation Test
Attempt to rotate the brake rotor by hand using moderate force. If the rotor is completely immovable, fit an $8\text{ mm}$ or $10\text{ mm}$ box wrench onto the caliper bleeder screw, attach clear vinyl tubing to the nipple, and place the opposite end into your catch bottle. Crack the bleeder screw open counterclockwise by $0.25$ turns while watching the fluid stream and rotor movement closely.
- Scenario A (Hydraulic Lockup): Fluid squirts out under high pressure and the rotor immediately frees up and spins. This confirms hydraulic pressure is trapped upstream due to a collapsed internal rubber brake hose liner or a blocked master cylinder compensation port.
- Scenario B (Mechanical Lockup): Fluid trickles out passively, but the rotor remains completely locked solid. This confirms a mechanical seizure in the caliper piston, slide pins, or pad mounting hardware.
- Success Checkpoint: You’ll know it worked when you have a definitive diagnosis separating hydraulic line trapping from mechanical component seizure.
- Common Mistake: Stripping the bleeder screw rounding the edges. Always use a 6-point box wrench or dedicated bleeder wrench rather than an open-ended wrench or pliers.
Phase 2: Disassembly and Component Replacement
Step 3: Remove and Support the Caliper Assembly
Unbolt the two caliper mounting bolts from the back of the caliper housing using a metric socket wrench. Slide a flathead screwdriver carefully between the outer pad backing plate and caliper body to gently pry the housing outward if mechanical friction remains. Lift the caliper off the brake rotor and pad assembly. Immediately thread a heavy bungee cord or mechanic’s wire through the top bolt hole of the caliper and hang it securely from the coil spring or suspension strut.
- Success Checkpoint: You’ll know it worked when the caliper rests securely supported by wire without placing any tensile tension on the flexible rubber brake line.
- Common Mistake: Letting the heavy caliper hang unsupported by the rubber hose. Hanging by the hose stretches internal fibers, creating an internal rubber tear that acts as a one-way check valve, causing future lockups.
Step 4: Inspect, Service, or Replace Caliper Pins and Pistons
Pull the caliper slide pins straight out from the mounting bracket rubber boots. Clean all old grease and rust scale off the pins using aerosol brake cleaner and a fine wire brush. Inspect the pins for severe pitting, rust, or bends; replace them if any surface degradation exists. If the pins are smooth, apply a generous, thin layer of pure silicone brake lubricant to the shaft and slide them back into their boots until they plunge smoothly.
Next, inspect the main caliper piston. Place an old brake pad across the face of the piston and apply steady pressure using a 6-inch C-clamp or caliper press tool. If the piston compresses smoothly back into the bore flush with the housing, the caliper is functional. If the piston refuses to move or requires extreme lever force, the internal rubber square-cut seal is binding or the piston wall is corroded, requiring full caliper replacement.
- Success Checkpoint: You’ll know it worked when slider pins glide smoothly back and forth in their boots with finger pressure, and the piston retracts fully into its bore.
- Common Mistake: Applying petroleum-based chassis grease or anti-seize compound to slide pins. Petroleum distorts, swells, and destroys rubber dust boots within weeks, completely locking the pins. Use only specialized 100% silicone or ceramic synthetic brake grease.
Step 5: Replace Collapsed Hoses or Seized Calipers (If Damaged)
If Step 2 or Step 4 revealed a bad hose or seized caliper, disconnect the hydraulic line. Position a fluid catch basin directly under the connection. Loosen the fluid line banjo bolt using a socket wrench. Remove the old bolt, pull the line away, and discard the two compressed copper crush washers. Mount the new caliper or flexible brake hose into place. Thread the banjo bolt through the hose fitting using two brand-new copper crush washers (one washer placed on each side of the hose fitting collar). Thread the banjo bolt in by hand to avoid cross-threading, then torque the banjo bolt to $20\text{ to }25\text{ lb-ft}$.
- Success Checkpoint: You’ll know it worked when new copper crush washers are installed on both sides of the banjo fitting and tightened down to spec without fluid dripping.
- Common Mistake: Reusing old copper crush washers. Used copper washers are work-hardened and compressed; reusing them results in slow, dangerous hydraulic fluid leaks under heavy pedal pressure.
Phase 3: Reassembly, Bleeding, and Safety Verification
Step 6: Reassemble Hardware and Bleed the Hydraulic Line
Spray the entire brake rotor and pad bracket with brake cleaner to remove grease and oily residue. Reinstall brake pads into the mounting bracket stainless steel clips. Slide the caliper housing over the pads, install mounting bolts, and torque caliper slider bolts to $25\text{ to }35\text{ lb-ft}$ (or caliper bracket bolts to $65\text{ to }85\text{ lb-ft}$).
Now bleed the hydraulic circuit to remove trapped air. Pop the vehicle hood and fill the master cylinder reservoir to the “MAX” line with fresh, unopened DOT 3 or DOT 4 brake fluid. Push clear vinyl tubing over the caliper bleeder nipple and submerge the bottom end into a catch bottle containing 2 inches of clean fluid. Have a helper press the brake pedal down firmly 3 times and hold pressure. Crack the bleeder screw open $0.25$ turns for 1 to 2 seconds to let air and fluid push out, then close the screw tightly BEFORE your helper releases the pedal. Repeat this sequence 4 to 6 times until no air bubbles appear in the clear tube. Top off the reservoir after every 4 cycles so it never drops below the MIN line.
- Success Checkpoint: You’ll know it worked when crystal-clear fluid flows through the tube without air bubbles, and the brake pedal feels solid underfoot.
- Common Mistake: Letting the master cylinder reservoir run dry during bleeding. This pulls air into the secondary ABS valve block, requiring an expensive electronic scan tool purge at a repair facility.
Step 7: Perform Final Torque, Pedal Test, and Road Verification
Reinstall the wheel onto the hub and hand-tighten all lug nuts in a crisscross pattern. Lower the vehicle until the tire just makes contact with the ground to prevent spinning. Torque the lug nuts in a star pattern using your torque wrench set to $80\text{ to }100\text{ lb-ft}$ (or your vehicle spec). Fully lower the car and remove the jack.
Before starting the engine, pump the brake pedal 4 to 5 times while parked. The pedal must build firm resistance within 2 to 3 strokes. Start the engine and verify the pedal remains firm under engine vacuum assist. Drive the vehicle at 5–10 mph in a safe driveway or empty parking lot, applying the brakes gently. Ensure the car stops straight without pulling, dragging, or producing burning odors.
- Success Checkpoint: You’ll know it worked when the vehicle rolls freely when taking your foot off the accelerator, stops in a straight line, and the wheel hub remains cool to the touch after stopping.
- Common Mistake: Driving off immediately without pumping the brake pedal first. The piston was pushed back during service; failing to pump the pedal leaves a massive gap between pad and rotor, resulting in zero braking power on the first pedal stroke.
Common Mistakes and How to Fix Them
1. The Brake Pedal Feels Soft or Spongy After the Fix
- Cause: Air bubbles remain trapped in the hydraulic caliper housing or brake line.
- Recovery Fix: Perform a full manual bleeding sequence again. Ensure the clear tubing stays submerged in brake fluid in the catch bottle so air cannot siphon back into the bleeder thread gaps. If the reservoir ran dry at any point, you must bleed all four wheels starting from the furthest wheel from the master cylinder (Passenger Rear -> Driver Rear -> Passenger Front -> Driver Front).
2. Brake Drag Returns After 10 to 15 Minutes of Driving
- Cause: Overfilled master cylinder reservoir or a misadjusted brake light switch/pushrod holding the master cylinder piston slightly depressed. This blocks the compensation port, preventing fluid expansion as the brakes warm up.
- Recovery Fix: Check fluid level in the reservoir. If it exceeds the MAX line, use a clean syringe to remove fluid until it rests exactly between MIN and MAX. Verify 1–2 mm of free play in the brake pedal assembly before rod engagement.
3. Brake Fluid Leaking Around the Banjo Bolt Connection
- Cause: Undertorqued banjo bolt or failure to replace copper crush washers.
- Recovery Fix: Do not simply overtighten the bolt. Drain the caliper slightly, unscrew the banjo bolt, discard the crushed washers, install two fresh copper crush washers, and torque the bolt cleanly to $20\text{ to }25\text{ lb-ft}$.
4. Severe Screeching or Grinding Noise After Installation
- Cause: Anti-rattle clips installed upside down or pad friction surface facing outward away from the rotor.
- Recovery Fix: Safely lift the vehicle, remove the caliper, and verify pad orientation. The friction material must face the steel rotor face. Ensure hardware clips do not touch the spinning rotor edge.
Variations and Special Scenarios
Variation 1: Fixing Locked Rear Brakes with Electronic Parking Brakes (EPB)
Modern vehicles with electric parking brake motors on the rear calipers cannot have their pistons pushed back mechanically without damaging the electric servo motor.
- Required Adjustment: Place the car into “Brake Service Mode” via the dashboard infotainment screen or an OBD2 diagnostic scanner before removing hardware. Alternatively, manually unbolt the electric servo motor from the back of the caliper body and use a hex key to wind the internal spindle clockwise until it stops before using a piston press.
Variation 2: Rear Disc Calipers with Integrated Mechanical Cable Parking Brakes
Rear calipers that double as mechanical parking brakes use internal screw assemblies rather than plain push pistons.
- Required Adjustment: Standard C-clamps will not compress these pistons and will destroy the internal ratchet mechanisms. Use a specialized rear caliper cube tool or two-prong rotation tool to turn the piston clockwise while applying inward pressure until the piston rewinds flush into the housing.
How Long Does It Take and What Does It Cost?
Doing this repair yourself saves substantial labor costs compared to commercial repair shops. The total repair time varies depending on whether you are replacing simple hardware or an entire hydraulic component.
| Service Option | Parts Cost Range | Estimated Time | Labor Savings |
| DIY Slide Pin Cleaning & Greasing | $10 – $25 | 1.0 to 1.5 Hours | $150 – $250 |
| DIY Caliper & Hose Replacement | $60 – $150 | 2.0 to 3.0 Hours | $300 – $500 |
| Professional Repair Shop | $350 – $800 | 2.0 to 4.0 Hours | $0 (Full Cost) |
Frequently Asked Questions
Can I drive my car with a locked up brake to a nearby mechanic shop?
No, you should never drive a vehicle with a locked brake. Driving creates extreme friction that heats the brake rotor past $1,000^\circ\text{F}$, boiling the brake fluid, destroying wheel bearings, melting rubber dust seals, and risking a sudden tire blowout or wheel fire. Call a flatbed tow truck instead.
How do I know if my caliper or brake hose is the reason for the lockup?
Crack the caliper bleeder screw while the brake is locked. If fluid spurts out with force and the wheel instantly spins freely, pressure is trapped behind a collapsed rubber brake hose. If fluid dribbles out slowly and the rotor remains stuck, the caliper piston or slide pins are mechanically seized.
What causes a brake caliper to lock up in the first place?
Brake calipers usually lock up due to torn rubber dust boots that allow moisture and road salt to rust the caliper piston wall or slider pins. Moisture absorbed by old brake fluid also causes internal corrosion inside the caliper cylinder bore.
Do I need to replace both front or rear calipers at the same time?
While not strictly mandatory, it is strongly recommended to replace calipers in pairs across the same axle. Brake calipers wear at similar rates; installing a brand-new caliper on one side while leaving an old caliper on the opposite side can cause uneven braking pressure and steering pull.
Can I spray WD-40 on a locked up brake caliper to free it?
No, never spray WD-40, PB Blaster, or any petroleum lubricant onto brake rotors, pads, or caliper seals. Petroleum products dissolve rubber dust seals, contaminate friction pads, and dramatically reduce braking power, creating an extreme safety hazard.
Keeping Your Brake System Operational
Mastering how to fix locked up brakes ensures your vehicle remains safe, responsive, and reliable on the road. By following systematic diagnostic isolation, using specialized synthetic silicone grease, replacing single-use crush washers, and performing thorough line bleeding, you eliminate brake drag and restore peak stopping power. Perform annual inspections of your slide pin boots and flush your brake fluid every 2 years to stop corrosion before it causes future lockups.


