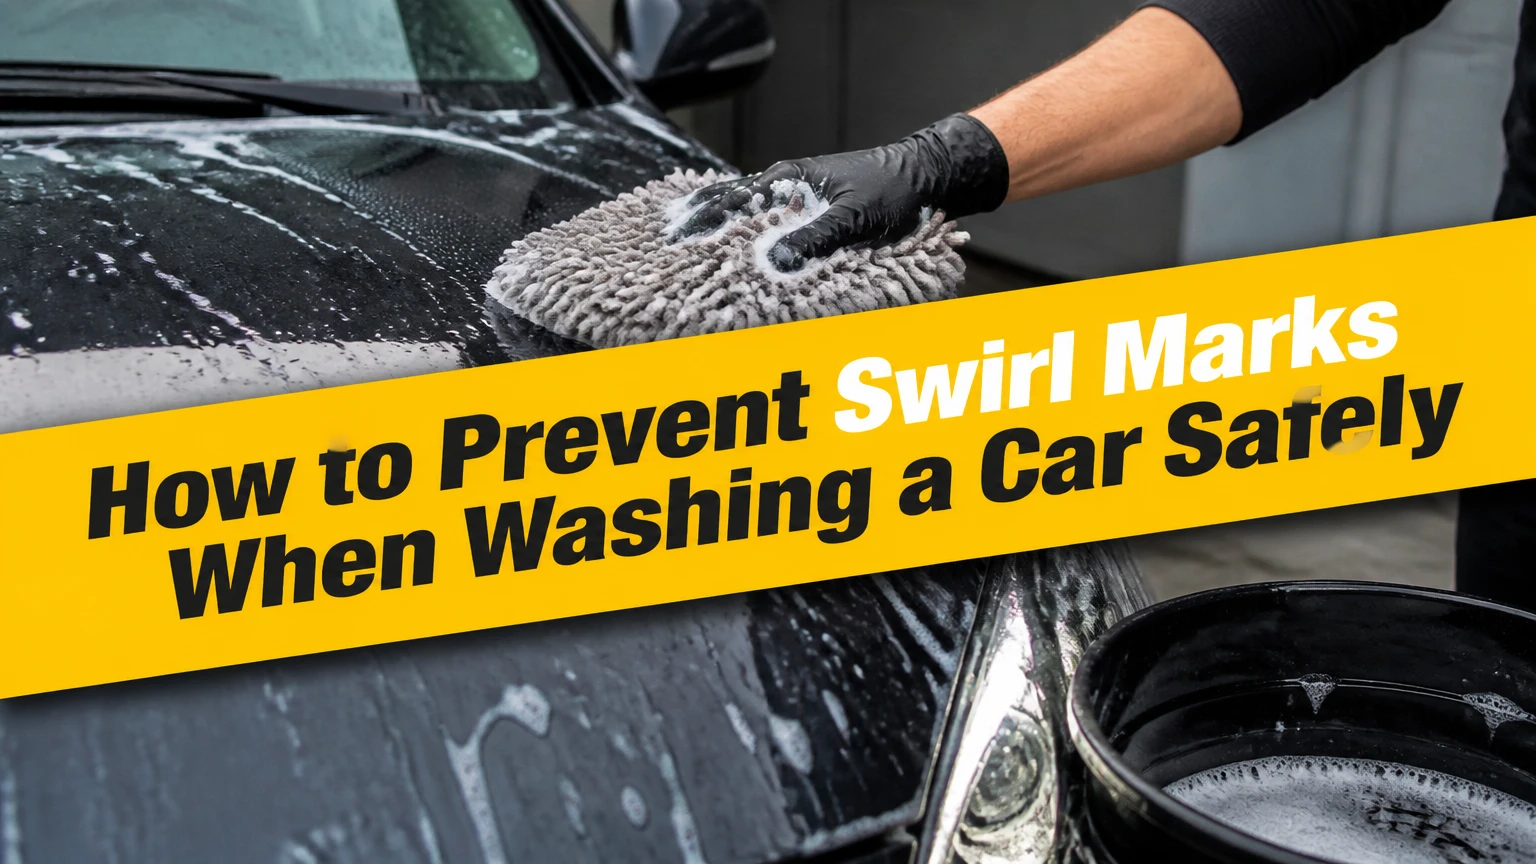
To prevent swirl marks when washing a car, remove loose grit before contact, use clean lubricated microfiber tools, wash from the roof downward, and dry with minimal pressure. A careful five-step wash usually takes 45-90 minutes, and the largest reduction in scratching comes from preventing abrasive dirt from being dragged across the clear coat.
Key Facts
Swirl marks are fine clear-coat scratches that become visible around a concentrated light reflection.
Pre-rinsing removes more damaging loose soil than adding extra soap to a contact wash.
A clean wash mitt, separate wheel tools, and frequent mitt rinsing matter more than a specific bucket brand.
Circular wiping does not inherently create scratches, but random wiping makes existing defects visible from more viewing angles.
Forced-air drying eliminates towel-to-paint contact, while a plush drying towel reduces but does not eliminate friction.
No hand wash is absolutely scratch-free when bonded grit remains on the paint.
What Are Swirl Marks?
Swirl marks are dense networks of shallow scratches in a vehicle’s clear coat, usually caused by abrasive contamination moving across the paint during washing, drying, or wiping. Direct sunlight or a point-source LED makes the defects look circular because the curved reflection around the light reveals many differently oriented scratches.
Automotive paint normally includes primer, a pigmented base coat, and a transparent clear coat over steel, aluminum, plastic, or composite panels. Swirl marks usually occupy the clear coat, but paint thickness varies widely by manufacturer, panel, repair history, and paint system. A quoted clear-coat thickness of 0.03-0.05 millimeters should therefore be treated as a rough example, not a universal specification.
Silica-rich road dust, dried mud, brake residue, sand, and unwashed microfiber fibers can all increase abrasion. A wet surface reduces friction, but lubrication cannot make a sharp particle harmless. The objective is to remove or isolate contamination before the mitt or towel travels across the panel.
Why do swirls look circular?
Swirls look circular because inspection light reflects from scratches running in multiple directions around the wipe area. The scratches themselves may be straight, curved, or random. Circular washing can create curved patterns, but straight-line washing is not a guarantee against damage if the mitt contains grit.
Paint hardness also changes the result. Soft black or dark-blue finishes reveal light marring quickly, while white and silver paint may hide the same damage until a strong LED is used. Dark paint is not necessarily more scratched; it is simply more optically revealing.
How Does Paint Damage Actually Happen?
Paint damage occurs when pressure, friction, and abrasive contamination combine. A dirty particle becomes a cutting point between the wash media and the clear coat, while repeated passes enlarge the number and visibility of fine defects.
The highest-risk moments are usually the first contact wash on a neglected vehicle, drying a heavily wet car with one saturated towel, wiping dust from dry paint, and using the same tool on wheels and bodywork. Brake dust deserves special separation because iron-rich particles can be sharp, chemically reactive, and difficult to remove from fabric.
Heat is often misunderstood. Warm paint does not automatically become soft enough to scratch from ordinary washing, but heat accelerates evaporation, increases water-spot formation, and can make soap or cleaners dry on the surface. Washing in shade on cool paint gives the operator more time and reduces chemical-staining risk.
A grit guard can help sediment fall below its upper surface, but it cannot sterilize dirty water or guarantee that particles stay trapped. Treat the guard as a risk-reduction device, not permission to scrub aggressively.
What Should You Prepare Before Washing?
Prepare the vehicle, tools, water, and workflow before the first contact. A typical driveway setup costs about $70-$180 without a pressure washer, while a rinseless setup can cost $35-$100 depending on towel quantity and product concentration.
Before You Start
| Requirement | Typical specification | Practical target |
|---|---|---|
| Time | 45-90 minutes | 60 minutes for a midsize sedan |
| Difficulty | Beginner to intermediate | Moderate attention required |
| Wash water | 15-25 liters | Two 15-20 liter buckets |
| Contact media | 1-2 mitts or 4-8 towels | One body mitt, separate wheel tools |
| Drying media | 1-2 towels | 800-1,200 GSM or twisted-loop towel |
| Starting cost | $35-$250 | $80-$150 for a driveway kit |
Use pH-balanced automotive shampoo at the manufacturer’s dilution. High foam does not automatically mean high lubricity, and dish detergent is a poor substitute because it lacks the formulation intended for automotive surfaces and can remove wax or sealant protection.
Choose microfiber with a clean, deep pile and no hard edging. A 70/30 or 80/20 polyester-polyamide blend is common, but GSM alone does not determine safety. A 1,200 GSM towel with a contaminated or abrasive edge can be riskier than a clean 500 GSM towel used with little pressure.
Inspect every towel before use. Remove labels, stiff tags, trapped grit, pet hair, and dried product residue. Wash paint towels separately from wheel towels using microfiber detergent or a small amount of liquid detergent, then air-dry or tumble-dry on low heat.
How to Prevent Swirl Marks When Washing a Car
Prevent swirl marks through a five-step sequence: prepare in shade, clean wheels separately, pre-rinse without contact, wash small sections with clean media, and dry with low friction. The process cannot remove existing marring, but it sharply reduces the opportunities for new abrasive contact.
Step 1: Park in Shade and Separate the Wheels
Park on a stable surface away from direct sun, then confirm that the paint is cool enough to keep shampoo wet for several minutes. Set aside a wheel bucket, wheel mitt, brushes, and drying towel that will never touch painted body panels.
Clean wheels and tires before the body because wheel grime can splash onto already-clean paint. Rinse the wheel face, barrel, tire, and wheel-well area, apply the appropriate cleaner, agitate with dedicated tools, and rinse thoroughly.
You will know the preparation worked when the wheels no longer release dark runoff and the body remains dry or only lightly misted. The common mistake is using a body mitt on the wheels and then rinsing it once before returning it to the paint. Do not do that.
Step 2: Pre-Rinse and Foam Without Contact
Rinse the car from the roof downward, keeping the nozzle moving and using enough flow to remove loose mud and dust. If using a pressure washer, a typical consumer setup of approximately 1.2-2.0 gallons per minute and 1,000-1,500 PSI is adequate when the nozzle is kept at a sensible distance.
Apply a dedicated pre-wash foam or traffic-film cleaner, allow the product to dwell for roughly 3-5 minutes, and rinse before it dries. Thick foam is not the goal. Dwell time, soil softening, and complete removal are more important than visual foam thickness.
You will know the pre-wash worked when the rinse water carries away visible gray or brown soil before any mitt touches the surface. The common mistake is letting foam dry on hot panels or rubbing the foam into the paint as though it were shampoo.
Heavy mud requires repeated rinsing or a stronger, compatible pre-cleaner. Do not force a contact wash onto a vehicle with sand, salt crust, or caked clay still attached.
Step 3: Clean Wheels and Body With Separate Media
Use a high-lubricity shampoo in the wash bucket and plain water in the rinse bucket. Grit guards can reduce sediment transfer, but the safest workflow also uses separate wheel equipment and a second body mitt for lower panels when the vehicle is heavily soiled.
Keep the body mitt submerged in shampoo before each pass. A soaked mitt provides lubrication and lets its pile surround some particles instead of pressing them directly into the clear coat.
You will know the setup worked when the mitt remains visibly clean after the roof and upper glass, and when wheel residue never enters the body bucket. The common mistake is relying on one bucket because “the soap will clean the dirt.” Soap can suspend soil, but it does not make abrasive particles disappear.
Step 4: Wash Top to Bottom in Small Sections
Wash one panel or approximately half a panel at a time, beginning with the roof, glass, upper doors, hood, and trunk. Use straight or gently linear passes with light hand pressure, then rinse the mitt against the rinse bucket before returning to fresh shampoo.
Avoid repeatedly scrubbing a stubborn spot. Stop, rinse the area, apply more shampoo or a suitable chemical cleaner, and reassess. Lower doors, rocker panels, bumpers, and rear surfaces usually contain the heaviest contamination, so wash them last with a second mitt or a fresh side of the mitt.
You will know the contact wash worked when the shampoo glides without catching and the panel feels uniformly clean after rinsing. The common mistake is making many short, forceful passes over a single mark. More pressure increases the chance that one trapped particle becomes a scratch.
A two-bucket method is useful, but a multi-mitt method can be safer in practice. With four to eight clean mitts or towels, use each item on one section and place it in a dirty-laundry container rather than trying to restore it in the rinse bucket.
Step 5: Dry With Minimal Friction
Rinse the completed vehicle thoroughly, then remove standing water with forced air or a clean, absorbent drying towel. A blower is especially useful around mirrors, grilles, badges, trim, door handles, and panel gaps where trapped water later drips onto clean paint.
If using a towel, lay a plush towel flat and blot or lightly pull it across a well-lubricated wet panel with almost no downward pressure. A compatible drying aid can improve glide, but follow its label because some products are unsuitable for matte paint, ceramic coatings, or freshly applied sealants.
You will know drying worked when the towel absorbs water without being pushed firmly into the paint and no dirty runoff emerges from trim. The common mistake is using a small towel until it becomes saturated, then scrubbing the remaining water with a dry section.
Straight-line drying is not mandatory for safety, but it can make any future marring easier to diagnose. Forced air is the lowest-contact option, not a guarantee that airborne grit cannot settle on the vehicle.
Which Washing Method Has the Lowest Practical Risk?
The lowest practical risk comes from a multi-mitt or multi-towel workflow after a thorough pre-wash, provided the vehicle is not heavily caked with abrasive soil. Two buckets offer strong control at lower cost, while rinseless washing suits light-to-moderate dirt and limited water access.
| Method | Water use | Soil limit | Typical setup cost | Best setting |
|---|---|---|---|---|
| Two-bucket wash | 40-80 liters | Light to heavy after pre-rinse | $50-$180 | Driveway with hose |
| Multi-mitt wash | 40-80 liters | Light to moderate after pre-rinse | $80-$220 | Enthusiast garage |
| Rinseless wash | 8-15 liters | Light to moderate, pre-sprayed | $35-$100 | Apartment or garage |
| Touchless automatic | 100-200 liters, site dependent | Light to heavy | $10-$30 per wash | Fast maintenance |
| Brush automatic | 100-200 liters, site dependent | Light to heavy | $8-$25 per wash | Lowest paint-control priority |
Is rinseless washing safe for swirl prevention?
Rinseless washing can prevent swirls when the car has light or moderate contamination, the solution is mixed correctly, and each towel is used on a limited area. It is not the right choice for thick mud, road salt crust, sand, or an off-road vehicle without a substantial pre-rinse.
Pre-spray each panel, use a saturated towel, make one controlled pass, and immediately dry the section. Fold the towel into multiple faces, but retire it as soon as all faces contact dirty paint. A rinseless polymer can increase lubrication and encapsulation, but it cannot overcome a sharp particle trapped against the surface.
Is a touchless automatic car wash safe?
A touchless automatic wash avoids brush contact and is generally lower risk than a shared brush wash, but it is not 100% scratch-free. High-pressure water can move loosened grit across paint, and strong alkaline or acidic chemicals can weaken waxes, dry trim, or affect sensitive aftermarket finishes.
Touchless washing is a sensible maintenance compromise when speed matters and the alternative is a dirty brush tunnel. Rinse the vehicle thoroughly afterward if possible, and inspect the finish before applying a spray sealant. The method often leaves traffic film behind because no physical media performs the final cleaning.
Why should you avoid shared brush washes?
Shared brush washes carry contamination from previous vehicles, and their mechanical contact applies pressure directly to paint. A brush may also contain sand, plastic fragments, or dried detergent residue that a rinse cycle does not remove.
A brush tunnel can clean quickly, but it offers the least control over tool cleanliness, pressure, and panel order. Owners of dark paint, fresh correction work, soft clear coat, or high-value finishes should avoid it when preserving gloss is a priority.
What Equipment Specifications Actually Matter?
Wash-media cleanliness, pile design, absorbency, and separation matter more than headline GSM or foam thickness. Buy enough towels to retire contaminated media immediately, because reusing one dirty towel creates more risk than choosing a slightly lower-priced shampoo.
| Item | Useful specification | Typical price | Selection rule |
|---|---|---|---|
| Body wash mitt | Deep microfiber or wool pile, clean cuff | $10-$25 | Use only on painted panels |
| Drying towel | 500-1,200 GSM or twisted loop | $15-$40 | Choose size around 60 x 90 cm |
| Shampoo | pH-balanced, label dilution | $10-$30 | Prioritize lubrication and rinsing |
| Buckets | 15-20 liters each | $10-$35 | Use separate wash and rinse buckets |
| Grit guard | Bucket-compatible insert | $7-$15 | Treat as secondary protection |
| Pressure washer | 1.2-2.0 GPM, 1,000-1,500 PSI | $100-$250 | Keep nozzle moving and distant |
| Air blower | Filtered or dedicated car dryer | $70-$450 | Use around trim and crevices |
A professional ceramic coating can make rinsing and drying easier by reducing adhesion, but the coating is not a force field. Abrasive contact can still mark the coating or the underlying clear coat, and manufacturer-specific maintenance instructions override generic shampoo advice.
Paint protection film also needs compatible chemicals and soft tools. Matte paint should not receive products designed to increase gloss, and aggressive polishing can permanently alter its texture.
What Mistakes Cause Swirls, and How Do You Recover?
Most wash-induced marring comes from contaminated media, excessive pressure, incomplete pre-cleaning, or drying procedures that treat water removal as scrubbing. Recovery starts by stopping the risky action, rinsing the surface, and inspecting the suspected defect under controlled light.
| Failure mode | Likely consequence | Immediate correction | Prevention |
|---|---|---|---|
| One mitt for wheels and paint | Brake-dust scratches | Retire the mitt from paint use | Keep wheel tools separate |
| Dry wiping dust | Random fine marring | Rinse or use a proper detail process | Never wipe dry paint casually |
| Saturated drying towel | Increased drag and streaks | Replace with a dry towel | Keep two drying towels ready |
| Foam allowed to dry | Chemical marks or residue | Re-wet and rinse, do not scrub dry | Work in shade and monitor dwell |
| Hard water left standing | Mineral water spots | Use approved spot remover after washing | Dry immediately or use filtered water |
| Dirty automatic brushes | Repeated linear or circular marring | Wash gently and inspect later | Choose touchless or hand washing |
Hard-water spots are not necessarily swirl marks. Mineral deposits sit on top of or chemically etch the surface, producing rings or cloudy patches rather than a web of fine scratches. Removing the mineral residue may solve the appearance without polishing.
Do not use a clay bar on a dirty, dry, or poorly lubricated vehicle. Clay can remove bonded contamination, but it can also add marring that requires polishing, especially on soft or dark paint.
How Can You Check for Existing Swirl Marks?
Inspect clean, dry paint under direct sun or a single-source LED positioned several feet from the panel. A broad garage light hides defects because multiple reflections reduce contrast, while one concentrated light reveals fine lines around the reflected source.
Move the light and change your viewing angle. If the pattern disappears after a wipe but returns when the panel dries, residue may be masking the defect. If the lines remain in the clear reflection and follow many orientations, they are likely surface marring.
Photograph the same panel before and after a wash using the same light position. This simple record distinguishes new damage from defects that were already present.
Can washing remove swirl marks?
Washing cannot remove true swirl marks because washing removes contamination while the scratches remain in the clear coat. A glaze or filler may temporarily hide some defects, but the durable correction is leveling the surrounding clear coat with an appropriate polish.
A dual-action polisher is generally more forgiving for beginners than a rotary machine, but both require a test spot, clean pads, controlled pressure, and attention to paint thickness. Compounding removes more material than finishing polish, so begin with the least aggressive combination that achieves the result.
Paint correction is not unlimited. Every polishing session consumes some clear coat, and a professional should measure or assess repaired, repainted, and thin panels before aggressive correction.
Which Workflow Fits Your Situation?
The best swirl-prevention routine depends on soil level, water access, finish type, and how much contact you can control. A method that is safe for light dust in a garage becomes unsuitable when the same car returns covered in beach sand or winter salt.
Apartment resident with no hose
Use a rinseless wash inside an approved location with one 15-20 liter bucket, a pump sprayer, six to ten plush towels, and one drying towel. Pre-spray every panel, start at the top, use one towel face per pass, and place used towels in a separate container.
Do not perform a rinseless wash over heavy mud. Use a self-service pressure-wash bay for the initial zero-contact rinse, then complete the contact stage only when loose soil has been removed.
Driveway owner with ordinary hose
Use the two-bucket method with a hose pre-rinse, dedicated wheel tools, body shampoo, two mitts, and two drying towels. A foam cannon is optional; a strong initial rinse and careful contact technique provide much of the benefit without adding specialized equipment.
Check local wastewater rules before washing on a driveway. Detergent, oil, brake residue, and metals can enter storm drains, so a compliant commercial wash may be the responsible option.
Enthusiast with ceramic coating
Use a coating-approved shampoo, low-pressure rinse where appropriate, a multi-mitt process, and forced-air drying. Maintain the coating according to its manufacturer’s wash frequency and chemical limits rather than assuming water behavior proves the coating is healthy.
Avoid abrasive brushes, automatic tunnels, harsh degreasers on the whole vehicle, and strong rubbing to remove isolated spots. A coating reduces adhesion and can simplify maintenance, but clean tools remain essential.
Frequently Asked Questions
Does a two-bucket wash guarantee no scratches?
No. A two-bucket wash lowers cross-contamination by separating shampoo from rinse water, but it cannot remove every abrasive particle from a mitt. A thorough pre-rinse, clean media, low pressure, and prompt towel replacement determine the actual risk. Multi-mitt washing can further reduce contamination when the vehicle is dirty.
Are microfiber towels safer than sponges?
Deep-pile microfiber towels and mitts are generally safer because their fibers can surround and hold some contamination away from the paint. A flat sponge can still be used for limited cleaning, but it provides less pile depth and less tolerance when grit remains. Any dirty or damaged media can scratch.
How often should a car be washed to prevent swirls?
Wash when contamination has accumulated, rather than using a fixed interval for every climate. A typical lightly driven garage car may need washing every 1-2 weeks, while a vehicle exposed to salt, pollen, bird droppings, or construction dust may need prompt cleaning. Longer intervals increase bonded-soil removal difficulty.
Can a pressure washer damage automotive paint?
A pressure washer can damage loose trim, damaged paint, decals, or exposed edges when used too close or with an aggressive nozzle. For normal intact factory paint, a moving fan spray at a sensible distance is generally appropriate. Never hold the nozzle stationary against badges, chips, seals, or panel gaps.
Should you wash a car after rain?
Wash after rain when the vehicle has collected road film, dust, or mineral residue. Rain itself does not clean paint reliably because droplets collect airborne contaminants and can leave deposits as they evaporate. Rinse bird droppings and fresh environmental contamination promptly before they dry and etch.
Does ceramic coating prevent swirl marks?
Ceramic coating can reduce dirt adhesion and provide a sacrificial surface, but it does not prevent all swirl marks. Abrasive washing, dirty towels, automatic brushes, and dry wiping can still mark the coating or expose the clear coat beneath it. Coated paint requires the same low-friction wash discipline.
The Bottom Line
To prevent swirl marks when washing a car, remove loose contamination before contact, reserve separate tools for wheels, wash small areas with clean lubricated microfiber, and dry with air or minimal towel pressure. Choose two buckets for driveway control, rinseless washing for light soil and limited water, or touchless washing when speed outweighs complete cleaning. Proper technique matters more than foam thickness, bucket branding, or a single GSM number.


