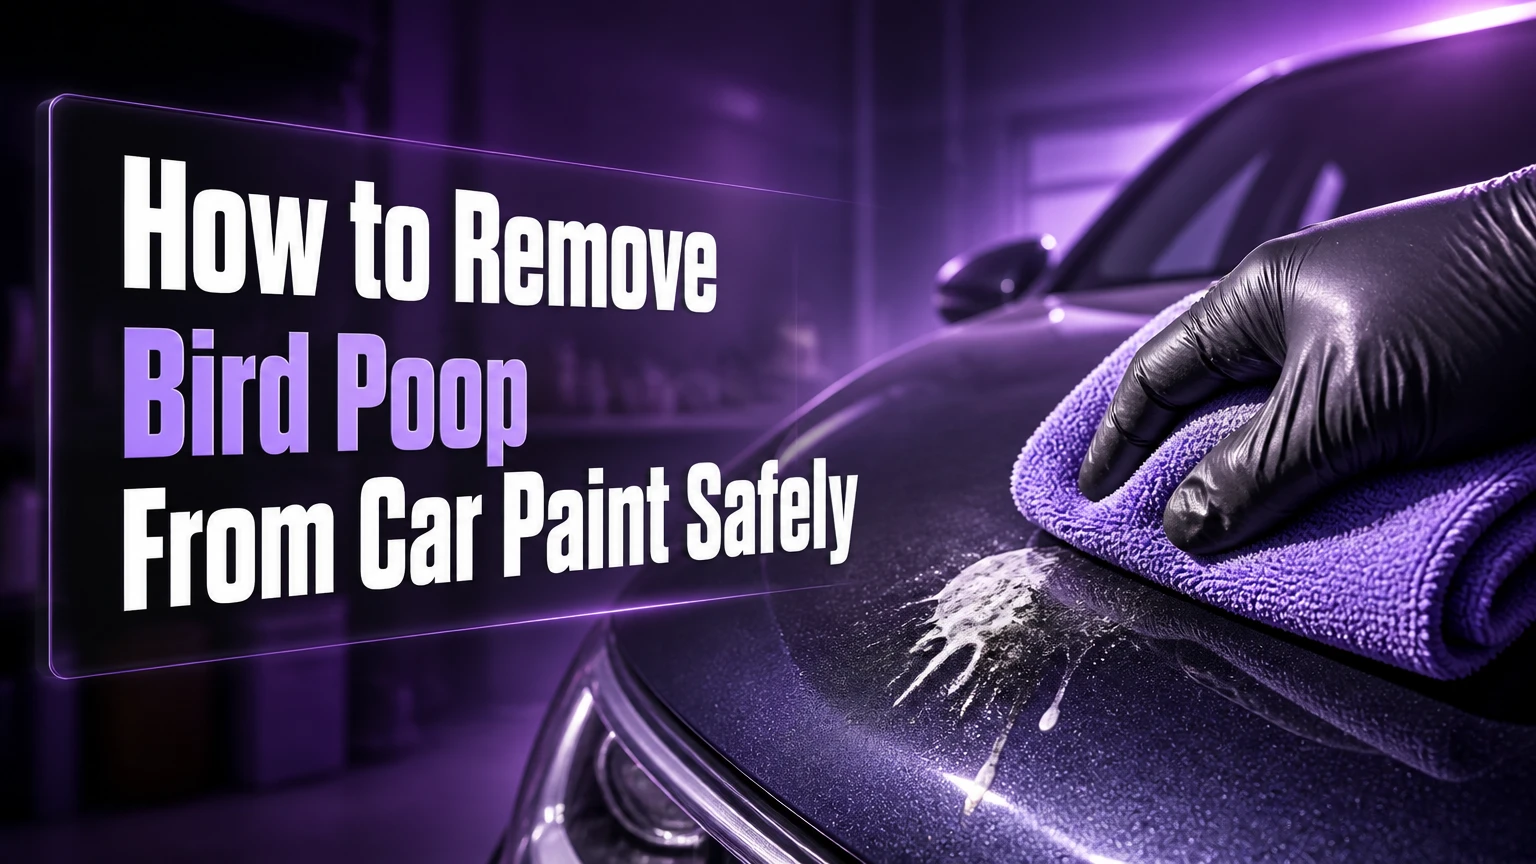
To remove bird poop from car paint, cool the panel, saturate the dropping with automotive detailer or water, let it soften, then lift it vertically with a clean microfiber towel. Never dry-scrub, scrape, or wipe abrasive residue across the paint. Dried marks require a warm-water soak; etched marks require paint correction, not stronger cleaner.
Key Facts at a Glance
- Bird droppings contain uric acid and abrasive particles that can stain or scratch automotive clear coat.
- Heat accelerates drying and can make a dropping bond more firmly to the paint surface.
- A fresh dropping usually needs saturation and gentle lifting, not rubbing.
- A baked-on dropping should be rehydrated for 5-10 minutes before removal.
- A dull outline that remains after cleaning is usually surface etching or clear-coat damage.
- Polishing can reduce shallow etching, but peeling, cracking, or deep discoloration requires a body shop.
Why Bird Droppings Damage Car Paint
Bird droppings damage car paint through a combination of acidity, moisture loss, heat, and abrasive contamination. Uric acid is commonly reported around pH 3.5-4.5, although the exact acidity varies with the bird’s diet, hydration, and the droppings’ liquid and solid components.
The acid does not instantly dissolve a modern clear coat. The more accurate mechanism is prolonged contact with a concentrated, drying contaminant. Sun-heated paint expands while the dropping hardens; later cooling contracts the panel around the hardened material. That cycle can leave a shallow outline, texture change, or gloss difference in the clear coat.
Bird diets also introduce risk. Grit, seed husks, and mineral particles can act as abrasives when a towel drags them over the panel. Mechanical scratching often causes more visible damage than the chemical residue itself.
How long can bird poop stay on a car?
There is no safe universal exposure time, because temperature, paint condition, dropping chemistry, and protection layer all change the result. In typical summer conditions, inspect and remove the dropping within a few hours; on a cool, shaded panel, the risk rises more slowly.
A protected, well-maintained surface may release residue more easily, but wax, sealant, ceramic coating, and paint protection film do not make bird droppings harmless. Treat a dropping as urgent whenever you notice it.
| Condition | Typical change | Recommended response |
|---|---|---|
| Fresh, wet dropping | Less than 1 hour old | Saturate and lift immediately |
| Partly dried dropping | 1-6 hours in shade | Saturate for 30-60 seconds, then lift |
| Sun-baked residue | Several hours to several days | Use a warm, wet towel for 5-10 minutes |
| Remaining dull outline | Residue already removed | Inspect for etching and test a mild polish |
| Cracking, peeling, or exposed color coat | Clear coat failure | Stop polishing and consult a repair professional |
How to Remove Bird Poop From Car Paint
The safest method depends on whether the material is fresh, dried, or already removed. Use the least aggressive method first, because added friction can turn loose grit into scratches.
Before You Start
Prepare the car and materials before touching the dropping. The following setup is sufficient for one or several small spots.
| Item | Typical quantity or specification | Purpose |
|---|---|---|
| Automotive quick detailer | 100-250 mL | Lubricates and softens fresh residue |
| pH-neutral car shampoo | 10-15 mL in 4-5 L water | Creates a safe soaking solution |
| Plush microfiber towels | 3-5 towels, 300-500 GSM | Lifting, rinsing, and drying |
| Nitrile gloves | 1 pair | Protects hands from biological residue |
| Spray bottle or rinse water | 500 mL-2 L | Saturates and flushes the spot |
| Shade and cool panel | Below hand-hot temperature | Prevents rapid evaporation and spotting |
Do not clean a hot panel under direct sunlight. Move the vehicle to shade and wait until the paint feels cool to the back of your hand. Do not use the same towel on glass, wheels, and paint unless it has been washed.
Step 1: Remove Loose Material Without Rubbing
Put on gloves and inspect the dropping without dragging a towel across it. If a thick, dry edge is loose, lift the material from underneath with a saturated towel rather than scraping it sideways.
Fold the microfiber into quarters, giving you eight usable faces. Keep the towel wet enough to prevent friction, and reserve a clean face for every lift. Dispose of heavily contaminated towels in a wash bucket rather than reusing them on another panel.
You will know this step worked when the largest piece is off the paint without a visible dragged streak. The common mistake is pressing down to remove the final crust; pressure embeds grit and increases scratch risk.
Step 2: Saturate and Lift a Fresh Dropping
Spray enough quick detailer or clean water to completely wet the dropping and the surrounding 5-8 centimetres of paint. Allow about 30 seconds of dwell time, then place a clean towel face over the residue and lift upward or pull toward the nearest edge with minimal pressure.
Do not scrub in circles. Do not make repeated passes over the same contaminated towel face. If a film remains, apply more product and use a second clean towel rather than increasing force.
You will know it worked when the residue transfers to the towel and the paint feels smooth after a final light wipe. The common mistake is attempting a one-pass wipe, which spreads liquid residue and abrasive solids across a larger area.
Step 3: Rehydrate Baked-On Residue
For crusty or sun-baked bird poop, soak a plush microfiber towel in warm water containing pH-neutral car shampoo. Wring it until it is saturated but not dripping, place it over the dropping, and leave it undisturbed for 5-10 minutes.
Lift the towel vertically and inspect the softened residue. If the dropping still resists, repeat the soak once for another 5 minutes. Flush the area with clean water, then remove the remaining film with a fresh towel using straight, light passes.
You will know it worked when the material slides away without scraping and no hard particles remain. The common mistake is allowing the soaking towel to dry against the panel, which leaves concentrated residue and mineral spotting.
A dedicated automotive bug-and-tar or bird-dropping cleaner can help with stubborn organic residue, but follow its label and test an inconspicuous area. Strong alkaline, solvent-based, or acidic cleaners can affect wax, trim, fresh paint, or sensitive coatings.
Step 4: Wash and Inspect the Paint
After the dropping is removed, wash the affected panel with car shampoo rather than wiping the spot repeatedly with detailer. Rinse thoroughly, dry with a clean microfiber towel or air, and inspect the surface in shade and direct reflected light.
Look for four different outcomes:
- Clean and glossy: contamination is gone and no correction is needed.
- Smooth but dull outline: likely shallow clear-coat etching.
- Rough or raised texture: residue, mineral deposit, or damaged coating may remain.
- Peeling, cracking, or exposed color: clear-coat failure needs professional repair.
A white haze is not automatically a chemical burn. Dried minerals, wax residue, coating failure, and actual etching can look similar until the surface is washed and viewed under controlled light.
Step 5: Polish Shallow Etching Carefully
Polishing is appropriate only after washing, drying, and confirming that the mark is a shallow change in gloss. Start with a hand-applied finishing polish on a soft foam applicator or use a dual-action polisher with a finishing pad at a low-to-medium setting.
Work a test area about 30 by 30 centimetres. Apply two or three small drops of polish, make four to six overlapping passes, remove residue with a clean towel, and inspect before expanding the area. A light polish may remove the defect while preserving more clear coat than an aggressive compound.
A dual-action polisher is safer than a rotary machine for inexperienced users, but neither tool is risk-free. Machine polishing removes a small amount of clear coat, so repeated correction can reduce long-term UV and chemical protection.
You will know it worked when the outline becomes less visible from several angles, not merely when the panel looks better under one light. The common mistake is escalating immediately to wet-sanding or heavy compound without a test spot.
| Defect after cleaning | Safe first response | Escalation point |
|---|---|---|
| No visible mark | Apply wax or sealant | Reinspect after the next wash |
| Light gloss difference | Finishing polish, 1 test spot | Use a stronger polish only if needed |
| Defined etched ring | Medium polish or professional DA correction | Stop if clear coat becomes thin |
| Wrinkled or distorted surface | Professional inspection | Do not sand at home |
| Peeling or cracked clear coat | Body-shop repair estimate | No chemical cleaner will reverse it |
Step 6: Replace Lost Protection
Apply a compatible wax, paint sealant, or coating maintenance product after correction. Cleaning and polishing remove or weaken some surface protection, especially if a compound or solvent-containing product was used.
Wax commonly offers weeks to a few months of practical protection, depending on product and washing. A synthetic sealant may last several months, while ceramic coatings and PPF provide a more durable sacrificial layer but still require prompt cleaning.
Protection changes release behavior, not the need for maintenance. Bird poop can stain a coating, attack an exposed edge, or harden on PPF just as it hardens on clear coat.
Which Cleaning Solution Is Safest?
A pH-neutral automotive shampoo solution or a dedicated automotive quick detailer is the safest default for painted panels. Both provide lubrication and controlled dwell time without relying on aggressive solvents or improvised household chemistry.
Club soda is not a reliable acid neutralizer. Carbonation may help wet and loosen residue, but it does not create a meaningful protective layer or guarantee removal of dried material. A single use is unlikely to damage sound paint, yet it offers no advantage over clean water and car shampoo.
WD-40 can soften some organic deposits, but its oily residue attracts dust and must be washed away. It is not the first choice for clear-coated paint, and it can interfere with wax or sealant bonding.
| Solution or product | Typical cost | Best use | Main limitation |
|---|---|---|---|
| Quick detailer | $8-$20 per bottle | Fresh residue in a glove box | Limited effect on hardened crust |
| pH-neutral car shampoo | $10-$25 per bottle | Soak and full-panel washing | Needs water and towels |
| Commercial bird-dropping wipe | $1-$4 per wipe | Emergency spot cleaning | High cost per use; limited saturation |
| Club soda | $1-$3 per bottle | Temporary wetting | Does not neutralize or protect paint |
| WD-40 Multi-Use | $6-$12 per can | Occasional stubborn residue test | Leaves oily film and strips protection |
| Dishwashing detergent | $3-$8 per bottle | Not recommended as routine care | Removes protective oils and leaves residue |
One use of dish soap will not normally strip a vehicle’s clear coat, despite common warnings. Repeated use, high concentration, poor rinsing, and aggressive wiping can remove wax or sealant and increase drying marks, so car shampoo remains the better maintenance choice.
What Should You Avoid?
Avoid dry scrubbing, razor blades, fingernails, plastic cards, abrasive sponges, and household glass cleaner on automotive paint. Bird residue can contain hard particles, and scraping changes a removable contamination problem into a permanent scratch.
Avoid cleaning in direct sun when the product evaporates before the residue softens. Avoid circular scrubbing because it distributes abrasive particles in every direction and creates visible swirls, particularly on black, dark blue, and red paint.
Avoid pouring boiling water onto the panel. Sudden heat can stress trim, coatings, repaired paint, and glass, while the temperature does little that a warm soaked towel cannot accomplish.
Avoid polishing an unwashed surface. Polishing compounds are mild abrasives, so they can grind contamination into the clear coat if the panel still contains grit.
How do you recover from a mistake?
| Mistake | Likely result | Recovery |
|---|---|---|
| Dry towel wipe | Fine linear scratches | Wash, inspect, then polish-test |
| Hard scraping | Deep scratch or chipped coating | Stop and assess under bright light |
| Product dried in sun | Streaks or mineral spots | Rewash after cooling the panel |
| WD-40 left on paint | Oily dust-attracting film | Wash with pH-neutral shampoo |
| Heavy compound used first | Haze or excess clear-coat removal | Refine with finishing polish |
| Contaminated towel reused | Swirl marks across panel | Retire towel from paint use |
How Does the Method Change for Special Surfaces?
Ceramic-coated paint should be cleaned with the same saturation and soaking method, followed by a coating-safe shampoo. Do not assume high contact-angle behavior means the coating can tolerate dried acid indefinitely. If water behavior changes after the incident, inspect for contamination before assuming coating failure.
Paint protection film usually tolerates routine bird-dropping removal well, but its exposed edges, self-healing topcoat, and adhesive system vary by brand. Use the film manufacturer’s cleaner guidance, avoid sharp tools, and never machine-polish PPF unless the manufacturer specifically permits it.
Matte and satin paint require extra care because polishing creates a permanent glossy patch. Remove contamination by soaking and gentle lifting only, then consult the vehicle manufacturer or a specialist if staining remains.
Plastic trim and textured panels can trap residue in their grain. Use a soft brush only after saturation, with short lifting motions rather than dry agitation.
| Surface | Preferred method | Prohibited or risky action |
|---|---|---|
| Gloss clear coat | Detailer, soak, mild polish if needed | Dry scraping |
| Ceramic coating | Coating-safe shampoo and soft towel | Strong solvent or abrasive compound |
| PPF | Film-approved cleaner and soak | Razor, rotary polishing, harsh solvent |
| Matte paint | Saturate, lift, rinse | Any gloss-enhancing polish |
| Textured plastic | Soak, soft brush, rinse | Dry brushing or abrasive pad |
When Is Professional Paint Repair Necessary?
Professional correction is warranted when the mark remains after a controlled cleaning and a mild test polish, or when the surface is wrinkled, cracked, peeling, or visibly discolored below the clear coat. A detailer can measure and manage paint correction risk; a body shop is needed for failed clear coat or repainting.
Wet-sanding is not a routine home remedy. It removes more material than polishing and requires controlled grit progression, lubrication, edge management, and machine refinement. A heat gun is also a poor general solution because excess heat can distort paint, plastic, film, and nearby trim.
| Repair type | Typical time | Typical cost in the USA | Suitable defect |
|---|---|---|---|
| Spot wash and sealant | 15-30 minutes | $10-$40 DIY | Residue without visible damage |
| Hand polish test | 20-45 minutes | $15-$60 DIY | Very shallow gloss change |
| Local DA correction | 1-3 hours | $75-$250 | Moderate isolated etching |
| Full-panel paint correction | 2-6 hours | $200-$600 | Multiple marks and swirls |
| Wet-sand and refinish | 1-3 days | $300-$1,000+ | Deep etching or failed clear coat |
Prices are typical working ranges, not universal rates. Region, vehicle size, paint hardness, access, and the number of panels can change the estimate substantially.
How Can You Prevent Bird-Dropping Paint Damage?
Prevention depends more on response time than on buying the strongest chemical product. Park away from common perches such as trees, utility wires, roof edges, and light poles; when those locations are unavoidable, keep a compact cleaning kit in the vehicle.
A practical emergency kit contains a 250-500 mL bottle of quick detailer, two plush microfiber towels, nitrile gloves, and a resealable waste bag. Store the kit away from freezing temperatures and replace towels when they become visibly soiled.
Apply a wax or synthetic sealant according to its label, and maintain ceramic coatings or PPF with the maker’s recommended wash products. A coating can give residue less opportunity to bond, but it cannot compensate for weeks of exposure.
For fleet vehicles, drivers should report droppings during walk-around checks and remove them during the same shift. Weekly washing helps, but it does not replace prompt removal from hot horizontal panels such as hoods, roofs, and trunk lids.
What If the Dropping Leaves a Wrinkle or White Stain?
A wrinkle, raised texture, or persistent white stain after cleaning indicates that the problem may be clear-coat etching rather than remaining bird poop. Wash again, let the panel dry completely, and compare the mark under diffuse shade and a strong reflected light source.
If a finishing polish reduces the mark, the defect is probably shallow enough for paint correction. If the texture remains unchanged, the mark appears below the surface, or the clear coat is cracking, stop polishing and obtain a professional inspection.
Do not attempt to neutralize an old stain with vinegar, bleach, baking soda paste, or stronger acid. Household chemistry cannot restore missing clear coat, and abrasive mixtures can enlarge the damaged area.
FAQ
Can rain remove bird poop from a car?
Rain may soften and dilute bird poop, but it rarely removes the full residue safely. Dried particles can remain in the edges and continue contacting the paint after the rain stops. Saturate the spot yourself, lift the softened material with a clean microfiber towel, rinse the panel, and inspect for etching.
Is bird poop worse on black car paint?
Bird poop is not necessarily chemically more damaging to black paint, but black and dark colors reveal etching, dust, and towel scratches more clearly. Dark paint also becomes hotter in direct sun, which can accelerate drying. Clean black paint in shade and inspect it under multiple light angles.
Can I use baby wipes to clean bird droppings?
Baby wipes are not the preferred product for automotive paint because their preservatives, fragrances, surfactants, and limited moisture can leave residue or encourage dragging. In an emergency, saturate the dropping with clean water first, then use a dedicated automotive wipe or microfiber towel.
Will wax prevent bird poop damage?
Wax can make bird poop easier to remove and may slow wetting and bonding, but wax will not make paint immune to acid or heat. Remove droppings promptly even from waxed paint. Reapply protection when washing shows reduced water behavior or after machine polishing.
Can a car wash remove baked-on bird poop?
A contactless or careful hand wash can soften and remove baked-on residue, but an automatic brush wash may drag grit across the panel. Tell the operator about the spot, pre-soak it, and avoid any wash process that uses a contaminated brush before the residue has softened.
Should I remove bird poop from PPF differently?
Use the same saturation and lifting process, but follow the PPF manufacturer’s chemical restrictions. Avoid blades, abrasive pads, and machine polishing unless the film maker approves them. Inspect the film edge after removal because residue can collect where the film meets uncovered paint.
The Bottom Line
To remove bird poop from car paint, cool the panel, saturate the contamination, wait for it to soften, and lift it with clean microfiber rather than rubbing. Use a 5-10 minute warm-water soak for baked-on residue, then wash and inspect the finish. If a dull mark, wrinkle, peeling edge, or white stain remains, treat it as possible clear-coat damage and choose polishing or professional repair based on its depth. Prompt removal remains more effective than any cleaner or coating.


