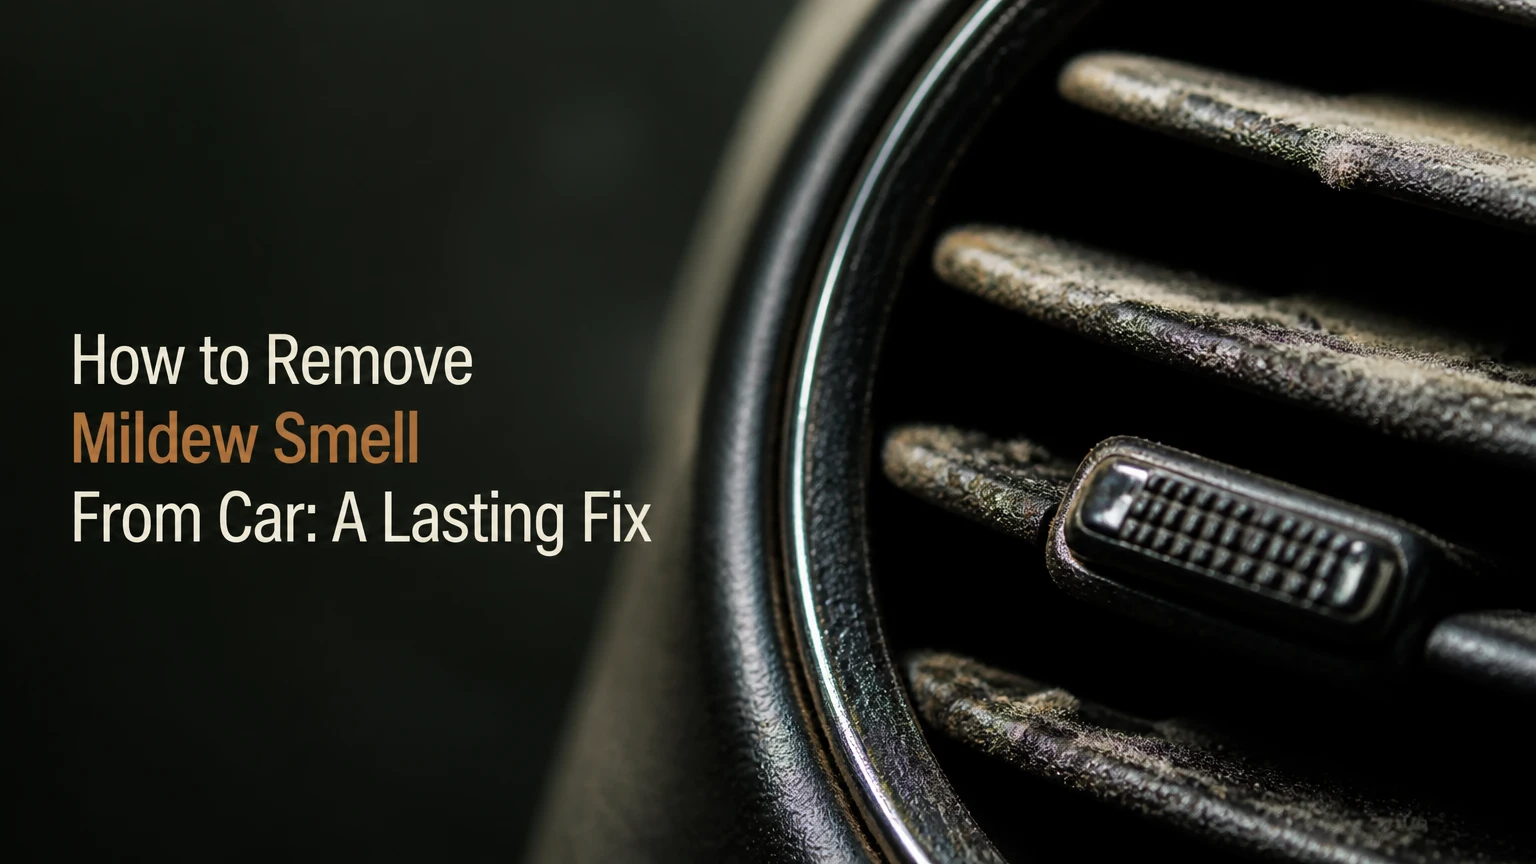
To remove mildew smell from a car, stop the water source, extract contaminated moisture, clean the affected materials, treat the HVAC system, and dry the cabin completely. A lasting result usually takes 4-24 hours of drying, while severe contamination under the carpet, inside seat foam, or on the evaporator may require professional disassembly.
Key Facts at a Glance
- A mildew smell usually indicates present or previous moisture, not a simple fragrance problem.
- The two controls that matter are contamination removal and moisture elimination.
- A carpet can feel dry while the jute or foam underlay remains wet and odor-producing.
- An old cabin air filter can reintroduce musty odor whenever the blower or air conditioner runs.
- Vinegar, baking soda, and air fresheners are not interchangeable mold-remediation methods.
- Ozone can oxidize residual odor, but ozone does not repair leaks or remove wet contaminated padding.
Why Does a Car Smell Like Mildew?
A car develops a mildew odor when moisture remains long enough for fungi, bacteria, dust, and organic residue to accumulate in enclosed materials. Common reservoirs include carpet backing, seat foam, trunk liners, door cavities, the HVAC evaporator case, and a damp cabin air filter.
The odor comes from microbial volatile organic compounds, often called mVOCs. The smell can persist after visible growth disappears because porous materials retain contaminated moisture and odor molecules. A spilled drink, wet umbrella, clogged sunroof drain, or blocked air-conditioner drain can provide enough water for the problem to continue.
The strongest clue is when the odor changes with conditions. A smell that intensifies after rain points toward water intrusion; a smell that appears only when the fan runs points toward the HVAC intake, filter, evaporator, or ductwork. A smell that remains constant usually involves seats, carpets, insulation, or the trunk.
The U.S. Environmental Protection Agency states, “The key to mold control is moisture control.” That principle applies directly to vehicles: cleaning without drying leaves the cause in place.
Is Every Musty Smell Mold?
No. A musty car odor can also come from wet insulation, bacterial growth on an evaporator, decomposing food, tobacco residue, a leaking heater core, or a contaminated cabin filter. Visible mold increases the likelihood of fungal contamination, but laboratory identification is rarely necessary for ordinary vehicle cleaning.
A sweet smell with fogging windows may indicate coolant from a heater-core leak, not mildew. Coolant odor requires mechanical diagnosis because cleaning the upholstery alone will not solve it.
How to Remove Mildew Smell From Car Safely
Use this sequence: identify the leak, remove standing water, clean removable materials, treat the HVAC system, dry the cabin and padding, then replace or recheck the cabin filter. The process normally requires 2-5 hours of active work and 4-24 hours of drying, with success determined more by hidden moisture removal than by the strength of the chemical.
Before You Start
| Requirement | Typical specification | Why it matters |
|---|---|---|
| Active labor | 2-5 hours | Covers inspection, extraction, cleaning, and reassembly |
| Drying time | 4-24 hours | Allows carpet backing and seat foam to release moisture |
| DIY supply cost | $35-$150 | Covers cleaner, gloves, filter, towels, and rental tools |
| Wet/dry vacuum | 5-12 gallon unit | Extracts liquid that towels cannot reach |
| Dehumidifier option | 30-50 pint/day unit | Reduces cabin humidity during safe, supervised drying |
| PPE | Nitrile gloves, eye protection, N95 respirator | Reduces exposure to spores and cleaning splashes |
Open doors in a well-ventilated area, disconnect accessories from wet carpeting, and keep children, pets, and people with asthma away during cleaning. Never mix bleach with vinegar, ammonia, or another cleaner. Follow the product label for dilution, dwell time, and material compatibility.
Step 1: Find and Stop the Moisture Source
Inspect door seals, windshield and sunroof edges, roof drains, trunk seals, floor plugs, the AC condensate drain, and the heater core before deep-cleaning. Pouring a small amount of water over one suspected area at a time while an assistant watches from inside is a practical leak test, but avoid flooding the vehicle.
Check the front passenger footwell first because HVAC drains and heater-core leaks often affect that area. Inspect the trunk spare-wheel well, where water can remain hidden beneath the liner. Lift floor mats and press a dry paper towel against carpet seams; dampness at a seam often reveals a leak path more clearly than a surface inspection.
| Symptom or location | Likely source | Confirmation test |
|---|---|---|
| Front passenger carpet wet | AC drain, heater core, cowl leak | Run AC, inspect drain water; check for sweet coolant odor |
| Trunk well contains water | Trunk seal, tail-light gasket, hatch drain | Remove liner and water-test hatch perimeter |
| Odor returns after rain | Door, windshield, sunroof, or roof seal | Hose-test one body seam at a time |
| Wet front footwell after parking uphill | Cowl or windshield leak | Inspect cowl drains and upper dash edge |
| Wet carpet after AC use | Blocked evaporator drain | Look for missing condensate under the vehicle |
| Odor only from vents | Cabin filter, evaporator, or duct contamination | Compare fan-off cabin odor with blower-on odor |
Repair the leak before applying cleaner. Otherwise, the newly cleaned fabric becomes damp again and the odor returns within days.
Step 2: Remove Standing Water and Expose the Floor
Remove mats, cargo liners, seat covers, trash, and removable trim that blocks the carpet edges. Use a wet/dry vacuum, not a household vacuum, to extract pooled water from carpets and upholstery.
Vacuum slowly in overlapping passes. Press the nozzle into the carpet without tearing fibers, then repeat from several directions. For a soaked floor, lifting the carpet edge is more effective than repeated surface passes because automotive carpet often has a rubber or felt backing over a separate jute or foam layer.
Do not remove seats unless you understand the vehicle’s airbag wiring and battery-disconnection procedure. Seat removal can trigger SRS faults or damage occupancy sensors. A professional should handle vehicles with side airbags, powered seats, or extensive floodwater.
You will know this step is working when the vacuum stops collecting visible water and the underlay no longer feels cold or spongy. The common mistake is stopping when the carpet surface feels merely damp.
Step 3: Clean Fabrics Without Over-Saturating Them
Apply a labeled automotive fabric cleaner or antimicrobial product according to its label, agitate with a soft or medium nylon brush, and extract the residue immediately. Treat a 0.5-1 square metre section at a time so liquid does not migrate into seat foam or floor insulation.
A 1:1 white-vinegar-and-water solution is sometimes used for light surface odor on colorfast synthetic fabric, but vinegar is not a universal mold killer and can damage natural fibers, leather finishes, or nearby metal if repeatedly applied. Never combine vinegar with baking soda in the same bottle: the acid-base reaction mostly neutralizes both ingredients and creates carbon dioxide without improving fungal remediation.
| Material | Preferred treatment | Contact and drying guidance |
|---|---|---|
| Nylon or polyester carpet | Automotive fabric cleaner plus extraction | Use label dwell time, then extract until nearly dry |
| Vinyl | Diluted interior cleaner on a microfiber cloth | Avoid soaking seams and electrical switches |
| Finished leather | Leather-safe cleaner, followed by conditioner | Keep liquid off perforations and seat heating elements |
| Alcantara or suede-like trim | Manufacturer-approved cleaner | Test an inconspicuous area; avoid aggressive brushing |
| Child-seat fabric | Follow the seat manufacturer’s wash instructions | Do not use unapproved chemicals on restraint webbing |
| Headliner | Lightly damp microfiber or approved foam | Saturation can loosen adhesive and cause sagging |
For visible growth on porous materials, cleaning may not restore the material safely. The EPA notes that moldy porous materials can be difficult or impossible to clean completely because growth can penetrate the material. Replacement becomes more sensible when contamination extends into seat foam, thick underlay, or a headliner.
Step 4: Extract Cleaner and Dry the Hidden Padding
Run the extractor or wet/dry vacuum over each treated section until the recovered liquid becomes clearer and the fabric feels only slightly damp. Press folded towels into seams, then place the towels under weight for several minutes to draw out water that surface vacuuming misses.
Create airflow through the cabin by opening opposite doors or windows. A fan outside the car can move air across the opening, while a dehumidifier can operate nearby in a dry garage with doors positioned according to the equipment instructions. Do not run an indoor appliance in a wet vehicle where it can contact water, and do not leave a running device unattended.
A practical drying target is a dry, neutral-smelling surface with no cold, spongy underlay. Professional restoration contractors may use moisture meters, but consumer readings can be unreliable on layered automotive materials. When odor persists, lift a carpet edge and inspect the underside rather than adding more chemical.
What If the Carpet Feels Dry but Still Smells?
The smell usually comes from damp jute, foam, adhesive, or metal-floor contamination beneath the carpet. Remove enough trim to lift the carpet edge, dry the bare floor and underlay separately, and replace saturated padding if it remains discolored or odorous after cleaning.
This is one of the most common reasons a vehicle seems fixed for a day and then becomes musty again. Underlay can hold considerably more water than the carpet face, especially after flooding or a large spill.
Step 5: Replace the Cabin Air Filter
Replace the cabin air filter when the filter is damp, visibly dirty, moldy, or older than the vehicle manufacturer’s recommended interval. A typical replacement costs $15-$60 and takes 10-30 minutes, although some vehicles place the filter behind the glove box or require trim removal.
Inspect the filter housing for leaves, water marks, and fungal growth. Cleaning a contaminated filter and reinstalling it is usually less reliable than replacement because pleated media can retain spores and organic debris.
Check the owner’s manual for the correct filter orientation and whether the vehicle has one or two filters. A charcoal filter can reduce some odors, but activated carbon does not correct a wet evaporator case or a leaking cowl.
Step 6: Clean the HVAC Evaporator and Intake
Treat the HVAC system when the odor appears mainly from the vents, becomes stronger when the blower starts, or returns after the carpets are clean. Use a vehicle-specific evaporator foam cleaner through the intended access point, such as the blower-motor opening or evaporator drain tube, and follow the product instructions exactly.
Some aerosol products are designed for the outside-air intake at the cowl, while others are designed for direct evaporator access. These methods are not interchangeable. Spraying an unsuitable product into the cowl can wet electrical components, damage sensors, or fail to reach the evaporator.
A safe general sequence is to replace the filter, set the HVAC to fresh-air mode when directed, run the blower at the specified speed, apply the product at the specified location, and allow the system to drain and dry. Do not place hands, tools, or loose chemicals near a running blower.
| Odor behavior | HVAC diagnosis | Appropriate response |
|---|---|---|
| Smell begins immediately at fan start | Filter or intake contamination | Replace filter and clean intake housing |
| Smell increases with AC only | Evaporator or condensate drain | Use evaporator cleaner and inspect drain |
| Smell appears with heat | Heater case or damp cabin materials | Check coolant odor and dry carpet |
| Smell remains with HVAC off | Carpet, foam, trunk, or seats | Inspect porous materials and hidden padding |
| Odor returns after HVAC treatment | Active leak or persistent evaporator growth | Repair moisture source and consider professional service |
The evaporator is difficult to inspect without disassembly. HVAC foam cleaner can reduce surface contamination, but it cannot guarantee removal of growth embedded in inaccessible insulation.
Step 7: Deodorize Only After Cleaning and Drying
Use an odor neutralizer only after contaminated residue and moisture are gone. Activated carbon bags can absorb some residual odor in a dry cabin, while an enzyme product may help with food, milk, or organic spills that are not primarily fungal.
Air fresheners cover odor rather than remove its source. Baking soda can adsorb limited odor from a dry carpet surface, but it does not sterilize an evaporator, dry underlay, or repair a leak.
Ozone deserves particular caution. The U.S. Environmental Protection Agency warns that ozone can irritate the lungs and that ozone generators are not a dependable substitute for source control. Ozone treatment must never occur with people, pets, or plants inside the vehicle; the car must be ventilated thoroughly afterward, and the operator must follow the machine and vehicle-material guidance.
Ozone is not a first-line mildew treatment. It may be considered for residual odor after professional cleaning, but repeated or excessive exposure can age rubber, adhesives, coatings, and some plastics.
Which Odor-Removal Method Is Best?
For most owners, extraction cleaning plus leak repair and HVAC-filter replacement is the best method because it removes the moisture reservoir instead of only oxidizing or covering the odor. Professional remediation is preferable when the carpet underlay, seat foam, headliner, or floodwater is involved.
| Method | Typical DIY cost | Active time | Drying or cure time | Best use |
|---|---|---|---|---|
| Fabric cleaner and wet vacuum | $35-$150 | 2-5 hours | 4-24 hours | Carpet and upholstery contamination |
| Enzyme cleaner | $15-$40 | 30-90 minutes | 4-12 hours | Food, milk, and organic spill odors |
| Evaporator foam cleaner | $15-$35 | 30-60 minutes | 2-4 hours | Odor that starts at HVAC vents |
| Cabin filter replacement | $15-$60 | 10-30 minutes | None | Damp or dirty filter media |
| Professional interior remediation | $250-$1,200 | 2-6 hours onsite | 12-48 hours | Hidden padding, severe contamination |
| Ozone finishing treatment | $50-$150 rental or $100-$300 service | 30-90 minutes | 1-3 hours ventilation | Residual odor after source removal |
Prices are typical U.S. consumer ranges, not universal quotations. Geographic labor rates, vehicle size, contamination severity, and whether seats or carpet must be removed can change the total substantially.
Is Professional Cleaning Worth the Cost?
Professional service is worth considering when water entered through a flood, mold covers multiple porous surfaces, the smell persists after two complete drying cycles, or the vehicle contains sensitive electronics and airbags. Industrial extractors can remove more water, and a technician can lift carpet and inspect padding without guessing.
Professional detailing is not automatically a guarantee. Ask whether the quote includes leak diagnosis, carpet lifting, padding replacement, cabin-filter replacement, HVAC treatment, and final moisture verification. A low-cost surface shampoo may improve the smell temporarily while leaving the reservoir untouched.
What Should You Avoid?
Avoid closing the car while fabrics remain wet, because warm stagnant air encourages renewed microbial growth. Avoid saturating seats and carpets, since liquid can migrate into foam, wiring channels, and sound-deadening layers.
Avoid bleach on automotive fabrics unless the manufacturer specifically approves it. Bleach can discolor upholstery, corrode metal, damage stitching, and fail to penetrate porous padding.
Avoid mixing cleaning products. Vinegar with bleach can produce chlorine gas, while vinegar with ammonia can produce irritating chloramine compounds. Read every label before combining products, and when uncertain, use one product, extract it, and allow the material to dry before selecting another.
Avoid diagnosing every musty odor as mold. A leaking heater core, blocked AC drain, or wet cabin filter may require mechanical repair rather than stronger chemicals.
How Long Does It Take and How Much Does It Cost?
A light surface odor can take 1-3 hours and cost $20-$60, while a wet carpet with hidden padding may require 4-8 hours of work, 24-48 hours of drying, and $100-$400 in equipment or supplies. Severe flood contamination can exceed $1,000 because carpet, insulation, seat foam, and electronic modules may need removal or replacement.
| Situation | Likely labor | Typical total cost | Expected result |
|---|---|---|---|
| Damp mats and light odor | 1-2 hours | $20-$60 | Often resolved after washing and drying |
| Wet carpet, no visible growth | 3-6 hours | $75-$250 | Requires extraction and underlay inspection |
| Vent-only odor | 1-2 hours | $30-$100 | Filter and evaporator service may resolve it |
| Visible mold on several surfaces | 4-8 hours | $250-$1,200 | Professional assessment often appropriate |
| Floodwater or sewage exposure | 1-3 days | $800-$5,000+ | Replacement and safety inspection may be necessary |
These figures are typical planning ranges. Insurance, vehicle age, replacement-part availability, and contamination type affect the final decision.
When Is a Moldy Car Unsafe to Keep Cleaning?
Stop DIY work and seek professional assessment when mold is extensive, floodwater entered the cabin, sewage contaminated the interior, occupants develop respiratory symptoms, or the vehicle’s airbag and electrical systems were exposed to water. People with asthma, severe allergies, immune suppression, or chronic lung disease should avoid direct remediation.
The Centers for Disease Control and Prevention advises people with asthma or other lung conditions to avoid buildings with visible mold or mold odor; the same exposure concern applies inside a contaminated vehicle. A vehicle with repeated water intrusion can also develop corrosion in connectors and restraint systems, which odor treatment cannot repair.
Do not transport a heavily contaminated child seat as though cleaning the cover makes it safe. Follow the seat manufacturer’s instructions, and replace the restraint when its manual prohibits washing, when floodwater reached the harness, or after a crash.
How Do You Prevent the Smell From Returning?
Prevent recurrence by repairing leaks, clearing drains, removing wet items promptly, drying mats outside the car, and running the HVAC system long enough to drain condensation. After using air conditioning, a few minutes of fan-only operation can help evaporate surface moisture from some systems, but it cannot correct a blocked drain or contaminated evaporator.
Inspect the cabin filter at every oil service or according to the manufacturer’s interval. Keep leaves out of the cowl, avoid storing wet sports gear in the cabin, and check the trunk well after heavy rain.
Expert Rules That Save Time
- Test the odor before cleaning everything. Compare the smell with the HVAC off, fan on, AC on, and heat on. The change identifies the likely reservoir faster than random spraying.
- Dry from underneath whenever possible. Surface airflow can make carpet feel dry while the backing remains wet. Lift an edge before repeating chemical treatment.
- Treat the source before the scent. A neutralizer used before leak repair creates a short-lived improvement and can make the eventual diagnosis harder.
- Replace contaminated low-cost parts early. A $20 cabin filter is cheaper and more reliable to replace than repeatedly deodorizing it.
- Assume floodwater changed the decision. Sewage or floodwater can contaminate insulation and wiring beyond practical household cleaning.
Troubleshooting Persistent Odor
If the smell returns after cleaning, locate the condition that triggers it rather than applying more fragrance.
| Return pattern | Most likely cause | Next diagnostic action |
|---|---|---|
| Returns after every rainfall | Body seal, cowl, drain, or windshield leak | Water-test sections and inspect carpet edges |
| Returns when AC starts | Evaporator, drain pan, or filter | Replace filter and inspect condensate drainage |
| Returns after several closed days | Hidden damp padding or seat foam | Lift carpet and measure or feel underlay |
| Strongest in trunk | Spare-wheel well, tail-light seal, or wet liner | Remove liner and inspect metal floor |
| Chemical smell after treatment | Cleaner residue or material reaction | Rinse or extract according to product label |
| Sweet, syrup-like smell | Coolant leak | Inspect heater core and cooling system |
When an odor survives two properly completed clean-and-dry cycles, stop escalating household remedies. The remaining contamination may be inside the HVAC case, underlay, seat foam, or a body cavity that requires trim removal.
FAQ
Can I remove a mildew smell from a car without a machine?
Yes, light odor on removable mats can often be treated with a compatible cleaner, hand agitation, towels, and outdoor airflow. Machine extraction is strongly preferred for soaked carpet because towels remove surface water but leave liquid in backing and underlay. Persistent odor without extraction usually signals hidden moisture.
Does leaving coffee grounds or charcoal in the car work?
Activated carbon can reduce residual odor in a dry, clean cabin, but coffee grounds mainly add another scent and have limited odor-removal value. Neither material kills mold, absorbs water from seat foam, cleans the evaporator, or repairs a leak. Use carbon only after source control and drying.
Will sunlight kill mildew inside a vehicle?
Sunlight and heat can dry exposed surfaces and reduce some organisms, but sunlight does not reliably reach carpet backing, foam, ductwork, or shaded seams. Do not rely on a hot closed car as a sterilization chamber because interior heat can damage plastics and still leave hidden moisture.
Can I use a steam cleaner on car upholstery?
Steam can help clean compatible hard surfaces, but excessive heat and water can damage adhesives, headliners, leather finishes, seat sensors, and foam. Check the upholstery manufacturer’s instructions, use controlled moisture, and extract and dry immediately. Steam is not a substitute for leak repair or padding replacement.
How often should I replace the cabin air filter?
Follow the vehicle manufacturer’s interval, which commonly falls around 12,000-30,000 miles or 12-24 months, with shorter intervals in dusty, humid, or polluted conditions. Replace the filter sooner when it is wet, visibly moldy, clogged, or producing odor through the vents.
Should I sell a car with recurring mildew odor?
Disclose the odor and water history rather than masking it. A recurring smell can indicate corrosion, hidden mold, or an unresolved leak that affects safety and resale value. Obtain a written inspection and repair estimate; if remediation approaches the vehicle’s value, replacement may be financially safer than repeated detailing.
The Bottom Line
The reliable way to remove mildew smell from a car is to repair the leak, extract contaminated moisture, clean the affected surfaces, service the HVAC path, replace a compromised cabin filter, and dry every hidden layer. Fragrance and ozone may reduce residual odor, but neither replaces moisture control. If the smell returns, investigate the carpet underlay, evaporator, trunk well, and seals before applying another product.


