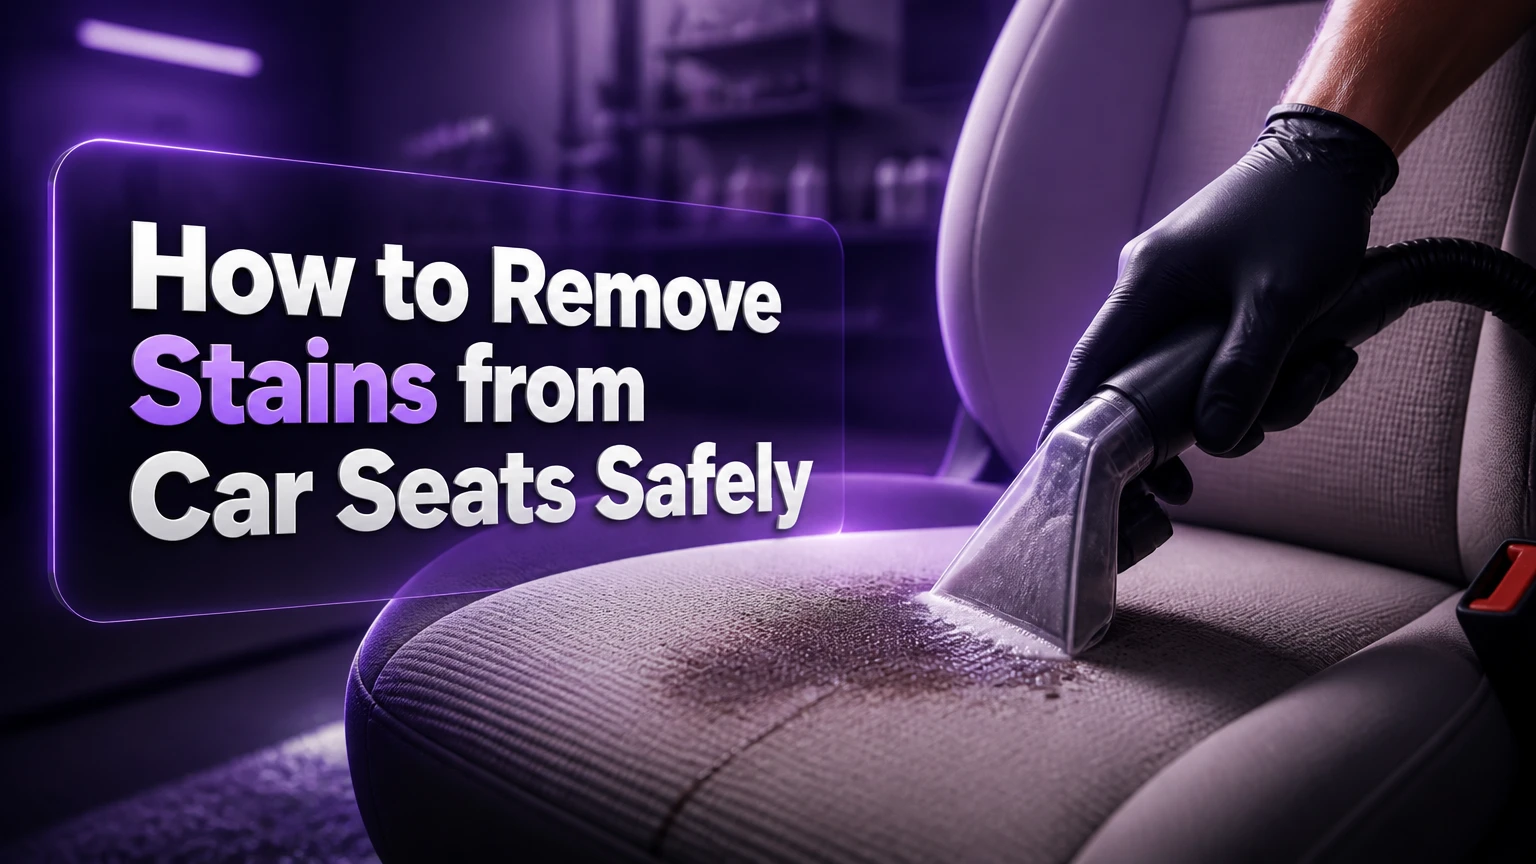
To remove stains from car seats, identify the upholstery, vacuum loose soil, test a compatible cleaner, apply minimal moisture, agitate gently, blot or extract the residue, and dry the seat completely. Use cold water and an enzyme cleaner for fresh protein stains, an upholstery cleaner for water-based spills, and a dedicated leather product for leather.
Key facts
Fabric seats usually tolerate a lightly damp microfiber cloth and pH-neutral upholstery cleaner, but excessive water can reach wiring, sensors, and cushion foam.
Cold water is the safest first treatment for fresh blood, milk, vomit, urine, and other protein-based stains.
Leather requires a leather-specific cleaner; household vinegar, bleach, ammonia, acetone, and strong degreasers can damage its finish.
Isopropyl alcohol can remove some ink from synthetic fabric after a hidden-area test, but it may dissolve dye or coating on leather and vinyl.
A clean seat is not dry until seams, creases, and the foam beneath the cover no longer feel cool or damp.
Treating the entire affected panel often prevents a visible water ring better than wetting only the darkest center.
What Do You Need Before Cleaning a Car Seat?
Cleaning a car seat normally requires a vacuum, white microfiber towels, a soft brush, distilled water, and a material-compatible spot cleaner. Typical localized work costs $5-$25 and takes 20-45 minutes, while drying takes 4-12 hours depending on humidity, airflow, and how much liquid entered the cushion.
Before-you-start checklist
| Requirement | Typical specification | Why it matters |
|---|---|---|
| Vacuum | Crevice tool, upholstery brush, 5-15 kPa suction | Removes grit before it is rubbed into fibers |
| Towels | 4-8 white, lint-free microfiber towels | Shows dye transfer and absorbs cleaner |
| Fabric cleaner | 50-150 mL for one localized spot | Limits foam saturation |
| Distilled water | 100-250 mL for rinsing | Reduces mineral residue and water marks |
| Soft brush | Nylon or horsehair, 10-25 mm bristles | Loosens soil without shredding fibers |
| Drying airflow | Fan 1-3 m away, windows open safely | Reduces drying time and odor risk |
Read the vehicle owner’s manual first. Seat-mounted side airbags, occupancy sensors, heating elements, ventilation fans, and pressure mats differ by model, so a manufacturer’s upholstery instructions override generic detailing advice.
Remove child seats, objects, and floor mats. Do not disconnect seat wiring or insert needles, syringes, or tools into the cushion. Chemical injection may reach sensors or wiring and can create a repair problem that is more expensive than the original stain.
How Does Stain Removal Work?
Car-seat stain removal combines dissolution, suspension, mechanical release, absorption, and drying. Surfactants help water spread across fibers and surround oily soil; enzymes break down selected biological residues; solvents dissolve some ink or grease; towels or an extractor physically remove the loosened material.
A surfactant does not make dirt disappear. The cleaner must be lifted from the upholstery before it dries, because residual soap can leave a sticky film that attracts new dust. Enzyme products work on biological residues such as milk or food, but they are not universal disinfectants and do not replace removal of the contaminated liquid.
Match the chemistry to the stain
| Stain | First choice | Avoid first | Typical dwell time |
|---|---|---|---|
| Coffee or tea | pH-neutral upholstery cleaner, then distilled-water blot | Hot steam on unknown dye | 2-5 minutes |
| Milk, blood, vomit | Cold water, then enzyme upholstery cleaner | Hot water and aggressive scrubbing | 5-15 minutes |
| Grease or motor oil | Fabric-safe degreaser, used sparingly | Flooding foam or using it on leather | 3-8 minutes |
| Ballpoint ink | 70% isopropyl alcohol on synthetic fabric after testing | Acetone, bleach, and hairspray | 15-60 seconds |
| Soda or juice | Upholstery cleaner followed by a light rinse | Leaving sugar residue behind | 2-5 minutes |
| Makeup or sunscreen | Fabric degreaser or upholstery cleaner | Strong solvent on coated leather | 3-8 minutes |
Dwell time is a label-dependent range, not a guarantee. Keep the surface wet only for the product’s stated period, and remove the cleaner before it migrates into the foam.
How Can You Identify the Seat Material?
Identify the seat material from the owner’s manual, trim specification, or a hidden-area inspection before choosing a cleaner. Woven threads indicate fabric, a smooth coated surface usually indicates leather or vinyl, and a short suede-like nap may indicate Alcantara or another microfiber material.
| Material | Safe starting method | Main risk | Drying approach |
|---|---|---|---|
| Polyester or nylon fabric | Light upholstery cleaner and soft nylon brush | Water ring or foam saturation | Fan, doors open in a secure dry place |
| Coated leather | Leather cleaner on towel or brush | Finish stripping and dye transfer | Wipe dry, then condition if manufacturer permits |
| Vinyl or synthetic leather | Mild interior cleaner, low moisture | Gloss, dye transfer, surface cracking | Dry microfiber wipe |
| Alcantara or microfiber suede | Manufacturer-approved cleaner, minimal liquid | Flattened nap and tide marks | Dab, brush nap after drying |
| Perforated seat | Cleaner applied to towel or brush | Liquid entering holes and electronics | Use minimal product, ventilate thoroughly |
Seat covers can combine materials. A synthetic side bolster may sit beside fabric, while perforated centers may hide cooling channels. Treat each panel according to its least tolerant material.
Do not assume a dark mark is dirt. Dye transfer from blue jeans, a melted coating, abrasion, sun damage, and mildew staining may not respond to cleaning. More chemical action can enlarge the damage.
How to Remove Stains from Cloth Car Seats
Remove stains from cloth car seats with a low-moisture, outside-in process: vacuum, test, blot, apply cleaner, agitate lightly, extract residue, and dry with airflow. The best result comes from removing the contaminant rather than repeatedly scrubbing the visible discoloration.
Step 1: Remove dry debris
Vacuum the seat, seams, piping, and seat-belt gap using an upholstery attachment and crevice tool. Hold the fabric taut with one hand near a seam so suction removes grit without pulling the weave.
You’ll know it worked when: no loose crumbs or sand appear on a clean towel pressed into the seam.
Common mistake: spraying a dirty surface first, which turns dry grit into abrasive mud.
Step 2: Test colorfastness
Apply one drop of the intended cleaner to a hidden section. Wait for the label’s dwell time, then press a white towel onto the area for 10 seconds. Stop if the towel shows seat dye, the finish becomes shiny, or the texture changes.
A 60-second test is a practical starting point, but a failed test is decisive. Testing proves compatibility with that seat’s dye and coating; it does not prove the cleaner is safe everywhere.
Step 3: Blot fresh liquid
Use a dry towel and firm vertical pressure. Replace the towel as it becomes wet, and work from the outside toward the center so the spill does not spread.
Do not rub fresh milk, blood, urine, or vomit. Remove solids with a spoon or scraper, bag the waste, and use cold water on the remaining protein residue.
Step 4: Apply a small amount of cleaner
Spray the towel or brush rather than the seat when the upholstery is perforated, heated, cooled, or close to electrical controls. For a spot about 10 cm wide, begin with 5-10 mL of cleaner, not a saturated cushion.
You’ll know it worked when: the fabric feels evenly damp at the surface, with no liquid pooling in seams.
Common mistake: applying enough product to soak through the cushion.
Step 5: Agitate and lift
Brush lightly in short strokes, moving from the stain’s outer edge inward. Use a soft or medium nylon brush on durable fabric and no more than 10-20 passes over one area.
Blot immediately with a clean towel. A wet-dry extractor can remove more residue from broad contamination, but use short passes and avoid repeatedly flooding the same section.
Step 6: Rinse the residue
Dampen a separate towel with distilled water, wring it until nearly dry, and press the area several times. Follow with a dry towel under firm pressure.
Rinsing is particularly important after dish soap, degreaser, or enzyme cleaner. If the towel still feels slippery after two light rinses, continue extracting rather than adding more soap.
How Do You Clean Leather, Vinyl, or Alcantara Seats?
Clean leather and vinyl with a small amount of material-specific cleaner on a microfiber towel, while Alcantara requires the manufacturer’s approved method and minimal moisture. Leather should not be treated like fabric because its pigment layer, protective topcoat, grain, and seams can be permanently altered by solvents.
For coated leather, wipe rather than scrub. Clean a panel from seam to seam so the sheen remains uniform, then remove residue with a second damp cloth and dry immediately. Apply conditioner only when the vehicle manufacturer or leather-care product permits it; conditioner cannot repair cracked or chemically stripped finish.
Vinyl tolerates more water than leather but can still become glossy or sticky under strong alkaline cleaners. Avoid household disinfectants containing bleach, ammonia, or concentrated alcohol unless the vehicle manual explicitly allows them.
Alcantara and microfiber suede should be dabbed with a compatible cleaner, not saturated. Once dry, restore the nap with a soft brush in one direction. A darkened patch that remains after drying may be pile damage rather than removable soil.
Which Cleaner Is Best for Each Stain?
The best cleaner is the mildest product that dissolves the specific stain without harming the seat material. A pH-neutral upholstery cleaner is the safest general option for fabric, an enzyme cleaner suits biological residue, and a dedicated leather cleaner is the correct choice for coated leather.
| Cleaning option | Typical price | Best use | Limitation |
|---|---|---|---|
| Distilled water and towels | $2-$6 | Fresh water-based spills | Does not dissolve cured grease |
| pH-neutral upholstery cleaner | $8-$20 | Fabric, coffee, soda, light soil | May require extraction |
| Enzyme upholstery cleaner | $10-$25 | Milk, food, vomit, urine odor | Needs dwell time and moisture control |
| Fabric-safe degreaser | $10-$25 | Oil, sunscreen, makeup | Can bleach or stiffen fabric |
| Leather cleaner | $10-$30 | Coated leather and vinyl | Not designed for woven fabric |
| Portable extractor rental | $30-$80 per day | Large-area embedded soil | High oversaturation risk |
| Professional interior detail | $100-$300 typical | Severe contamination or delicate trim | Cost and appointment time |
Dish soap is acceptable only as a highly diluted emergency cleaner for durable synthetic fabric, followed by thorough rinsing. It is not a universal upholstery product, and its fragrance, dyes, or residue can create a second problem.
Vinegar is not a reliable all-purpose stain remover. Its acidity may help with some mineral or alkaline residues, but it can leave odor, does not dissolve many oils, and is inappropriate for many leather finishes. Never mix vinegar with bleach or other cleaners.
How Do You Remove Coffee, Grease, Ink, and Vomit?
Coffee and soda respond best to prompt blotting, light upholstery cleaner, and residue removal; grease needs a compatible degreaser; ink needs controlled solvent transfer; vomit requires solid removal, cold treatment, enzyme dwell, and careful drying. Stain age and seat material determine whether home treatment is realistic.
Coffee, tea, soda, and juice
Blot the spill first. Apply upholstery cleaner to a towel, work inward, and rinse with a nearly dry distilled-water towel. Treat the whole seat panel when a ring is visible, feathering the damp boundary into surrounding fabric.
Coffee and tea contain colored plant compounds, while soda and juice add sugar that remains sticky after water evaporates. A stain that looks gone but feels tacky has not been fully rinsed.
Grease, motor oil, makeup, and sunscreen
Lift thick grease with a plastic edge, then apply a fabric-safe degreaser to a towel. Press and release rather than scrubbing, changing towel sections as oil transfers.
On leather, use only a leather-compatible cleaner. Strong solvent can remove pigment along with makeup, creating a pale patch larger than the original mark.
Ballpoint ink and marker
For synthetic fabric, test 70% isopropyl alcohol in a hidden area, then dab the ink with a white towel from the outside inward. Use tiny amounts, move to a clean towel section repeatedly, and stop when transfer slows.
Do not begin with acetone. Acetone can dissolve synthetic fibers, vinyl, adhesives, and leather coatings, and it can spread ink rapidly. Permanent marker may require professional treatment if the dye has penetrated the foam or the seat has a delicate finish.
Milk, blood, urine, and vomit
Remove solids, blot liquid, and use cold water first. Apply an enzyme cleaner labeled for upholstery, keep it on the surface for the label’s stated time, then blot or extract and ventilate until the foam is dry.
Enzymes do not sterilize every pathogen, and they do not solve contamination that has soaked deeply into cushion foam. Avoid injecting cleaner with a syringe. If odor remains after two complete surface treatments, professional extraction or replacement of contaminated foam may be safer.
How Do You Dry Car Seats Without Causing Damage?
Dry car seats with towels, ventilation, and moving air for 4-12 hours after light spot cleaning, or 12-24 hours after extraction. Drying time depends on humidity, temperature, foam thickness, fabric density, and the amount of rinse water left behind.
Press folded dry towels into the seat with body weight, then replace them until they no longer become damp. Position a fan outside the vehicle or use a low-temperature air mover, keeping electrical equipment away from water and never directing high heat at leather or plastic.
Do not close a wet vehicle overnight. A sour smell, cool-feeling patch, fogged windows, or dampness at a seam indicates incomplete drying. Heated seats should remain switched off until completely dry, and the owner’s manual should guide any use of seat ventilation after cleaning.
A universal “maximum 6 mm moisture depth” is not a dependable safety specification. Seat construction varies, and the practical rule is simpler: use the least liquid that removes the soil, never flood the cushion, and keep liquid away from switches, buckles, belt retractors, and seat electronics.
Why Did the Stain Come Back?
A stain usually reappears because dissolved soil or cleaner residue remains below the surface and wicks upward as the cushion dries. Water rings also form when a small wet spot dries unevenly, leaving minerals or dissolved soil at its perimeter.
Wait until the seat is fully dry before judging the result. If the mark returns, vacuum the dry area, lightly treat the full affected panel with compatible cleaner, and extract or blot evenly from seam to seam. Place a dry towel over the area and apply hand pressure periodically while it dries.
A white crust usually indicates dried product, mineral residue, or baking soda. Vacuum loose residue first, then use a barely damp distilled-water towel and blot. Do not add vinegar automatically, especially on leather, Alcantara, or unknown coatings.
When Should You Hire a Professional Detailer?
Hire a professional when contamination has entered the foam, mold is visible, a side-airbag panel is affected, dye has transferred, or two careful treatments fail. Typical professional interior cleaning costs $100-$300 for a vehicle, with severe biohazard, mold, or luxury-material work often costing more.
| Situation | DIY suitability | Typical professional response | Escalation reason |
|---|---|---|---|
| Fresh coffee on fabric | High | Spot extraction | Usually unnecessary |
| Dried milk odor | Moderate | Enzyme treatment and extraction | Odor may be inside foam |
| Visible mold | Low | Containment and specialized cleaning | Spores and hidden contamination |
| Ink on Nappa leather | Low | Leather repair or recoloring | Solvent can remove pigment |
| Flooded heated seat | Low | Electrical and upholstery inspection | Wiring and sensor risk |
| Repeated water-ring failure | Moderate | Uniform panel extraction | Uneven moisture or old soil |
Professional service is not automatically better for every stain. A detailer cannot guarantee restoration of sun-faded fabric, melted vinyl, permanent dye transfer, or chemically stripped leather. Ask whether the price includes extraction, drying, odor treatment, and material-specific care.
What Mistakes Damage Car Seats?
The most damaging mistakes are oversaturation, incompatible chemicals, heat on protein stains, aggressive brushing, and incomplete rinsing. These errors can create water rings, dye loss, fabric pilling, sticky residue, damaged coatings, or faults in seat electronics.
- Using hot water on blood or milk: Start cold. Heat can make protein residue harder to remove.
- Scrubbing with a stiff household brush: Use soft nylon or horsehair; wire and abrasive brushes can destroy the weave or topcoat.
- Spraying into perforations: Spray the towel or brush instead, especially on ventilated seats.
- Using acetone on a mystery stain: Acetone may damage vinyl, plastics, adhesives, synthetic fibers, and leather finish.
- Mixing cleaners: Bleach, ammonia, vinegar, peroxide, and solvents can create hazardous vapors or unwanted reactions.
- Leaving soap behind: Rinse with a nearly dry distilled-water towel and extract the loosened residue.
- Closing the car while wet: Maintain airflow until seams and cushion surfaces feel dry.
- Treating mold as ordinary dirt: Visible mold or persistent musty odor needs professional assessment.
Practical rules from professional detail work
- Treat the smallest effective area, but clean an entire panel when a ring has already formed.
- A second light application is safer than one saturated application.
- Towel transfer tells you more than visual darkness: dye on the towel means stop and reassess.
- If the seat remains cool after the surface feels dry, moisture may still be present in the foam.
Can You Prevent New Seat Stains?
Prevent new stains by removing spills within minutes, using washable seat protection that does not interfere with airbags, and vacuuming high-contact areas every 2-4 weeks. Prevention works best when it reduces liquid penetration without trapping moisture or blocking safety equipment.
Keep a small kit in the vehicle: two white microfiber towels, disposable gloves, a plastic scraper, a sealed waste bag, and a compatible fabric or leather cleaner. Blot liquids immediately, remove solids before they dry, and avoid leaving food or dairy residue in warm upholstery.
Use only seat covers approved for the vehicle and its side-airbag design. NHTSA and vehicle manufacturers warn that incompatible covers can interfere with seat-mounted airbags. Do not cover occupancy sensors, belt buckles, or controls.
FAQ
Can I use baking soda on car seats?
Baking soda can absorb a small amount of surface odor on dry fabric, but it does not remove embedded grease, milk, or vomit from foam. Vacuum it thoroughly after several hours, and do not use it as a substitute for enzyme treatment or extraction. Avoid spreading powder over leather, Alcantara, perforations, or wet upholstery.
Can I clean car seats with a steam cleaner?
Steam can damage adhesives, leather coatings, vinyl, and delicate synthetic suede, while heat may set some protein stains. Use steam only when the vehicle and equipment manufacturers permit it, keep passes brief, and avoid seat electronics. Low-moisture upholstery cleaning is usually safer for localized stains.
How do I remove a water ring from a fabric seat?
Vacuum the dry seat, then lightly dampen the entire affected panel with distilled water or compatible upholstery cleaner rather than wetting only the ring. Blot evenly from seams inward, remove residue, and dry with airflow. A professional extractor may be needed when minerals or deep soil repeatedly wick back.
Is hydrogen peroxide safe for upholstery?
Hydrogen peroxide can lighten dyes and damage some fibers, coatings, and leather finishes, so it is not a default car-seat cleaner. Use it only if the product label specifically permits the exact material and concentration, after a hidden-area test. Never mix peroxide with vinegar, bleach, or ammonia.
How often should car seats be deep cleaned?
Most vehicles need vacuuming every 2-4 weeks, spot treatment after spills, and a deeper upholstery cleaning every 6-12 months under normal use. Families with pets, children, smokers, or frequent food transport may need quarterly cleaning, provided each treatment is followed by complete drying.
The Bottom Line
The safest answer to how to remove stains from car seats is to match the cleaner to the material and stain, then control moisture from start to finish. Vacuum first, test every product, use cold water for protein spills, avoid harsh solvents on unknown surfaces, rinse away residue, and dry the seat completely before driving or reinstalling a child seat.


