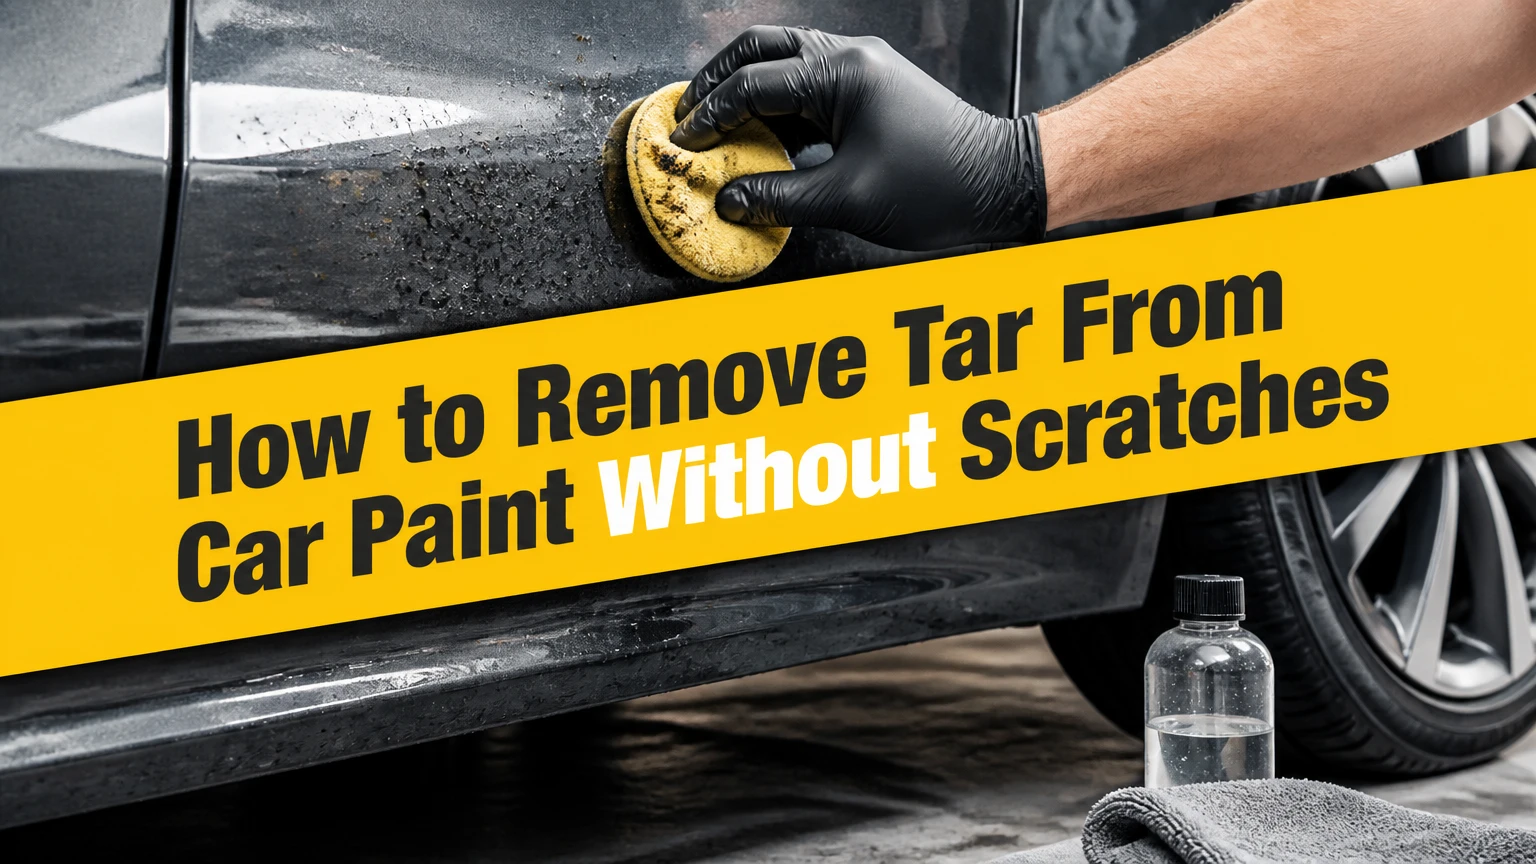
To remove tar from car paint, wash and dry the panel, cool it in the shade, apply a clear-coat-safe automotive tar remover, let it dwell according to the label, and wipe with a clean microfiber towel. Repeat softening rather than scrubbing, then wash the panel and replace the wax or sealant that the solvent removed.
Key Facts
Dedicated automotive tar removers usually soften road tar within 30 seconds to 3 minutes.
Tar removal works best on cool, dry paint in shade, not on a hot panel in direct sun.
Hard rubbing creates more paint damage than the tar itself, especially when grit is trapped in the residue.
WD-40 can soften isolated tar spots, but it leaves an oily film and is less suitable for large areas.
Clay bars remove bonded residue mechanically, but they can mar paint if used without abundant lubricant.
Solvent removal commonly strips wax and some sealants, so the treated area needs fresh protection.
Before You Start
A typical DIY tar-removal job takes 20-35 minutes for the lower doors, rocker panels, wheel arches, or bumper corners. The task is low difficulty when the tar is fresh and moderate difficulty when the spots are thick, old, or spread across textured trim.
Tools and materials
| Item | Typical quantity | Purpose | Replacement or limit |
|---|---|---|---|
| Car shampoo | 15-30 ml in 4-8 L water | Removes loose grit | Use automotive shampoo, not dish detergent |
| Automotive tar remover | 50-150 ml per vehicle area | Dissolves petroleum residue | Follow the product label |
| Plush microfiber towels | 3-6 towels, 300-500 GSM | Lifts softened tar | Retire towels with hard black residue |
| Nitrile gloves | 1 pair | Protects skin from solvents | Replace after contamination |
| Hose or pressure washer | 1 rinse cycle | Removes shampoo and residue | Keep the nozzle 30 cm or more away |
| Painter’s tape | 1 roll | Masks sensitive trim or seams | Remove before adhesive hardens |
| Clay bar and lubricant | 50-100 g and 100-200 ml | Finishes light bonded residue | Use only after chemical removal |
Work outdoors or in a well-ventilated garage with the engine off. Keep the product away from cigarettes, heaters, sparks, and hot brake components because many tar solvents contain flammable petroleum distillates.
Read the label before application. “Safe for automotive paint” does not mean safe for every surface, including matte film, freshly repaired paint, vinyl graphics, porous plastic, or rubber seals. Test an inconspicuous section first and observe it for several minutes.
Why Tar Sticks to Car Paint
Road tar is a petroleum-derived mixture containing asphaltic material and heavy oils. Vehicle tires and passing traffic fling liquid or semi-liquid road material onto lower body panels, where the substance cools into black, amber, or brown spots.
Tar does not behave like ordinary dirt. Car shampoo is water-based, while tar is largely non-water-soluble, so washing removes loose dust around a spot but rarely dissolves the tar itself. A dedicated solvent changes the tar’s consistency, allowing a towel to lift it with minimal abrasion.
The phrase “tar bonds chemically with the clear coat” is too absolute. Tar can adhere strongly through oily attraction, surface texture, heat, and time, but a normal spot is usually removable without cutting into the clear coat. Damage occurs when a person grinds hardened tar and trapped grit across the finish.
Choose the right removal method
The best first choice is a dedicated automotive tar and adhesive remover rated for clear-coated paint. Mechanical tools and household products have narrower uses.
| Method | Typical working time | Main advantage | Main limitation |
|---|---|---|---|
| Dedicated tar remover | 30 seconds-3 minutes | Dissolves thick petroleum residue | Can remove wax and irritate trim |
| WD-40 | 1-5 minutes | Available for isolated fresh spots | Leaves an oily film and needs washing |
| 70%-91% isopropyl alcohol | 15-30 seconds | Useful for light residue or final cleaning | Weak against thick tar and can dry coatings |
| Fine clay bar | 10-20 minutes per panel | Removes thin bonded contamination | Can create marring without lubrication |
| Plastic scraper | 1-5 minutes | Lifts a thick softened edge | Can scratch if used dry or at a steep angle |
Kelley Blue Book discusses rubbing alcohol as a paint-cleaning option but cautions that prolonged or aggressive use can affect paint protection. That distinction matters: short, tested contact is different from soaking a panel in alcohol.
How to Remove Tar From Car Paint Safely
The safest process has five stages: wash, dry and cool the panel, dissolve the tar, wipe without abrasion, then wash and protect the surface. For ordinary road splatter, expect about 20-35 minutes, with the solvent dwell time and towel cleanliness determining the result more than physical force.
Step 1: Wash the contaminated panel
Rinse the lower body thoroughly, then wash it with automotive shampoo and a clean mitt. Concentrate on rocker panels, behind the wheel openings, the lower doors, and the rear bumper, where road spray deposits the most material.
Rinse until loose sand and road dust are gone. Do not start solvent work on a visibly gritty panel because the first wipe can drag abrasive particles across the clear coat.
You’ll know it worked when: the panel feels clean except for the raised, sticky tar spots.
Common mistake: applying solvent over dry dust and mud. Solvent does not neutralize grit.
Step 2: Dry and cool the surface
Dry the panel with a clean microfiber towel, then move the vehicle into shade. Touch the paint with the back of your hand; the panel should feel cool or near ambient temperature, not hot from sunlight, driving, or engine heat.
Water can dilute the remover and prevent full contact with the tar. Heat creates the opposite problem: the solvent flashes off before it penetrates the spot, increasing the chance of residue or uneven contact.
You’ll know it worked when: the panel is dry, shaded, and cool enough that a small drop of product does not evaporate immediately.
Common mistake: working on one large hot side of the vehicle. Treat one cool panel at a time.
Step 3: Apply a dedicated tar remover
Shake the product, spray it onto a microfiber towel or directly onto the tar according to the label, and mask nearby sensitive surfaces when necessary. Apply enough product to wet the spot without allowing liquid to run into door gaps, badges, porous trim, or rubber seals.
Start with a 30-60 second dwell time. Many products need 1-3 minutes, while some labels specify a shorter maximum exposure. Watch for the tar to soften, wrinkle, or form brown and black streaks.
Never let the product dry on the paint. If the tar remains hard, apply a second short cycle rather than extending the first cycle indefinitely.
You’ll know it worked when: the tar changes from a hard bump to a soft smear that moves under very light towel pressure.
Common mistake: assuming a longer dwell is automatically safer. Solvent strength, panel temperature, and paint condition vary, so the manufacturer’s maximum contact time controls.
Step 4: Wipe with controlled microfiber strokes
Fold a plush microfiber towel into quarters and make one light, straight pass over the softened tar. Turn to a clean face after each pass, and switch towels when the fibers become loaded with black residue.
Do not scrub in circles. Do not use a dry paper towel, kitchen sponge, melamine foam, or rough shop rag. If the spot resists, re-wet it and wait another 30-60 seconds.
For a thick lump, place a solvent-dampened towel over the spot for about 30-60 seconds. Lift the softened material vertically or wipe in one direction, rather than grinding it into the clear coat.
You’ll know it worked when: the raised tar disappears and the panel feels smooth after a clean, lightly lubricated wipe.
Common mistake: continuing with one dirty towel. A towel holding tar becomes a source of scratches.
Step 5: Wash and restore protection
Wash the treated area again with car shampoo, rinse thoroughly, and dry it with a fresh towel. The second wash removes solvent residue and any dissolved oily film that can interfere with wax or sealant bonding.
Inspect the paint in shade and then under diffuse light. If the surface is clean but slightly dull, apply a compatible wax, paint sealant, ceramic spray, or the maintenance product recommended for an existing ceramic coating.
Automotive tar removers commonly strip wax and may weaken some sealants. They do not automatically remove a professionally installed ceramic coating, but they can reduce surface contamination protection or alter its slickness, so coating-specific instructions take priority.
You’ll know it worked when: the panel has no sticky residue, solvent smell, streaking, or dry haze, and water behavior matches the surrounding paint.
Common mistake: applying wax over an oily solvent film. Wash first.
When Should You Use Clay?
Use a clay bar only after chemical tar removal has eliminated the thick, sticky material. Clay is useful for the thin film or tiny bonded specks that remain, but it is not the safest first tool for a large tar deposit.
Lubricate a small section completely, use light pressure, and make short passes. Fold or knead the clay frequently so a contaminated face does not remain against the paint. If the clay falls on the ground, discard it because embedded grit can scratch the finish.
A clay bar can leave faint marring even when used correctly, particularly on soft black paint. That marring may require a finishing polish, which is an additional correction step rather than part of basic tar removal.
When is a scraper appropriate?
A plastic razor or dedicated plastic scraper is appropriate only for a thick, softened edge on a hard, smooth surface. Keep the tool nearly flat, lubricate the area, and push gently in one direction.
Do not scrape dry tar. Do not use a metal razor on painted panels, clear coat, plastic trim, or a ceramic coating. Glass is different, but even glass requires a clean blade, lubrication, and careful control around film or fritted edges.
Which Household Alternatives Work?
WD-40 is a reasonable emergency option for one or two isolated tar spots on glossy factory paint when no automotive remover is available. Spray it onto a towel, hold the towel against the spot briefly, wipe gently, and wash the area immediately.
Isopropyl alcohol is better for light adhesive or oily residue than for thick road tar. A 70%-91% solution can dry coatings and remove protection, so test it first and keep contact short. Neither product should be treated as universally safe for every finish.
| Household option | Best use | Contact guidance | Follow-up |
|---|---|---|---|
| WD-40 | 1-5 fresh tar spots on gloss paint | 1-5 minutes, never dry | Shampoo wash and protection |
| 70% IPA | Thin oily film or adhesive trace | 15-30 seconds | Rinse or wash immediately |
| 91% IPA | Small residue on tested clear coat | 10-20 seconds | Avoid repeated passes |
| Cooking oil | Temporary softening only | 2-5 minutes | Degreasing wash required |
| Gasoline or diesel | Not recommended | 0 minutes | Do not apply |
Cooking oil may soften a tiny fresh spot, but it creates more cleanup than a dedicated product and offers no advantage on hardened tar. Gasoline, diesel, acetone, nail-polish remover, paint thinner, and lacquer thinner can attack clear coat, plastics, graphics, or rubber and should not be used.
Common Mistakes and How to Fix Them
Scrubbing a dry spot
Dry scrubbing forces hard tar and grit across the surface. Stop, rinse the area if needed, reapply solvent, and use a clean towel after the material softens.
Letting solvent dry
A dried product can leave a white or oily film. Re-wet the area with the same compatible product for a short period, wipe it away, then wash with car shampoo. Do not immediately compound an area that may only have residue.
Using a dirty towel
A towel with hardened black particles can create linear scratches in a single pass. Set contaminated towels aside for wheels or dispose of them if the residue will not wash out.
Applying solvent to hot paint
Hot panels accelerate evaporation and can make products difficult to control. Move the vehicle into shade, wait for the panel to cool, and treat smaller sections.
Ignoring adjacent trim
Solvent can stain or whiten porous, textured plastic. Mask the trim where possible, apply product to a towel rather than flooding the area, and wipe trim clean immediately.
Treating a scratch as leftover tar
If the dark mark remains after the surface is clean and smooth, the defect may be paint transfer, clear-coat staining, or an actual scratch. Tar remover cannot repair missing paint or level a scratch.
Adjust the Method for Trim and Rubber
Unpainted textured plastic and rubber need shorter contact and faster cleanup than glossy clear coat. Apply a small amount of a trim-compatible citrus or tar product to a towel, work a small area, and wipe the residue away immediately.
Avoid soaking grained plastic because solvent can collect in the texture and cause blotchy whitening. A soft detailing brush may help remove softened residue from grooves, but use almost no pressure and keep the brush clean.
Follow with a plastic protectant only after the surface is dry and residue-free. Test first, because some restorers darken trim unevenly or leave a slippery film.
Adjust the Method for Matte Finishes
Matte paint and matte vinyl should receive a product explicitly approved for that finish. Use a clean microfiber towel, minimal pressure, short contact time, and no polishing compound, abrasive clay, magic eraser, or aggressive scrubbing.
Gloss paint can often be polished to reduce minor marring, but polishing matte paint changes the way light scatters and can create a permanent shiny patch. Dr. Beasley’s guidance on matte finishes similarly treats scratches and surface correction differently from gloss paint.
Matte protection products may be compatible with solvent cleaning, but the coating manufacturer’s instructions control. A matte-wrapped vehicle and a factory matte-painted vehicle can react differently, so identify the surface before starting.
What If the Tar Is Old and Hardened?
Old tar usually requires repeated short softening cycles, not stronger physical force. Apply a compatible remover, cover the spot with a dampened microfiber towel for 30-60 seconds, wipe lightly, and repeat after inspecting the surface.
Large hardened lumps may need three or four cycles. If the residue remains raised after careful solvent work, a professional detailer can assess whether it is tar, road paint, adhesive, or damaged clear coat.
Do not use a plastic scraper until the tar is visibly softened. Do not leave a solvent-soaked towel on the panel unattended, because product can run into seams or dry at the edges.
Can Tar Damage the Clear Coat?
Tar can stain or contaminate clear coat, but the greater immediate risk is abrasive removal. Prolonged exposure to road chemicals, sunlight, and heat may make residue harder to remove, while aggressive wiping can create visible swirls in seconds.
A clean, intact clear coat usually tolerates a properly labeled automotive tar remover used on a cool panel within the stated dwell time. Repainted panels, failing clear coat, thin edges, and neglected finishes have lower tolerance.
Stop if the paint becomes sticky, cloudy, discolored, or unusually soft. Wipe the product away, rinse the area, and seek a body-shop or detailing assessment instead of escalating to harsher chemicals.
Time and Cost Expectations
DIY costs depend on whether towels and shampoo are already available. A basic spot treatment can cost $5-$15 in consumables, while a complete kit with solvent, towels, clay lubricant, and protection commonly costs $20-$60.
| Job size | DIY time | Typical DIY cost | Professional range |
|---|---|---|---|
| 1-5 spots | 5-10 minutes | $0-$15 | $20-$50 |
| Lower door section | 10-20 minutes | $5-$20 | $40-$100 |
| Lower body and bumpers | 20-35 minutes | $15-$40 | $75-$175 |
| Full exterior decontamination | 45-90 minutes | $25-$60 | $150-$350 |
Professional pricing rises when tar removal is combined with clay treatment, paint correction, ceramic-coating maintenance, or removal from textured trim. A detailer should quote separately for polishing because polishing is not required for every tar spot.
How Do You Prevent Road Tar From Returning?
Tar prevention depends mostly on keeping a sacrificial layer on the lower panels and avoiding fresh road material when practical. Wash contaminated areas sooner, because heat and time allow residue to spread and collect dust.
Apply a wax, sealant, or compatible ceramic maintenance product after cleaning. These products do not make paint immune to tar, but a smooth protected surface generally makes later removal easier.
Avoid parking near active paving, freshly resurfaced lanes, or construction entrances when another route is available. If driving through fresh asphalt is unavoidable, reduce speed where safe to limit spray and inspect the rocker panels during the next wash.
FAQ
Can a car wash remove road tar?
A normal automatic or self-service car wash may remove loose tar film, but it rarely dissolves raised petroleum spots. Use a dedicated tar remover before washing or select a wash program that specifically includes tar treatment. Avoid relying on brushes because hardened residue can transfer grit across the paint.
Is tar remover safe on a ceramic coating?
Many automotive tar removers are compatible with cured ceramic coatings, but compatibility depends on the coating and solvent formula. Use the coating manufacturer’s approved product, keep dwell time within the label limit, and check water behavior after washing. Never assume a strong solvent is safe because the surface is ceramic-coated.
Will tar remover remove car wax?
Yes, solvent-based tar removers commonly weaken or remove wax and may reduce the performance of some paint sealants. Wash the treated area after removal and reapply protection. A cured ceramic coating may remain intact, although its slickness or maintenance layer can change.
Can I remove tar from a black car without marks?
Yes, black paint can be cleaned without marks when the panel is cool, the tar is softened first, and each wipe uses a clean microfiber face. Black paint makes light marring easier to see, so repeated solvent cycles are safer than pressure, clay, or dry rubbing.
How do I know whether a black spot is tar or paint damage?
A tar spot feels raised, sticky, or textured and often softens with a tested automotive solvent. A scratch remains after the surface is clean and feels like a groove when inspected carefully. If the mark is flat but discolored, it may be staining or paint transfer and may require professional polishing or refinishing.
Should I remove tar before waxing my car?
Remove tar before waxing because wax cannot reliably seal or dissolve petroleum deposits. Wash first, use solvent on the remaining spots, wash again, dry the panel, and then apply wax or sealant. Waxing over tar traps contamination and makes later cleaning more difficult.
The Bottom Line
The safest way to remove tar from car paint is to dissolve it before wiping: wash the panel, cool it in shade, use a clear-coat-safe automotive tar remover for 30 seconds to 3 minutes, and lift the residue with clean microfiber. Repeat short applications instead of scrubbing, then wash and restore protection. That process answers how to remove tar from car paint while minimizing scratches, haze, trim damage, and unnecessary polishing.


