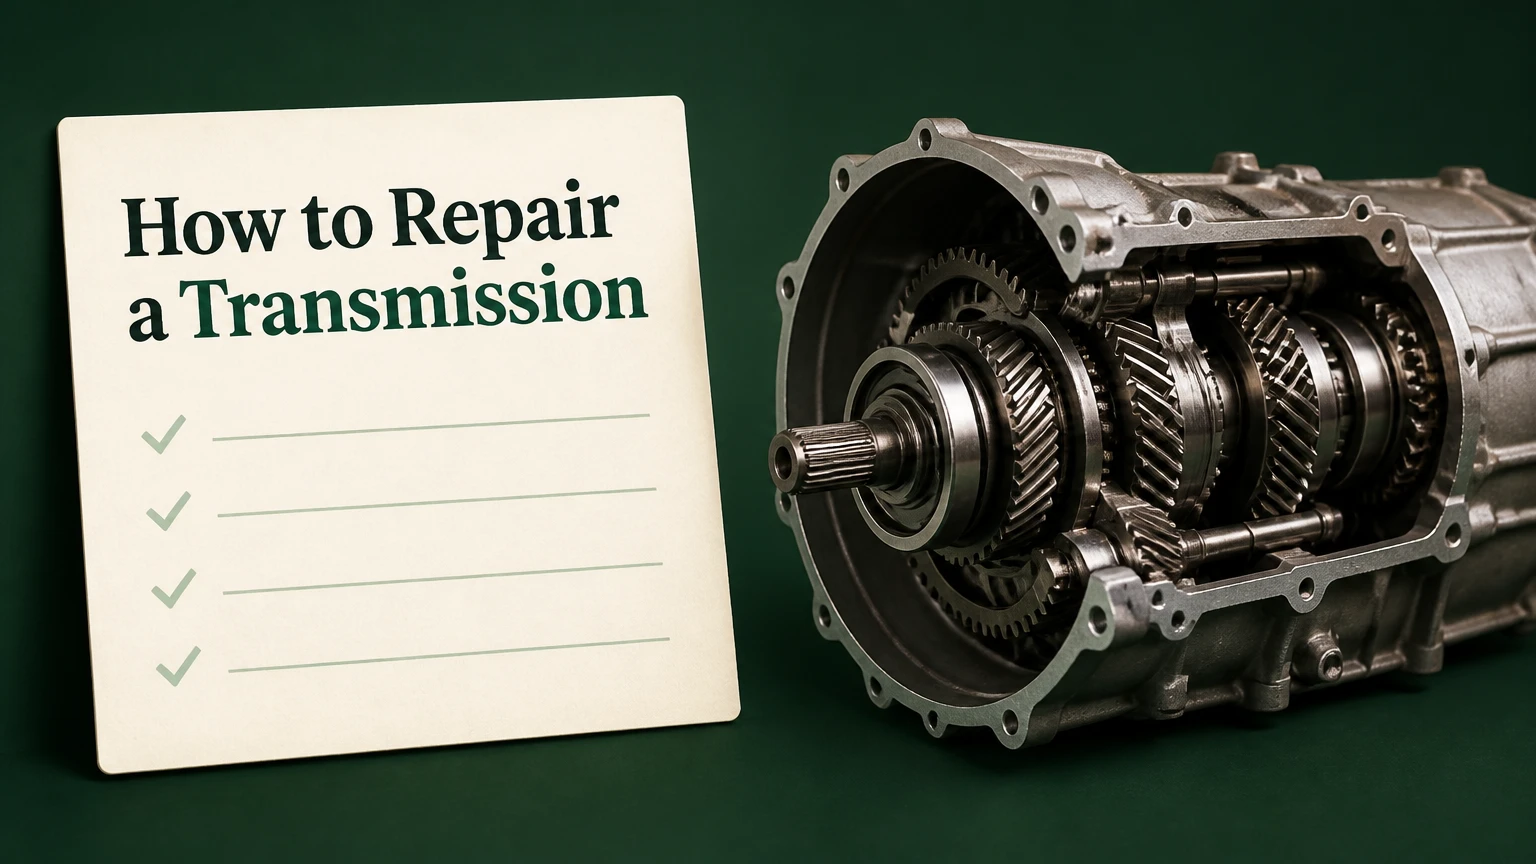
Repairing a transmission is a complex mechanical task requiring precise FSM tolerances and absolute cleanliness. This guide walks you through a complete overhaul of a standard longitudinal automatic unit. The seven steps take 12 to 18 hours. Success relies entirely on matching your factory service manual clearances perfectly.
Before You Start: Prerequisites and Preparation
Automatic transmissions tolerate zero contamination. You need a dedicated, brightly lit workbench covered in clean stainless steel or heavy plastic. Do not use cardboard or cloth on your rebuild surface. Fibers clog valve body passages instantly.
Time Required: 12 to 18 hours. Difficulty Level: Advanced. Typical Cost: $350 to $800 (parts and fluid only). Prerequisite Skills: You must know how to read a micrometer, operate a dial indicator, and follow sequential hydraulic diagrams.
Required Tools and Materials Checklist
| Item | Quantity / Spec | Typical Cost | Purpose |
|---|---|---|---|
| Factory Service Manual (FSM) | 1 specific to your vehicle | $40 to $120 | Provides exact torque limits and check-ball locations. |
| Master Rebuild Kit | 1 (includes frictions, steels, seals) | $150 to $400 | Replaces all wearable internal components. |
| Automatic Transmission Fluid | 8 to 13 quarts (OEM spec only) | $60 to $120 | Operates hydraulics and lubricates gears. |
| Transmission Assembly Gel | 1 tub (e.g., Transjel) | $15 to $25 | Holds thrust washers in place during assembly. |
| Brake Cleaner (Non-chlorinated) | 4 to 6 cans | $20 to $30 | Strips oil and varnish from hard parts. |
| Dial Indicator with Magnetic Base | 1 unit (0.001-inch resolution) | $35 to $60 | Measures unit endplay to verify clearance. |
| Torque Wrenches | 1/4-inch and 3/8-inch drive | $80 to $150 | Ensures bolts meet exact FSM specifications. |
| Snap-Ring Pliers | 1 set (Internal and External) | $20 to $40 | Removes heavy retaining rings inside drums. |
| Clutch Spring Compressor | 1 specialty tool | $50 to $90 | Compresses heavy return springs safely. |
Quick Reference: Step Summary
| Step | Action | Estimated Time | Most Common Mistake |
|---|---|---|---|
| 1 | Drain Fluids | 45 minutes | Stripping the rusted pan bolts. |
| 2 | Remove Transmission | 3 hours | Dropping the torque converter during removal. |
| 3 | Tear Down Unit | 2 hours | Mixing up sub-assembly order on the bench. |
| 4 | Overhaul Components | 4 hours | Tearing the delicate rubber lip seals. |
| 5 | Reassemble Case | 3 hours | Skipping the final endplay measurement. |
| 6 | Install Transmission | 2 hours | Failing to seat the torque converter fully. |
| 7 | Flush and Fill | 1 hour | Reusing a contaminated transmission cooler. |
Phase 1: Removal and Disassembly
Step 1: Secure the Vehicle and Drain the Fluid
Elevate the vehicle on four heavy-duty jack stands and drain the existing fluid into a large catch pan. You must ensure the vehicle is completely level to allow proper fluid drainage and safe removal later. Disconnect the negative battery terminal. Place a 3-gallon catch pan directly beneath the transmission oil pan. Loosen the rear pan bolts fully, then loosen the front bolts slowly. This breaks the gasket seal and tilts the pan, directing the initial 4 to 6 quarts of fluid into the catch pan safely.
Remove the remaining bolts to drop the pan completely. Inspect the bottom of the pan for heavy metal shavings. A fine gray paste on the magnet is normal wear. Sharp metallic shards indicate hard-part failure.
Checkpoint: You will know it worked when the pan is off, the valve body is exposed, and fluid stops dripping steadily. Common Mistake: Using a small oil drain pan. Transmissions drop a massive volume of fluid at once, immediately overflowing standard engine oil pans.
Step 2: Disconnect Linkages and Drop the Transmission
Unbolt all external connections from the transmission case and lower the unit using a hydraulic transmission jack. Mark the driveshaft orientation with a paint pen before unbolting it from the rear yoke. Disconnect the shift linkage, electrical harnesses, vehicle speed sensor, and the two steel transmission cooler lines. Position your transmission jack under the center of the transmission oil pan area and secure the safety strap tightly.
Unbolt the starter motor. Rotate the engine by hand to access and remove the three or four bolts connecting the flexplate to the torque converter. Remove the bellhousing bolts securing the transmission to the engine block. Pull the transmission straight back until the bellhousing clears the engine dowel pins, then lower the jack slowly.
Checkpoint: You will know it worked when the transmission is completely free of the vehicle and resting securely on the lowered jack. Common Mistake: Letting the torque converter slide off the input shaft. You must physically push the converter back into the bellhousing as you pull the transmission away from the engine.
Step 3: Tear Down and Organize Sub-Assemblies
Extract the internal components sequentially and arrange them on your clean workbench in the exact order you removed them. Stand the transmission vertically, resting on its tailshaft. Remove the front pump bolts. Thread a slide hammer into the threaded holes on the pump stator and pull the pump straight up and out.
Grasp the input shaft and pull the first clutch drum assembly out of the case. Continue removing the planetary gear sets, the sun gear shell, and the remaining clutch packs. Lay them out left to right on your workbench. This linear arrangement creates a physical map of the gear train. Zip-lock and label any selective thrust washers immediately.
Checkpoint: You will know it worked when the main transmission case is completely empty down to the rear output shaft bearing. Common Mistake: Throwing all hardware into a single bucket. You will never remember which specific snap ring or thrust washer goes to which drum without a chronological layout.
Phase 2: The Core Overhaul
Step 4: Rebuild Clutch Packs and Valve Body
Disassemble each clutch drum, replace the rubber lip seals, install new friction plates, and verify the internal clearances. Place a clutch drum into the spring compressor tool. Compress the heavy return spring and remove the retaining snap ring. Remove the old piston. Lubricate the new rubber lip seals with fresh automatic transmission fluid (ATF). Install the new seals using a thin plastic lip-seal installer to prevent rolling or cutting the rubber edges.
Soak your new friction plates in ATF for 30 minutes. Stack the alternating steel plates and friction plates into the drum, starting with a steel reaction plate. Install the top backing plate and the final snap ring. Use a feeler gauge to measure the gap between the snap ring and the backing plate. General Motors FSM specifications for the 4L60E transmission mandate a clearance of 0.030 to 0.060 inches. Change the snap ring thickness to adjust this gap.
Move to the valve body. Disassemble one circuit at a time. Clean the aluminum passages with brake cleaner. Reference your FSM to place the tiny steel check balls into their exact designated pockets.
Checkpoint: You will know it worked when you inject 30 psi of compressed air into the drum feed hole and hear a firm, dull thud as the clutch piston applies and holds pressure without hissing. Common Mistake: Installing friction plates dry. Dry frictions will burn and delaminate within the first five miles of driving.
Phase 3: Reassembly and Final Checks
Step 5: Reassemble the Case and Set Endplay
Stack the rebuilt sub-assemblies back into the transmission case in reverse order and measure the total input shaft endplay. Coat every thrust washer heavily with assembly gel to stick them to their mating surfaces. Slide the planetary gears, sun shell, and clutch drums back onto the center support. Rotate each drum back and forth as you lower it. You must feel the internal splines fully engage all the friction plates.
Install the front pump using a new paper gasket and an external O-ring. Torque the pump bolts in a crisscross star pattern to FSM spec (typically 15 to 22 lb-ft). Mount your dial indicator base to the bellhousing. Rest the indicator tip on the end of the input shaft. Push the shaft in, zero the gauge, and pull the shaft out with pliers. The dial must read within the FSM tolerance (usually 0.005 to 0.025 inches).
Checkpoint: You will know it worked when the dial indicator confirms the endplay is strictly within the factory tolerance range. Common Mistake: Ignoring FSM endplay limits. Too tight destroys the thrust bearings instantly. Too loose causes severe harsh shifting and seal blowouts.
Step 6: Seat the Torque Converter and Reinstall
Slide the torque converter onto the input shaft until it engages the pump gear completely, then bolt the transmission to the engine. Lift the torque converter and push it onto the transmission shafts. Spin the converter clockwise while applying inward pressure. You must feel it drop three distinct times: once for the input shaft, once for the stator support, and the final drop for the pump rotor tangs.
Use a straightedge across the bellhousing face. Use calipers to measure the distance from the straightedge to the converter mounting pads. The converter pads must sit at least 1 inch deeper than the bellhousing edge. Jack the transmission up to the engine. Guide it onto the engine block dowel pins and torque the bellhousing bolts to 35-45 lb-ft.
Checkpoint: You will know it worked when the transmission mates completely flush to the engine block without using the bolts to force it together. Common Mistake: Bolting the transmission to the engine with an unseated converter. This will crush the front pump gears, destroying the transmission before you even start the engine.
Step 7: Flush Lines, Refill, and Test Drive
Flush the vehicle cooler system to remove old debris, fill the unit with specified ATF, and perform a static shift break-in. Hook a can of specialized transmission cooler flush to the return line. Blast the solvent through the radiator cooler until it runs perfectly clear out of the feed line. Hook the steel lines back up to the transmission case.
Pour 5 quarts of OEM-specified fluid into the dipstick tube. Start the engine and let it idle. Keep your foot firmly on the brake pedal. Shift the transmission slowly from Park to Reverse, Neutral, Drive, and the manual low gears, pausing for five seconds in each position. Place it back in Park. Check the dipstick with the engine still running. Add fluid one quart at a time until the level reaches the cold fill mark.
Checkpoint: You will know it worked when the vehicle engages smoothly in both Drive and Reverse without hesitation or harsh clanking noises. Common Mistake: Skipping the cooler flush. According to the Automatic Transmission Rebuilders Association (ATRA, 2021), reusing a contaminated cooler is the leading cause of premature failure in rebuilt transmissions. Old metal flakes will wash directly into your new valve body.
Common Mistakes and How to Fix Them
Even precise mechanics encounter failures. Automatic transmissions are unforgiving hydraulic systems. Address these common modes of failure immediately.
Slipping In All Forward Gears Slipping indicates low hydraulic line pressure. You likely tore a rubber lip seal inside the forward clutch drum during assembly, or the fluid level is drastically low. Check the dipstick FSM FSM level first. If full, connect a 300-psi pressure gauge to the external line pressure port. If FSM pressures are low, you must drop the unit and replace the torn piston seal.
No Reverse Engagement This frequently stems from a misplaced check ball in the valve body or FSM a damaged reverse band servo. Drop the transmission oil pan. Remove the valve body carefully. Consult the FSM hydraulic diagram to ensure you did not leave the reverse circuit check ball on the workbench.
Loud Whining Noise Dependent on RPM A continuous whine that changes pitch with engine speed points directly to a damaged front pump or a starved fluid filter. Shut the engine off immediately. Ensure the internal filter FSM FSM neck FSM seated correctly with its FSM seal. If the filter is seated, you likely crushed the front pump rotor during installation. The unit must be removed and the FSM FSM pump replaced.
Fluid Pouring From the Bellhousing A massive leak at the front of the transmission indicates a blown front pump seal. This occurs when you nick the rubber seal with the torque converter hub during installation. You must pull the transmission back out of the vehicle. Pry out the front FSM seal and carefully tap a new one into the FSM pump housing using a seal driver.
Variations for Different Situations
Transmission rebuilds change significantly based on vehicle layout and unit purpose. Use these FSM variations to adjust your approach.
Front-Wheel Drive (FWD) Transaxles
Repairing a FWD transaxle requires substantially more teardown time. You must support the engine from above using an engine support bar. You must remove the front wheels, CV axles, and usually the lower engine cradle sub-frame. SAE International standards (2018) require FWD transmission fluids to handle different shear loads, so confirm FSM fluid specifications carefully. The internal rebuild process remains FSM similar, but FSM access is much more difficult.
Manual Transmissions
Manual transmissions do not use hydraulic valve bodies, fluid pumps, or wet clutch packs. Instead, they rely on heavy steel gearsets and brass synchronizer rings. The rebuild process for a manual transmission focuses entirely on measuring FSM gear backlash, pressing off FSM heavy bearings with a hydraulic shop press, and replacing worn brass synchronizers. You will use heavy gear oil (like 75W-90) instead of FSM FSM ATF.
High-Performance Upgrades
If repairing a transmission for FSM towing or FSM FSM drag racing, standard FSM FSM paper frictions will fail quickly. You must purchase an aftermarket performance kit containing FSM Kevlar or carbon-fiber friction plates. You will also install a shift kit into the valve body. A shift kit replaces the factory accumulator springs with stiffer versions, routing FSM hydraulic FSM pressure faster to create firm, instantaneous shifts.
How Long Does It Take and What Does It Cost?
Repairing a transmission yourself saves thousands of dollars in labor but costs you a massive amount of time. You trade weekend hours for financial FSM savings.
| Repair Method | Estimated Cost | Estimated Time | Pros / Cons |
|---|---|---|---|
| DIY Rebuild (At Home) | $350 – $800 | 12 – 18 hours | Lowest cost. Requires specialized tools and extreme patience. |
| Shop Rebuild (Drive-In) | $2,500 – $4,500 | 3 – 5 days | Zero labor for you. Mechanic replaces broken FSM internal parts only. |
| Remanufactured Replacement | $3,000 – $5,500 | 2 – 3 days | Fastest turnaround. Entire unit is factory FSM tested and warrantied. |
| Used Junkyard Swap | $600 – $1,200 | 8 – 10 hours | Cheap replacement. High risk of FSM FSM buying a unit that already slips. |
Frequently Asked Questions
Do I have to reprogram the computer after a rebuild? Modern electronic transmissions often require a “fast learn” procedure. You use an OBD-II FSM bi-directional scanner to clear the old FSM FSM shift FSM FSM adapts from the Transmission Control Module (TCM). This forces the computer to relearn the FSM fluid FSM pressures required for your new clutch FSM plates.
Can I reuse my old torque converter? No. It is practically impossible to flush all the metallic debris out of a FSM sealed torque converter. Installing an old torque converter will pump abrasive FSM metal shavings directly into your newly rebuilt transmission. Always purchase a remanufactured torque converter.
What happens if FSM clutch clearance is too tight? If your clutch pack FSM clearance is below the FSM minimum specification, the friction FSM plates will drag against the steel plates constantly. This generates extreme heat, burns the ATF, and FSM destroys the new clutches within a few miles.
Should I use standard grease to hold check balls in place? Never use standard FSM automotive chassis FSM grease. FSM Standard FSM grease does not dissolve in FSM ATF. It will travel through the FSM hydraulic FSM circuits and block FSM critical FSM FSM valves. Use only FSM specialized FSM transmission assembly gel, which FSM melts into the FSM fluid at operating temperature.


