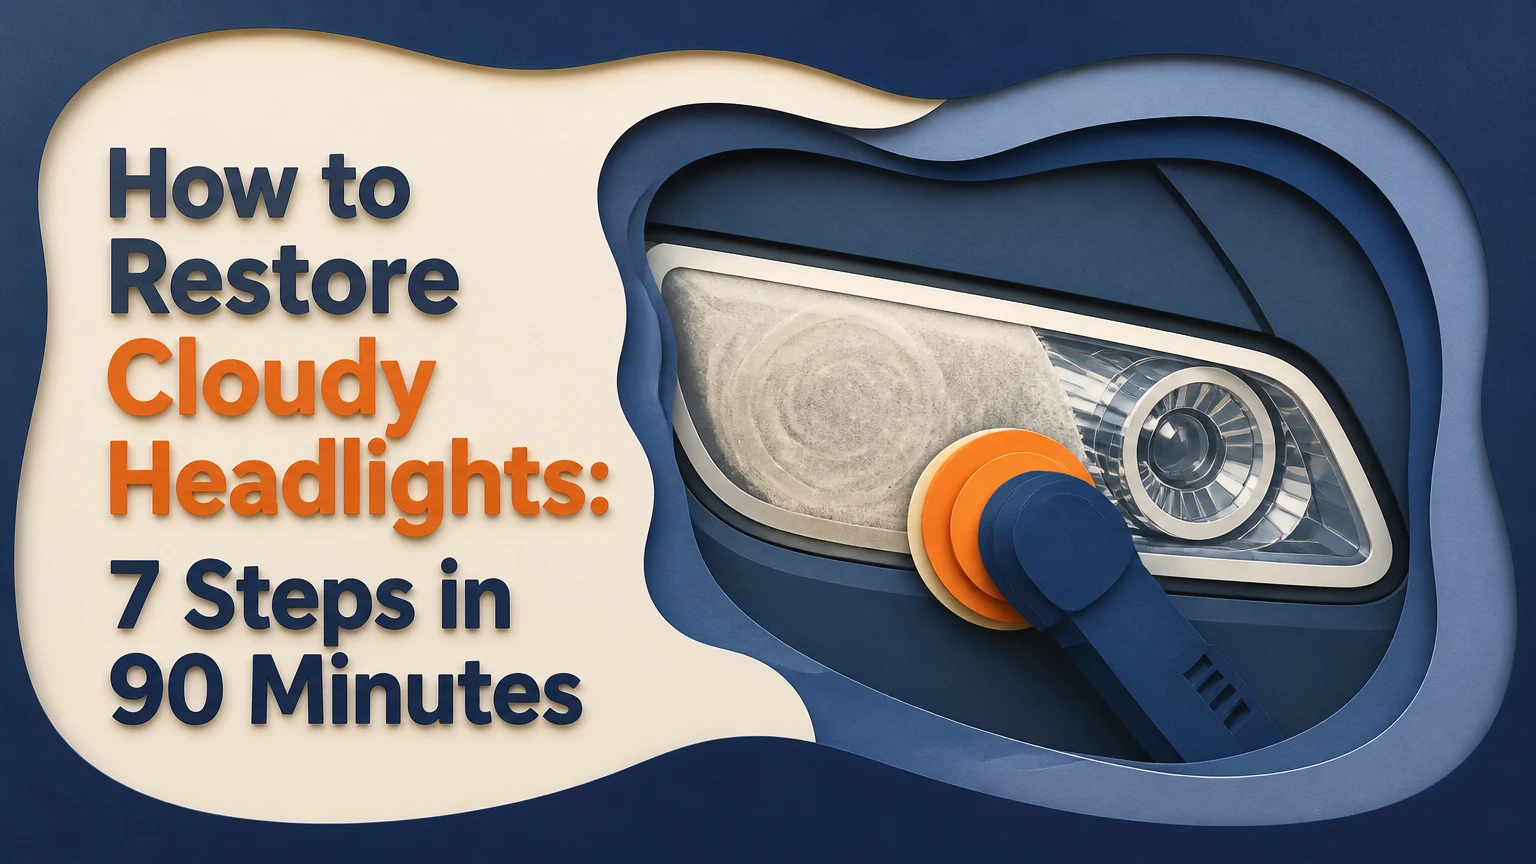
To restore cloudy headlights, clean and mask the lens, wet-sand away oxidized plastic, polish out sanding marks, then apply a UV-resistant coating and let it cure. A typical two-lens job takes 60-90 minutes and costs $20-$60 in materials, but the coating determines whether clarity lasts weeks or several years.
Key facts at a glance
Most cloudy exterior headlight lenses are UV-damaged polycarbonate, not dirty glass.
Wet sanding removes damaged material; polishing alone cannot remove deep oxidation or pitting.
A restored lens needs UV protection, because unsealed polycarbonate commonly hazes again within months.
Use water-resistant automotive sandpaper, keep the lens wet, and stop when each grit removes the scratches from the previous grit.
Internal condensation, structural crazing, and severe impact pitting may require housing repair or replacement.
Typical DIY restoration takes 60-90 minutes for two headlights, excluding coating cure time.
Why Headlights Become Cloudy
Cloudy headlights usually result from ultraviolet radiation degrading the factory UV-resistant layer on a polycarbonate lens. Road grit, salt, detergents, heat, and pollution then roughen the exposed surface, scattering light and creating a yellow, white, or opaque appearance.
Modern headlight covers use polycarbonate because it resists impact better than ordinary glass and weighs less. The plastic itself is clear, but solar exposure changes the surface chemistry and weakens the protective coating. Once the coating becomes porous, abrasion accelerates the damage.
Three symptoms point to exterior oxidation: the haze remains after washing, the surface feels slightly rough, and the cloudiness changes when the lens is wet. A lens that becomes clear only while wet may still have substantial microscopic scratching.
Exterior oxidation versus internal moisture
Exterior oxidation appears on the front surface and responds to masking, sanding, and polishing. Internal moisture appears behind the lens, often as droplets or a fog that changes with temperature, and restoration products applied outside cannot remove it.
Check the diagnosis before buying a kit. Shine a flashlight across the lens at a low angle, inspect the rear of the housing for water, and look for open vents, damaged seals, or missing caps. A small amount of brief mist can occur during temperature changes, while persistent droplets indicate a sealing or ventilation problem.
Before You Start
A two-headlight restoration typically requires 60-90 minutes of working time, $20-$60 in materials, and a dry workspace between 15°C and 30°C. The most important prerequisite is a lens with surface oxidation but no deep cracks, internal fogging, or major structural damage.
| Requirement | Typical specification | Why it matters |
|---|---|---|
| Working time | 60-90 minutes | Covers cleaning, sanding, polishing, and coating |
| Coating cure | 12-24 hours | Protects the fresh finish from water and contamination |
| Material budget | $20-$60 DIY | Includes abrasives, polish, masking, and UV protection |
| Workspace temperature | 15°C-30°C | Supports predictable coating flow and cure |
| Lens condition | External haze, no open cracks | Suitable for restoration rather than replacement |
Gather automotive soap, two microfiber towels, painter’s tape, a spray bottle of clean water, nitrile gloves, waterproof sandpaper, plastic or automotive compound, plastic polish, and a dedicated headlight UV coating. Use separate towels for washing, polishing, and final preparation.
For moderate oxidation, start with 800 or 1,000 grit. Severe yellowing may need 600 or 800 grit, while light haze may need only 1,500 or 2,000 grit. Do not begin with an aggressive grit simply because the lens looks yellow. Removing unnecessary plastic reduces the remaining service life of the lens.
How to Restore Cloudy Headlights
The safest durable method uses seven stages: clean, mask, wet-sand, polish, degrease, seal, and cure. The job succeeds when the lens becomes uniformly clear before coating, because UV protection preserves a finish but cannot conceal sanding scratches, grease, or uneven oxidation.
Step 1: Wash and Degrease the Lens
Wash each headlight with automotive shampoo and water, rinse away grit, then dry the surrounding panel and lens with a clean microfiber towel. Remove tar or wax with a product labeled safe for automotive plastics, and use isopropyl alcohol sparingly on the lens only after testing an inconspicuous area.
Do not use household glass cleaner containing ammonia unless the vehicle manufacturer specifically permits it. Polycarbonate-compatible products reduce the risk of stress damage, staining, or residue that interferes with coating adhesion.
You will know it worked when: the lens has no sand, insects, wax, silicone, or oily film.
Common mistake: sanding road grit into the plastic. One trapped particle can create a long, deep scratch that later polishing will not remove efficiently.
Step 2: Mask the Surrounding Paint
Apply two or three overlapping layers of quality automotive painter’s tape around the headlight, extending 25-40 millimeters onto the bumper, fender, grille, and trim. Press the tape edge firmly against the lens perimeter, then cover vulnerable adjacent surfaces with masking paper or plastic.
Masking protects clear coat and painted plastic from abrasive paper. It also makes the sanding boundary visible, which helps prevent an unpolished strip along the edge.
You will know it worked when: no painted or chrome surface remains exposed within the sanding area.
Common mistake: using duct tape or aggressive construction tape. Adhesive residue can remain on trim, and removal can lift weak or recently repaired paint.
Step 3: Wet-Sand the Lens
Soak waterproof automotive sandpaper for about 10 minutes, spray the lens continuously, and sand in straight overlapping passes. Use 800 grit for moderate oxidation, 600 grit for severe yellowing, then progress through 1,000, 1,500 or 2,000, and 3,000 grit as needed.
Sand horizontally with the first grit, vertically with the next, and horizontally again with the final grit. The change in direction makes leftover scratches easy to identify. Keep light, even pressure on a small foam sanding block, and wipe the lens frequently so you can inspect the surface.
| Lens condition | Starting grit | Refinement sequence | Typical sanding time |
|---|---|---|---|
| Light surface haze | 1,500 grit | 2,000, 3,000 grit | 8-15 minutes |
| Moderate yellow oxidation | 800 grit | 1,000, 1,500, 3,000 grit | 15-25 minutes |
| Heavy opaque oxidation | 600 grit | 800, 1,000, 2,000, 3,000 grit | 25-40 minutes |
| Impact pitting | 600 grit inspection | 800, 1,000, 2,000 grit | 30-50 minutes |
The lens should look evenly dull after the first pass, without glossy islands. Each later grit must remove the directional scratches from the previous grit. A 3,000-grit finish commonly appears milky rather than transparent, and that is acceptable before compound.
You will know it worked when: the surface has a consistent satin haze and no yellow or glossy patches remain.
Common mistake: sanding dry or pressing hard. Heat can distort plastic, while excessive pressure creates uneven low spots and wastes lens material.
Step 4: Compound and Polish the Plastic
Apply approximately a 10-15 millimeter amount of plastic or automotive cutting compound to a clean foam or microfiber pad. Work a 150-200 millimeter section at a time by hand, or use a dual-action polisher at a low-to-medium setting, commonly around speed 3-4 on a six-speed machine.
Wipe the residue away before it dries. If the lens remains hazy, repeat the cutting step once before using a finer plastic polish. A polish cannot replace insufficient sanding, so return to the previous abrasive if straight scratches remain visible under a bright light.
You will know it worked when: the lens is optically clear from several angles and the beam area has no obvious sanding lines.
Common mistake: polishing one small spot until it heats up. Move the pad continuously and allow the lens to cool if it feels hot to the touch.
Step 5: Remove Residue Before Coating
Wipe the polished lens with a clean, lint-free towel and a compatible panel-preparation product. If using diluted isopropyl alcohol, follow the coating manufacturer’s instructions rather than assuming that a 50/50 mixture is universally safe or effective.
The preparation surface must be free from compound oils, wax, fingerprints, silicone, and dust. Some coatings require a dry wipe, while others specify a particular solvent. Product instructions control because incompatible solvents can soften the surface or leave a film.
You will know it worked when: the lens wipes clean without oily smears and remains uniformly clear after the solvent evaporates.
Common mistake: touching the lens after preparation. Skin oils can cause fisheyes, streaks, or weak bonding.
Step 6: Apply a UV-Resistant Headlight Coating
Apply a dedicated headlight UV coating, coating wipe, automotive clear coat, or headlight protection film according to its label. Work in overlapping passes, use nitrile gloves, and protect the lens from dust, wind, rain, and direct sunlight during application.
A ceramic coating can improve water behavior, but ceramic products differ widely in UV durability and film thickness. A product designed specifically for headlight plastic is a safer choice than a generic household coating. Two-component automotive clear coats can last longer, but spraying them requires respiratory protection, controlled ventilation, and careful masking.
You will know it worked when: the coating levels without runs, dry stripes, or cloudy patches.
Common mistake: repeatedly wiping a coating after it begins to flash. Follow the stated wipe-on and leveling window, because late reworking often creates streaks.
Step 7: Cure the Finish
Keep the vehicle dry and protected from dust for the coating’s specified cure period, commonly 12-24 hours. Avoid car washing, rain, road spray, and contact with the lens until the manufacturer’s minimum cure time has passed.
Cure time is not the same as full chemical resistance. Some products reach handling strength in an hour but require several days before detergents or abrasion become safe. Do not judge longevity from immediate clarity alone.
You will know it worked when: the finish remains clear and even after the full cure period, with no tackiness or cloudy reaction.
Common mistake: parking under sprinklers or washing the vehicle the same day. Water spots and premature coating failure can permanently mark a fresh film.
Which Restoration Method Fits the Damage?
Wet sanding followed by UV coating is the best general DIY method for external oxidation because it removes damaged material and replaces the protection. Toothpaste and chemical wipes are temporary options, while professional restoration makes more sense when the lens is severely pitted, access is difficult, or a durable sprayed coating is required.
| Method | Typical material or service cost | Working time | Typical durability | Best use |
|---|---|---|---|---|
| Toothpaste or baking soda | $1-$5 | 15-30 minutes | 1-4 weeks | Mild temporary haze |
| Chemical wipe kit | $10-$30 | 10-20 minutes | 1-6 months | Light oxidation, fast cosmetic fix |
| Sanding restoration kit | $20-$60 | 60-90 minutes | 1-3 years | Moderate DIY oxidation |
| Professional restoration | $75-$200 per pair | 1-2 hours | 2-5 years | Severe oxidation or time-poor owners |
| Replacement housing | $150-$1,000+ per pair | 2-6 hours | Vehicle-dependent | Cracks, failed seals, internal damage |
Toothpaste contains mild abrasives, but it does not restore a UV barrier. Baking soda can scratch unevenly if mixed into a coarse paste. Acetone vapor and solvent vapor kits can produce a smooth-looking surface, yet uncontrolled solvent exposure may soften, craze, discolor, or permanently deform polycarbonate. They are poor choices for an inexperienced home user.
A professional detailer may use a dual-action polisher, multiple abrasive grades, and a high-solids UV coating. Ask what coating is applied, how long it is warrantied, and whether the price includes beam inspection. A glossy lens without durable UV protection is an incomplete repair.
When Should You Replace the Headlight?
Replace the housing when the lens has structural cracks, extensive internal crazing, broken mounting points, persistent water intrusion, or damage that remains after reasonable sanding. Restoration cannot rebuild fractured polycarbonate, reseal a distorted housing reliably, or repair a failed projector, reflector, LED driver, or ballast.
How do you identify crazing and deep pitting?
Crazing appears as fine branching cracks beneath or within the plastic. Deep impact pits appear as numerous craters that remain visible after sanding and polishing. If removing them would require aggressive sanding across most of the lens, replacement is safer because excessive material removal can weaken the cover.
A headlight housing also needs replacement when its beam pattern remains poor after exterior clarity returns. Inspect the light output against a wall at night, and verify that the cutoff is even and the two lamps sit at comparable heights. Restoration improves transmission through the cover; it does not repair misalignment or damaged optics.
What If the Cloudiness Is Inside?
Internal headlight fogging usually indicates moisture entering through a seal, vent, cap, crack, or damaged housing seam. Exterior polishing cannot remove internal condensation, so diagnose and repair the moisture path before restoring the front lens.
Brief mist after a cold start may dissipate as the lamp warms. Persistent droplets, water pooling, or repeated fogging after rain requires inspection of rear bulbs, vent tubes, gasket surfaces, and housing cracks. Removing a sealed housing and heating it to open the seam can damage the unit and defeat its original seal if performed incorrectly.
Replace the housing when the seam is warped, the reflector is corroded, or the leak cannot be isolated. Drying the interior without fixing the entry point only postpones recurrence.
Common Mistakes and How to Fix Them
The lens turns yellow again quickly
The likely cause is missing or inadequate UV protection. Lightly abrade the failed coating according to its instructions, clean the surface, and apply a dedicated UV product in suitable weather.
Sanding marks remain after polishing
The previous grit was not fully removed, or the compound was too mild. Return to the last successful abrasive, sand in a changed direction, and progress through finer grades without skipping a large interval.
The finish looks streaky
Streaks usually come from contamination, uneven product distribution, or wiping after the coating began to cure. Remove the affected layer only as the product permits, then repeat preparation with fresh towels and controlled application.
The lens has dull edges
The sanding block or polishing pad did not reach the masked perimeter. Re-mask the paint, blend the edge with the appropriate fine grit, and polish carefully without concentrating heat on the boundary.
The lens becomes hot
Stop immediately and let the plastic cool. High friction from dry sanding, a fast rotary polisher, or excessive pressure can warp polycarbonate and create permanent optical distortion.
The beam still looks weak
Cloudiness may not be the only cause. Check bulb condition, projector or reflector damage, electrical voltage, lens alignment, and headlight aim before repeating the restoration.
How Long Does Restoration Last?
A professionally applied UV coating typically lasts 2-5 years, while a careful DIY kit commonly lasts 1-3 years under normal exposure. Toothpaste, baking soda, and unsealed polishing may look better for only days or weeks because oxidation resumes on exposed plastic.
| Protection type | Typical service interval | Main failure mode | Maintenance action |
|---|---|---|---|
| No protective coating | 1-8 weeks | Rapid UV yellowing | Recoat immediately |
| Consumer UV wipe | 6-18 months | Thin film wear | Inspect every 6 months |
| Dedicated DIY coating | 1-3 years | UV and detergent exposure | Reapply at early haze |
| Professional 2K coating | 2-5 years | Impact and weathering | Follow warranty schedule |
| Clear protection film | 3-7 years | Stone chips and edge lift | Replace when damaged |
These are typical practitioner ranges, not guarantees. Climate, parking orientation, annual sunlight, washing chemicals, road salt, and coating preparation change the result. A car parked outdoors in strong sun may need earlier maintenance than a garage-kept vehicle.
How to Prevent Cloudiness From Returning
Wash the lenses with automotive shampoo, avoid abrasive household cleaners, and inspect the coating every six months. Parking in shade or a garage reduces ultraviolet exposure, while a clear headlight protection film can add sacrificial resistance to stone chips and future oxidation.
Do not apply wax or a general dashboard protectant as a substitute for a UV coating. Those products may improve short-term gloss but usually lack the adhesion and UV stability needed for an exposed polycarbonate lens.
Expert practice uses an early-warning test: when water stops beading evenly or the lens develops a faint matte veil, inspect the coating before yellowing becomes severe. Recoating at that stage requires less abrasion and removes less plastic.
Cost, Longevity, and Replacement Decision
DIY restoration is usually economical when both lenses have external oxidation and the housings remain structurally sound. Replacement becomes financially sensible when repair labor approaches the price of a sound aftermarket housing or when internal optics and seals have failed.
For a $30 DIY kit, a 24-month result costs about $15 per year before labor. A $150 professional service lasting four years costs about $37.50 per year, while a $400 replacement pair may provide longer service but can require additional installation, aiming, and electrical diagnosis.
Use the lowest-risk option that matches the defect. Surface haze needs restoration, internal moisture needs leak diagnosis, and structural damage needs replacement.
Frequently Asked Questions
Can I restore headlights without sanding?
You can improve light surface haze with a chemical wipe or mild polish, but chemical-only methods rarely remove deep oxidation, pitting, or sanding-level scratches. They also provide limited durability unless the final product includes a verified UV-resistant protective layer.
Is WD-40 safe for cloudy headlights?
WD-40 can temporarily darken and wet the surface, making haze appear less visible, but it does not remove oxidation or provide durable UV protection. Residue can attract dust and interfere with a later coating, so wash and degrease the lens before a proper restoration.
What is the best sandpaper grit for yellow headlights?
Start with 800 grit for typical yellow oxidation and 600 grit only when the damage is severe and uniform. Finish through 1,000, 1,500 or 2,000, and 3,000 grit, confirming that every previous scratch pattern has disappeared before advancing.
Should I use clear coat on plastic headlights?
Use a clear coat only when it is formulated for exterior automotive plastic and you can follow its ventilation, masking, and curing requirements. A dedicated headlight UV coating is simpler for most DIY users, while a 2K polyurethane clear coat can demand professional-grade respiratory protection.
Can polishing alone fix foggy headlights?
Polishing alone can fix very light surface haze, but it cannot reliably remove thick oxidation, deep scratches, or impact pits. If the lens remains yellow after cleaning and a test polish, wet sanding is required before polishing and sealing.
Do restored headlights pass vehicle inspection?
A clear lens does not guarantee inspection approval. Requirements vary by jurisdiction, but inspectors can also evaluate beam intensity, cutoff, aim, cracks, color, mounting, and moisture. Check the restored headlights against a wall and verify local inspection rules before driving at night.
The Bottom Line
To restore cloudy headlights, remove exterior oxidation with controlled wet sanding, polish the refined surface, and apply a dedicated UV-resistant coating. The strongest results come from correct diagnosis, progressive abrasives, low heat, clean preparation, and full curing. If the cloudiness is internal or the plastic is cracked, replace or repair the housing instead of polishing the outside.


