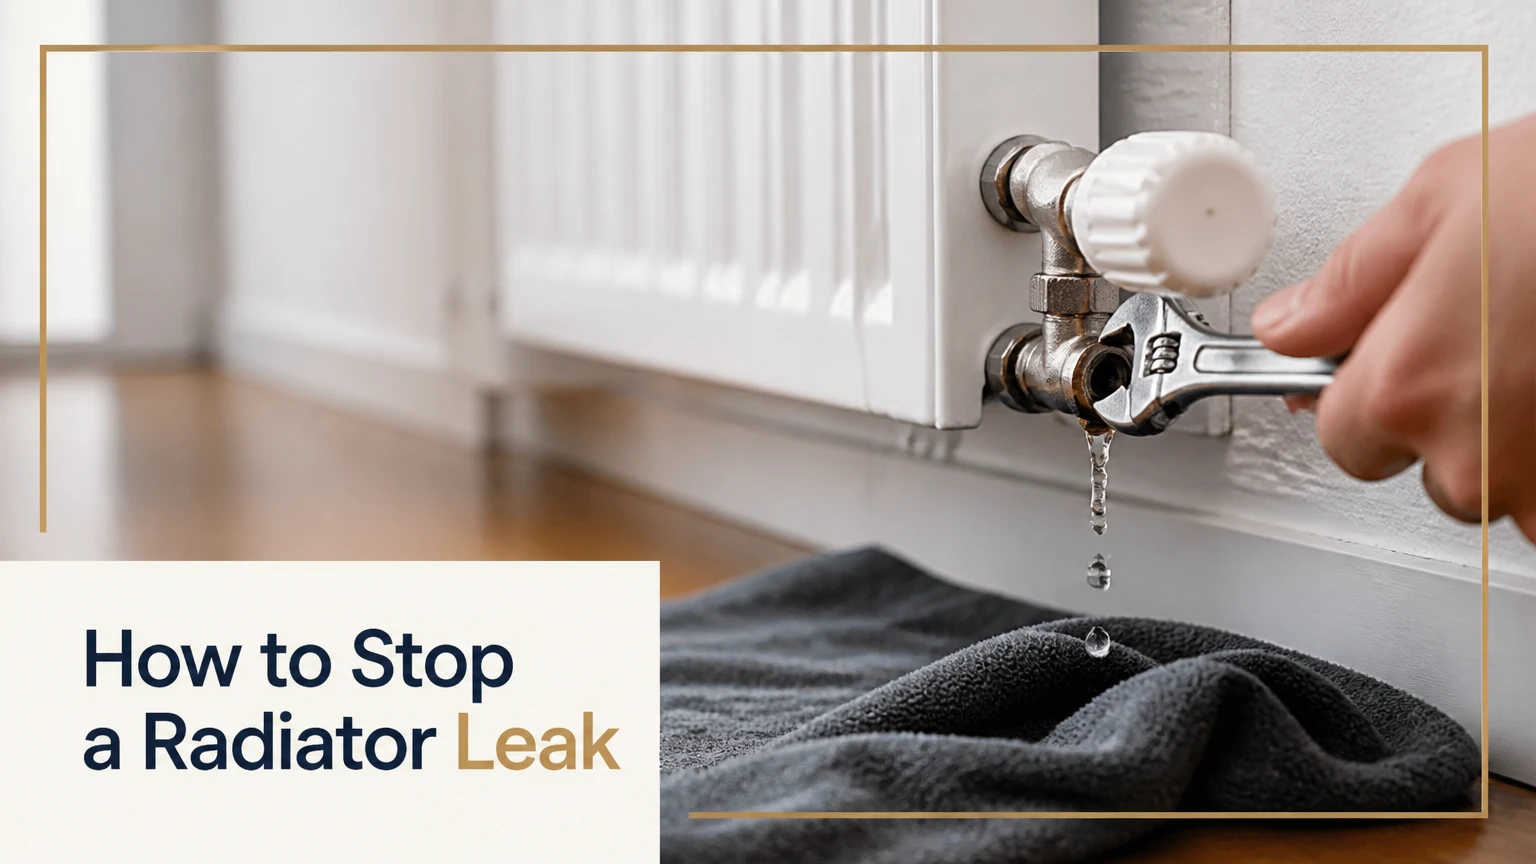
Stopping a radiator leak requires identifying whether water is escaping from a pipe joint, valve stem, bleed screw, or metal panel, then applying a mechanical or chemical seal. By following this 6-step guide, you can fix 90% of household radiator leaks in 30 to 90 minutes for under $25, without calling a plumber. The key factor for success is completely drying and depressurizing the repair surface before applying seals or PTFE tape.
Before You Start
| Metric / Category | Requirement / Specification |
| Estimated Time | 30 minutes (valve nut/stem) to 2 hours (metal epoxy patch) |
| Difficulty Level | Beginner to Intermediate |
| Typical Cost | $10 – $30 DIY (vs. $150 – $300 professional plumber visit) |
| Prerequisites | Ability to turn off central heating, read a boiler pressure gauge, and operate hand tools |
Tools and Materials Needed
- Adjustable Wrenches: 2 required (10-inch size preferred to hold body while turning nut).
- Radiator Bleed Key: 1 standard square-socket key.
- PTFE Plumber’s Tape: 1 roll (0.075mm thickness, gas/water grade).
- Steel-Reinforced Epoxy Putty: 1 tube (two-part, rated to at least 120°C and 300 PSI).
- Emery Cloth or Sandpaper: 80-grit and 120-grit sheets.
- Degreaser: Isopropyl alcohol or acetone spray.
- Catch Tray & Towels: 1 shallow tray (low profile), 2 thick cotton towels.
- System Corrosion Inhibitor: 1 bottle (500ml central heating protector).
Step-by-Step Radiator Repair Process
Step 1: Shut Down the Heating System Completely
Turn off your boiler or central heating system at the main programmer/thermostat and isolate electrical power. Allow the entire radiator system to cool down completely for at least 30 to 45 minutes.
You must let the system cool to collapse thermal expansion pressures and eliminate the risk of severe scalding from water temperatures exceeding 65°C.
- Success Checkpoint: You’ll know it worked when the metal surface of the leaking radiator feels totally cool to the touch.
- Common Mistake: Attempting to work on a hot radiator under active pump pressure. This forces water past loose fittings and prevents sealants from bonding.
Step 2: Pinpoint the Exact Source of the Leak
Dry the entire radiator panel, valves, and surrounding pipework completely using a dry cotton towel. Wrap dry tissue paper or paper towels around the top bleed screw, valve gland, compression nuts, and under the lower panel body, then observe where moisture wets the paper first.
Determine which of the three primary leak zones is failing:
- Valve Union / Compression Nut: Water beads at the threaded brass connection joining the pipe to the radiator.
- Valve Stem (Gland Nut): Water drips from under the plastic control knob or Thermostatic Radiator Valve (TRV) head.
- Radiator Panel Body: Water seeps through a corroded pinhole in the sheet metal, usually near the bottom seams.
- Success Checkpoint: You’ll know it worked when tissue paper pinpointed the exact component origin without wetness spreading from elsewhere.
- Common Mistake: Assuming water on the floor under a valve comes from the valve when it is actually running down from a leaking bleed screw above.
Step 3: Isolate the Radiator and Relieve Residual Pressure
Turn the manual valve or Thermostatic Radiator Valve (TRV) head clockwise until fully closed (position 0 or “Off”). On the opposite side of the radiator, pop off the plastic lockshield cap and use an adjustable wrench to turn the brass spindle clockwise until tight, keeping an exact count of the total turns (e.g., 2.5 full rotations).
Place a shallow catch tray under the bleed valve at the top corner of the radiator. Insert your radiator key and turn counter-clockwise 1/2 turn to vent trapped air and water pressure into the tray until flow drops to zero.
Closing Valves:
[Manual/TRV Valve] ---> Turn Fully Clockwise
[Lockshield Valve] ---> Turn Clockwise (Count & Record Exact Turns)
- Success Checkpoint: You’ll know it worked when water stops spraying from the bleed screw and settles into a slight drip, confirming the radiator is isolated from the main heating circuit.
- Common Mistake: Forgetting to record the exact lockshield valve rotations. This unbalances your home heating system, leaving other radiators cold later.
Step 4: Execute the Specific Mechanical Repair
Depending on your findings in Step 2, perform Scenario A, Scenario B, or Scenario C:
Scenario A: The Leak is at a Compression Nut or Valve Union
- Hold the valve body firmly with a second wrench to counteract torque.
- Turn the leaking compression nut clockwise 1/4 turn using your primary adjustable wrench.
- If dripping continues, fully loosen the nut back off the threads, slide it back, and wind 8 to 10 overlapping wraps of PTFE tape clockwise around the male pipe threads.
- Thread the nut back on by hand and tighten 1/4 turn past finger-tight with the wrench.
Scenario B: The Leak is from the Valve Stem (Under TRV or Control Cap)
- Pull off the plastic TRV head or manual knob to reveal the brass valve spindle and packing gland nut.
- Hold the main valve body stable and tighten the small upper gland nut clockwise by 1/8 to 1/4 turn.
- If water continues past the spindle, back off the gland nut completely, wrap a 1/2-inch wide strand of PTFE tape 4 times around the exposed pin/spindle shaft, push it into the gland cavity with a small flathead screwdriver, and screw the gland nut tightly back down.
Scenario C: The Leak is a Corrosion Pinhole in the Radiator Body
- Place a bucket under the bottom drain plug or union nut and drain water until the fluid level inside drops below the pinhole height.
- Sand the metal around the hole outward to a 2-inch radius using 80-grit emery cloth until shiny, bare steel is exposed.
- Spray isopropyl alcohol over the sanded surface and wipe clean with a lint-free cloth to remove all grease and rust dust.
- Slice equal portions of two-part steel epoxy putty, knead with gloved fingers for 2 minutes until uniform gray, and press firmly over the pinhole at 5mm thickness, overlapping bare metal by 1 inch. Allow 45 minutes to fully cure.
Pinhole Patch Cross-Section:
[ Epoxy Patch (5mm thick, 1" overlap) ]
---------------------------------------
[ Sanded Metal Surface (80-Grit)      ]  <-- Cleaned with Isopropyl Alcohol
[=====================================]
              ^ Pinhole
- Success Checkpoint: You’ll know it worked when brass joints are seated tight with clean PTFE tape visible in threads, or the epoxy patch cures into a rock-hard, non-tacky shield.
- Common Mistake: Applying epoxy putty over paint, wet surfaces, or active rust. The pressure will pop the patch off within hours.
Step 5: Re-pressurize and Re-open System Loop
Re-open the manual/TRV valve fully counter-clockwise. Re-open the lockshield valve counter-clockwise by the exact number of turns recorded in Step 3.
Go to your central heating boiler filling loop (usually located under or near the boiler). Open the two filling valve levers slowly until fresh water fills the system loop and the boiler pressure gauge dial rises to between 1.0 bar and 1.5 bar (when cold), then close both levers firmly.
- Success Checkpoint: You’ll know it worked when the boiler pressure needle rests stably between 1.0 and 1.5 bar with no sudden drops.
- Common Mistake: Leaving the filling loop valves slightly open. This over-pressurizes the system above 3.0 bar, forcing the Pressure Relief Valve (PRV) to discharge water outside.
Step 6: Bleed Trapped Air and Verify Hydraulic Seal
With system pressure restored, open the radiator bleed screw using your bleed key counter-clockwise by 1/2 turn. Listen for the hiss of escaping air while holding a rag beneath the valve.
As soon as a continuous stream of water flows out without sputtering air bubbles, tighten the bleed screw clockwise until snug. Re-check your boiler pressure gauge; if it dropped below 1.0 bar during bleeding, top it up at the filling loop back to 1.2 bar. Restart your heating system and monitor for 20 minutes under full heat.
- Success Checkpoint: You’ll know it worked when the top of the radiator grows hot evenly, the repair zone remains 100% dry, and boiler pressure stays locked at 1.0–1.5 bar.
- Common Mistake: Over-tightening brass bleed screws with excessive force, which snaps the delicate brass pin inside the radiator top shoulder.
Common Mistakes and How to Fix Them
1. Overtightening Compression Nuts and Stripping Threads
- The Failure: Applying excessive force crushes the internal olive or strips soft brass threads, making the leak much faster.
- How to Fix: Shut down the radiator immediately. Undo the stripped nut completely. Wrap 12 wraps of PTFE tape around the olive itself, or cut out the deformed pipe section with a mini pipe cutter, install a new compression olive, and torque only to finger-tight plus 1/3 turn.
2. Applying Epoxy Putty to a Wet or Un-sanded Surface
- The Failure: Epoxy fails to create a chemical-mechanical bond, allowing pressurized water to blow past the patch during heat-up.
- How to Fix: Scrape off the failed epoxy with a putty knife. Drain the radiator below the hole. Thoroughly sand to bare metal with 80-grit cloth, wipe down with acetone, and dry completely with a hair dryer before applying fresh kneaded putty.
3. Forgetting Lockshield Valve Turn Counts
- The Failure: Opening the lockshield valve randomly destroys hydraulic balance, causing this radiator to over-heat while downstream radiators stay stone cold.
- How to Fix: Close lockshields on all home radiators fully. Open the radiator closest to the boiler by 1/4 turn, and progressively open each further radiator down the line by an extra 1/4 turn (e.g., furthest radiator open 2.5 full turns) to re-balance flow manually.
4. Over-Pressurizing the Central Heating System Above 2.0 Bar
- The Failure: Leaving the filling loop open too long overfills the expansion vessel, causing the boiler safety valve to trigger.
- How to Fix: Attach a hose to a lower radiator drain valve or bleed water out through a radiator bleed point into a bucket until the cold pressure gauge drops back down to 1.2 bar.
Process Variations for Different Heating Systems
Pressurized Combi Systems vs. Open-Vented (Gravity) Systems
- Pressurized / Combi Boilers: Sealed loops operating at 1.0 to 1.5 bar cold pressure. You must re-pressurize manually using the filling loop levers after any repair or bleeding step.
- Open-Vented / Gravity Systems: Supplied by a cold water header tank in the attic. Instead of a filling loop, you must isolate the feed-and-expansion tank ball valve (or cap the pipe) before draining a radiator to prevent the entire attic tank from draining through your living room.
Cast Iron vs. Modern Steel Panel Radiators
- Steel Panel Radiators: Thin-walled (1.2mm); pinholes mean internal rust has eaten through. Epoxy is a temporary fix (1–6 months max); panel replacement is required.
- Cast Iron Radiators: Thick-walled; leaks occur almost exclusively at the threaded push-nipple gaskets between sections or at the heavy 1-inch valve tail bushings. Epoxy cannot seal cast iron section joints; you must use high-temperature thread seal compound or replace section gaskets.
Time and Cost Breakdown
| Repair Type | DIY Cost (Parts) | Plumber Cost | DIY Time Required | Professional Time |
| Compression Union Leak (PTFE) | $3 – $8 | $120 – $200 | 20 – 35 mins | 15 – 20 mins |
| TRV / Gland Nut Packing | $5 – $10 | $140 – $220 | 25 – 40 mins | 20 mins |
| Panel Pinhole Patch (Epoxy) | $10 – $18 | $180 – $280 | 60 – 90 mins | 30 – 45 mins |
| Full Radiator Replacement | $80 – $180 | $300 – $500 | 2 – 3 hours | 1 – 1.5 hours |
Frequently Asked Questions
Can I stop a radiator leak without draining the system?
Yes, for valve union and gland nut leaks, you do not need to drain the system. Closing both isolation valves (TRV and lockshield) isolates the individual radiator, allowing thread tape or gland packing repairs without emptying the rest of your central heating circuit.
Does radiator leak sealant liquid actually work?
Internal liquid leak sealers (such as Fernox F4) work well for microscopic wept joints or hairline pinholes in closed systems. However, they are a temporary solution for body rust and cannot seal high-pressure valve stem drips or wide seam splits.
How long does epoxy putty take to cure on a radiator?
Most steel-reinforced two-part epoxy putties harden within 15 to 20 minutes and achieve full pressure-resistant cure within 60 minutes. Do not turn on system heat or re-pressurize the radiator until the full curing window specified on the package has elapsed.
Why is my radiator still dripping after tightening the valve nut?
If dripping persists after a quarter-turn, the internal rubber O-ring or brass olive inside the compression fitting has perished or turned out of square. You must isolate the valve, back off the nut, wrap PTFE tape around the olive, or replace the olive entirely.


