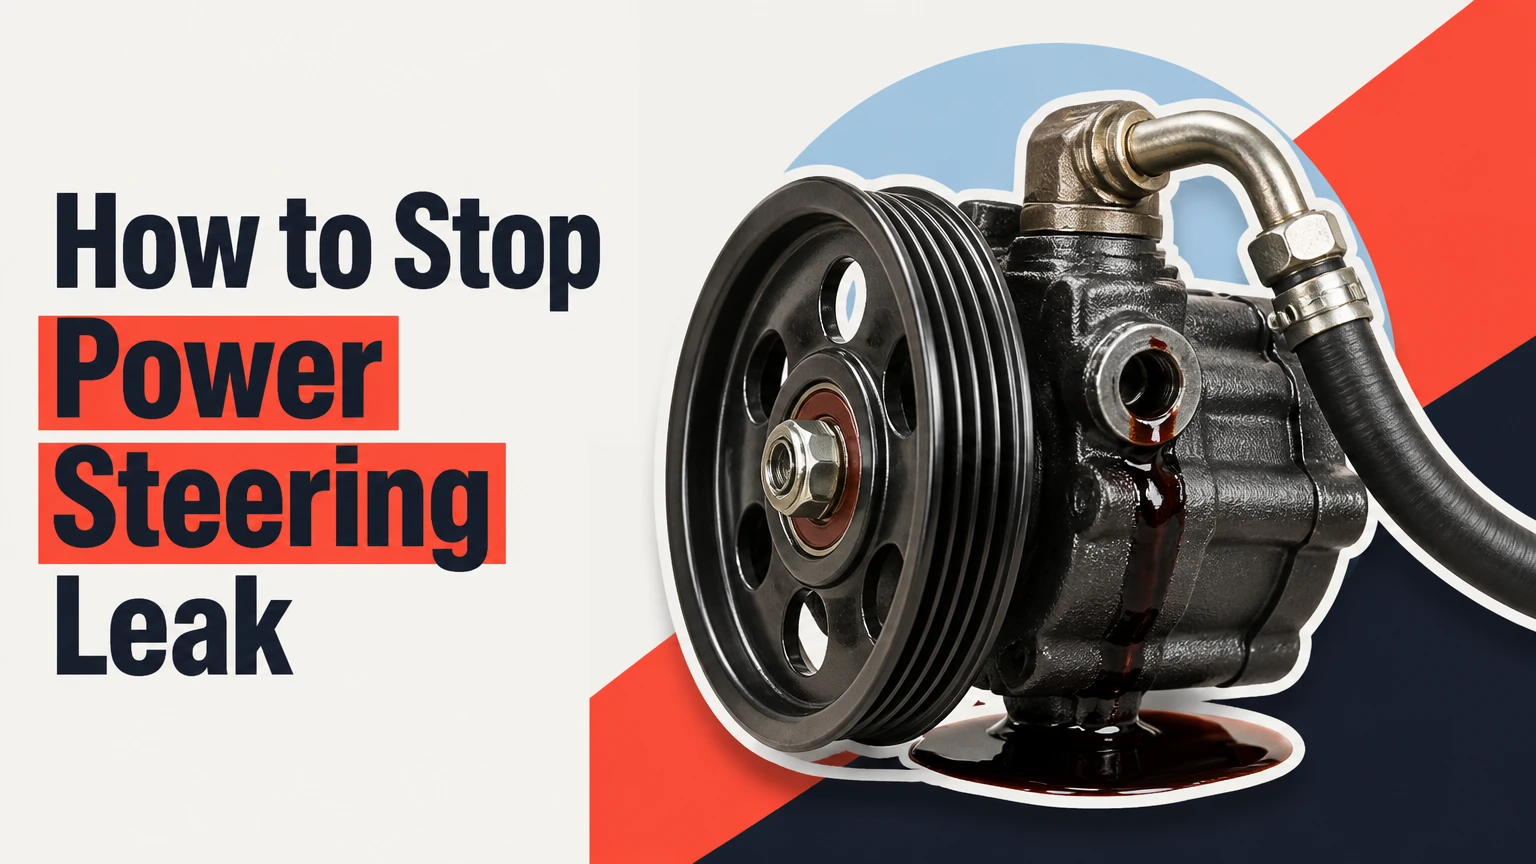
To stop a power steering leak completely, you must clean the system to identify whether the leak originates from a hose, pump, or steering rack seal, and then either apply an elastomer-swelling stop-leak additive for minor weepage or replace damaged components using flare nut wrenches. Executing this 6-step repair takes 1 to 3.5 hours, requires basic hydraulic precautions, and relies fundamentally on proper air purging to protect your new seals from instant cavitation damage.
Before You Start
| Parameter | Specification |
| Total Time Required | 1.0 to 3.5 hours (depending on component replacement) |
| Difficulty Level | Intermediate DIY / Basic Mechanical Knowledge |
| Estimated Cost | $15 – $30 (Stop-leak fix) / $40 – $220 (Hose or Pump replacement) |
| Prerequisite Skills | Basic hand tool operation, vehicle jacking/jack stand safety |
Required Tools and Materials Checklist
- Power Steering Fluid / Stop-Leak: 1 to 2 quarts (Match OEM specification: Pentosin CHF 11S, Mercon V, or Universal Power Steering Fluid).
- Flare Nut Wrenches (Line Wrenches): 1 set ($10\text{ mm}$ to $18\text{ mm}$) to prevent stripping hydraulic line nuts.
- Socket Set & Ratchet: $3/8\text{-inch}$ drive ($10\text{ mm}$ to $15\text{ mm}$ sockets).
- Torque Wrench: $3/8\text{-inch}$ drive rated for $10\text{ to }50\text{ lb}\cdot\text{ft}$.
- Suction Tool: Turkey baster or fluid syringe.
- Safety Equipment: Safety glasses, nitrile gloves, jack stands, wheel chocks, floor jack.
- Catch Equipment: Drain pan, brake cleaner spray, aerosol talcum powder (or UV leak dye), shop rags.
Step-by-Step Power Steering Leak Repair Process
Step 1: Clean and Pinpoint the Leak Source
Spray the power steering pump, high-pressure lines, low-pressure return hoses, and rack boots with aerosol brake cleaner, wiping away all oil and road grime with shop rags. Dust the dried metal fittings and hose connection joints with aerosol talcum powder or inject $0.5\text{ oz}$ of hydraulic UV leak dye into the reservoir. Start the engine, let it idle, and turn the steering wheel lock-to-lock 3 times while a helper inspects under the hood with a flashlight.
- Success Checkpoint: You will know you have isolated the leak when fresh, clear red/clear fluid creates a wet spot in the powder or glows bright green under a UV light directly at a fitting, hose crimp, or pump shaft.
- Common Mistake: Misdiagnosing a leaking reservoir hose as a failed steering rack because fluid dripped down the subframe. Always trace fluid to its highest physical point.
Step 2: Select the Correct Chemical or Mechanical Repair Method
Evaluate the severity and physical location of the leak to select your repair path. If fluid is slowly seeping (less than 1 drop per minute) from a hardened rubber seal in the pump or steering gear, suction $10\text{ to }12\text{ oz}$ of old fluid out of the reservoir with a syringe and top off with an OEM-approved stop-leak additive containing seal-swelling conditioning agents. If you observe a steady dripping, cracked rubber hose, wet steering rack end-boots, or a wet pump shaft pulley, skip chemical additives entirely and proceed to mechanical component replacement.
- Success Checkpoint: You have chosen the correct path when you confirm that seal reconditioners are used exclusively for minor elastomer shrinkage, while all structural line, crimp, and metal body tears are slated for component replacement.
- Common Mistake: Pouring stop-leak into a blown high-pressure hose ($1,000+\text{ PSI}$). Stop-leak cannot bridge torn rubber or cracked metal fittings and will clog fine valve orifices.
Step 3: Depressurize and Safe-Drain the Hydraulic System
Position your vehicle on flat ground, engage the parking brake, chock the rear wheels, and lift the front end with a floor jack until both front tires clear the ground; secure the vehicle on heavy-duty jack stands. Place a catch pan beneath the power steering pump and disconnect the low-pressure return hose (the rubber hose secured by a simple squeeze spring clamp, not the threaded metal nut). With the engine strictly OFF, turn the steering wheel completely from left lock to right lock 15 to 20 times to force the remaining hydraulic fluid out of the gear rack into your drain pan.
- Success Checkpoint: You will know the system is drained when fluid stops sputtering out of the return hose nipple into the drain pan.
- Common Mistake: Running the engine to pump fluid out faster. Operating a power steering pump without fluid starves its internal vanes of lubrication, destroying the pump in less than 15 seconds.
Step 4: Replace the Defective Component and Install New Seals
Remove the damaged pressure hose, pump, or reservoir using metric flare nut wrenches for line fittings to prevent rounding off soft brass/aluminum nuts. On high-pressure line fittings, slice off and discard all old Teflon or rubber O-rings; lubricate new O-rings with fresh power steering fluid and slip them onto the replacement line ends. Hand-thread all hydraulic line fittings 3 to 4 full turns before using tools, then torque hydraulic line nuts to $20–25\text{ lb}\cdot\text{ft}$ and pump mounting bolts to $30\text{ lb}\cdot\text{ft}$.
- Success Checkpoint: Fittings seat smoothly by hand without binding, and line nuts tighten down firmly against new O-rings without thread resistance or gap.
- Common Mistake: Reusing old, flattened O-rings or using standard open-ended wrenches. Standard wrenches slip easily and ruin soft hydraulic line fittings, forcing an expensive line or rack replacement.
Step 5: Fill System and Bleed Air Off-Engine
Reconnect the low-pressure return hose and secure its spring clamp in its original groove on the barb. Fill the power steering reservoir to the “MAX” fill line with fresh fluid matching your vehicle’s factory specification. Keep the front wheels elevated off the ground and the engine OFF. Slowly turn the steering wheel lock-to-lock 20 to 30 times, pausing briefly at each end lock while monitoring the reservoir level; top off fluid as the system ingests air bubbles.
- Success Checkpoint: Fluid level in the reservoir stabilizes, and bubbles stop rising to the surface when turning the steering wheel.
- Common Mistake: Bleeding the system with tires resting on the pavement. The high friction on dry tires places tremendous force on the internal rack seals while air is trapped, inducing instant premature wear.
Step 6: Start Engine, Verify Pressure, and Road Test
Lower the vehicle to the ground, top off the fluid to the “COLD MAX” line, and start the engine. Let it idle for 30 seconds while listening for whining noises; turn the wheel smoothly left and right. Inspect all newly installed fittings, pump seals, and hoses under high hydraulic pressure with a flashlight. Top off fluid to the “HOT MAX” line after a 10-minute test drive.
- Success Checkpoint: The steering wheel turns smoothly without groaning or resistance, fluid in the reservoir remains completely free of foam, and no drops appear under the car after parking.
- Common Mistake: Ignoring fine foam in the reservoir after starting the engine. Foam indicates a suction-side air leak (loose clamp or bad fitting) drawing air into the fluid pump.
Common Mistakes and How to Fix Them
- Using Wrong Fluid Specification: Pouring generic power steering fluid into modern European or Japanese vehicles requiring specific synthetic fluids (such as CHF 11S or Honda-specific PSF) causes rapid seal swell and system degradation. Fix: Fully flush the system immediately by disconnecting the return hose, draining the fluid completely, and refilling with factory-specified fluid.
- Cross-Threading Aluminum Fittings: Threading hydraulic line nuts into pump bodies at an angle strips soft aluminum threads instantly. Fix: If resistance is felt within the first 2 turns, back the nut out completely, align the line straight into the port, and hand-thread until flush before applying a wrench.
- Over-tightening Hydraulic Flare Nuts: Exceeding $25\text{ lb}\cdot\text{ft}$ crushed new Teflon rings and distorts line flare seats, causing permanent leaks. Fix: Replace damaged line O-rings, re-align the fitting seat, and use a calibrated torque wrench set precisely to manufacturer specs.
- Ignoring Return Hose Clamps: Reusing weakened factory spring clamps on high-mileage return lines causes fluid to seep under low pressure. Fix: Replace old spring clamps with stainless-steel worm-drive hose clamps, tightening securely without biting through the rubber.
System Repair Variations
- Replacing a High-Pressure Line vs. Low-Pressure Hose: High-pressure lines use threaded steel flare fittings ($1,000–1,500\text{ PSI}$) requiring flare nut wrenches and new O-rings. Low-pressure return lines operate below $50\text{ PSI}$ and rely on flexible rubber hoses secured by hose clamps, making them faster to replace without specialized line wrenches.
- Rack and Pinion End-Seal Leak Mitigation: If fluid leaks into the rubber rack-and-pinion bellows boots, internal shaft seals have failed. While stop-leak additives can temporarily rejuvenate hardened inner seals, a lasting fix requires replacing the full rack assembly or installing a remanufactured steering rack.
- Electromechanical Power Steering (EPS) Systems: Modern vehicles with electric power steering motors lack hydraulic fluid, pumps, and hoses altogether. If your EPS vehicle makes noise or loses assistance, inspect electrical harnesses, fuses, and rack actuators rather than searching for fluid leaks.
Repair Cost and Time Breakdown
| Repair Scope | DIY Cost Range | Shop/Mechanic Cost Range | Average Time |
| Stop-Leak Additive Application | $15 – $25 | $50 – $90 | 15–30 minutes |
| Pressure Hose Replacement | $40 – $110 | $200 – $400 | 1 to 2 hours |
| Power Steering Pump Replacement | $80 – $220 | $350 – $650 | 1.5 to 3 hours |
| Steering Rack & Pinion Replacement | $180 – $450 | $800 – $1,600 | 3 to 5 hours |
Frequently Asked Questions
Can I drive my car with a power steering leak?
You can drive short distances if the reservoir maintains fluid above the MIN mark. However, if the reservoir runs dry, the pump will overheat and fail within minutes, metal debris will contaminate the steering rack, and steering effort will increase dramatically, creating a driving hazard.
How long does power steering stop-leak take to work?
Power steering stop-leak additives typically take 100 to 300 miles of driving to take full effect. The chemical plasticizers require time and operating heat to saturate, soften, and swell hardened rubber seals. It will not repair torn hoses or cracked metal.
What color is power steering fluid when it leaks?
Fresh power steering fluid is typically clear, light pink, amber, or bright red (when ATF is specified). Aged or contaminated fluid turns dark brown or black and carries a distinct burnt hydraulic odor.
Why is my power steering fluid foaming after a repair?
Foaming occurs when air is sucked into the system on the low-pressure (suction) side or when the air bleeding process was skipped. Inspect the reservoir-to-pump supply hose for loose clamps, ensure fluid levels are correct, and repeat the off-engine lock-to-lock bleed process.
Will brake fluid fix a power steering leak?
No, never put brake fluid into a power steering system. Brake fluid uses a glycol-ether base that severely corrodes power steering seals, causing widespread hydraulic failure and requiring a complete system overhaul.


