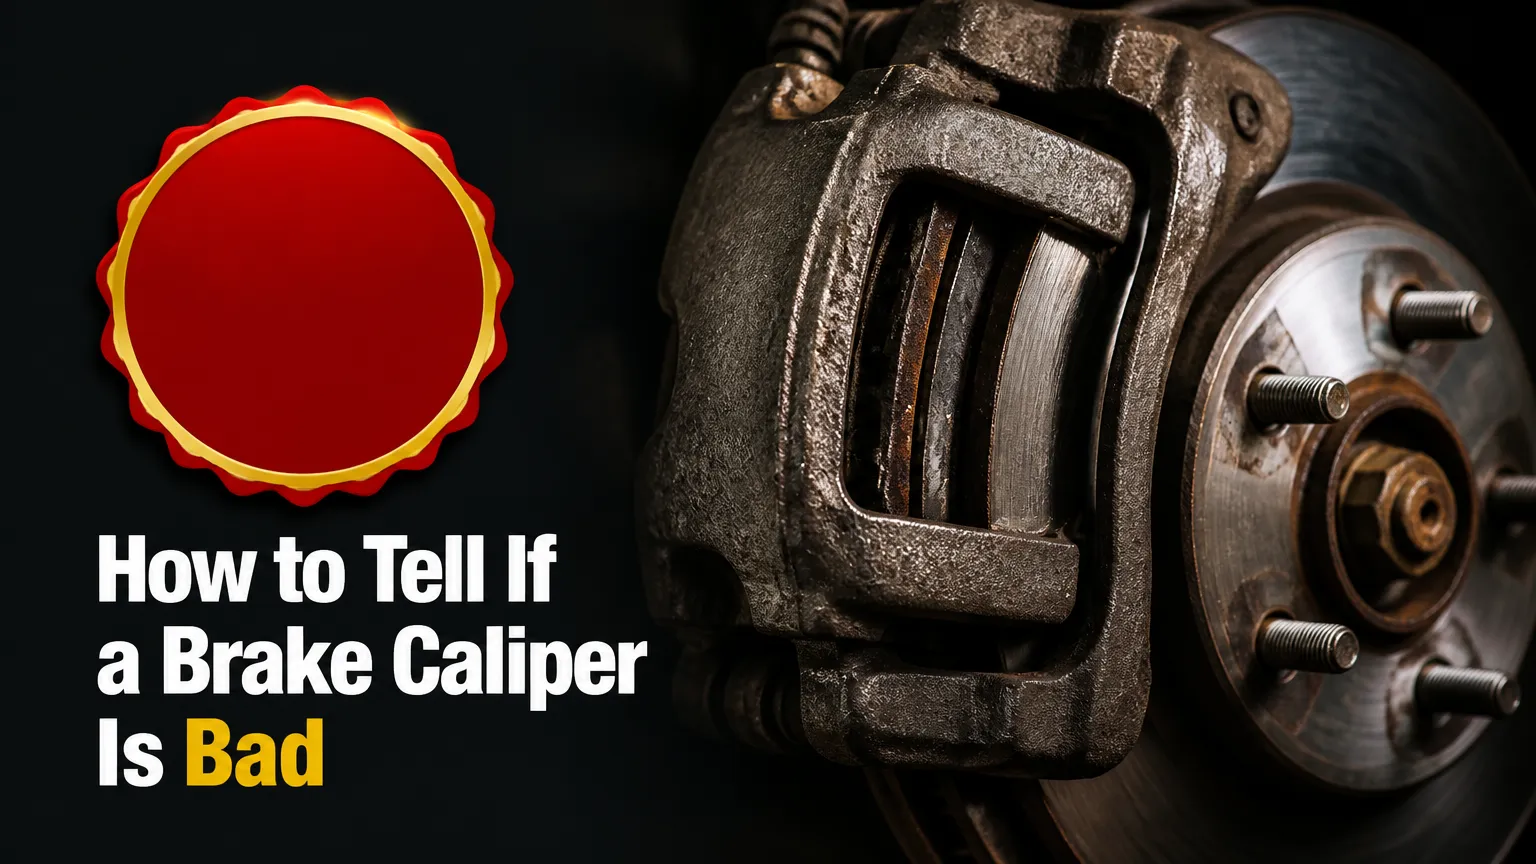
Knowing how to tell if a brake caliper is bad involves isolating hydraulic fluid leaks, stuck piston seals, or seized slide pins across a five-step diagnostic process. This procedure takes approximately 60 minutes using standard hand tools and an infrared thermometer. Accurately distinguishing a frozen caliper piston from a collapsed rubber brake line prevents costly unnecessary parts replacement.
+-----------------------------------------------------------------------------------+
| BEFORE YOU START: DIAGNOSTIC PRE-REQUISITES                                       |
+-----------------------------------------------------------------------------------+
| Time Required: 45 to 60 minutes                                                   |
| Difficulty Level: Intermediate (Requires lifting vehicle safely)                  |
| Estimated Diagnostic Cost: $0 to $25 (Using basic shop tools)                     |
|                                                                                   |
| Required Tools & Materials Checklist:                                             |
| [ ] Infrared Thermometer (Laser Temp Gun)                                         |
| [ ] Floor Jack and 2 Heavy-Duty Jack Stands (Rated for vehicle weight)            |
| [ ] Lug Wrench or Impact Wrench                                                   |
| [ ] 6-inch C-Clamp or Disc Brake Caliper Press Tool                               |
| [ ] Socket Wrench Set (10mm, 12mm, 14mm, 15mm, 17mm)                              |
| [ ] Flare Nut / Line Wrench (8mm, 10mm, or 11mm for bleeder screw)                |
| [ ] Bungee Cords or Mechanic's Wire (Qty: 2)                                      |
| [ ] Clear Vinyl Tubing (1/4-inch Inner Diameter) and Catch Bottle                 |
| [ ] Brake Cleaner Spray and Wire Brush                                            |
| [ ] Turkey Baster or Fluid Syringe (For master cylinder reservoir adjustment)     |
| [ ] Safety Glasses and Nitrile Gloves                                             |
|                                                                                   |
| Critical Prerequisite Condition:                                                  |
| If your vehicle has an Electronic Parking Brake (EPB) on the rear axle, put the   |
| system into "Service Mode" via the dashboard menu or diagnostic scan tool BEFORE  |
| attempting to compress or remove the rear calipers.                               |
+-----------------------------------------------------------------------------------+
Step-by-Step Brake Caliper Diagnostic Guide
Step 1: Conduct the Dynamic Road Test and Infrared Thermal Scan
Drive the vehicle on a safe road for 5 to 10 minutes, applying moderate braking force periodically to build operational temperature. While driving, note whether the steering wheel pulls to one side during braking or if the vehicle drifts toward one side when coasting.
Park the vehicle on a level surface, shut off the engine, and exit the car immediately. Walk around the vehicle and check for an acrid, burning metallic odor or visible smoke rising from any wheel well. Take your infrared thermometer and point the laser pointer through the wheel spokes directly onto the braking surface of the rotor on the driver side. Record the temperature. Immediately repeat this measurement on the passenger side rotor across the same axle.
Uneven wear indicates caliper or pin failure. Source: NRS Brakes
+-----------------------------------------------------------------------------------+
| THERMAL SCAN DIAGNOSTIC SPECIFICATIONS                                            |
+-----------------------------------------------------------------------------------+
| Normal axle variance: Left and right rotors within 18°F to 36°F (10°C to 20°C)   |
| High side variance (e.g., 300°F vs 120°F): Caliper is SEIZED CLOSED (Dragging)    |
| Low side variance (e.g., 70°F vs 180°F): Caliper is SEIZED OPEN (No braking force)|
+-----------------------------------------------------------------------------------+
You will know this step worked when you have logged precise surface temperatures for both rotors on the same axle.
A common mistake during this step is taking temperature readings off the alloy wheel rim instead of the cast-iron rotor surface. Alloy wheels dissipate heat differently, masking true rotor temperatures. Always aim the laser directly at the outer edge of the brake rotor disc.
Step 2: Perform the Free-Wheel Resistance Test
Loosen the wheel lug nuts by 1/2 turn while the vehicle rests on the ground. Raise the vehicle using a hydraulic floor jack placed under approved frame jacking points, then lower the car onto heavy-duty jack stands. Place wheel chocks behind the grounded tires, shift the transmission into Neutral, and fully release the parking brake.
Grasp the tire at the 3 o’clock and 9 o’clock positions and rotate the wheel manually using moderate force. Observe how many full rotations the wheel completes before stopping, paying attention to any tight spots or heavy resistance.
A healthy brake assembly allows the wheel to spin freely for two to three complete revolutions with only a quiet, uniform rubbing sound from the resting pad contact. If the wheel stops immediately upon releasing your hands or requires significant muscular effort to turn, the caliper is failing to retract.
Avoid performing this test while the vehicle is resting solely on a hydraulic jack. Hydraulic jacks can bleed pressure and drop the vehicle, causing severe injury or damage. Always verify stability on jack stands before touching the wheel.
Step 3: Execute Visual Tear-Down and Pad Wear Analysis
Remove the lug nuts completely, pull the wheel assembly off the hub, and set it aside. Inspect the caliper housing, the rubber dust boot surrounding the central piston, and the rubber brake line connections for wet, glossy spots or dripping hydraulic fluid.
Look directly through the caliper inspection window to compare the remaining friction material thickness on the inner brake pad versus the outer brake pad. Measure pad thickness using a small pocket ruler or brake lining gauge.
+-----------------------------------------------------------------------------------+
| BRAKE PAD WEAR PATTERN DIAGNOSTIC KEY                                             |
+-----------------------------------------------------------------------------------+
| Even Wear (Both pads equal thickness): Caliper and slide pins function normally   |
| Inner Pad Paper-Thin / Outer Pad Thick: Seized caliper slide pins                 |
| Outer Pad Paper-Thin / Inner Pad Thick: Abutment clip rust or stick condition     |
| Both Pads Extremely Worn vs Opposite Wheel: Seized caliper piston                 |
+-----------------------------------------------------------------------------------+
Check the accordion rubber boots covering the caliper slide pins and the piston dust boot. If any rubber boot is torn, cracked, or missing, road grit and moisture have entered the cavity, corroding the internal iron bore or steel slide pins.
You will know this step worked when you have documented fluid integrity, rubber boot condition, and measured both pad thicknesses with a gauge.
A common mistake is assuming uneven inner and outer pad wear always requires replacing the entire caliper body. Uneven pad wear frequently stems from dry or rusted slide pins, which can be cleaned and lubricated without replacing the hydraulic caliper assembly.
Step 4: Perform the Mechanical Piston Compression Test
Locate the upper and lower caliper mounting bolts on the backside of the caliper housing. Using the appropriate socket (typically 12mm to 15mm), unscrew both mounting bolts and lift the caliper body off the mounting bracket and rotor. Immediately attach a bungee cord or mechanic’s wire through the caliper body and suspend it from the front coil spring.
Remove the worn inner and outer brake pads from the bracket. Inspect the brake fluid reservoir under the hood. If the fluid level sits near the “MAX” line, use a clean fluid syringe or turkey baster to siphon out 2 to 3 tablespoons of fluid into a sealed container. Place an old brake pad flat against the protruding caliper piston face. Position a 6-inch C-clamp with its fixed frame against the back of the caliper housing and its threaded screw against the old brake pad.
Tighten the C-clamp handle clockwise using steady, moderate hand pressure to force the piston back into the housing bore.
Compressing piston with C-clamp. Source: knowlesgallery / Getty Images
Under normal conditions, the piston smoothly retracts completely flush into the bore using consistent hand force on the clamp handle. If the clamp binds completely and the piston refuses to move despite strong hand pressure, the caliper is mechanically seized or hydraulically trapped.
Never allow the caliper to hang unsupported by its rubber brake line. Hanging the heavy assembly stretches internal fabric cords within the rubber line, creating invisible structural failures that lead to line rupture under high pressure.
Step 5: Execute Hydraulic Bleeder Isolation (Caliper vs. Hose Test)
When a caliper piston refuses to retract under C-clamp pressure, you must isolate whether the mechanical piston is rusted inside its bore or if a collapsed internal rubber brake hose is acting as a one-way fluid check valve trapping pressure.
Keep the C-clamp positioned over the old pad against the stuck piston with light tension applied. Clean the top of the caliper bleeder screw with a wire brush to remove rust and debris. Fit a box-end flare wrench (typically 8mm to 11mm) onto the hex head of the bleeder screw. Attach one end of a 1/4-inch inner diameter clear vinyl tube over the bleeder nipple, placing the opposing tube end submerged inside a catch bottle partially filled with fresh brake fluid.
While maintaining tightening force on the C-clamp, turn the flare wrench counterclockwise 1/4 turn to open the bleeder valve.
+-----------------------------------------------------------------------------------+
| HYDRAULIC ISOLATION TEST RESULTS                                                  |
+-----------------------------------------------------------------------------------+
| SCENARIO A: A sudden spurting burst of fluid shoots into the tubing, and the      |
| piston immediately retracts smoothly under clamp pressure.                        |
| RESULT: The caliper piston is FUNCTIONAL. The inner lining of the flexible brake  |
| hose has delaminated, trapping fluid pressure. REPLACE THE BRAKE HOSE.            |
|                                                                                   |
| SCENARIO B: Fluid drips out sluggishly without pressure, and the piston remains   |
| completely frozen despite open fluid flow.                                        |
| RESULT: The piston is PHYSICALLY SEIZED inside the caliper body bore due to rust  |
| or swollen piston seals. REPLACE THE CALIPER ASSEMBLY.                            |
+-----------------------------------------------------------------------------------+
You will know this step worked when you observe whether opening the bleeder releases physical resistance on the clamp, identifying the failure source.
A common mistake is using a standard open-end wrench on a rusted bleeder nipple, which strips the soft metal hex head. Always use a dedicated six-point flare nut wrench to open bleeder valves cleanly without rounding.
Common Mistakes and How to Fix Them
1. Forcing a Stuck Piston with Cheater Bars
Attempting to force a seized piston back into its housing using long breaker bars or oversized clamp extensions distorts the internal housing metal or cracks phenolic plastic pistons.
- How to Fix: Stop applying force immediately if moderate hand torque fails. Perform Step 5 (Hydraulic Bleeder Isolation) to determine if fluid restriction is the issue. If the piston remains seized with the bleeder open, replace the caliper assembly entirely.
2. Forgetting to Depressurize or Reset Electronic Parking Brakes (EPB)
Applying compression tools to rear calipers equipped with motor-on-caliper Electronic Parking Brakes without placing the car in Service Mode strips the internal helical spindle drive.
- How to Fix: Enter the vehicle setup menu or connect an OBD-II diagnostic tool to select “Deactivate Parking Brake for Service.” Alternatively, unbolt the electric servo motor from the back of the caliper and manually turn the internal shaft clockwise with a triple-square or Allen key before applying compression.
3. Overflowing the Master Cylinder Fluid Reservoir
Compressing multiple caliper pistons forces fluid backward through the brake lines into the master cylinder. If the reservoir was topped off during past maintenance, fluid overflows onto the engine bay, stripping paint and corroding metal.
- How to Fix: Siphon out brake fluid down to the “MIN” fill mark using a clean syringe prior to compressing any pistons. Monitor the reservoir level continuously while working across each wheel position.
4. Failing to Pump the Brake Pedal Before Road Testing
Compressing the piston leaves a large air gap between the pad friction surface and the rotor face. Driving away immediately results in the brake pedal dropping straight to the floorboard without stopping the vehicle.
- How to Fix: Before starting the engine, sit in the driver seat and pump the brake pedal 5 to 6 times using full strokes until the pedal feel becomes firm and rigid. Re-check the master cylinder fluid level before test driving.
5. Reusing Corroded Slide Pins Without Proper Lubricant
Reinstalling dry or rusted slide pins or using petroleum-based wheel bearing grease swells rubber dust boots, causing pin binding within weeks.
- How to Fix: Clean slide pins using a wire wheel or 000-grade steel wool until bare metal is smooth. Apply high-temperature, 100% synthetic silicone brake grease (or ceramic brake lubricant) to the pins before reassembly. Replace damaged rubber boots immediately.
Caliper Diagnostic Variations
Floating Calipers vs. Fixed Multi-Piston Calipers
Standard floating calipers use a single piston (or dual inline pistons) on the inner side and slide along mounting pins to clamp both pads. Diagnostics focus heavily on slide pin movement and single-piston retraction.
Fixed calipers (common on high-performance vehicles) do not move on slide pins; instead, they feature opposing pistons on both the inner and outer sides of the rotor (4-piston or 6-piston setups). When diagnosing fixed calipers:
- Slide pin checks are skipped; focus turns to inspecting individual pistons.
- Block off one side of pistons with a wood block while testing compression on individual opposing pistons using a multi-piston spreader tool.
- A single stuck piston in a 6-piston caliper causes pad taper across a single pad rather than inner-versus-outer mismatch.
Twist-in Rear Calipers (Mechanical Handbrake)
Many non-EPB vehicles equipped with manual cable handbrakes use rear calipers where the piston must rotate while compressing. Attempting to force these pistons straight back with a standard C-clamp breaks the internal handbrake adjuster mechanism.
- Use a specialized rear brake caliper wind-back tool set (cube tool or rotating caliper press).
- Rotate the piston clockwise while applying light forward pressure until the piston face grooves align vertically and horizontally with the backing pad tabs.
+-----------------------------------------------------------------------------------+
| CALIPER VARIATION DIAGNOSTIC SUMMARY                                              |
+-----------------------------------------------------------------------------------+
| Floating Caliper: Check slide pin movement + single piston compression            |
| Fixed Caliper: Check individual pistons with wooden block isolating opposite side |
| Manual Rear Caliper: Rotate piston clockwise while compressing (Wind-back tool)   |
| Electronic Brake (EPB): Enter Service Mode BEFORE applying compression tools       |
+-----------------------------------------------------------------------------------+
How Long Does It Take and What Does It Cost?
Doing the diagnostic testing yourself takes under an hour and costs very little if you already possess general garage hand tools.
+-----------------------------------------------------------------------------------+
| TIME AND COST BREAKDOWN                                                           |
+-----------------------------------------------------------------------------------+
| ACTIVITY               | DIY COST           | PROFESSIONAL COST                   |
| Thermal Scan & Road    | $0 (Self test)     | $50 - $100 (Diagnostic fee)         |
| Mechanical Tear-Down   | $0 - $20 (Cleaner) | $100 - $150 (1 hour labor)          |
| Complete Caliper Swap  | $60 - $180 (Parts) | $350 - $650 (Parts + Labor + Flush) |
+-----------------------------------------------------------------------------------+
- DIY Diagnostic Time: 15 minutes for road/thermal testing; 30 to 45 minutes for wheel removal and hydraulic isolation.
- DIY Cost: $0 if tools are owned. Consumables like brake cleaner, silicone grease, and clear tubing cost under $20 total. An infrared thermometer costs between $15 and $25.
- Repair Costs if Defective: Replacing a single caliper yourself costs $60 to $180 for a remanufactured OEM assembly. Professional shop replacement costs $350 to $650 per axle including new hydraulic fluid bleeding.
Frequently Asked Questions
Can I drive with a bad brake caliper?
No, driving with a bad brake caliper is dangerous. A caliper seized closed overheats the rotor, boils brake fluid, and can cause complete hydraulic brake failure or wheel fires. A caliper seized open reduces stopping power by up to 50 percent and causes severe pulling under emergency braking.
Should I replace brake calipers in pairs?
While replacing calipers in pairs across the same axle is good practice for balanced hydraulic force, it is not strictly required. If one caliper fails due to an isolated rubber boot tear, replacing just that single caliper is acceptable provided the opposite side compresses smoothly and shows zero leaks.
What noise does a bad brake caliper make?
A bad brake caliper usually produces a continuous metallic squeal, grinding, or rubbing noise while driving that changes or stops when pressing the pedal. If slide pins bind, you may hear a single clunking sound when applying or releasing brakes as the housing shifts abruptly.
How do I know if my brake caliper is sticking or my emergency brake is stuck?
Elevate the rear axle and test free-wheel resistance. Disconnect the mechanical parking brake cable from the caliper lever arm. If the wheel releases and spins freely, the parking brake cable is stuck. If the wheel remains locked with the cable disconnected, the internal caliper mechanism or piston is seized.
Why is my car pulling to one side when I brake?
Your car pulls toward the side with the working or sticking caliper. If the front-left caliper drags, the car constantly pulls left. If the front-left caliper is stuck open (not working), pressing the brake pedal causes the front-right caliper to bite alone, pulling the car violently to the right.
Diagnostic Summary Checklist
To verify whether your vehicle requires a replacement caliper, confirm these final diagnostic indicators:
- Seized Closed (Dragging): The rotor temperature exceeds the opposite axle side by over 36°F (20°C), the tire resists manual spinning, and the piston fails to compress with a clamp until the bleeder valve opens.
- Seized Open (No Braking): The rotor stays cold after driving, friction material shows no wear, and the vehicle pulls toward the opposite side under braking.
- Blown Seals (Hydraulic Leak): Fresh, oily fluid collects around the piston boot, dust shield, or inner wheel barrel, accompanied by a spongy pedal.
If your diagnostic tests confirm any of these three failure modes, replace or rebuild the affected caliper assembly immediately to maintain safe, predictable braking performance.


