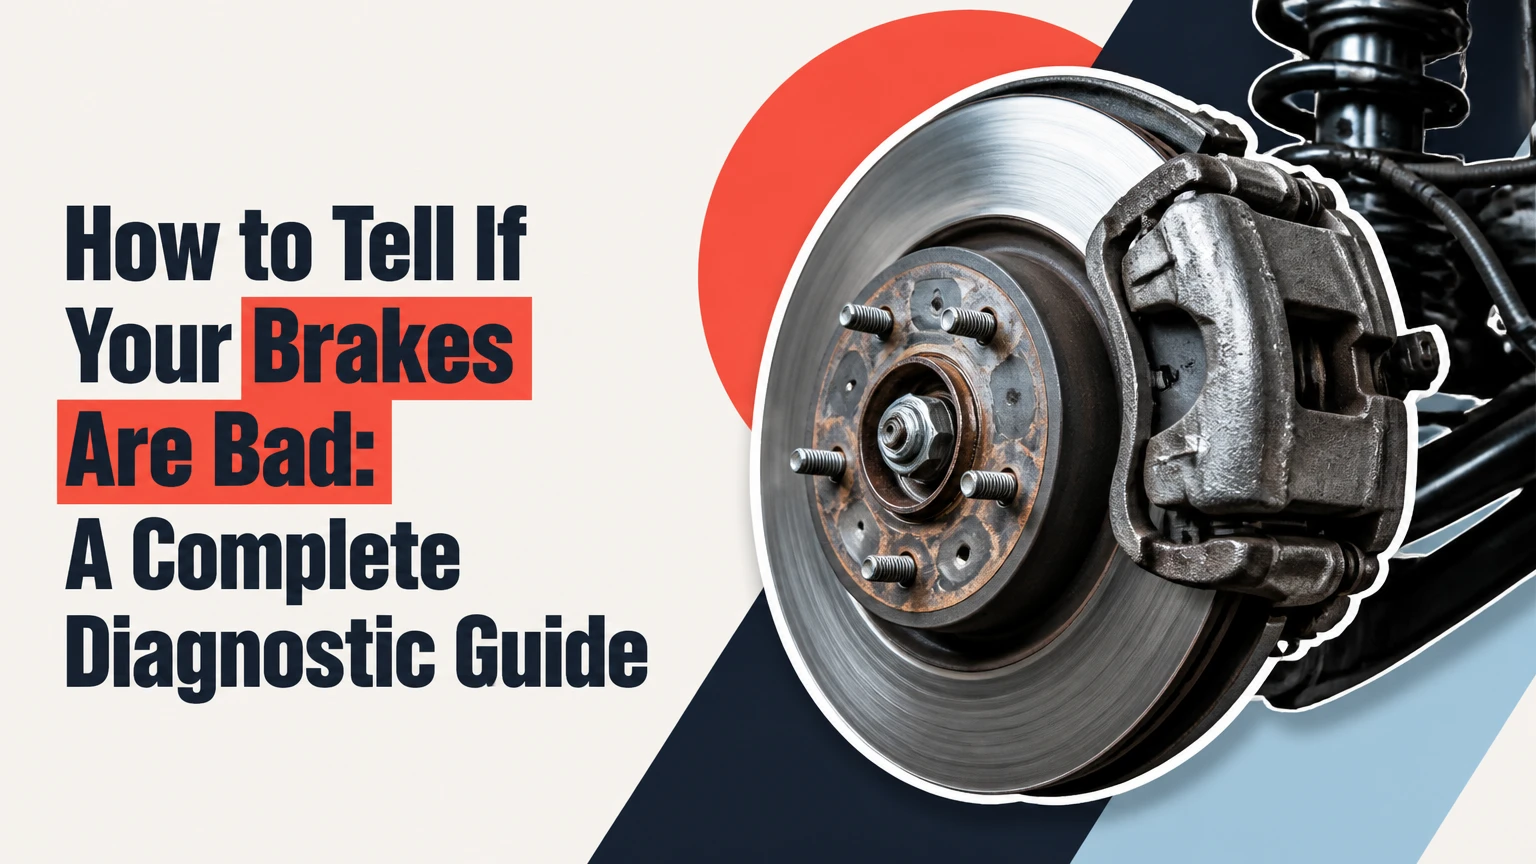
Determining whether your braking system requires immediate service involves evaluating dynamic performance symptoms and taking precise physical measurements of your hardware. By following this six-step diagnostic method, you will test pedal response, check fluid health, elevate the vehicle safely, and measure pad and rotor dimensions. Expect this entire process to take roughly 60 minutes. The single factor that most determines success is accurately measuring the actual friction material thickness rather than mistaking backing plates or shims for pad life.
Before You Start
- Total Time Required: 60 minutes (10 min road test, 5 min fluid check, 15 min lift, 15 min hardware measurement per wheel, 15 min reassembly).
- Difficulty Level: Beginner to Intermediate DIYer.
- Estimated Cost: $0 (using existing tools) or $25–$40 for basic measuring tools.
- Prerequisite Skills: Ability to safely operate a floor jack, install jack stands, and operate basic hand tools.
Required Equipment Checklist
- Floor jack rated for your vehicle’s curb weight
- Heavy-duty jack stands (2 minimum)
- Wheel chocks (2 blocks minimum)
- Lug wrench or breaker bar with matching socket
- Color-coded feeler-blade brake pad thickness gauge set
- Digital micrometer or digital caliper (0–25mm range)
- High-intensity LED flashlight
- Nitrile gloves and an N95 dust mask
- Aerosol brake cleaner spray and clean shop rags
Target Specifications Reference
- New Brake Pad Thickness: 10mm to 12mm
- Caution Threshold: 4mm to 5mm
- Critical Wear Limit (Replace Immediately): 3mm (approx. 1/8 inch) or less
- Lug Nut Torque: 80 to 100 ft-lbs (confirm exact value in owner’s manual)
- Maximum Rotor Runout: 0.05 mm (0.002 inches)
Phase 1: Operational Performance Assessment
Step 1: Conduct a Dynamic Road Test and Symptom Assessment
Drive the vehicle on a flat, empty, straight road at 20 to 30 mph to observe system feedback under controlled conditions. Grip the steering wheel lightly with both hands and apply smooth, steady pressure to the brake pedal until the vehicle comes to a complete stop.
Listen carefully for high-pitched squealing, which indicates that the wear indicator spring is contacting the rotor face. A harsh, metallic grinding noise means the friction material is entirely depleted and the steel backing plate is cutting into the rotor surface.
Pay attention to tactile feedback through your foot and hands. Pulsation in the brake pedal or rapid shaking in the steering wheel during application signals uneven pad material deposition or lateral rotor thickness variation. If the vehicle pulls sharply to the left or right, a caliper slider pin or piston is likely stuck on one side. A spongy pedal that sinks to the floor under constant pressure points to air in the hydraulic lines or internal master cylinder bypass.
- Success Checkpoint: You have documented all specific noises, steering pulls, and pedal resistance anomalies under controlled stopping distances.
- Common Mistake: Testing brakes on an uneven or rutted road surface. Road crown and potholes simulate steering pull and pedal vibration, leading to incorrect diagnostic conclusions.
[Step 1: Road Test] ──> [Step 2: Fluid Check] ──> [Step 3: Elevate Vehicle]
                                                          │
[Step 6: Reassembly] <── [Step 5: Rotor Check] <── [Step 4: Pad Measurement]
Step 2: Inspect Under-Hood Fluid Level and Chemical Condition
Pop the vehicle hood, locate the translucent plastic brake fluid reservoir attached to the master cylinder near the driver-side firewall, and wipe off the cap to prevent dirt from entering. Inspect the fluid level through the clear reservoir body relative to the embossed “MIN” and “MAX” fill lines.
Observe the coloration of the fluid using your LED flashlight. Fresh brake fluid is clear or light amber. Dark brown, cloudy, or black fluid indicates severe thermal degradation, moisture absorption, and breakdown of internal rubber seals.
+-------------------------------------------------------+
|  [MAX] --------------------- (Fresh Amber Fluid)      |
|                                                       |
|  [---] Level drops as pad wear pulls fluid down lines |
|                                                       |
|  [MIN] --------------------- (Critical Low Level)     |
+-------------------------------------------------------+
As brake pads wear down, the caliper pistons stay pushed further outward, which lowers the fluid level in the reservoir. A fluid drop down to the “MIN” line often mirrors severe pad wear rather than an active leak.
- Success Checkpoint: You know the precise level and color of the fluid, and you can tell whether low volume is due to pad wear or a physical fluid leak.
- Common Mistake: Adding new brake fluid to top off a low reservoir without checking the pads first. When you later install fresh, thick brake pads and push the caliper pistons back in, the excess fluid will overflow out of the reservoir and spill corrosive fluid across your engine bay.
Phase 2: Physical Hardware Inspection
Step 3: Secure the Vehicle, Elevate, and Remove the Wheel
Park the vehicle on a level concrete surface, engage the parking brake firmly, and block the front and back of the tires on the opposite end using wheel chocks. Wearing your N95 mask and nitrile gloves, use a breaker bar and socket to loosen each lug nut on the target wheel by one-half turn counterclockwise while the tire rests on the ground.
Locate the factory-designated lift point along the frame pinch weld, place your floor jack directly underneath, and raise the vehicle until the tire clears the ground by 2 to 3 inches. Immediately position a jack stand directly beneath the adjacent frame support point and lower the floor jack until the vehicle rests fully on the stand.
   [Vehicle Frame Pinch Weld]
             │
   ┌─────────┴─────────┐
   │    Jack Stand     │  <-- Primary Load Bearer
   └─────────┬─────────┘
             │
      [Concrete Surface]   (Floor Jack held nearby as back-up)
Remove the loosened lug nuts completely, lift the wheel off the hub studs, and set it flat on the ground under the vehicle frame as an extra safety barrier.
- Success Checkpoint: The vehicle rests securely on a jack stand on solid ground, and the brake rotor and caliper assembly are exposed.
- Common Mistake: Raising a vehicle on asphalt, dirt, or an incline, or working beneath a vehicle supported only by a hydraulic floor jack. Hydraulic seals can fail without warning.
Step 4: Measure Friction Pad Thickness (Inboard and Outboard)
Direct your LED flashlight through the top inspection window of the steel caliper housing to locate the brake pad friction material pressed against the rotor face. Identify the distinct separation line where the friction material meets the solid steel backing plate.
       OUTBOARD PAD                 INBOARD PAD
  [Backing] [Friction]  ROTOR   [Friction] [Backing]
    │ 5mm   │  10mm   │       │  10mm   │   5mm │
    └───┬───┘  └──┬───┘       └───┬───┘  └───┬──┘
        │         │               │          │
    Do NOT     MEASURE         MEASURE     Do NOT
   Measure      THIS            THIS      Measure
Select your color-coded feeler-blade gauge and slide individual blades between the metal backing plate and the rotor surface for the outer pad. Record the thickest blade that slips into the gap with slight friction. Repeat this exact process for the inner pad, viewing it from behind the caliper assembly.
If you do not have feeler blades, position a digital caliper across the friction mass, making sure not to include the 5mm thick steel backing plate in your measurement.
| Gauge Color | Thickness Metric | Operational Status | Required Action |
| Green | 8mm to 12mm (0.31″ to 0.47″) | Good Condition | No service needed; recheck at next oil change. |
| Yellow | 4mm to 7mm (0.15″ to 0.27″) | Moderate Wear | Plan for replacement within 3,000–5,000 miles. |
| Red | 3mm or less (0.11″ or less) | Critical Wear | Replace pads immediately; safety hazard. |
Compare the inner pad measurement directly to the outer pad measurement. A difference greater than 1.5mm between inner and outer pads means the caliper slide pins are sticking or seized due to dried grease or corroded rubber boots.
- Success Checkpoint: You have clear, millimeter-accurate measurements for both the inner and outer pads, without including the backing plate thickness.
- Common Mistake: Measuring the metal anti-rattle shim or backing plate alongside the friction material. This leads people to think a worn-out 2mm pad is actually a safe 7mm pad.
      CORRECT MEASUREMENT                INCORRECT MEASUREMENT
   ┌───────┬──────────────┐           ┌───────┬──────────────┐
   │ Backing│   Friction   │           │ Backing│   Friction   │
   │ Plate  │   Material   │           │ Plate  │   Material   │
   └───────┴──────────────┘           └───────┴──────────────┘
            |<─ MEASURE ─>|           |<────── DO NOT ──────>|
                 HERE                       MEASURE BOTH
Step 5: Inspect Rotor Thickness, Surface Integrity, and Runout
Examine the entire flat face of the brake rotor under bright light. Look for deep circular grooves (scoring), dark blue discolored patches caused by localized overheating, or fine spiderweb hairline cracks across the braking surface. Feel the outer edge of the rotor to see if there is a raised, rusty ridge where the pad does not make contact.
                      ROTOR EDGE PROFILE

        [Unworn Outer Rim] --->  ┌──┐  <-- Rust Ridge
                                 │  │
        [Swept Pad Track]  --->  │  ├──┐ <-- Worn Track
                                 │     │    (Measure Here)
                                 │  ├──┘
        [Unworn Outer Rim] --->  └──┘
To take an accurate rotor thickness measurement, do not place flat caliper jaws directly over the outer edge, as the rust ridge will throw off your reading. Instead, place an anvil-style digital micrometer inside the swept friction track. Take thickness readings at four points spaced roughly 90 degrees apart around the wheel hub.
                    MICROMETER MEASUREMENT POINTS

                                ( Point 1 )
                                     │
                        ┌────────────┴────────────┐
                        │                         │
            ( Point 4 ) ─  [  ROTOR HUB CASTING  ]  ─ ( Point 2 )
                        │    Min Spec Stamped     │
                        └────────────┬────────────┘
                                     │
                                ( Point 3 )
Locate the minimum thickness spec stamped directly onto the center rotor hub casting (e.g., “MIN THICK 22.4MM”). Compare your lowest micrometer reading against this factory specification limit. If any reading falls below this stamped minimum, or if the individual readings vary by more than 0.015mm, replace the rotor.
- Success Checkpoint: You have measured four separate points across the rotor track with a micrometer and verified those numbers against the stamped hub minimum.
- Common Mistake: Measuring rotor thickness with a standard flat dial caliper across the outer edge. The raised rust lip prevents the caliper jaws from contacting the true friction track, giving a false high reading.
Phase 3: Final Reassembly and Verification
Step 6: Reinstall the Wheel Assembly and Torque to Factory Specs
Spray aerosol brake cleaner across both sides of the rotor face to remove any dirt or grease transferred during inspection, then wipe it down with a clean shop rag. Lift the wheel back onto the lug studs and push it firmly against the hub face. Thread all lug nuts on by hand, turning them clockwise until they sit flush against the wheel frame.
Use your lug wrench to tighten the lug nuts in a crisscross star pattern until snug, ensuring the wheel sits evenly against the brake hub face.
       5-LUG PATTERN SEQUENCE         4-LUG PATTERN SEQUENCE
                (1)                            (1)
              /     \                        /     \
          (4)         (3)                (4)         (3)
             \       /                       \     /
           (2) ─── (5)                         (2)
Lower the floor jack until the tire makes light contact with the ground, preventing the wheel from spinning, but do not drop the full weight of the car onto the suspension yet. Set a calibrated torque wrench to your vehicle’s exact manual specification (typically 80 to 100 ft-lbs). Tighten the lug nuts in the same star pattern until the wrench clicks once per nut. Lower the vehicle completely to the ground, remove the jack, and store your equipment.
- Success Checkpoint: All lug nuts are torqued in a star pattern to factory specifications, and the vehicle sits safely back on the ground.
- Common Mistake: Tightening lug nuts in a continuous circular sequence rather than a crisscross star pattern. Sequential tightening can warp the wheel hub and create fake rotor runout vibrations.
Common Mistakes and How to Fix Them
- Mishandling Brake Dust Without PPE: Sweeping or blowing brake dust with compressed air spreads hazardous airborne particulates. Always wear an N95 mask and spray dirty components with liquid aerosol brake cleaner to capture dust safely.
- Mistaking the Shim for Friction Depth: Placing gauge blades against the thin metal anti-rattle backing shim inflates your measurement reading. Always place the blade directly against the dark friction block material attached to the backing plate.
- Measuring Only the Outer Pad: Assuming the visible outer pad reflects the condition of the hidden inner pad can lead to missed issues. A seized caliper pin will grind the inner pad down to raw steel while the outer pad still looks thick. Always measure both pads on every wheel.
- Contaminating the Friction Surface: Touching pad faces or rotor tracks with greasy gloves leaves oil behind that degrades stopping power. Clean the rotor face thoroughly with dedicated brake cleaner spray before reinstalling the wheel.
- Overtightening Lug Nuts with an Impact Gun: Ramming lug nuts on using an uncalibrated impact wrench stretches wheel studs and distorts the rotor hat. Always use a calibrated torque wrench turned by hand in a star pattern.
System Diagnostics and Troubleshooting
| Observed Symptom | Likely Mechanical Root Cause | Direct Troubleshooting Action |
| High-pitched squeal that stops when applying brakes | Metal wear indicator tab touching the rotor | Wear tab is warning you of thin pads; replace brake pads within 500 miles. |
| Low-pitched metallic grinding under all braking forces | Friction material gone; backing plate cutting rotor | Stop driving immediately. Replace both pads and damaged rotors on that axle. |
| Pedal vibration or steering wheel shake during high-speed braking | Rotor Thickness Variation (RTV) or pad material transfer | Measure rotor thickness across 4 points. Replace rotors if thickness varies beyond spec. |
| Spongy pedal sinking slowly under steady foot pressure | Air bubbles in brake lines, moisture buildup, or failing master cylinder | Bleed the brake system to remove air; replace the master cylinder if the pedal keeps sinking. |
| Vehicle pulls to one side while braking | Seized caliper slide pin or stuck internal piston | Remove caliper, clean and lubricate slide pins with silicone ceramic grease, or replace caliper. |
Variations for Alternate Vehicles and Setup Scenarios
Electronic Parking Brake (EPB) Variations
If your vehicle uses an Electronic Parking Brake button instead of a mechanical lever, do not try to inspect or service the rear pads without placing the braking system into “Service Mode” via your dashboard menu or an OBD2 scanner. Actuating or forcing caliper components on an active EPB can damage the internal electric stepper motor.
Fixed Multi-Piston Calipers (Performance / Sports Cars)
Unlike floating calipers, fixed calipers do not move on slide pins. Instead, they feature opposing pistons on both sides of the rotor.
When measuring pad thickness on fixed calipers, check both the top and bottom edges of the pads. Fixed calipers often experience tapered pad wear, where the leading edge wears down faster than the trailing edge.
Vehicles with Rear Drum Brakes
Many budget and older vehicles use rear drum brakes instead of disc rotors. You cannot measure drum brake shoes through an inspection window.
To check rear drum health, remove the wheel, back off the rear star-adjuster wheel through the backing plate port, and slide the heavy steel brake drum off the hub studs. Measure the shoe lining thickness at its thinnest point; replace the shoes if the lining is 1.5mm (1/16 inch) or less.
FAQ
How long do brake pads and rotors typically last?
Standard organic or semi-metallic brake pads generally last between 30,000 and 70,000 miles, depending on your driving style and environment. Brake rotors are built thicker and often last through two sets of pads (60,000 to 80,000 miles) before dropping below minimum thickness specs.
Can I replace pads on just one wheel if the other side looks thick?
No. You must always replace brake pads in full axle sets (both front wheels or both rear wheels at the same time). Replacing pads on only one wheel creates uneven friction levels across the axle, causing the vehicle to pull dangerously to one side when braking hard.
What is the minimum safe brake pad thickness?
The absolute minimum safe friction material thickness is 3mm (approx. 1/8 inch). Operating a vehicle with pad friction below 3mm drastically increases stopping distances and risks backing plate failure, which can damage the rotor and cost much more to repair.
Why do my new brakes squeak even though the pads are thick?
Squeaking on new brake pads usually stems from missing high-temperature silicone ceramic grease on the metal backing plate contact points, un-chamfered pad edges vibrating against the rotor, or failing to properly bed in new pads onto fresh rotors.
Do I need to bleed my brakes just to inspect pad thickness?
No. Inspecting pad thickness, measuring rotor variance, or checking fluid color does not break the sealed hydraulic system. You only need to bleed the brake system if you open a bleeder screw, replace a caliper, or discover air trapped in the lines during your test drive.


