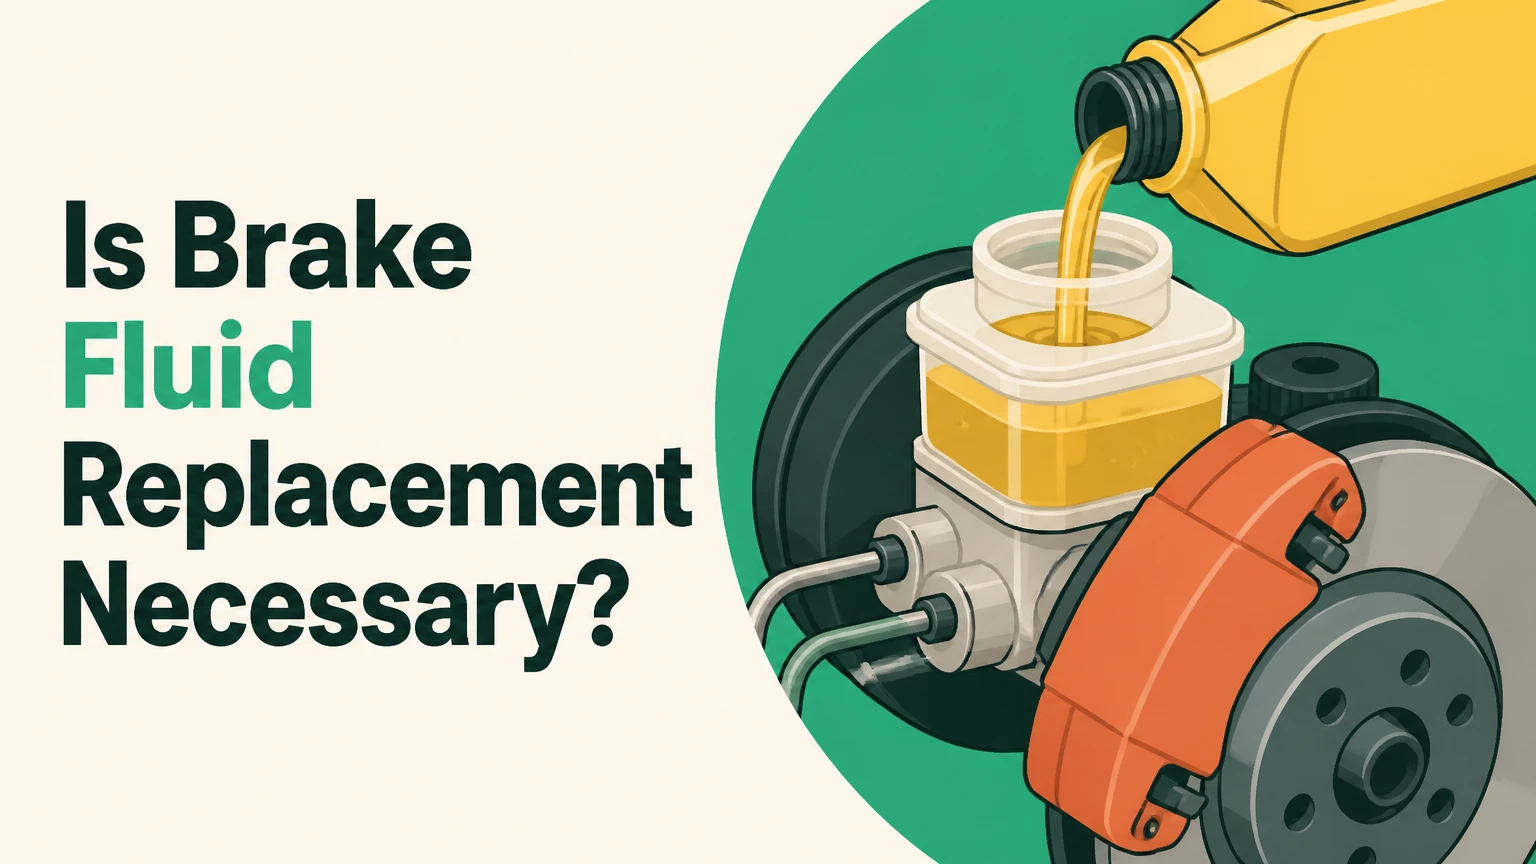
Brake fluid replacement is absolutely necessary because brake fluid is hygroscopic, meaning it continuously absorbs moisture from the atmosphere over time. This absorbed water degrades the fluid by lowering its boiling point, which causes vapor lock under high thermal load and severe corrosion inside the hydraulic calipers, lines, and master cylinder. Vehicles require a complete brake fluid flush every two years or 20,000 to 40,000 miles to prevent brake pedal failure and maintain hydraulic pressure.
Key Facts: Brake Fluid Service at a Glance
- Service Interval: Replace brake fluid every 24 months or 20,000 to 40,000 miles, regardless of driving conditions.
- Failure Threshold: Fluid containing more than 3% water content or exceeding 300 ppm of dissolved copper requires immediate replacement.
- Primary Threat: Absorbed water lowers the fluid’s boiling point, leading to vapor lock where hydraulic force fails to compress the brake pads.
- Chemical Compatibility: Glycol-based fluids (DOT 3, DOT 4, DOT 5.1) can never be mixed with silicone-based fluids (DOT 5).
- Service Cost: DIY fluid replacement costs $10 to $30 for materials; professional shop flushes cost $90 to $170.
Why Is Brake Fluid Replacement Necessary?
Brake fluid replacement is necessary because glycol-based hydraulic fluids attract and absorb humidity directly through microscopic pores in rubber brake hoses, seals, and reservoir caps. As water content increases, the boiling point of the fluid drops significantly, reducing the system’s ability to transfer mechanical force from the pedal to the calipers.
Under hard braking, friction between the brake pad and rotor creates extreme heat, often exceeding 300°F (148°C). This heat transfers directly into the brake caliper and hydraulic fluid. If the fluid contains absorbed water, that water boils and converts into steam. Unlike liquid, steam is compressible. When you press the brake pedal, the hydraulic force compresses the steam bubbles instead of moving the caliper pistons, resulting in a pedal that sinks to the floor with zero stopping power.
Beyond vapor lock, excess moisture causes internal oxidation. Water reacts with the metal surfaces inside the master cylinder, steel brake lines, ABS hydraulic control unit, and caliper pistons. This process releases copper, iron, and aluminum particles into the fluid, abrasive debris that destroys rubber cup seals and jams the delicate internal valves of the ABS module.
How Does Hydraulic Brake Fluid Work?
Brake fluid works by transmitting force through an incompressible liquid medium from the brake pedal to the wheel assemblies. Because liquids cannot be compressed, any force applied at one end of a closed hydraulic circuit translates into equal pressure at the other end.
[Brake Pedal] ➔ [Master Cylinder] ➔ [Hydraulic Lines] ➔ [Caliper Pistons] ➔ [Pads on Rotor]
When you step on the brake pedal, the mechanical linkage pushes a piston inside the master cylinder. This movement compresses the brake fluid inside the cylinder bore, generating high hydraulic pressure (typically 800 to 2,000 PSI during hard stops). The fluid transmits this pressure through rigid steel brake lines and flexible rubber hoses directly to the wheel calipers or drum wheel cylinders. The hydraulic pressure forces the caliper piston outward, pressing the friction pads tightly against the spinning brake rotor. The resulting kinetic friction converts the movement of the vehicle into thermal energy, bringing the car to a controlled stop.
What Are the Key Types of Brake Fluid?
The four main types of brake fluid are DOT 3, DOT 4, DOT 5, and DOT 5.1, each defined by Department of Transportation performance standards for boiling points, viscosity, and chemical composition. Selecting the correct fluid type ensures seal material compatibility and proper operation of modern Anti-lock Braking Systems (ABS).
| Specification | Base Chemistry | Dry Boiling Point (Min) | Wet Boiling Point (Min) | Viscosity at -40°C | ABS / ESP Compatible? |
|---|---|---|---|---|---|
| DOT 3 | Glycol-Ether | 205°C (401°F) | 140°C (284°F) | ≤ 1500 mm²/s | Yes (Standard Systems) |
| DOT 4 | Borate Ester / Glycol | 230°C (446°F) | 155°C (311°F) | ≤ 1800 mm²/s | Yes (Modern Passenger) |
| DOT 4 LV | Borate Ester / Glycol | 230°C (446°F) | 155°C (311°F) | ≤ 750 mm²/s | Yes (Advanced ESP/ADAS) |
| DOT 5 | Silicone | 260°C (500°F) | 180°C (356°F) | ≤ 900 mm²/s | No (Causes Foaming) |
| DOT 5.1 | Borate Ester / Glycol | 260°C (500°F) | 180°C (356°F) | ≤ 900 mm²/s | Yes (High Performance) |
Chemical Differences and Compatibility
DOT 3
Formulated with a glycol-ether base, DOT 3 is common in older, light-duty passenger vehicles. It has the lowest boiling points and absorbs moisture rapidly relative to its thermal capacity.
DOT 4
Formulated with borate esters added to the glycol base, DOT 4 offers higher dry and wet boiling points. It handles higher heat loads and is standard in modern European, Asian, and American vehicles. High-viscosity variants like DOT 4 LV (Low Viscosity) are engineered specifically for modern Electronic Stability Programs (ESP) that require rapid fluid flow through tiny valve orifices at sub-zero temperatures.
DOT 5
Formulated from silicone compounds, DOT 5 is hydrophobic, meaning it does not absorb water. It does not damage automotive paint and is used in classic cars that sit unused for long periods. However, DOT 5 expands up to 10% more when heated, traps micro-air bubbles easily during bleeding, and is completely incompatible with ABS modules because rapid valve pulsing causes the fluid to foam.
DOT 5.1
Formulated with borate esters like DOT 4, DOT 5.1 achieves the high performance thermal standards of DOT 5 while remaining glycol-based. It is compatible with ABS systems and can mix with DOT 3 and DOT 4, though mixing reduces the higher boiling threshold.
How Often Should You Replace Brake Fluid?
You should replace brake fluid every two years or every 20,000 to 40,000 miles, whichever comes first. Time is a more critical factor than mileage because brake fluid absorbs atmospheric humidity even when the vehicle is parked inside a garage.
0–12 Months: < 1.5% Water (Fresh Condition)
13–24 Months: 1.5% – 3.0% Water (Acceptable Operating Window)
25+ Months: > 3.0% Water (Critical Failure Risk — Flush Required)
Driving Conditions That Require Accelerated Replacement
Heavy Towing and Hauling
Pulling trailers places severe thermal strain on the braking system. High continuous temperatures accelerate chemical breakdown and lower the fluid’s boiling point faster. Replace fluid every 12 to 18 months.
Mountain and Downhill Driving
Frequent, prolonged brake applications while descending steep grades transfer continuous heat into the calipers. Fluid should be tested annually for moisture content.
Track Days and Spirited Driving
High-speed deceleration subjects brake fluid to thermal spikes exceeding 400°F (204°C). Performance vehicles running DOT 4 or DOT 5.1 should undergo a full fluid flush before or after every racing season.
How Do You Test if Your Brake Fluid Needs Replacement?
You test brake fluid using three primary methods: digital optical refractometers, electronic conductivity pens, and chemical copper test strips. Visual inspection alone is unreliable because fluid can look clean while containing unsafe levels of dissolved water or corrosive additives.
[Visual Inspection]  ➔ Color indicates oxidation, not boiling point.
[Conductivity Pen]   ➔ Measures moisture level via electrical resistance.
[Copper Test Strip]  ➔ Measures corrosion inhibitor depletion (PPM).
1. Electronic Moisture Testers
Electronic testers measure the electrical conductivity of the fluid, which increases as water content rises. Insert the metal prongs into the master cylinder reservoir.
- Green Light (0% to 1%): Fluid is in optimal condition.
- Yellow Light (1% to 2%): Fluid contains minor moisture; retest in 6 months.
- Red Light (> 3%): Fluid has reached a dangerous moisture level and requires immediate replacement.
2. Chemical Copper Test Strips
As brake fluid ages, its corrosion inhibitors break down, allowing the fluid to attack copper brazing inside the steel brake lines. Dip a test strip into the reservoir for one second, wait 60 seconds, and compare the color change against a scale:
- 0 to 30 ppm Copper: Adequate inhibitor protection remaining.
- 30 to 100 ppm Copper: Inhibitors are active but degrading.
- 100 to 300+ ppm Copper: Fluid has lost its anti-corrosive properties and must be changed to prevent hardware damage.
How Much Does a Brake Fluid Flush Cost?
A professional brake fluid flush costs between $90 and $170 at an independent auto repair shop, while dealership services range from $150 to $250 depending on vehicle complexity. Doing the job yourself costs between $10 and $30 for two quarts of high-grade fluid, plus initial tool investments.
| Service Option | Labor Cost | Parts & Materials | Total Estimated Cost |
|---|---|---|---|
| DIY Home Maintenance | $0 (Self Labor) | $10 – $30 (Fluid & Tubing) | $10 – $30 |
| Independent Repair Shop | $70 – $120 | $20 – $50 | $90 – $170 |
| Dealership Service Center | $110 – $180 | $40 – $70 | $150 – $250 |
How Do You Replace Brake Fluid Step-by-Step?
Replacing brake fluid requires flushing the entire hydraulic network to ensure all old fluid, moisture, and air are expelled from the lines.
Required Tools and Materials
- Fresh, unopened bottle of OEM-specified brake fluid (1 to 2 quarts)
- Fluid extraction syringe or turkey baster
- Clear vinyl tubing (1/4-inch inner diameter)
- Catch bottle for waste fluid
- Combination wrench set (typically 8mm to 11mm for bleeder valves)
- Torque wrench
- Safety glasses and nitrile gloves
- Hydraulic floor jack and jack stands
Step 1: Vehicle Preparation and Safety
Park the vehicle on a flat, hard concrete surface. Engage the parking brake, loosen the lug nuts on all four wheels, jack up the vehicle, and secure it safely on four jack stands. Remove all four wheels to access the brake calipers and wheel cylinders.
Step 2: Clean and Empty the Master Cylinder Reservoir
Open the hood and thoroughly clean the outside cap of the master cylinder reservoir with a clean shop towel to prevent dirt from falling inside. Remove the cap. Use a clean syringe or fluid pump to extract the old, dark brake fluid from the reservoir. Leave a tiny layer of fluid at the very bottom to prevent air from entering the master cylinder piston bore.
Step 3: Refill with Fresh Brake Fluid
Fill the master cylinder reservoir to the “MAX” line using fresh, unblemished brake fluid from a sealed container. Keep the cap loosely placed over the reservoir throughout the bleeding process to minimize atmospheric humidity intake while maintaining fluid flow.
Step 4: Establish the Correct Bleeding Order
Determine the correct bleeding sequence for your specific vehicle. The standard industry sequence starts at the wheel furthest from the master cylinder and moves progressively closer:
[Passenger Rear] ➔ [Driver Rear] ➔ [Passenger Front] ➔ [Driver Front]
Note: Some modern vehicles with diagonal dual-circuit split systems require a specific order specified in the factory service manual.
Step 5: Flush the Hydraulic Lines
Move to the first wheel bleeder valve. Place a box-end wrench over the bleeder nipple, then push one end of the clear vinyl hose over the valve tip. Submerge the lower end of the hose in a catch bottle partially filled with clean brake fluid to prevent air from being sucked backward into the system.
Have an assistant slowly press the brake pedal down to the floor and hold it. Open the bleeder valve 1/4 to 1/2 turn. Old fluid and bubbles will flow through the tube into the bottle. Close the bleeder valve firmly before your assistant releases the brake pedal. Repeat this process until clean, clear fluid with zero air bubbles flows through the clear tube.
Assistant Presses Pedal ➔ Open Bleeder Valve ➔ Close Bleeder Valve ➔ Assistant Releases Pedal
Step 6: Maintain Reservoir Level and Final Check
Check the master cylinder reservoir after flushing each wheel. Top off the reservoir with fresh fluid immediately if the level drops near the “MIN” line. If the reservoir empties completely, air will enter the ABS pump, requiring a dealer-level diagnostic tool to clear.
Once all four corners are flushed, torque all bleeder valves to factory specs (typically 6 to 9 ft-lbs), reinstall the wheels, lower the vehicle, and top off the reservoir to the “MAX” fill line. Press the brake pedal repeatedly until a firm, solid pedal feel is achieved before starting the engine. Perform a low-speed test drive in a safe area.
What Are the Most Common Mistakes to Avoid?
Avoiding critical operational errors protects your braking system from catastrophic hydraulic failure, surface damage, and costly electronic repairs.
- Mixing DOT 5 with Glycol Fluids: Never pour silicone DOT 5 into a system containing DOT 3, DOT 4, or DOT 5.1. The compounds react, turning into a gel that clogs valve passages and causes complete brake failure.
- Using Open Fluid Containers: Brake fluid absorbs humidity directly through opened plastic seals. Any bottle opened for more than a few weeks must be discarded.
- Spilling Fluid on Paint: Glycol-based brake fluids act as paint strippers. If fluid spills on bodywork, immediately rinse the area with large amounts of soapy water. Do not wipe it with a dry towel, as wiping rubs the chemical into the clear coat.
- Allowing the Master Cylinder to Run Dry: If the reservoir runs dry during bleeding, air gets drawn directly into the master cylinder and ABS module. Removing this air requires electronic scan tools that cycle the internal ABS solenoid valves.
Troubleshooting Hydraulic Fluid Issues
Spongy or Soft Brake Pedal
- Root Cause: Air bubbles are compressed inside the hydraulic lines or calipers.
- Solution: Perform a full system re-bleed using the two-person or pressure-bleeding method until zero bubbles emerge.
Dark Brown or Black Fluid
- Root Cause: Advanced fluid oxidation, severe moisture contamination, and degraded internal rubber hose material.
- Solution: Flush the entire system with double the standard volume of fresh fluid to clear out suspended particulate matter.
Low Reservoir Fluid Level
- Root Cause: Either a physical leak in the line/caliper or simple pad wear (as friction material wears down, caliper pistons stay extended, drawing fluid out of the reservoir).
- Solution: Inspect brake pad thickness first. If pads are within spec, inspect all hose joints, calipers, and the master cylinder rear seal for active fluid leaks.
Frequently Asked Questions
Can you just add fresh brake fluid instead of flushing it?
No, simply topping off the master cylinder reservoir does not replace the contaminated, water-laden fluid trapped further down in the brake lines and calipers. The degraded fluid at the wheels remains subject to low boiling points and internal corrosion until a full fluid flush is performed.
What happens if air gets into the brake lines?
Air in the brake lines causes a soft, spongy pedal feel and significantly increases stopping distances. Because air is compressible, the mechanical force applied to the brake pedal goes toward squishing the air pockets rather than pushing the caliper pistons against the brake rotors.
Is DOT 4 backward compatible with DOT 3?
Yes, DOT 4 is backward compatible with DOT 3 systems. DOT 4 offers higher wet and dry boiling points, making it a suitable upgrade for vehicles originally specified for DOT 3. However, you must never mix DOT 5 silicone fluid into any DOT 3 or DOT 4 system.
How do I know if my ABS module requires a special bleeding procedure?
If air enters the ABS hydraulic control unit due to an empty reservoir or line replacement, standard manual bleeding will not remove it. You will need a scan tool capable of performing an “ABS Automated Bleed” to electronically pulse the internal solenoids while forcing fluid through the system.
Why does new brake fluid turn dark quickly in some cars?
Brake fluid darkens quickly when it sweeps up residual dark particulates, rubber assembly grease, and oxidation residue left behind in older rubber brake lines. While darkening does not always mean immediate failure, testing the fluid with copper strips or a moisture pen provides an accurate measure of its true condition.


