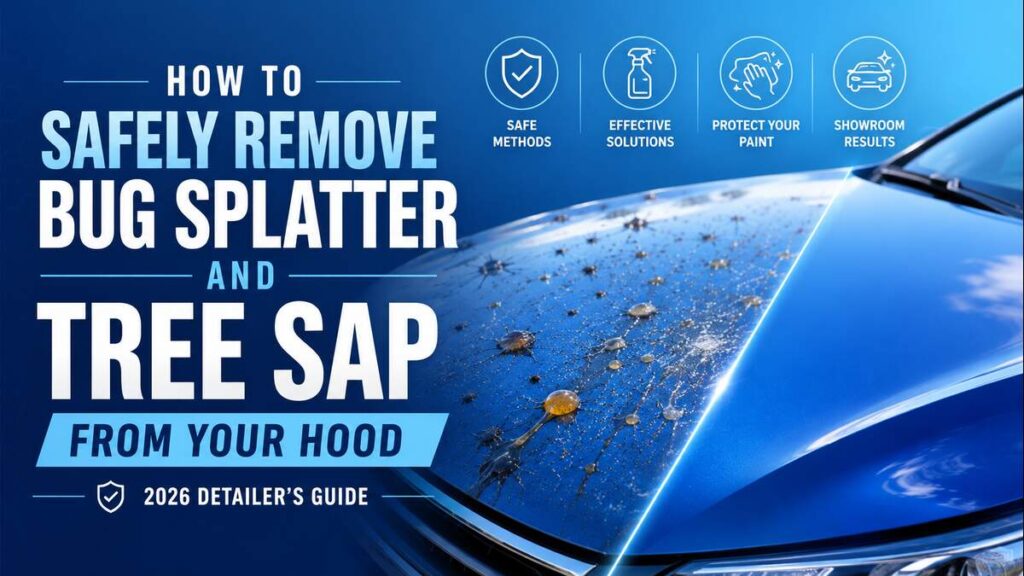
You finish a long summer highway drive, pull into the driveway, and there it is: a shotgun blast of dried insects welded across your hood, plus a few sticky, glassy blobs of tree sap you picked up from that shady parking spot last week. It looks awful, and worse, it feels permanent. I remember the first time this happened to my own car. I attacked it with a dry rag and a lot of confidence, and all I earned was a haze of tiny scratches that caught the sunlight forever after.
That mistake taught me the single most important lesson in paint care: the mess is rarely what ruins your finish. The cleanup does. This guide walks you through how to safely remove bug splatter and tree sap from your hood using methods that dissolve the contaminant first and lift it second, so your clear coat stays glossy and swirl free.
Why Your Hood Is the Hardest Panel to Clean
Before we touch a single towel, understand why the hood punishes you more than any other panel. The engine sits directly beneath it, and that heat radiates upward. When bug guts or sap land on a warm hood, they bake on far faster and bond tighter than they would on a cool door or trunk.
There is chemistry at work too. Insect residue is acidic. As it dries in the sun, it slowly etches into the clear coat, which is why old bug splatter often leaves faint outlines even after removal. Tree sap behaves differently. It is a resin that hardens into a tough, glass like bead that grips the paint and can pull pigment or clear coat with it if you scrape carelessly. Both problems get worse with time, so speed matters more than muscle.
The Golden Rules of Paint Safety (What NOT to Do)
Most paint damage happens because people treat contaminants like a stain to be scrubbed away. Resist that urge. Keep these rules in mind before you start.
- Never dry scrub. Wiping a dry surface drags hard particles across soft clear coat and carves in swirl marks instantly.
- Never use kitchen sponges, dish scrubbers, or paper towels. They are abrasive and will scratch automotive paint.
- Never reach for harsh household chemicals like bleach, oven cleaner, acetone, or bug spray. They can strip wax, dull the finish, or permanently stain the clear coat.
- Never work in direct sun on a hot hood. Products evaporate before they can do their job, leaving streaks and water spots.
- Never pick at sap with your fingernail or a metal blade. Metal on paint is a guaranteed scratch.
The theme is simple. Always dissolve first, then lift with the least amount of pressure possible.
What You Will Need
Great results come from having the right kit ready before you begin. You do not need a professional detailing studio, just a few dependable items.
- Two buckets of clean water and a quality car wash soap
- A stack of plush microfiber towels, the plusher the better
- A dedicated bug and tar remover, or 70 percent isopropyl (rubbing) alcohol as a safe solvent for sap
- A detailing clay bar or a clay towel for stubborn bonded residue
- A plastic razor blade for the toughest sap beads (never metal)
- A quick detailer spray for lubrication
- Car wax or paint sealant to reseal the surface afterward
Below is a quick reference showing which tool pairs best with each problem.
| Contaminant | Best Solvent | Tool | Dwell Time |
|---|---|---|---|
| Fresh bug splatter | Enzyme bug remover | Soft microfiber | 2 to 3 min |
| Baked on bugs | Bug remover plus soak | Clay bar | 5 min |
| Soft tree sap | Isopropyl alcohol | Soaked microfiber | 30 to 60 sec |
| Hardened sap bead | Alcohol or tar remover | Plastic razor | 1 to 2 min |
Step by Step Removal Guide
Phase 1: The Pre Wash Prep
Move your car into shade and let the hood cool completely. A cool surface gives your products time to work and prevents streaking. Rinse the entire hood with a hose or pressure washer on a gentle setting to float away loose grit. This single step removes the abrasive particles that cause most wash induced scratches. Then wash the panel with car soap and a clean mitt, working top to bottom. A surprising amount of fresh bug residue simply melts away with a proper soapy wash, leaving only the hardened offenders behind.
Phase 2: Tackling Bug Splatter
Spray a dedicated enzyme bug remover directly onto the affected zone and let it dwell for two to three minutes. Enzymes break down the protein in insect residue, loosening the bond without scrubbing. Lay a soaked microfiber towel over any thick clusters to keep them wet, then wipe gently in one direction. For splatter that resists, glide a lubricated clay bar across the surface. The clay grabs the bonded fragments and pulls them off the paint cleanly. Reapply lubricant generously so the clay always floats rather than drags.
Phase 3: Dissolving Hardened Tree Sap
Tree sap needs a solvent, not force. Soak a microfiber towel with 70 percent isopropyl alcohol or a purpose made tar and sap remover, then press it onto the sap bead and hold for thirty to sixty seconds. The dwell time is doing the real work, softening the resin so it wipes away. Refresh and repeat for thick deposits. If a stubborn bead remains, hold a plastic razor at a low angle and gently coax it loose, keeping the surface wet the entire time. Finish by wiping the area clean and inspecting in good light.
Post Cleaning Protection
Removing the mess is only half the job. Solvents like alcohol strip away your protective wax layer along with the sap, leaving bare, vulnerable clear coat behind. Wash the hood one more time to neutralize any residue, dry it with a clean microfiber towel, then reapply a coat of car wax or paint sealant. This restores the slick barrier that makes future bug and sap removal dramatically easier and protects against the acidic etching that causes long term dullness.
The chart below shows how proper protection reduces the effort of your next cleanup.
Cleanup Effort by Protection Level
Higher bar means more scrubbing needed. A fresh sealant slashes future effort.
Prevention Tips to Save Your Hood Next Time
The best removal method is the one you never need. A few habits keep contaminants from bonding in the first place.
- Wash regularly. A weekly rinse stops bug residue from curing into the clear coat.
- Keep a quick detailer spray and a microfiber towel in your trunk. Wiping fresh sap or bugs the same day takes seconds and prevents baking on.
- Avoid parking under trees, especially pines and maples that drip heavily in warm weather.
- Apply a fresh coat of sealant every three to four months so contaminants sit on top of the barrier, not on your paint.
- On long summer road trips, plan a quick fuel stop wipe down before residue hardens in the heat.
Conclusion
Bug splatter and tree sap look intimidating, but the fix is never about scrubbing harder. It is about patience and the right sequence: cool the hood, dissolve the contaminant, lift it gently, and reseal the surface. Follow that order and you protect the very clear coat you are trying to save, keeping your hood glossy for years. The people who ruin their paint are almost always the ones who reach for a dry rag and elbow grease. Now you know better.
Next Step
Ready to keep your hood spotless with zero guesswork? Download our free printable Bug and Sap Removal Checklist, or book a professional detailing consultation with our team and let us restore that showroom shine for you. Your paint will thank you.