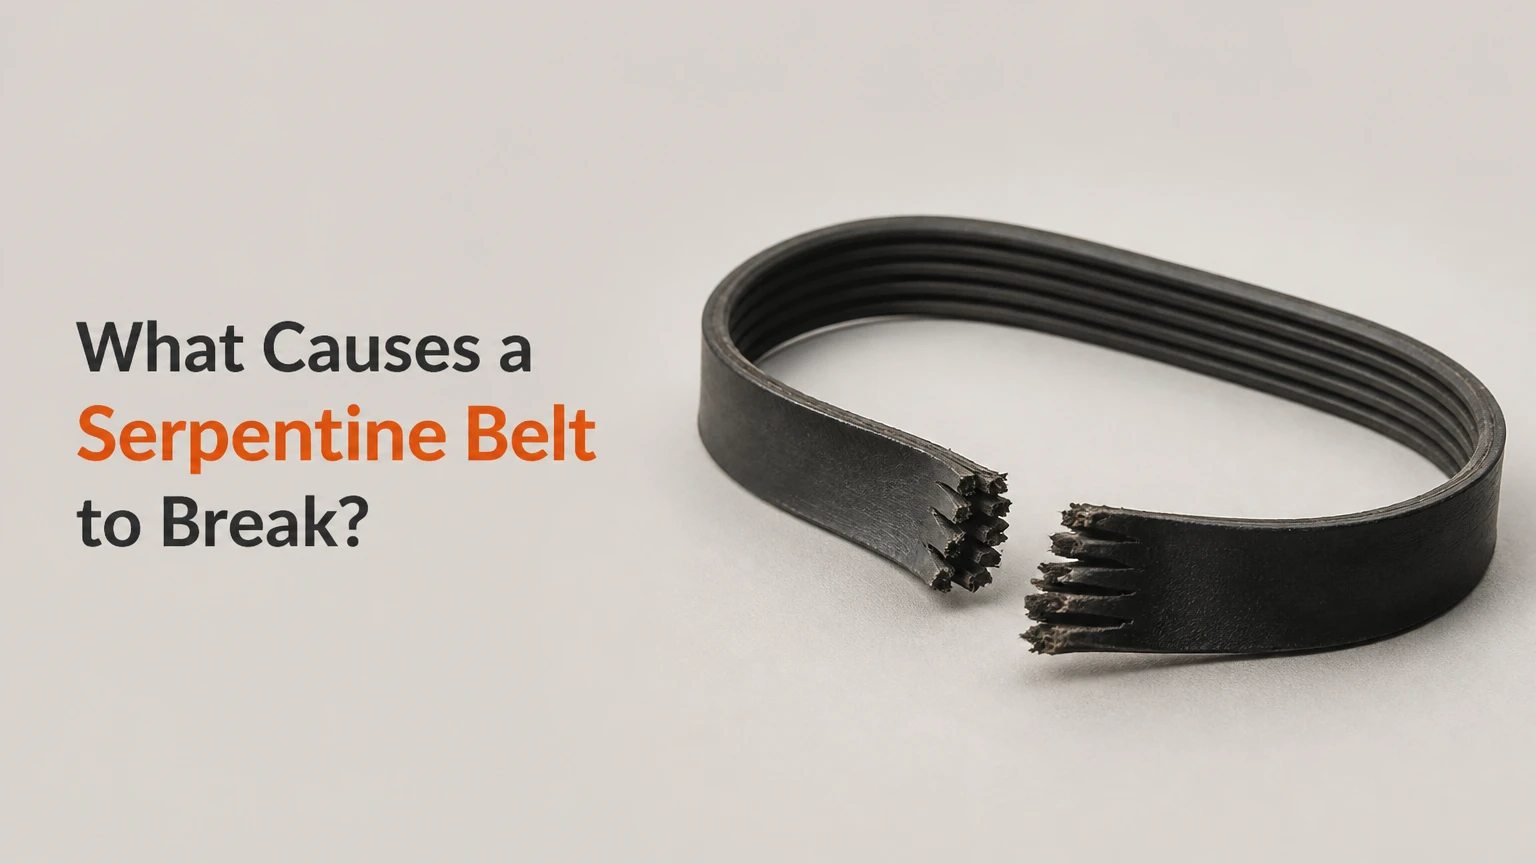
A serpentine belt breaks primarily due to age, excessive heat, mechanical misalignment, or component failure. When an accessory pulley seizes or a tensioner loses its spring force, the resulting friction rapidly destroys the rubber compound. Knowing exactly what causes a serpentine belt to break prevents catastrophic engine overheating and sudden loss of steering control.
Key Facts / At a Glance
- A modern EPDM rubber serpentine belt lasts approximately 100,000 miles (160,000 kilometers) before requiring routine replacement.
- Fluid contamination from leaking motor oil or engine coolant degrades belt rubber structurally in less than 3,000 miles.
- Pulley misalignment of just 0.5 degrees generates enough tracking friction to shred a new belt within a few days of driving.
- A completely seized air conditioning compressor pulley will melt a stationary drive belt in under 15 seconds of engine idling.
- Losing this single drive belt instantly disables the vehicle’s water pump, alternator, and power steering system.
What Is a Serpentine Belt?
A serpentine belt is a single continuous rubber drive belt that powers multiple engine accessories simultaneously. It features a flat outer backing and a multi-grooved inner surface designed to maximize contact grip against engine pulleys. Before the 1990s, vehicles used multiple individual V-belts to drive different accessories, but automotive engineers consolidated these into one “serpentine” routing system to save space and improve mechanical efficiency.
The architecture of this component relies on three distinct layers. The outermost layer is a durable rubber backing that occasionally drives smooth idler pulleys. The middle layer contains rigid tensile cords made of polyester or aramid, providing the structural strength needed to handle heavy engine torque. The innermost layer consists of parallel V-shaped rubber ribs that interlock with the grooves on the accessory pulleys, transferring maximum rotational force without slipping.
How Does a Serpentine Belt Work?
The serpentine belt works by transferring kinetic energy from the spinning engine crankshaft directly to the accessory components. The engine runs and forces the main crankshaft pulley (often integrated with a harmonic balancer) to rotate at high speeds. The belt loops around this primary drive pulley, absorbing the rotational energy and carrying it through a highly specific routing path across the front of the engine block.
As the belt moves, it spins the pulleys attached to the alternator, power steering pump, water pump, and air conditioning compressor. To prevent the belt from slipping off under heavy loads, a spring-loaded automatic tensioner presses firmly against the belt backing. This component continuously adjusts to small variations in belt length caused by temperature changes and heavy acceleration.
Accessory Components and Their Functions
| Accessory Component | Mechanical Function | Immediate Failure Symptom |
|---|---|---|
| Alternator | Generates electrical current to charge the main battery | Battery warning light illuminates on the dashboard |
| Water Pump | Circulates liquid engine coolant through the radiator | Engine temperature gauge spikes into the red zone |
| Power Steering Pump | Pressurizes hydraulic fluid for steering assist | Steering wheel becomes extremely heavy and hard to turn |
| AC Compressor | Compresses refrigerant gas for cabin climate control | Air conditioning vents begin blowing warm ambient air |
| Belt Tensioner | Maintains optimal spring pressure on the rubber belt | Belt squeals aggressively during hard vehicle acceleration |
Step-by-Step Breakdown: How a Serpentine Belt Fails
A drive belt rarely snaps without warning, failing instead through a highly predictable sequence of material degradation. Normal material wear represents the first stage. Constant bending over numerous pulleys causes the rubber compound to dry out, while extreme engine bay temperatures accelerate this vulcanization reversal process. The rubber gradually loses its native elasticity.
Heat and friction eventually trigger micro-cracking across the structural ribs. Small cracks form perpendicular to the belt’s rotational direction. As these structural cracks widen, the belt enters the rib chunking phase. Entire pieces of the rubber ribs physically detach and fall away from the backing material, creating uneven contact surfaces.
Once rib chunks fall away, the inner structural polyester or aramid tensile cords become directly exposed to the metal pulleys. This friction wears down the cords rapidly. Finally, the compromised tensile cords can no longer handle the torque demands of the engine accessories, resulting in a sudden structural snap under load.
Direct Comparison: Neoprene vs. EPDM Belts
Understanding the material composition explains exactly how a specific belt will eventually fail. Older vehicles utilized Neoprene rubber, while modern engineering standards mandate EPDM.
| Belt Material Type | Average Lifespan Range | Visual Wear Characteristics | Thermal Breakdown Threshold |
|---|---|---|---|
| Traditional Neoprene | 50,000 to 80,000 km | Visible transverse cracking across rubber ribs | Moderate (Degrades rapidly above 100 degrees Celsius) |
| Standard EPDM | 100,000 to 160,000 km | Gradual material thinning (requires depth gauge) | High (Resists sustained engine bay heat cycles) |
| Aramid-Reinforced EPDM | 160,000+ kilometers | Extreme resistance to rib chunking and heavy wear | Very High (Used in heavy-duty commercial towing) |
| Polyurethane | Custom track intervals | Highly visible surface glazing and hardening | Low (Prone to slipping heavily if oil contaminated) |
What Causes a Serpentine Belt to Break?
While routine wear accounts for many failures, several external mechanical factors will destroy a brand-new belt prematurely. Mechanics typically trace premature belt failure back to one of the following five core issues.
1. Normal Age and Material Wear
Rubber materials break down inevitably over time and mileage. Extreme engine bay temperatures, frequent extreme weather cycles, and constant rotational stress slowly bake the elasticity out of the polymer matrix. As the material hardens, it loses its ability to grip the metal pulleys effectively. This loss of friction requires the belt to work harder, generating more heat, which ultimately leads to catastrophic structural failure.
2. Failed Automatic Tensioner
A failing automatic tensioner causes excessive belt slack or extreme tightness, both of which destroy the belt. The tensioner relies on a heavy internal coil spring and a sealed pulley bearing. If the internal spring weakens due to metal fatigue, the belt slips against the accessory pulleys, generating extreme frictional heat. Conversely, if the tensioner bearing seizes completely, it acts as a stationary brake shoe against a moving belt, causing the belt to snap almost instantly.
3. Pulley Misalignment
Laser alignment deviations as small as 0.5 degrees cause severe tracking issues across the engine drive system. Misalignment occurs when an accessory component, such as an alternator, is installed slightly crooked or when a pulley is pressed onto a shaft unevenly. This forces the grooved belt to ride aggressively up the sharp metal sidewalls of the pulleys. The sharp edges shave the rubber down layer by layer, shredding the outer ribs in a matter of days.
4. Seized Accessory Components
When an alternator bearing or an air conditioning compressor clutch locks up completely, the engine crankshaft continues to force the belt forward. The metal crankshaft pulley keeps spinning, dragging the rubber belt across the now-stationary accessory pulley. This creates massive frictional heat that literally melts the stationary rubber belt in seconds, snapping the structural cords and throwing the belt off the engine.
5. Fluid Contamination
Engine oil, power steering fluid, or liquid coolant leaking onto the belt surfaces guarantees premature failure. These harsh automotive chemicals soften the synthetic rubber compound structurally. Contamination causes severe slipping, which generates heat, while the chemical reaction simultaneously breaks down the adhesive bonds holding the tensile cords inside the rubber matrix. A belt soaked in engine oil will stretch, deform, and break rapidly.
What Happens When a Serpentine Belt Breaks While Driving?
When a serpentine belt breaks while driving, the vehicle instantly loses power to all driven accessories, creating immediate safety and mechanical hazards. The first noticeable symptom is the sudden loss of power steering assist. The steering wheel becomes exceptionally heavy and difficult to turn, requiring significant upper body strength to maneuver the vehicle to the side of the road.
Simultaneously, the dashboard will illuminate a red battery warning light. Because the alternator is no longer spinning, the vehicle is running entirely on reserve battery power. Depending on the electrical load, the engine will stall completely within 20 to 45 minutes once the battery voltage drops below critical thresholds. The most dangerous immediate consequence, however, involves the engine cooling system.
Can You Drive With a Broken Serpentine Belt?
You absolutely cannot drive a vehicle with a broken serpentine belt. Driving without this component halts the engine water pump immediately, meaning liquid coolant stops flowing through the engine block and radiator. The engine temperature gauge will spike into the red zone within one to three minutes of driving.
Continuing to drive an overheating engine will warp the aluminum cylinder heads, blow the head gasket, and potentially seize the engine pistons entirely. If the belt snaps while you are on the highway, safely pull over to the shoulder immediately, turn the engine off, and call for a tow truck.
Key Financial Numbers, Costs, and Timeframes
Replacing a drive belt is generally an affordable maintenance procedure, provided no accessory components require replacement. Parts and labor rates vary significantly based on the layout of the engine bay. Front-wheel-drive vehicles with transverse engines often feature tighter working clearances, while rear-wheel-drive trucks offer plenty of room for mechanics to work.
Estimated Replacement Costs and Timeframes
| Vehicle Engine Layout | Typical Parts Cost (Belt + Tensioner) | Required Repair Time | Total Estimated Replacement Cost |
|---|---|---|---|
| Transverse 4-Cylinder (Front-Wheel Drive) | $60 to $110 (6,000 to 11,000 BDT) | 20 to 30 minutes | $110 to $160 |
| Longitudinal V8 (Rear-Wheel Drive Truck) | $85 to $140 (8,500 to 14,000 BDT) | 15 to 25 minutes | $130 to $190 |
| Transverse V6 (Minivan or Crossover) | $90 to $160 (9,000 to 16,000 BDT) | 45 to 60 minutes | $190 to $280 |
| Complex European Luxury Sedan | $120 to $250 (12,000 to 25,000 BDT) | 60 to 90 minutes | $300 to $450 |
Note: A standalone replacement belt typically costs between 2,500 BDT and 8,500 BDT, while an OEM tensioner assembly costs between 6,500 BDT and 20,000 BDT. Always budget to replace both components simultaneously.
Step-by-Step Troubleshooting and Diagnostic Guide
Diagnosing belt health requires a combination of auditory checks, visual inspections, and specific physical measurements. Modern EPDM belts rarely show visual cracking, making physical measurement the only reliable diagnostic method.
- Listen for specific engine noises: Start the engine and listen closely. A loud, continuous squealing noise indicates a loose belt, fluid leak, or a weak automatic tensioner. A rapid, rhythmic chirping noise points directly to pulley misalignment.
- Perform a thorough visual check: Turn the engine off completely. Inspect the flat backing of the belt for shiny spots (glazing), which indicate slipping and heat damage. Check the ribbed underside for missing rubber chunks or exposed white tensile cords.
- Measure the internal rib depth: Use a plastic EPDM belt wear gauge to check if the grooves have widened excessively. You press the gauge into the belt grooves, and if the plastic tool drops down completely flush with the rubber ribs, the material is fully worn and requires immediate replacement.
- Test the tensioner mechanism: Attach a long socket wrench or a dedicated serpentine belt tool to the tensioner arm bolt. Rotate it firmly against the spring pressure. The arm must move smoothly without grinding, and it must snap back firmly with strong resistance when you slowly release it.
- Spin all accessory pulleys: Remove the belt entirely and spin each individual metal pulley by hand. Listen carefully for rough, noisy bearing sounds or excessive physical resistance. A pulley that wobbles on its shaft needs immediate replacement.
What Are the Most Common Mistakes During Replacement?
Installing a fresh drive belt seems straightforward, but simple procedural errors guarantee premature failure. Avoid these specific mistakes to ensure maximum component lifespan.
- Replacing only the rubber belt: Installing a fresh belt on an old, vibrating tensioner guarantees premature belt failure. Automotive industry guidelines recommend replacing the belt and the tensioner mechanism as a matched set, as the tensioner spring degrades at the exact same mileage interval as the rubber material.
- Ignoring active fluid leaks: Failing to fix an active valve cover oil leak or a dripping coolant hose will ruin your brand-new rubber belt within weeks. You must clean the engine pulleys with degreaser and resolve the fluid leak before installing the replacement belt.
- Routing the belt incorrectly: Forcing the ribbed side of the belt onto the flat surface of a smooth idler pulley shreds the rubber ribs immediately upon engine start. Always reference the vehicle’s specific routing diagram sticker, usually located on the radiator support bracket or the underside of the hood, before releasing the tensioner.
Expert Action Plans for Different Drivers
Maintenance strategies differ depending on how you use your vehicle and your mechanical comfort level.
The Daily Commuter (Average Driver): Request that your mechanic inspect your belt visually and with a depth gauge during every scheduled oil change. Proactively replace the belt and tensioner together at the 100,000-kilometer mark to guarantee you are never stranded on the highway.
The DIY Enthusiast: Purchase a dedicated long-handle serpentine belt tensioner tool kit, as standard ratchets rarely fit between the engine block and the radiator fans in modern transverse engines. Take a clear digital photograph of the existing belt routing layout with your smartphone before releasing the spring tension, as factory routing stickers frequently fade or peel off.
The Fleet Operator (Heavy Duty User): Upgrade your fleet vehicles to premium aramid-cord reinforced EPDM belts to handle extreme duty cycle demands and heavy alternator loads. Mandate a strict digital belt thickness inspection protocol for your mechanics every 30,000 kilometers, replacing tensioners aggressively to prevent expensive commercial downtime.
Frequently Asked Questions
Does a broken serpentine belt destroy the engine?
A broken belt itself does not destroy the engine, but continuing to drive the vehicle afterward certainly will. Because the belt drives the water pump, the engine loses its ability to cool itself. Driving without coolant circulation warps cylinder heads and destroys engines in minutes.
How do I stop my new belt from squealing?
If a brand-new belt squeals, you either have a failing automatic tensioner that cannot provide enough grip, or you have residual oil and grease on your accessory pulleys. You must clean all metal pulleys thoroughly with brake parts cleaner before installing a replacement belt.
Is the serpentine belt the same as a timing belt?
No, these are entirely different components serving different functions. The serpentine belt sits on the outside of the engine block and drives accessories like the alternator. The timing belt sits internally behind a sealed cover, synchronizing the engine’s internal pistons and valves.
Should I apply belt dressing spray to quiet a noisy belt?
Never apply aerosol belt dressing or lubricants to a modern EPDM serpentine belt. Belt dressing was designed for vintage V-belts made of neoprene. Applying these chemicals to a modern belt softens the polymer structurally, traps abrasive dirt, and drastically accelerates material failure.
How often should I visually inspect my serpentine belt?
You should conduct a basic visual inspection of the belt every time you open the hood to check your oil level. A professional mechanic should perform a detailed physical inspection using an EPDM wear gauge every 30,000 miles (48,000 kilometers) to measure exact material degradation.
The Bottom Line: Understanding exactly what causes a serpentine belt to break allows you to spot minor mechanical symptoms long before they escalate into an expensive breakdown. By monitoring fluid leaks, listening for warning chirps, and replacing the tensioner alongside the belt, you ensure your engine accessories operate flawlessly for another 100,000 miles.


